
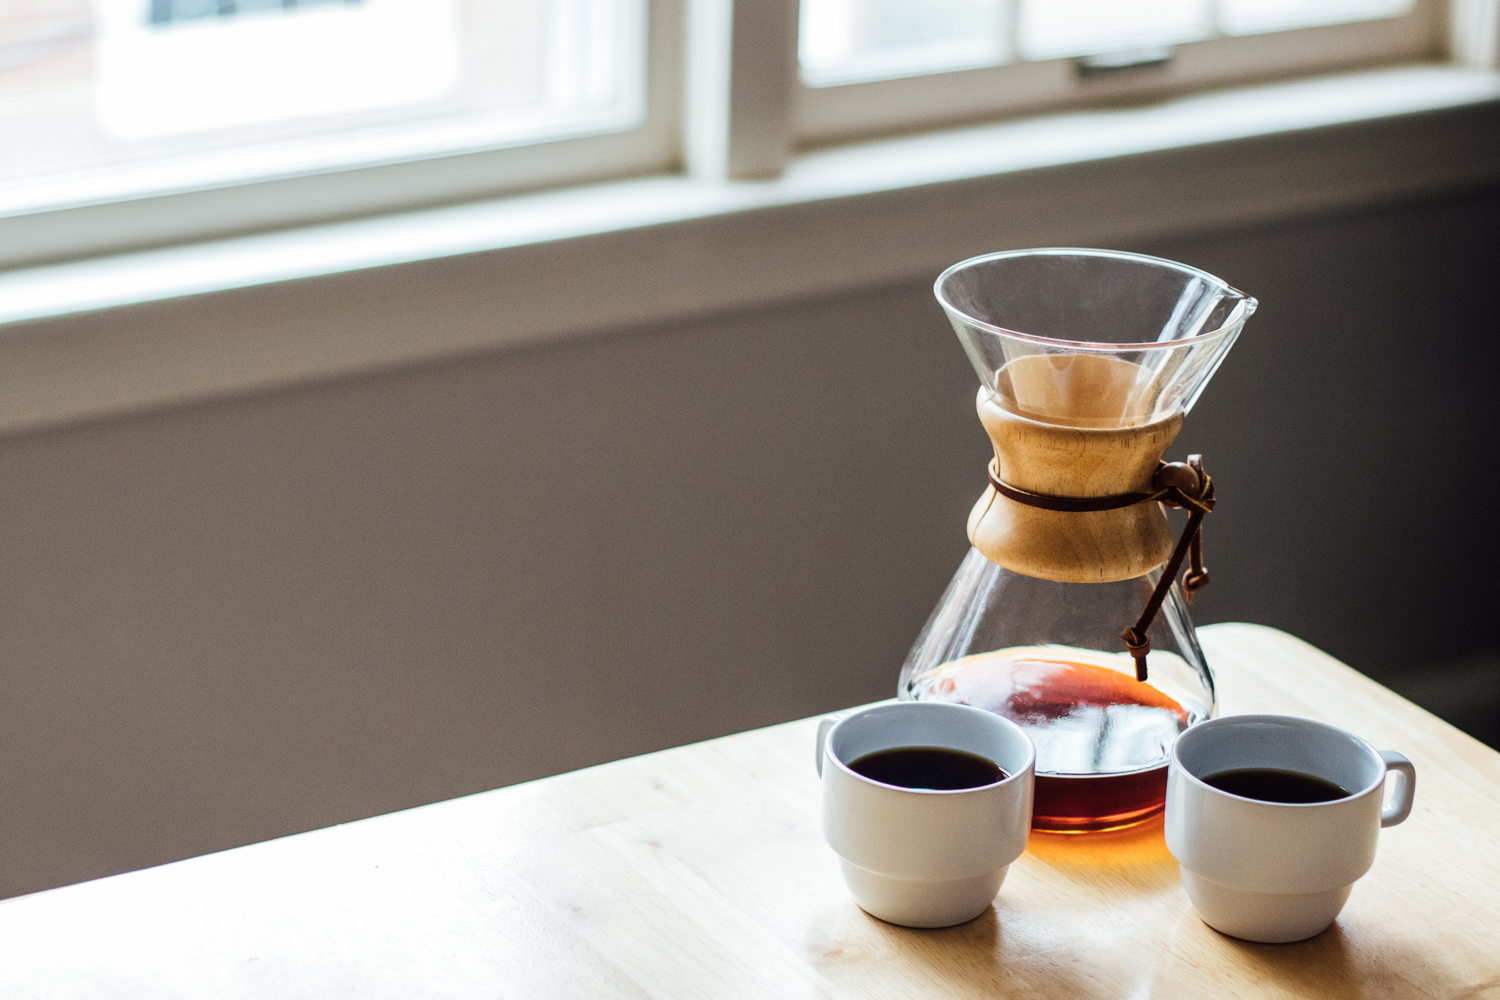
Comparing Chemex Recipes
Due to its aesthetic and ubiquity, the Chemex is well-known in the specialty coffee community. It is a beloved coffee maker, often looked highly upon because of its thicker filter, which produces a light body and beautiful clarity. Personally, my introduction to specialty coffee was through a Guatemala Finca La Bolsa roasted by Quills Coffee. I was told that I would get some light floral notes at the beginning, followed by sweet, fruity notes as it cooled. And after tasting them, I was hooked.
While the Chemex comes in a few different sizes and styles, the fact that it is larger than other brewers means that it is often the one that is used when guests are over. That’s what makes the Chemex so great: it’s a symbol of community, a centerpiece that gets passed around and shared, a conversation starter and discussion enabler. And all it takes is a Chemex, some great coffee, some good friends, and a few other brewing paraphernalia.
Designed by a German engineer named Peter Schlumbohm in 1941, the Chemex has a long history. And because of this long history, there are innumerable recipes floating around. Thus, we have sought to bring some of the most celebrated to the table, dialing in each one and comparing our tasting notes.
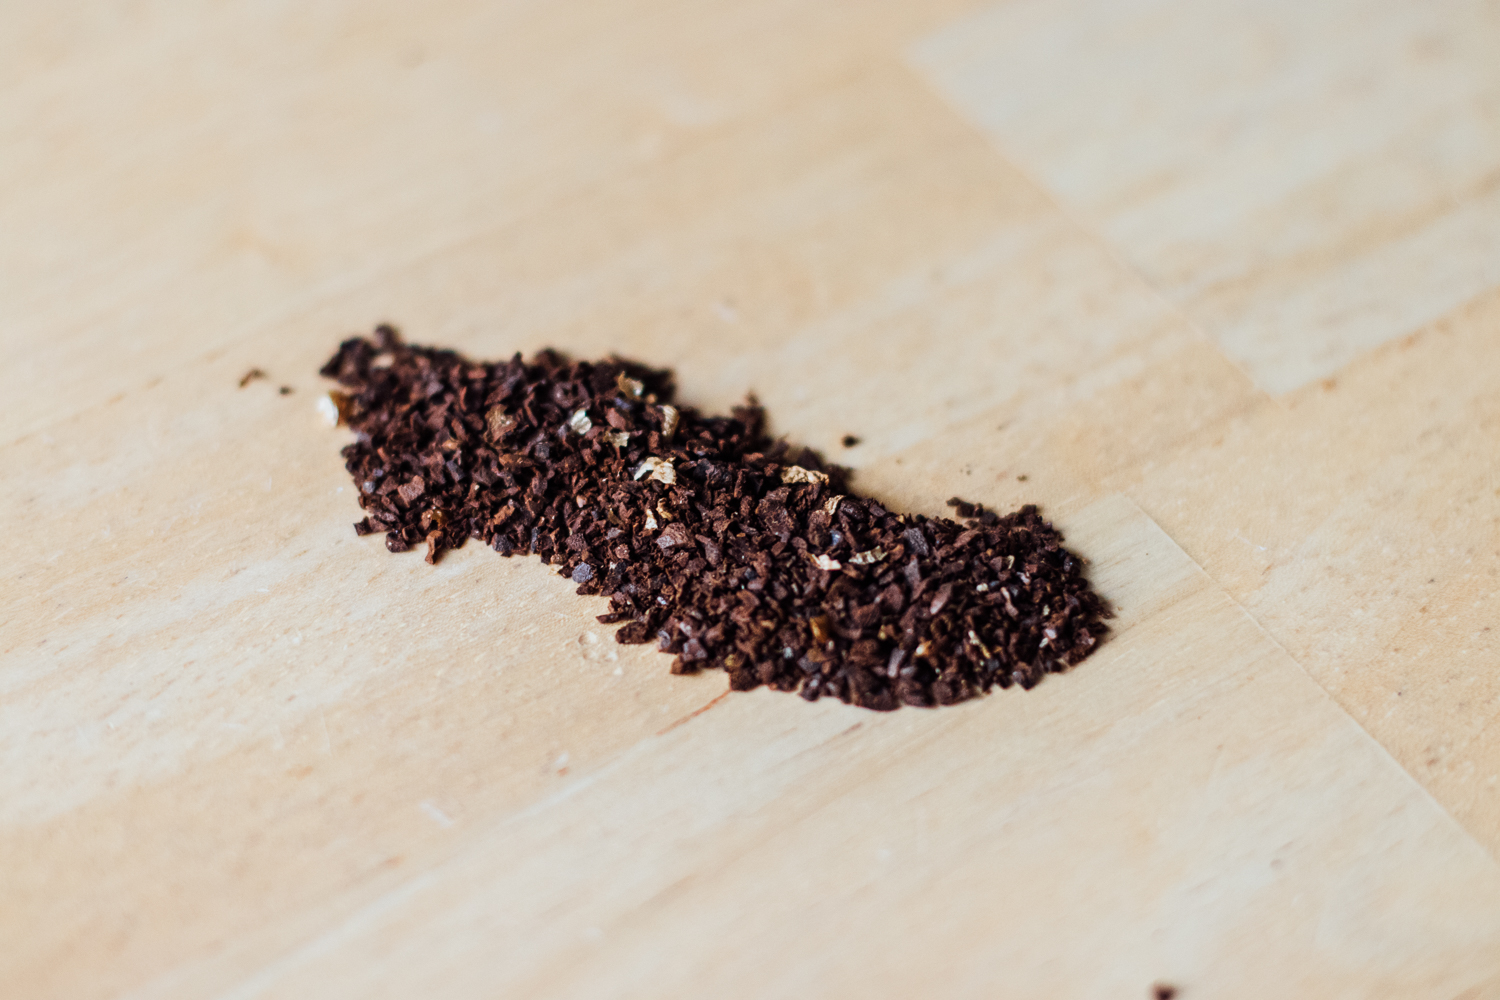
Like the previous recipe comparison posts (V60 and Kalita Recipes), the goal of this experiment is not to figure out which is the all around best recipe. The goal is to nail down which one(s) works best for the situation that we are bringing to the table. For this experiment, we used a Honduras Las Flores from Quills Coffee, white Chemex coffee filters, a Baratza Encore, and Third Wave Water. However, if you are using coffee from somewhere else, a different grinder, or water with a higher TDS, then a different recipe may work better for your situation.
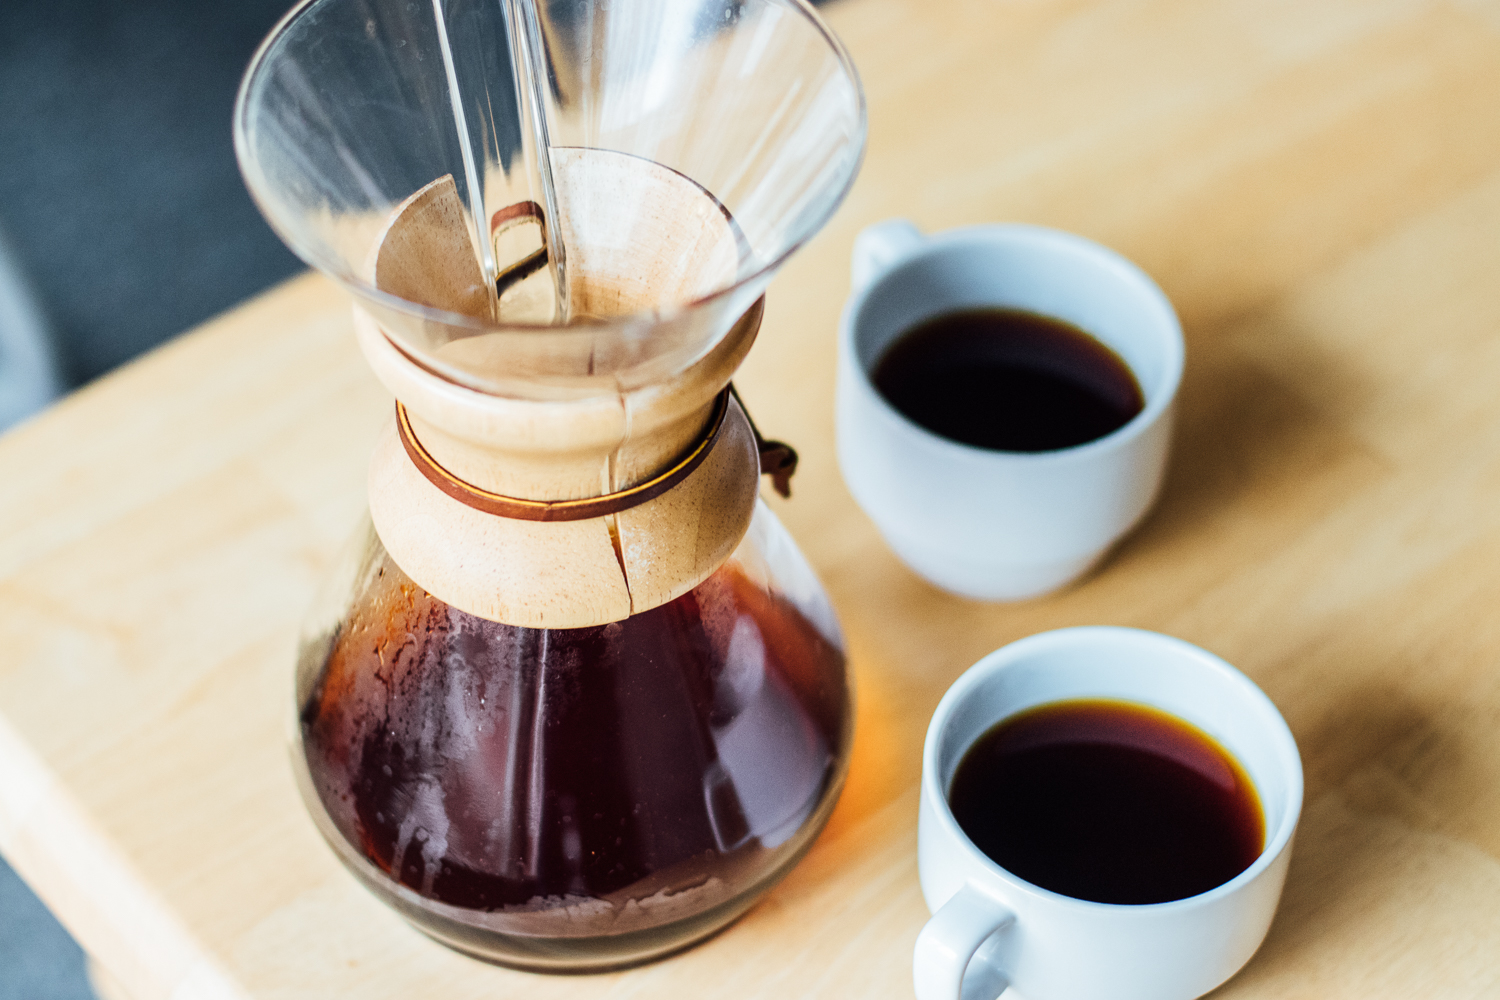
We gathered a few of these from Brew Methods and others from friends and coffee roasters. Below, you will find seven different recipes, which include brewing parameters, the method for brewing, our notes, and a score out of 10.
But first, be sure to check out Prima's step-by-step Chemex Brew Guide
The Recipes
Barefoot Coffee
- Dosage: 50g coffee to 750g water (1:15)
- Grind: 28/40*
- Temp: 204°F (96°C)
- Pre-Infusion: 75g water for 30-50 seconds
- Total Time: not specified (we liked this around 4:00)
* Refers to grind setting out of 40 on a Baratza Encore.
Method
- Separate 4 layers of filter: 3 layers on one side, and 1 on the other. Insert filter into Chemex, with the 3 layer fold on the spout side, and rinse thoroughly. Be sure to discard the water.
- Add coffee and shake and tap on counter to settle the grounds.
- Add about 75g of water for a 30-50 second pre-infusion, saturating all of the grounds evenly with circular motions.
- During pre-infusion, pick up the entire brewer and give it a swirl to agitate the grounds for even saturation.
- Add 675g more water in an aggressive manner, pouring in a circular motion and avoiding the edges. If needed, adjust the pour speed to maintain level bed (about ½ inch from the top of the brewer).
- Give it a little stir around the edges.
- Admire extraction, allowing for it to completely drain. Admire a little more before serving.
Notes
Starting off with a bang, this recipe brought out high acidity, a lot of sweetness, and a medium body. The acidity seemed to bring both tartaric and citric acids, being both a little winey and orangey. The flavor, then, brought out heavy notes of caramel and chocolate, alongside some quieter notes of grape juice.
I had a difficult time getting the slurry to swirl in the filter with only 75g of water, so I had to add a little more. But other than that, this method was quite easy to follow. When discarding the water, to help with the fear of dislodging the filter, place a couple fingers on the spout-less side of the filter, holding it against the glass, and pour the rinse water slowly out of the spout. Step 7 seemed to help keep the grounds from attaching to the filter higher up, which helps with extraction. Finally, because this recipe did not offer a suggested total brew time, I decided to shoot for 4:00.
Score 10/10
Blue Bottle Coffee
- Dosage: 50g coffee to 700g water (1:14)
- Grind: 28/40
- Temp: not specified (we used 205°F)
- Pre-Infusion: 100g water for 45-55 seconds
- Total Time: 3:30-4:30
Method
- Unfold filter, ensuring that the spout is in the middle of the triple-fold portion, and rinse.
- Add coffee and give it a little shake to flatten the bed.
- With a total of four pours, begin in the center of the bed and pour 100g of water, moving outward in a circular motion, while avoiding the sides of the filter. Allow the bloom period to last 45-55 seconds.
- After pre-infusion, begin second pour of about 200g, starting from the center and spiralling outward and then back inward. Wait for the water to drain about 1 inch.
- Repeat step 4, adding 200g of water and allowing it to drain 1 inch.
- For the final pour, repeat step 4 again, adding 200g of water, and let drain.
- Total brew time should be 3:30-4:30.
Notes
With a total brew time of 4:00, the same grind size, and a similar water temperature, this method was very similar to the Barefoot recipe. The difference between them was the coffee-to-water ratio, the four specified pours, and the swirling/stirring. This recipe produced similar levels of acidity, with strong notes of caramel and chocolate, alongside lighter notes of grape. However, the reason that it scored lower than the Barefoot Coffee method is because it had a slightly quicker finish and was just a little less sweet.
Score 9/10
Elemental Coffee
- Dosage: 52g coffee to 700g water (1:13.5)
- Grind: 26/40
- Temp: not specified (we used 204°F)
- Pre-Infusion: 100g coffee for 1 minute and 30 seconds
- Total Time: 4:30-5:00
Method
- Insert filter into Chemex, with three layers against the spout, and rinse.
- Grind and add fresh coffee to Chemex, trying to create an evenly distributed bed.
- Start a timer and add 100g of water. Pour in concentric circles, avoiding the filter. Let bloom until 1:30.
- After pre-infusion, begin main pour, wetting all the grounds with concentric circles, followed by a center pour until the total brew weight of 700g.
- At the end of the drawdown, you should have a cone of grounds along the edges of the filter. Total brew time should be between 4:30 and 5:00.
Notes
This method did not work as well for the Honduras Las Flores that we used for this experiment. The resultant cup brought forth a bit more bitterness and had a pretty drying mouthfeel that lingered for quite some time. It offered some chocolate and a little caramel, but the fruity notes were nearly unrecognizable.
Score 6/10
George Howell Coffee (6 Cup Brew for Two)
- Dosage: 50-57g coffee (depending on strength) to 780g water (1:15.6-13.7)
- Grind: 29/40 (drip-medium)
- Temp: 201-205°F (94-96°C)
- Pre-Infusion: not specified (occurs during first pour: 260g water for 1:00)
- Total Time: 5:00
Method
- Insert the filter, with three layers against the spout, and rinse. Be sure to empty the rinse water before brewing.
- Add freshly ground coffee to Chemex and shake to level the coffee bed.
- Start timer and pour 260g of water in 30 seconds, beginning in the center and working outward in concentric circles, and wait 30 more seconds.
- At 1:00, pour to 520g of water in 30 seconds.
- At 2:30, pour to total brew weight of 780g of water in 30 seconds.
- Coffee should drain by about 5:00.
Notes
As fewer recipes had smaller ratios, I went with 57g of coffee (1:13.7) for this one. The result was a great cup of coffee. It offered great acidity, much sweetness, and a medium body. It brought out strong notes of caramel and chocolate, and some lighter notes of grape and something that was kind of peach-like. This recipe was very similar in taste to the Blue Bottle method.
The method was quite easy to follow. Using a Fellow Stagg EKG, it was near-effortless to pour 260g in 30 seconds. George Howell Coffee offers a few brewing tips that we followed for this method. First, pour the rinse water out of the Chemex from the opposite side of the spout, and make sure that the filter adheres to the Chemex without pockets of air. As opposed to the Barefoot method, I did this by holding a couple fingers against the spout-side and simply pouring through the filter on the spout-less side. There wasn’t much difference, other than the Chemex being pretty hot if you have an all-glass model. And second, when you are pouring, aim for the dark spots for a more even extraction. When the slurry looks evenly saturated, pour directly in the middle to agitate the grounds in the cone.
Score 9/10

Onyx Coffee Lab
- Dosage: 55g coffee to 900g water (1:16.4)
- Grind: 27/40
- Temp: Off boil. 205°F (96°C)
- Pre-Infusion: 110g water for 45 seconds
- Total Time: 6:00-7:00
Method
- Prepare the filter: open up filter (1 side to 3 sides), placing the 3 sides of paper over the spout and then rinse with hot water.
- For 45 second pre-infusion, pour 110g in concentric circles, beginning in the center, working your way to the outside, then back to the inside and then to the outside once more.
- During pre-infusion, use a spoon or stir stick, inserting it as far down as possible and lean the coffee inward from different points to get the water to seep into every corner of the bed.
- At 0:45, begin the first of four 200g pours*. Begin in the center and circle outwards. Then pour heavily in the middle until you reach a total weight of 300g. This will bring the bed about halfway up from its starting point.
- At 1:30, pour 200g water directly in the center, bringing it to 500g. This will bring the bed slightly higher than the previous pour.
- At 2:30, pour 200g water directly in the center, bringing it to 700g. Again, this will bring the bed slightly higher than the previous pour.
- At 3:30, pour 200g water, beginning in the middle and spiralling outwards for the last 50g, seeking to wash everything back down. After washing everything down, pour in the center until you reach the total brew weight of 900g.
- 2-3 minute drain time, with a total brew time of about 6-7 minutes.
*Pouring Timeline: 0:45, pour to 300g; at 1:30, pour to 500g; at 2:30, pour to 700g, and at 3:30, pour to 900g.
Notes
I was excited to try this method out, as it was quite different from the others, yet it seemed quite logical. The method produced a strong caramel aroma, a high acidity, and quite a bit of sweetness. There were not as many fruity flavors as compared to the Barefoot method or the George Howell Coffee method, but it had lots of caramel and chocolate. What’s interesting about this one is that, like the Elemental Coffee recipe, I got caramel and chocolate but not much fruit. Unlike the Elemental Coffee recipe, though, I got some great sweetness and acidity with hardly any bitterness.
When it comes to the method, it was quite easy to follow, even though it is more detailed. These details are not groundless, though. Onyx Coffee Lab points out that pouring in the center helps agitate the grounds by carving them out of the bottom of the filter. Onyx also says that the reason for raising the brew bed just a little more every time is that the higher the bed rises, the faster it drains. Thus, it is important to have it at its highest at the end for a quicker drain time, when you’ve extracted most of the good stuff.
Score 8/10

Inspired by Scott Rao
- Dosage: 32g coffee to 500g water (1:15.6)
- Grind: 26/40
- Temp: Off boil. 205°F (96°C)
- Pre-Infusion: 60g water for 30 seconds
- Total Time: 3:30-4:00
Method
- Insert filter (3-ply against the spout; 1 ply against the spout-less side) and rinse.
- Begin 30 second pre-infusion, by pouring 60g of water in a circular motion, seeking to wet all of the grounds.
- Stir the grounds, ensuring that all grounds are wetted. Be sure to get deep into the cone, in an excavating-like manner.
- After pre-infusion, pour 110g of water in concentric circles, starting from the center and moving outward, slightly grazing the filter (get all the high and dry grounds) before returning back to the center.
- Stir the slurry, seeking to carefully excavate as many grounds from the tip of the cone as possible.
- Repeat steps 4 and 5 for the third pour/stir.
- Repeat steps 4 and 5 for the fourth pour/stir.
- Repeat steps 4 and 5 for the fifth and final pour/stir.
- After final stir, let the slurry drain. Total brew time should be somewhere around 3:30-4:00.
Notes
This method was inspired by a blog about pour overs written by Scott Rao. He argues that “[t]he Chemex habitually over-extracts from the grounds near the bottom of the filter… And the Chemex under-extracts from those grounds at the periphery.” Rao suggests this because of the Chemex’s conical shape and suctioned contact with the filter.
Now, as we all know, brewing dogmas change incessantly (just think, it really wasn’t that long ago when a center pour was the only logical method). The idea behind this method, though, is that even extraction is superior. But, in order to make sure that as many grounds as possible get even extraction time, it requires stirring often. Stirring, however, causes extraction to happen quicker. Thus, a coarser grind and a shorter extraction time should be helpful.
In the end, the method worked fairly well, even though I didn’t create this method specifically for this coffee. It seemed to offer a slightly lighter body, with notes primarily of caramel and chocolate, as well as some softer notes of grape. These notes were not as pronounced as the Barefoot, Blue Bottle, or George Howell methods, but they were still present. Maybe a shorter brew time, a slightly larger grind size, or less vigorous stirring would have helped.
Score 8/10
Stumptown Coffee
- Dosage: 42g coffee to 700g water (1:16.67)
- Grind: 27/40
- Temp: Off boil. 205°F (96°C)
- Pre-Infusion: 150g water for 45 seconds
- Total Time: 4:00
Method
- Insert filter into Chemex (multi-fold on spout side) and rinse, making sure to create an even seal. After removing rinse water, fold the about an inch of the filter towards spout for extra reinforcement.
- For 45 second pre-infusion, add 150g of water and stir to ensure even saturation.
- At 0:45, begin second pour by using a heavy flow and wiggling to agitate the grounds, followed by a gentle spiraling motion, seeking to hit all the dark spots, bringing the brew weight to 450g.
- At 1:45, begin third pour, using circular motions, raising the slurry to the top to bring it to the total brew weight of 700g. Be sure to knock down any grinds that are stuck to the sides.
- Let drain until 4:00. If it is not finished draining, remove and let it finish draining in the sink.
Notes
To round out the experiment, Stumptown’s method ended up working quite well for this Honduran coffee. It brought about a strong caramel aroma, some great acidity, and quite a bit of sweetness. With this method, we tasted caramel and chocolate notes and some quieter notes of grape and maybe even orange. In fact, the taste and aroma reminded us of both the Blue Bottle Coffee and George Howell Coffee methods.
Score 9/10
Conclusion
In the end, the results of this experiment made it evident that the Chemex is quite forgiving. While the Barefoot Coffee method produced a slightly sweeter cup, it was very similar to the Blue Bottle, George Howell, and Stumptown methods. Moreover, the remaining three methods were far from terrible; they still produced tasty cups of coffee.
Now, there are a number of factors to consider when repeating this experiment. Depending on your situation, your outcome may be much different than this one. It could be that your coffee, grinder, and water lead you to come to a much different conclusion. Also, it should be noted that the suggested grind sizes are only for general orientation, as not all grinders are the same. Each required a medium-coarse grind size (similar to sea salt), though some were slightly finer and some were slightly coarser.
Let us know how it goes for you! This experiment is a helpful activity that will result in a better understanding of how different brewing approaches can produce different results. If you find yourself needing some help with looking for the right gear, feel free to check out our Baratza and pour over kettle comparison posts or to hit us up directly. We’d love to help you find the best tools for your situation. Happy brewing, friends!


