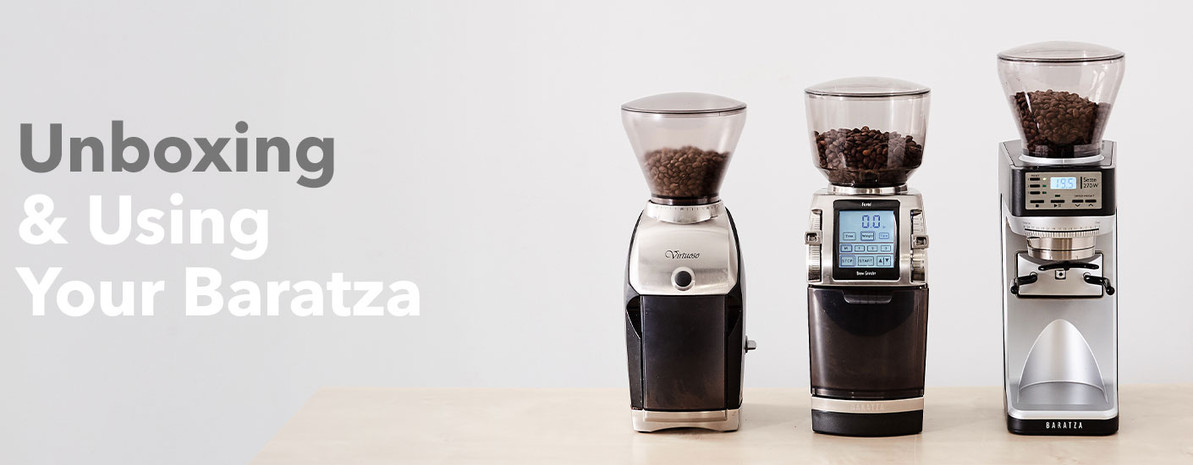
Unboxing & Using Your Baratza
Getting started with your Baratza grinder. Includes, unboxing, set-up, and operation of Virtuoso, Encore, Sette, Forte, and Vario grinders.
Getting new gear is always exciting, but a new grinder can be an absolute gamechanger. Few things, if anything, can make such a substantial improvement in your coffee’s quality and consistency as immediately as a good burr grinder, which means that your new Baratza is destined to take your coffee brewing to levels you didn’t know it could reach. In this article we’ll cover how to set your grinder up out of the box, and how to manage the day-to-day operation of your new tool to be sure that you’re using it to its fullest potential.
Unboxing Your Baratza Grinder
First things first, let’s get your grinder out of the box and onto your counter. Each family of grinders will have a slightly different unboxing process, so be sure that you’re reading along with the right set of instructions for your grinder.
Encore & Virtuoso Grinders
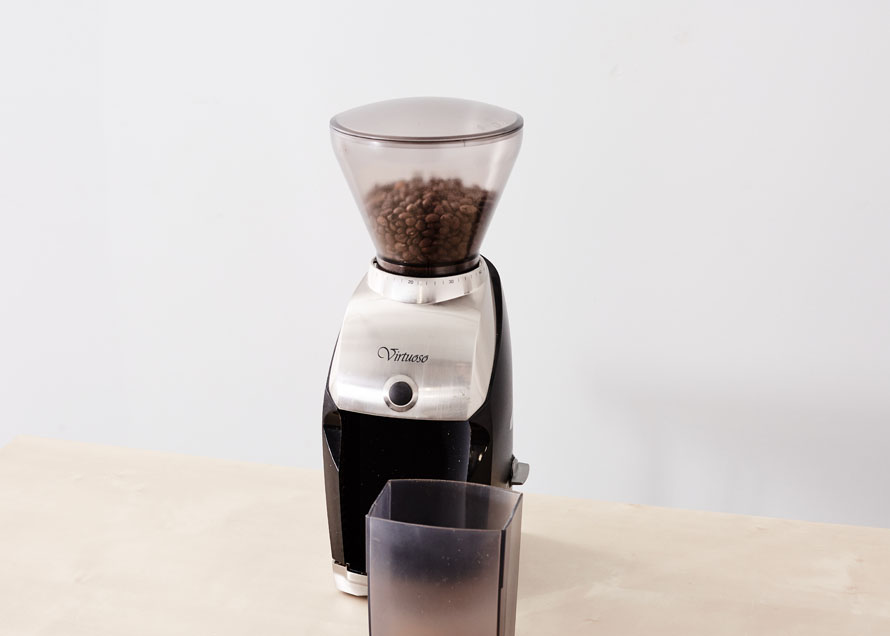

1. Start by removing all of the components from the box. This should include: the main body of the grinder, the hopper and lid, the grounds bin, a wire brush, a rubber gasket, and (for the Encore) the knob for your on/off switch.
2. Give your hopper, lid, and grounds bin a quick wash in warm water. Rinse them thoroughly and set them aside to air dry.
3. For the Encore: Attach the on/off knob on the side of the grinder. Be sure to match the orientation of the half-moon shaped peg with the inside of your knob.
4. Throw away the silica packet that should be resting on the burrs of your grinder. This is included to make sure there’s no moisture damage or oxidation that happens before you get a chance to season your burrs.
5. Remove the ring burr and check that the grind adjustment ring is rotated entirely counter-clockwise. The adjustment ring is the black ring around the outside of the burr assembly, hidden underneath your ring burr.
6. Reinstall the ring burr. Make sure that the burr is seated properly by installing it with the red tab on the burr at the 5 o’clock position, or right around the “30” grind setting. The burr should fall easily into place.
7. Install the rubber gasket on top of your burr assembly, lining up the cutouts on the bottom of the gasket with the red and white tabs on top of ring burr. Press firmly into place.
8. Install the hopper on top of your grinder. Line up the silver line on the bottom of your hopper with the silver triangle icon just next to the “40” grind setting, press down and rotate clockwise to lock into place.
9. Plug your grinder into the wall and you’re ready to rock!
Sette Grinders
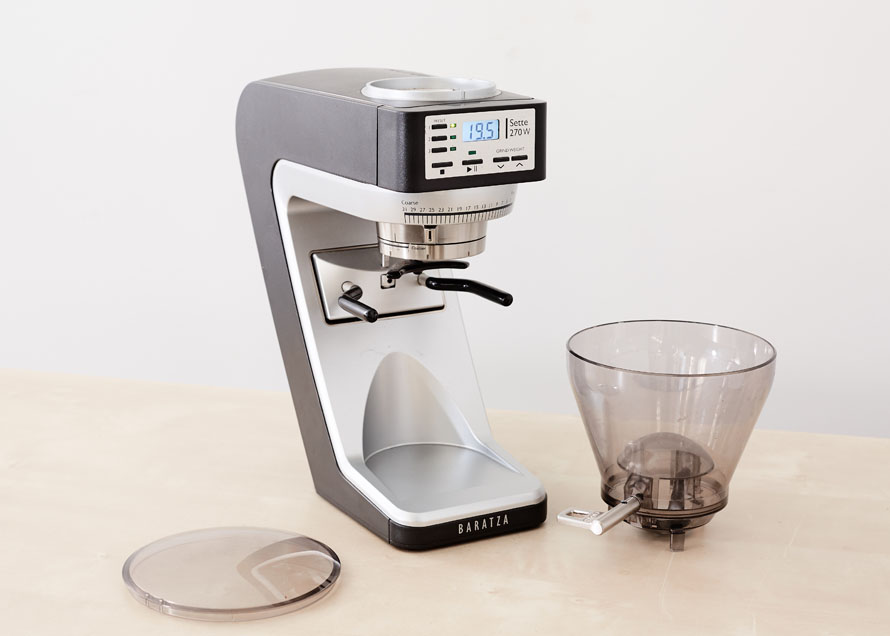
1. Start by removing all of the components from the box. This should include: the main body of the grinder, the hopper and lid, the grounds cup, a shim kit, a wire brush, a black grounds mat, and the power cable.
2. Give your hopper, lid, and grounds bin a quick wash in warm water. Rinse them thoroughly and set them aside to air dry.
3. Remove the silica packet from the burrs and attach your hopper. Insert the three posts on the bottom of the hopper into their respective spaces on top of the grinder and rotate clockwise to lock the hopper into place.
4. Set the black grounds mat into place. Adjust the convertible arms to hold either your grounds cup or portafilter, whichever you plan to use first.
5. Adjust the portafilter hook as necessary to make sure the grinder will accept and hold your portafilter securely. To adjust the hook you’ll need the smaller hex wrench out of your shim kit baggie. Just loosen the nut that locks the hook into place, adjust the hook to the right height, and re-tighten the nut keep it secure.
6. Plug the power cable securely into the grinder and the wall, then you’re ready to roll!
Vario & Forté Grinders
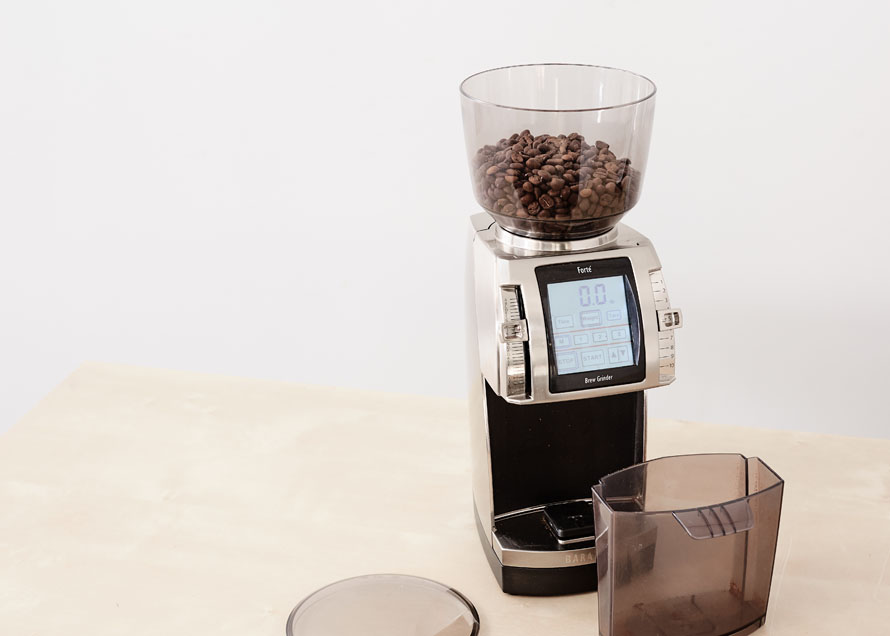
1. Start by removing all of the components from the box. This should include: the main body of the grinder (including the PortaHolder, depending on your grinder), the hopper and lid, the grounds bin, the burr removal tool, and the burr calibration tool.
2. Give your hopper, lid, and grounds bin a quick wash in warm water. Rinse them thoroughly and set them aside to air dry.
3. Be sure to set aside your burr removal tool and burr calibration tool; these will be important pieces for service and maintenance, so keep them somewhere that they won’t be lost.
4. Attach your hopper by lining up the tabs on the hopper with the slots on top of the grinder. Turn the hopper clockwise to lock it into place.
5. Plug your grinder into the wall and you’re ready to grind!
Using Your Baratza Grinder
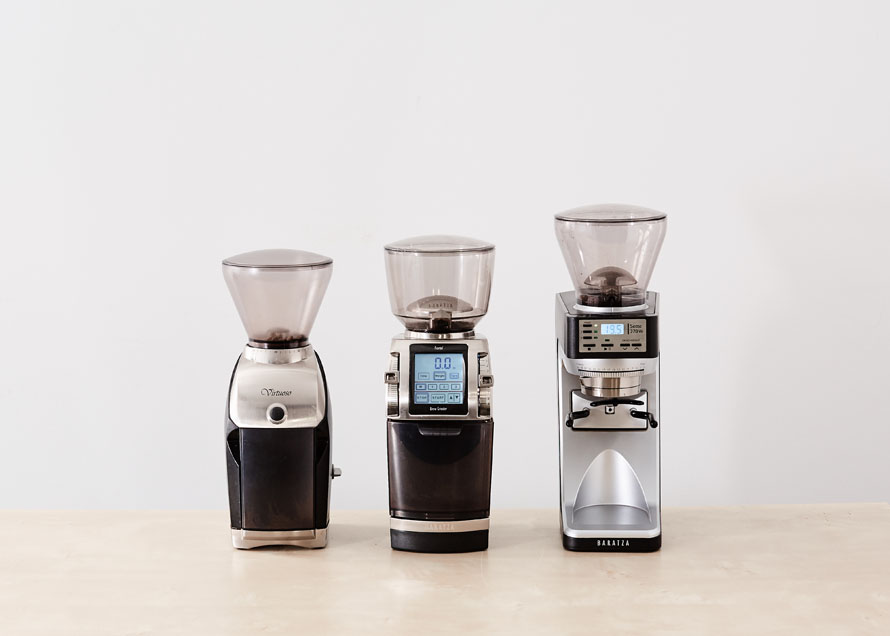
Now that you’ve got your grinder set up and ready to go we can talk about the day-to-day use of your new machine. Baratza excels at user-friendly design, so none of their grinders are terribly difficult to navigate, but each family of grinders will operate just a little differently from the others.
Encore & Virtuoso Grinders
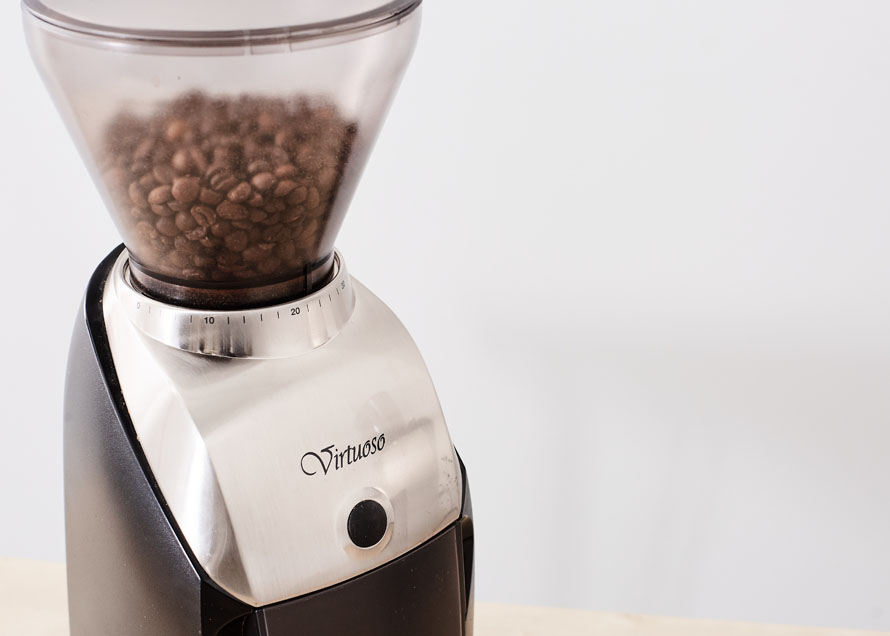
Grind Adjustment: These grinders come with a 40-step grind adjustment, denoted by numbers printed around the top of the grinder. Rotate the hopper clockwise to grind finer, and counterclockwise to grind coarser.
Programming: Both the Encore and Virtuoso are plug-and-play machines, with the primary difference between the two being the timed on-switch of the Virtuoso versus the simple on/off toggle knob on the Encore.
The Virtuoso+ is the outlier of the family with its digitally programmable grind time. Twist the knob on the front of the machine clockwise to add whole seconds to your time, and twist the knob counterclockwise to subtract tenths of a second to dial in your time specifically.
Operation: Because of the grind time inaccuracy for the Encore and original Virtuoso grinders I recommend pre-weighing your coffee beans and grinding through the whole dose each time you grind for accuracy. Weigh your dose, click the machine on, and grind all of the coffee you’ve weighed out to brew.
The Virtuoso+, thanks to its more programmable timer, could actually be dialed in so that you can fill your hopper and simply click the knob on the front whenever you need coffee. Even with its 0.1 second accuracy I would still recommend pre-weighing your whole bean coffee and grinding through the whole dose though—this will prove to be more accurate from dose to dose, and will save you from trying to adjust your timer with every new coffee that you put into your hopper.
Sette Grinders
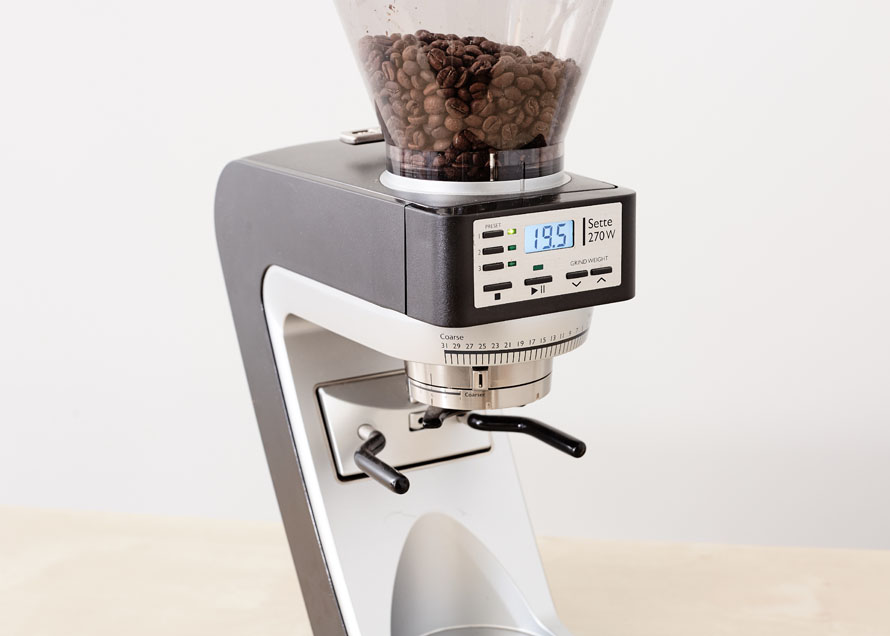
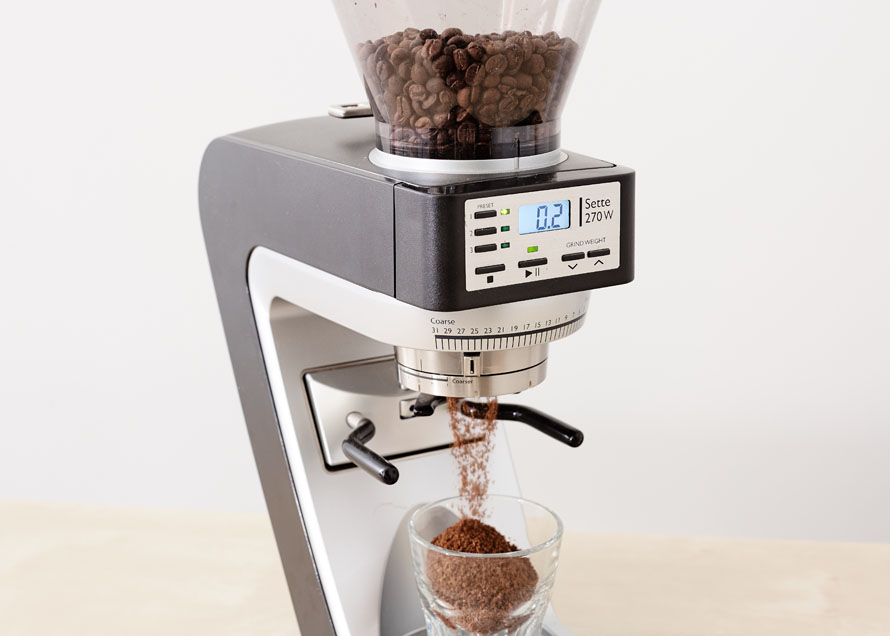
Grind Adjustment: The Sette series all come with a 30-step grind adjustment with the adjustment collar below the hopper around the ground coffee chute, simply rotate the collar left to grind coarser and right to grind finer. If you have any of the 270 series grinders you’ll also have a stepless micro-adjustment collar, giving you substantially greater control over your grind size for precise recipe adjustment. This micro-adjustment collar will rotate left to grind finer, and right to grind coarser.
Programming: The Sette series grinders come in both timed grinding versions and weight-based grinding versions, but the process to program both types is very similar. If you have a Sette 30 you won’t have multiple pre-set options, so programming will be as simple as using the up and down arrows on the face of the grinder to set your desired time, loading the hopper, and pressing the start button. For any of the Sette 270 grinders (270, 270W, and 270Wi) you’ll be able to set and save 3 different grinding programs, either time-based on the 270 or weight-based on the 270W/270Wi. Select the preset button you’d like to update, adjust the time or weight, and then hold the preset button again until the display flashes to tell you that the program has been saved.
Operation: Even as specific as the time-based operation is on these grinders there can still be some variability in the amount of coffee that can get through the burrs in a given amount of time. Because of this fact, I recommend pre-weighing your coffee for the Sette 30 and Sette 270 for the most consistent brewing. Set a long grind time in the programming, grind through your dose, and press the “stop” button once all of your coffee is ground.
The weight-based grinding system in the 270W/270Wi is satisfyingly accurate thanks to its development with specialty coffee darlings Acaia. With these grinders you should be able to set your dose weights, fill your hopper, and press “start” whenever you’re ready to brew.
Vario & Forté Grinders
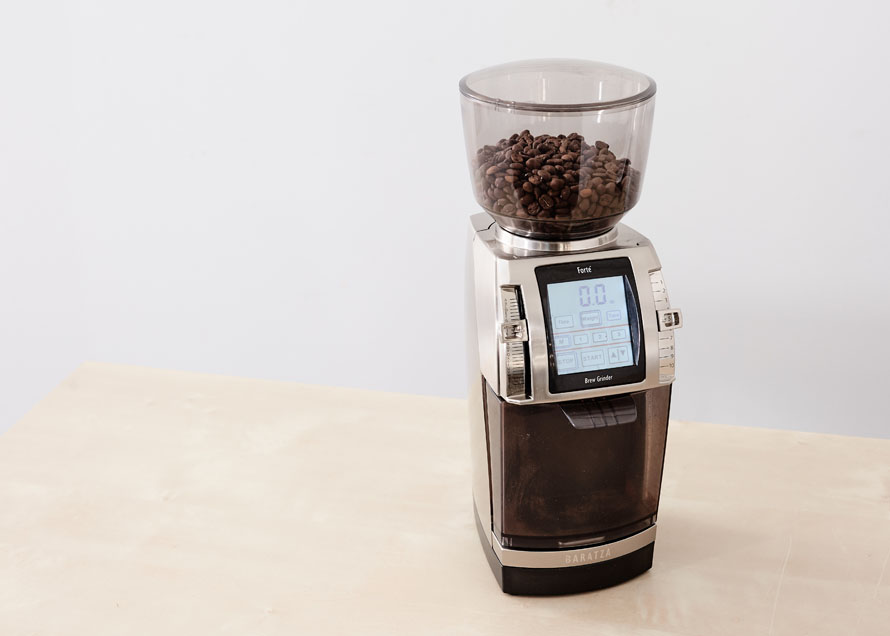
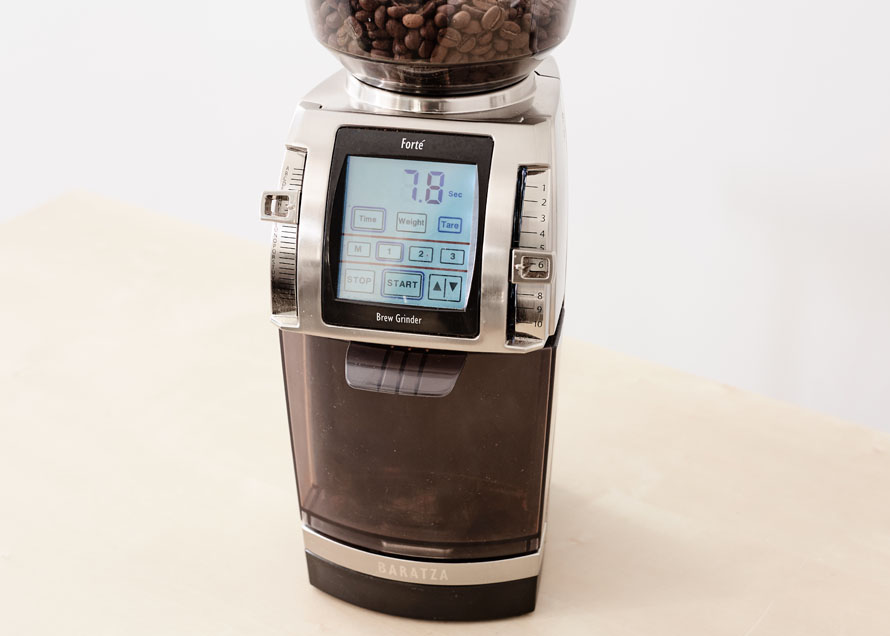
Grind Adjustment: Baratza’s flat burr grinders come with two adjustment arms on each grinder, a macro and a micro adjustment. The right arm is your macro adjuster, meant for making large changes ranging from the coarsest particle size at setting 10 to the finest particle size at setting 1, and the left arm is your micro adjuster to fine-tune your grind from the finest adjustment A all the way through the alphabet to the coarsest micro-setting at the bottom of the adjustment range.
Programming: The Vario comes in both a timed-grind format as well as a weight-based format, but the programming process will be the same for both. Both grinders will offer three preset grinding programs, simply select the preset button you’d like to update, adjust the time or weight, and then hold the preset button again until the display flashes.
The Forté, on the other hand, offers both weight and time based grinding programs in every grinder. The programming process is the same here as it is for the Vario (and Sette 270’s), but definitely be sure that you’ve selected the correct option on the LCD display (either Weight or Time) before beginning the process.
Operation: You’ll achieve the most consistent dosing with your time-based grinder by pre-weighing your coffee and grinding only as much as you need at a time. Both the Vario-W and Forté’s weight-based grinding stays consistent enough to trust them, but you’ll still see variance around 0.5g from dose to dose. But, going along with the rest of Baratza’s user-friendly products, using these grinders can truly be as simple as selecting the preset you need and pressing start.
Get Grinding!
This should be everything you need to get started with your new grinder, so get to it! Brew coffee! Pull shots! Experiment with new recipes! With a good cleaning every now and again and just a little TLC you can expect your Baratza grinder to last you a long time.
Have fun with your new grinder, y’all!
