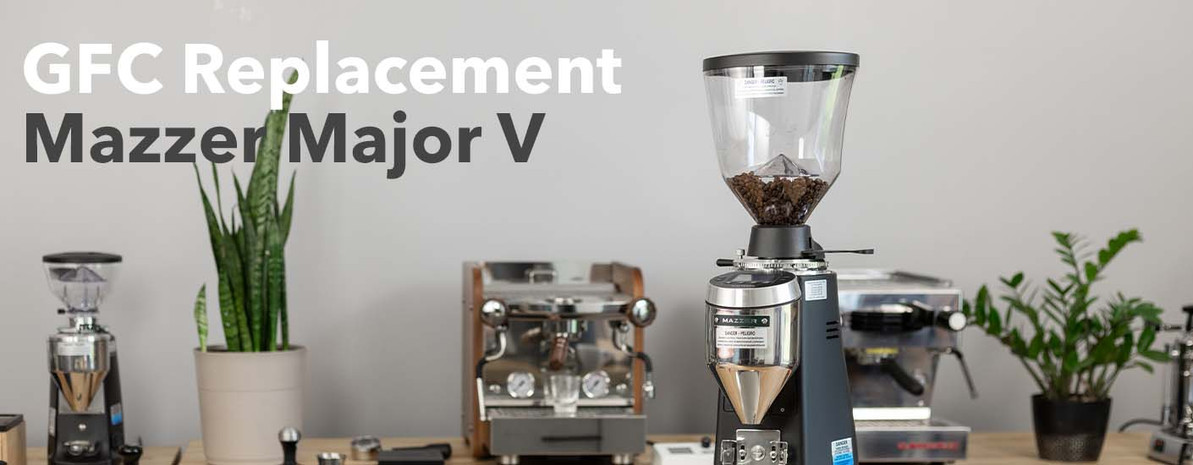
GFC Replacement | Mazzer Major V
Transcript
Hey there. It's Ragan from Prima Coffee. And today, I'm going to show you how to change the grind flow control on the Mazzer Major V. So, the Major V comes with factory-installed internal and external dampers. Combined, they create a hybrid effect, which is anti-clamp and anti-dust. It also comes with another option to insert a anti-dust GFC, and it really just comes down to the preference of the barista, but I'm going to show you how to get in there and change them up. Tool-wise, you're going to need...I'm using a flat head and a very small Phillips head screwdriver. We are going to twist the display face to the side, and below that is a grill-type plate. If you use the Phillips head, we'll just remove the two screws. We'll set these to the side, so we don't lose them. All right. And then, the grill just comes right off. And below that is the GFC. And it's really easy to remove. I take one side of it, there's two little clamps that come out, and twist it to the left. Once you remove this, there's, like, a faceplate that is secured by two smaller screws, and that's where the smaller Phillips head comes into play. Twist these out, remove them, Set these to the side. And, it just should slide it right off. And below that is a black, plastic gasket. Now, you have access to your internal damper, and all you have to do is just...it slides right out. There's a tiny hole and a bent edge that slides in there. I'm going to just go ahead and put this back in the box. There's this little slot that says, ''factory fitted," that way, we don't lose it because they're very tiny. And, in box two, is the anti-dust damper. It is shaped slightly different but it does have the bent edge. This will slide into the hole. And there's also a groove that aligns with the shape of the damper, and you want to make sure all of it is aligned perfectly. Just slides right in, and it should lay flat against the metal. Now, we are going to insert the plastic gasket back. And there's another groove here, and it aligns with this little plastic piece. It should slide right on. And then, the plate fits right on top of that. And you just want to make sure the holes are aligned. Put back in the tiny screws. And, at the top of this, it says, "up." When you insert it back in, you want it to be slightly turned to the left and then you'll twist it to the right, and it'll align perfectly, and up will be facing up. We're going to reinsert the grill. There's a cutout piece and that makes it fit by the faceplate, and then we'll tighten these screws. All right. Then we'll close the faceplate. And you are good to go. So that's it.


