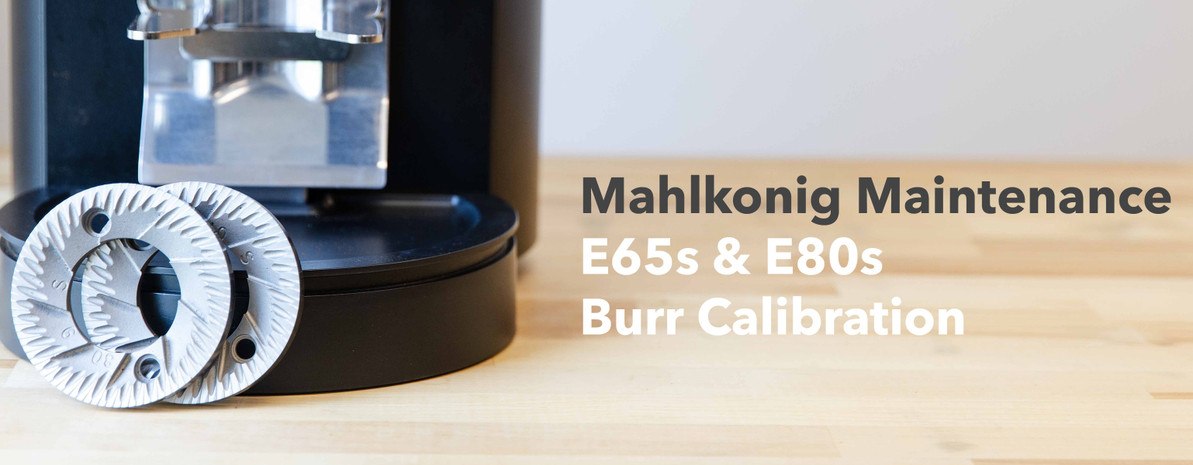
Mahlkonig Maintenance | E65S and E80S Grind Chamber Cleaning
Transcript
Hi, I’m John with Prima Coffee Equipment and today we're going to talk about cleaning the grind chamber of the Mahlkonig Espresso Line Grinders. In a previous video, we showed how to remove the hopper. So now that the hopper's off, what we're going to do is remove the top lid.
There's a locking mechanism here. In order to release that locking mechanism,I'm going to loosen these two flathead screws that are on the top here. I'm also going to check the hopper set, screw in the back. Make sure that that is not held up or in the way. Once I loosen those, I'm going to move it to the unlock position. Newer grinders, that mechanism can be tight. Sometimes you may have to wiggle this around to get it in a place where it's going to come unlocked. When you do get it unlocked, then you can lift up the top lid and notice there are two flathead/ T20 Torx screws here. It's the bottom part of the locking mechanism. If you have a newer grinder where you find the locking mechanism mechanism to be quite tight, what I like to do is just loosen the screws slightly, just maybe one or two rotations. That way when you put the lid back on, it will be easier to take it off in the future. Once we get this off, go ahead and just clean any of these surfaces. There's a lot of channels and indentations where if you have a coffee bean or coffee grinds, you won't be able to get the lid back on because it will be in the way of the locking teeth.
So once we have the lid off, I'm going to go ahead and take out the stationary burr holder. Again, these are the same screws that are on the bottom of the lid. They are either Flathead or T20 Torx. Go ahead and just loosen them because as you can see, the stationary burr holder has this channel. So you can easily just turn it about an eighth of a turn and pull it straight out. Then you can go ahead and clean the burr surface, clean around the surface of the carrier. Once we're in the grinder, obviously now we have access to the chamber. We can brush out any grounds in there. But of course, the one thing we have in our way, one of the most important parts about this cleaning procedure are the flappers. So these just sit in the slot here. So once we’ve taken the flappers out to clean, as you'll notice here, there is a silicone flapper and a metal flapper. This is standard on the E65 grinders. On the E80 grinders, it only comes with the silicone flapper. It's optional to use the metal flapper if needed. Basically, what this does is it adds a bit of fluffiness to the output. So on the E80 grinder, if you're having trouble, maybe with a denser single origin coffee, you can add this flapper to help get that grind to be finer and fluffier for pulling espresso shots. When you replace the silicone and the metal flapper, you have to remember to put it in the correct orientation. The metal flapper goes in first and sits in the back and the silicone flapper goes in last and sits in the front. Then I'll be able to kind of turn and you can see the coffee grounds coming out of the chamber. I’m also going to pull off the spout. It just comes out easily and I'm going to clean inside there. I'm going to clean in here. I'm going to look closely inside the grind chamber at the exit point by the spout and make sure that everything is completely out of there. I can even come in with a shop vac and clean those coffee grounds out of the place. Just super handy to have a shop vac, a small shop vac on hand make this process really quick.
All right. I'm John with Prima Coffee, and thanks for watching our video on how to clean the grind chamber on the Mahlkonig Espresso Grinder Line and we'll see you in the next video.


