Recipe: Pumpkin Spice Made Perfect
The days are growing shorter, there is a crispness in the air, and the leaves are beginning to turn and fall. Fall is officially here, and that can only mean one thing: it’s pumpkin spice latte season. And in true Prima fashion, we've gone out of our way to create the most delicious version of the spicy cool weather classic we could muster, just for you! Take a look inside to see our take on pumpkin spice.
The days are growing shorter, there is a crispness in the air, and the leaves are beginning to turn and fall. Fall is officially here, and that can only mean one thing: it’s pumpkin spice latte season. Yes, the spicy, sweet drink of the coffee-drinking masses is back for the season to warm your fingers as you try to defog your car windows on your way in to work. But there’s something that’s bothered me about the season’s favorite beverage for some time now: most of these supposed gourd-flavored lattes actually contain no pumpkin. That’s right, using the semantic wonders of the English language, coffee pushers have duped you into thinking you’re drinking the espresso equivalent of your favorite pie. The trick is this - it’s not a spiced pumpkin latte, but a pumpkin spice latte, as in a spice melange meant to be used with pumpkiny goods like pie. Tricky, but technically correct (which everybody knows is the best kind of correct!).
To their credit, when faced with the backlash against the selling of pumpkin spice lattes sans pumpkin, the Green Machine we know as Starbucks actually changed the recipe of their latte sauce to include real pumpkin pulp. Here at Prima, though, we like to take things a bit further - we don’t just add a bit of pulp to a syrup and call it a day, we step back and completely rethink what makes this drink special, and then set off to make it even moreso. And that’s exactly what I’ve been working on for the past couple months: the better, richer, more pie-like pumpkin spice latte we’ve all been craving. But be forewarned: the recipe below gets a little crazy.
You see, my goal in creating a more advanced pumpkin spice latte wasn’t exactly to make it better, but instead I wanted to actually make one that tasted just like pie. That’s an important thing to distinguish, because I didn’t set out to make a pumpkin spice syrup, I set out to create a set of ingredients that specifically replicate the flavors of a pumpkin pie. In truth, that means my recipe is probably more complicated than simply making a decent pumpkin spice syrup, and may even be more work than making a pumpkin pie! So, I think of it as more of a fun experiment in cooking which left me with some promising and tasty ingredients I can use for other recipes down the line. And it just so happens that those ingredients can be combined to make a darn tasty pumpkin spice latte!
When I began this little experiment, I wanted to recreate the core flavors of the pumpkin pie I grew up on (though oddly enough, I usually skipped the pumpkin pie in favor of chocolate). My mom made hers the way I imagine many other families did, with canned pumpkin, eggs, some condensed milk, and a pastry crust. Sometimes that pastry crust was storebought for convenience, and sometimes she made and baked it herself. The resulting pie was custardy and smooth, spicy from nutmeg, clove and cinnamon, and the crust was buttery and flaky, with everything taking on a nice brown from the oven. The humble pumpkin pie actually has quite the complexity of flavors, especially if you aim to isolate them all and replicate them separately.
So when I broke it all down, I decided to isolate the following core flavors for the recipe:
- Roasted pumpkin
- Pie spices (nutmeg, allspice, cinnamon, clove)
- Buttery, flaky pie crust
- Some sort of sweet creamy quality
- Perhaps a hint of salt and caramel
After some research and testing, my pumpkin spice syrup has six main ingredients:
- Roasted pumpkin sauce
- Pie spice extract
- Toasted pumpkin seed milk (which adds a deep, nutty flavor)
- “Pie crust” powder
- Fresh cinnamon and nutmeg
- Sweetened condensed milk (which I’m not even going to attempt to make myself!)
Pie spice extract
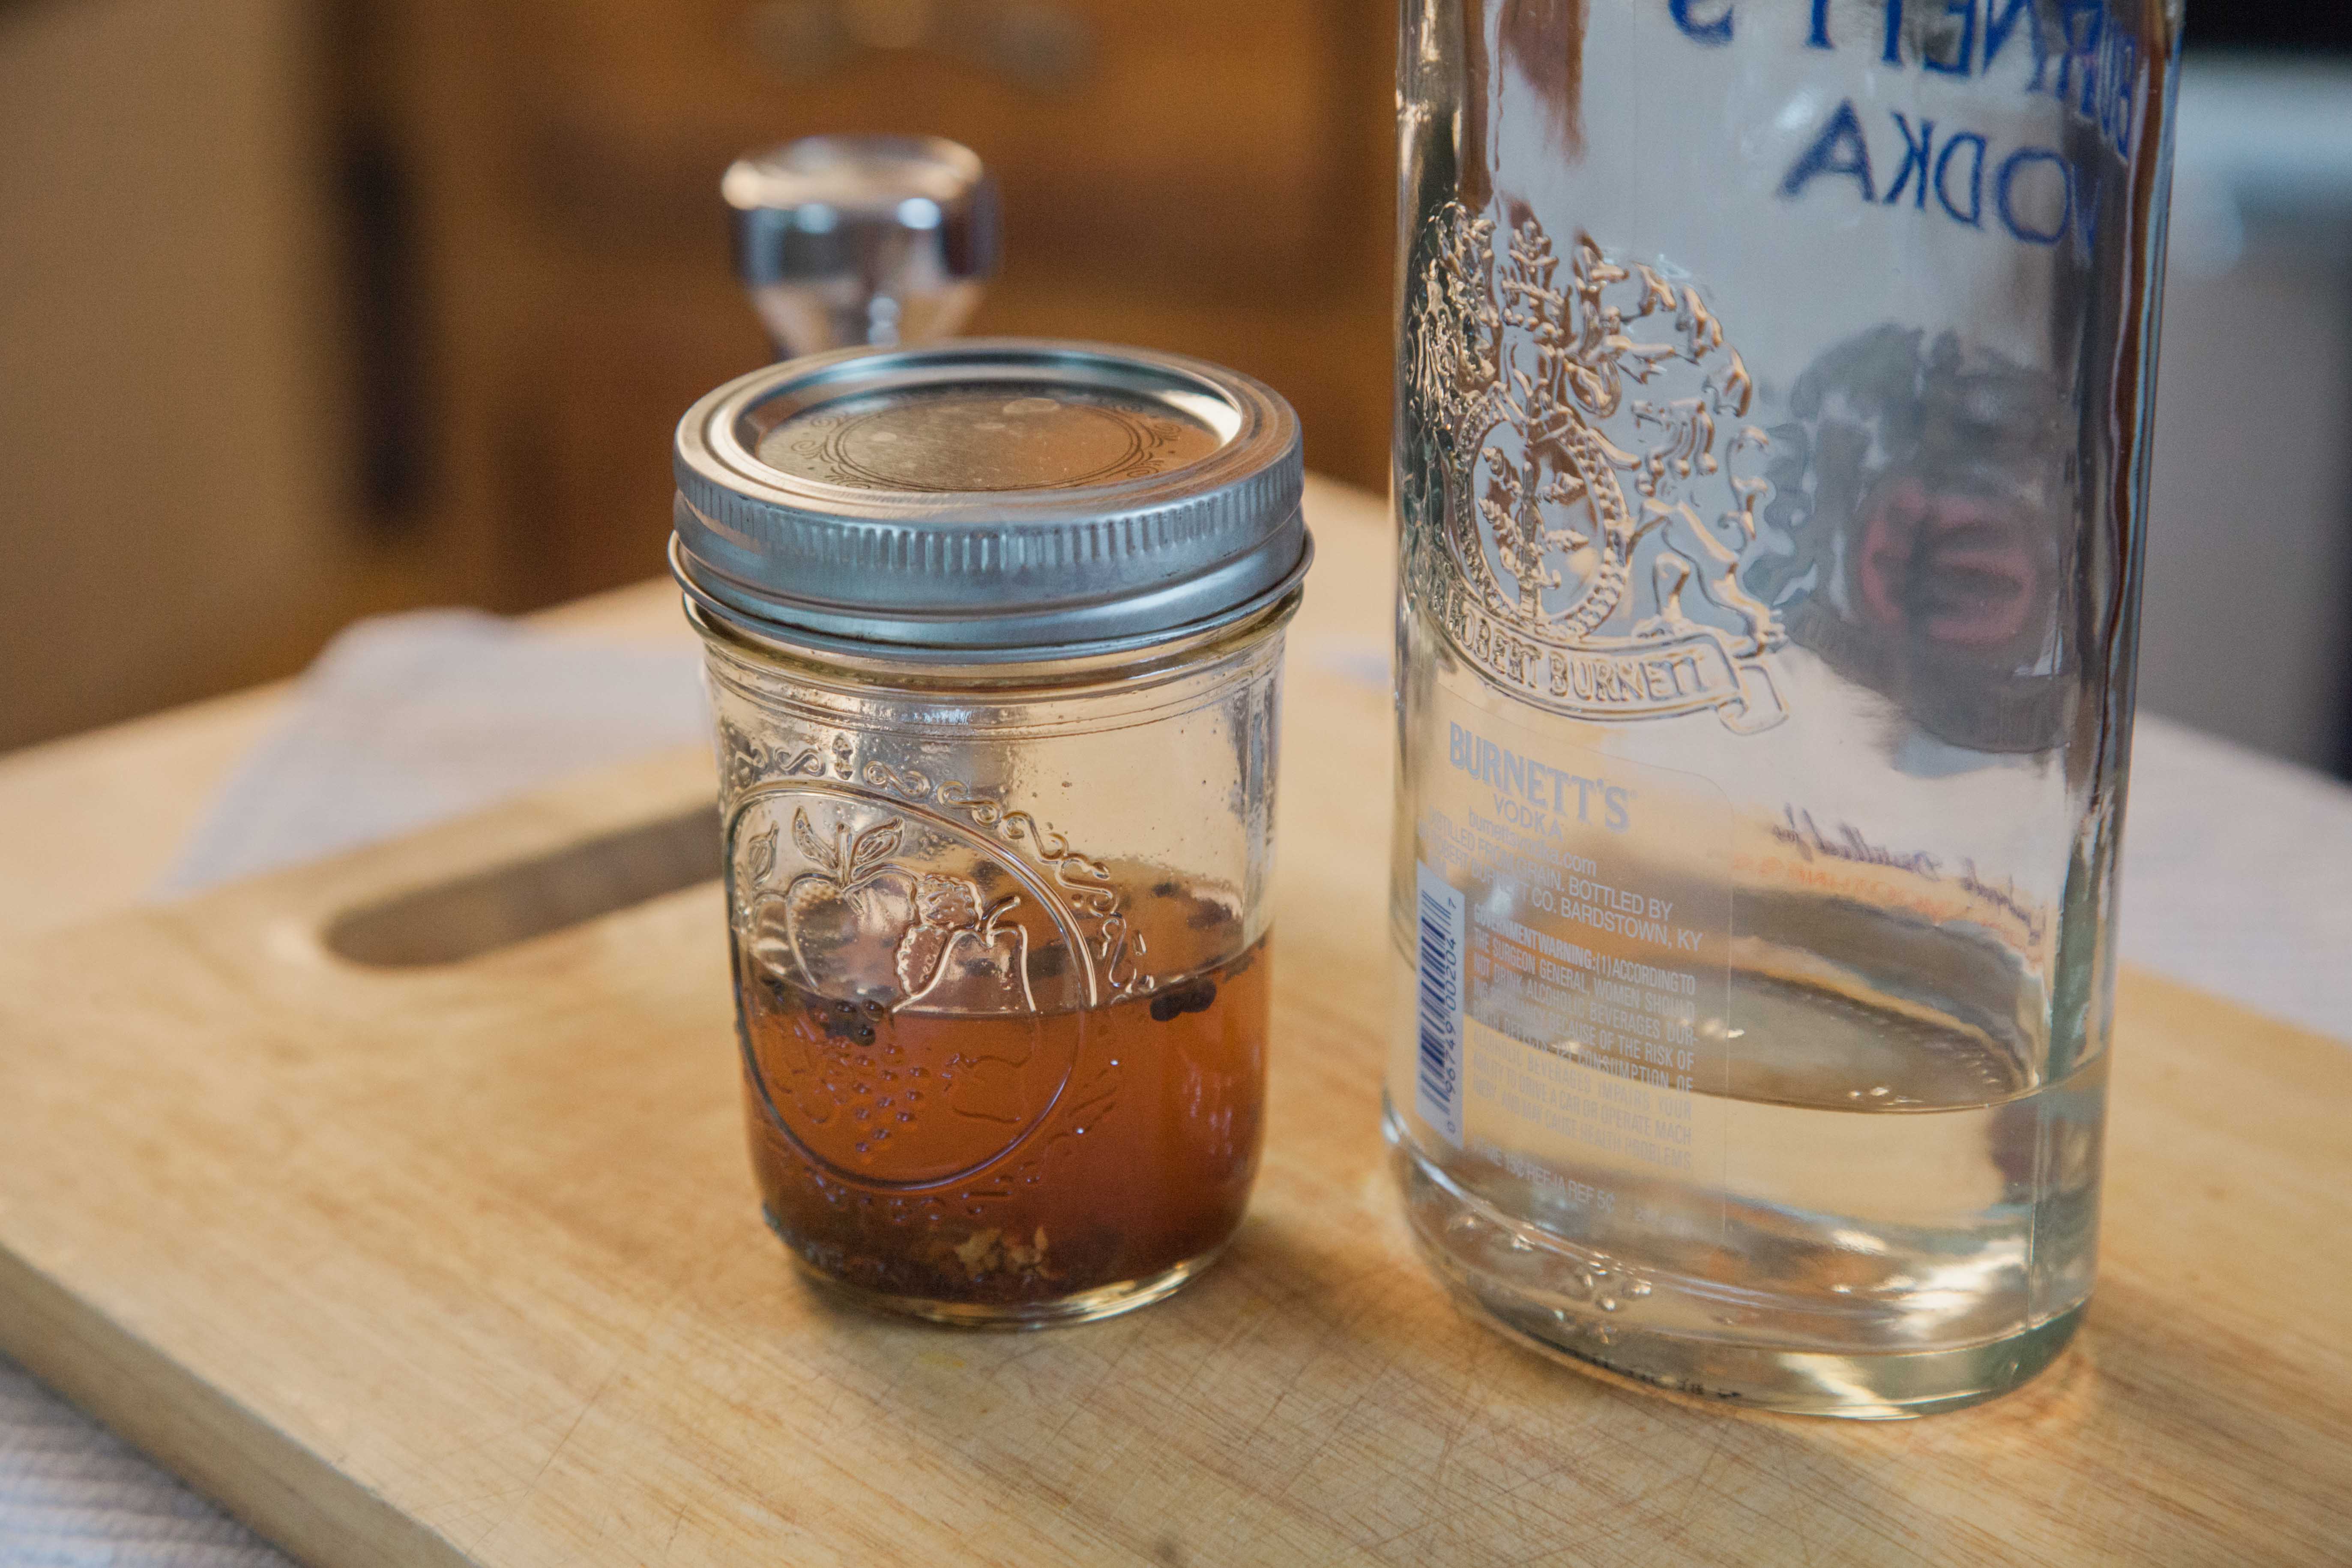
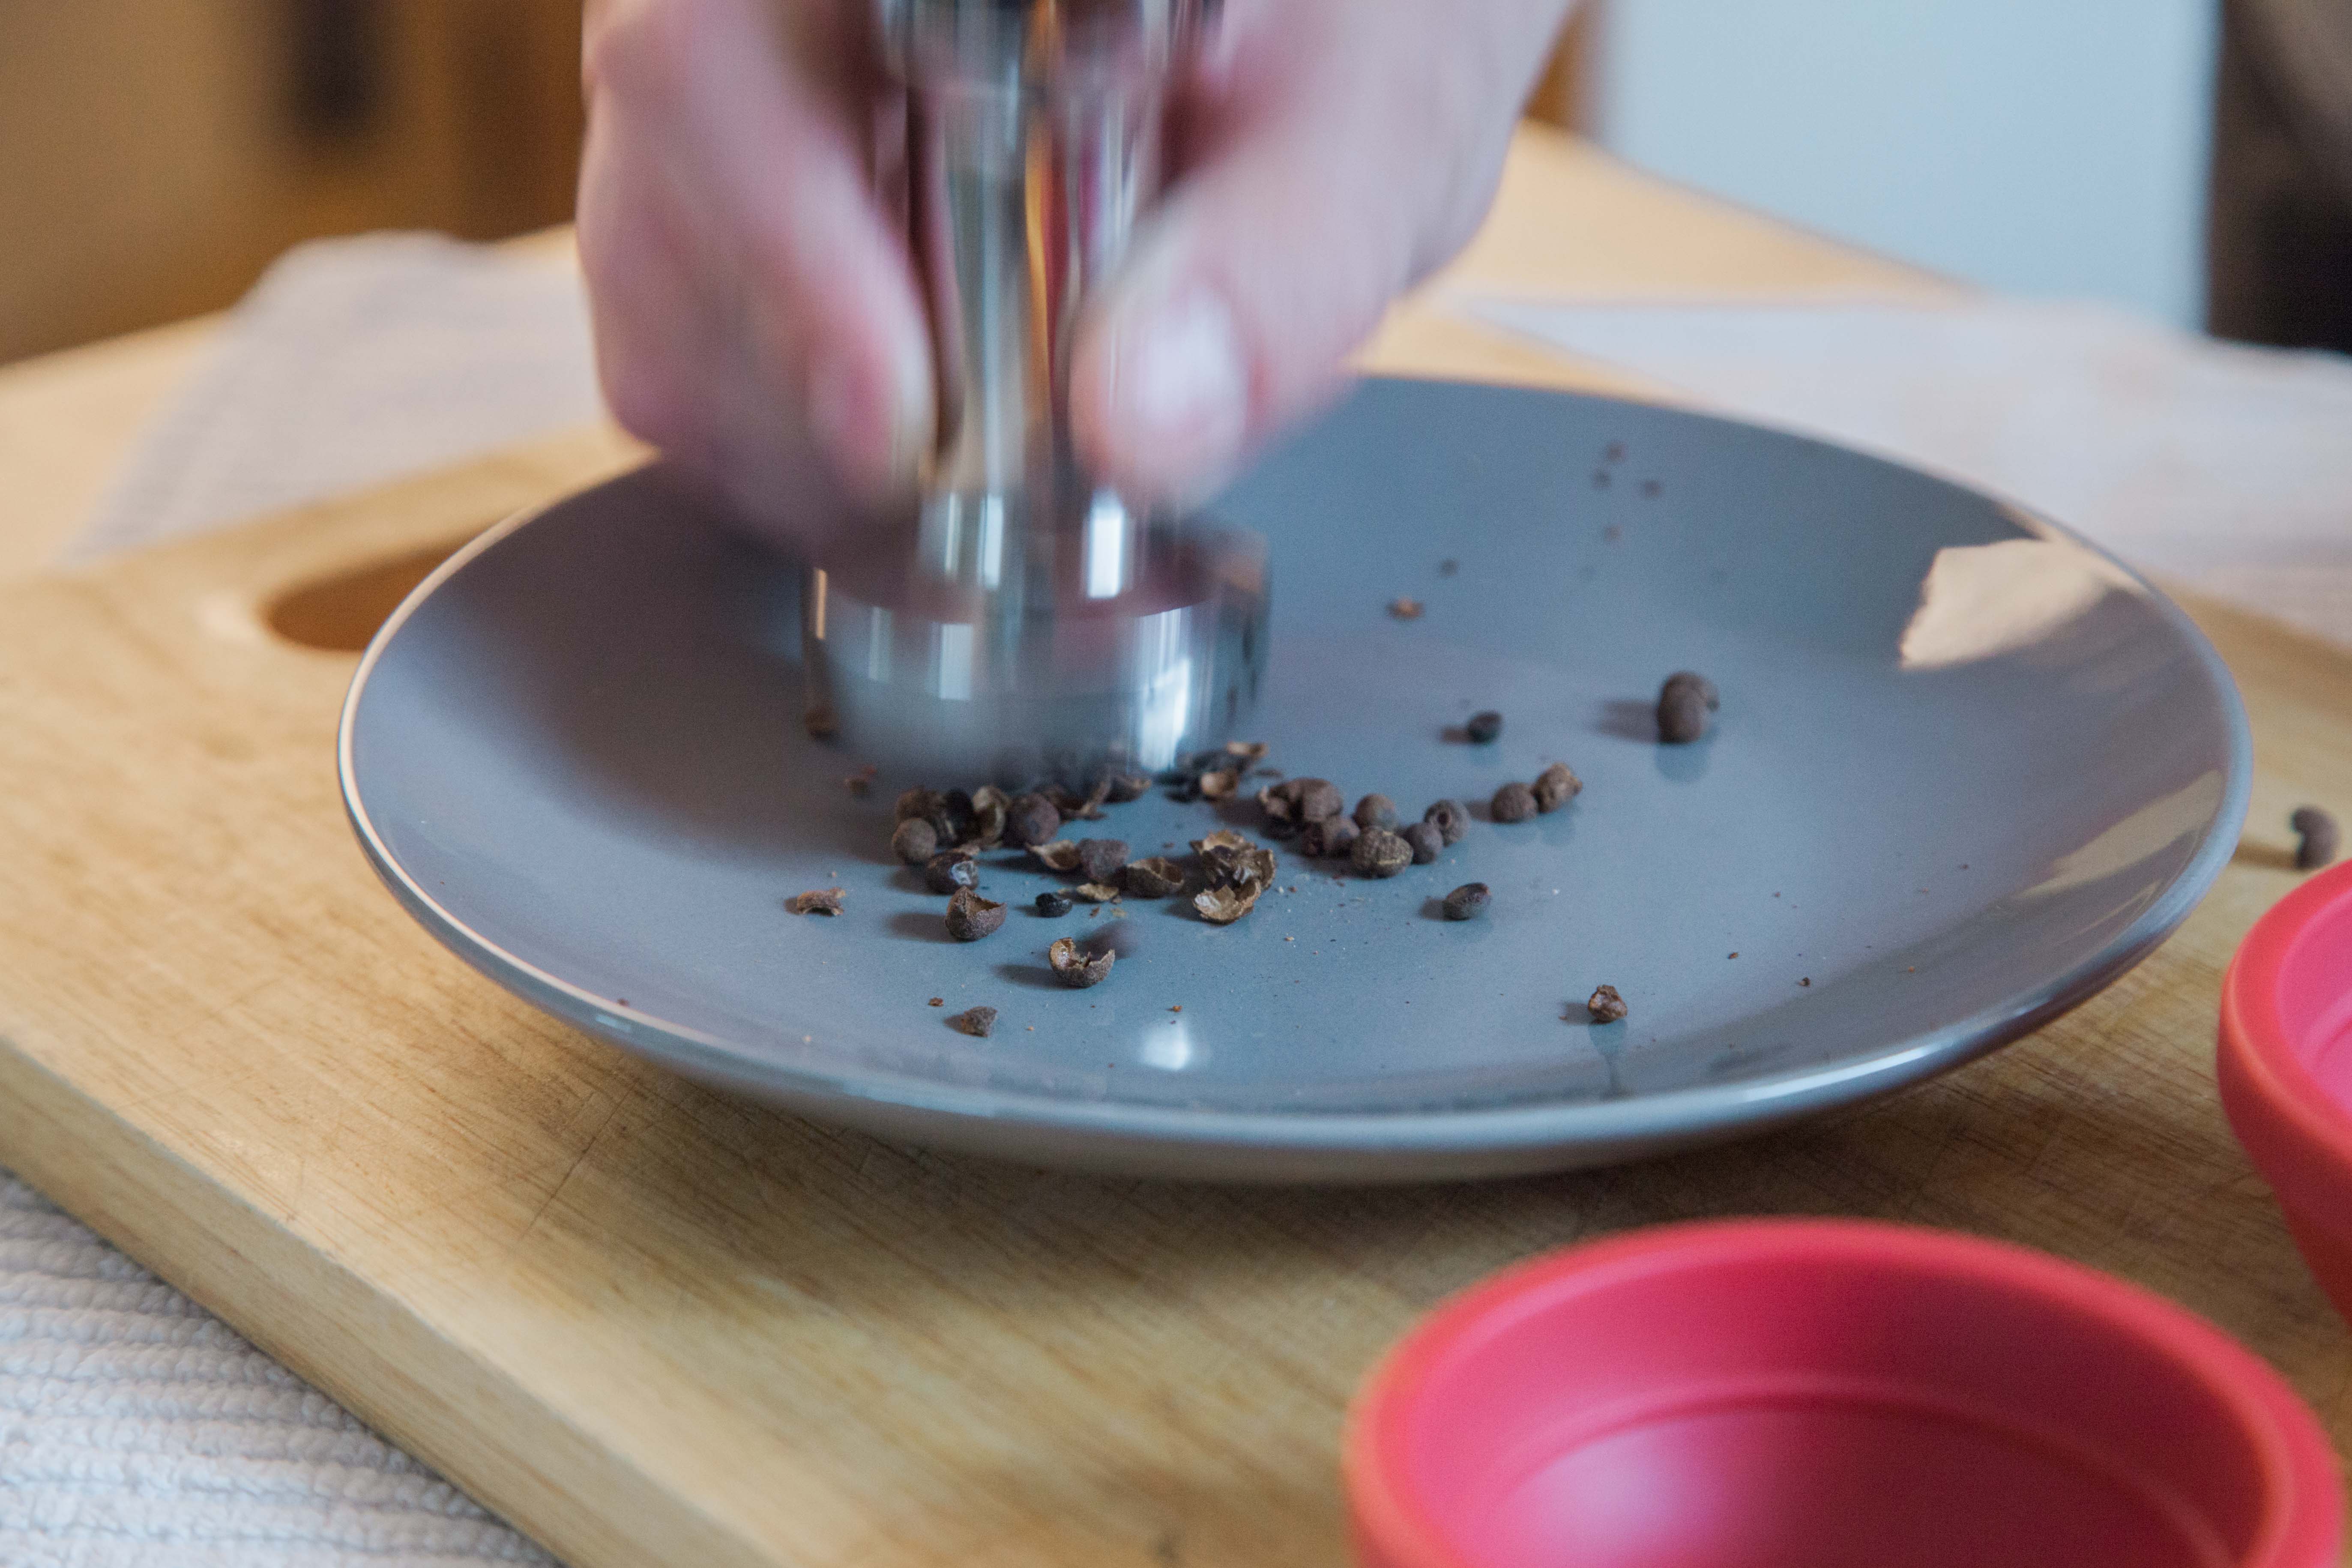
In advance, you can make the pie spice extract by adding a combination of crushed nutmeg (not ground or grated), crushed cinnamon, cracked allspice and cracked cloves to a high proof vodka in a small jar. For an 8 oz jar of extract, I used 1 Tbs of cracked nutmeg, 1 Tbs of crushed cinnamon, 20 cracked allspice berries, and 6 cracked cloves. Allow to steep for 1-2 weeks before use, then strain through a fine cloth and store indefinitely. For a speedier infusion, add the liquid and spices to a whipping siphon and charge with two N2O cartridges. Steep for one day under pressure, then vent and filter.
Preparing the pumpkin
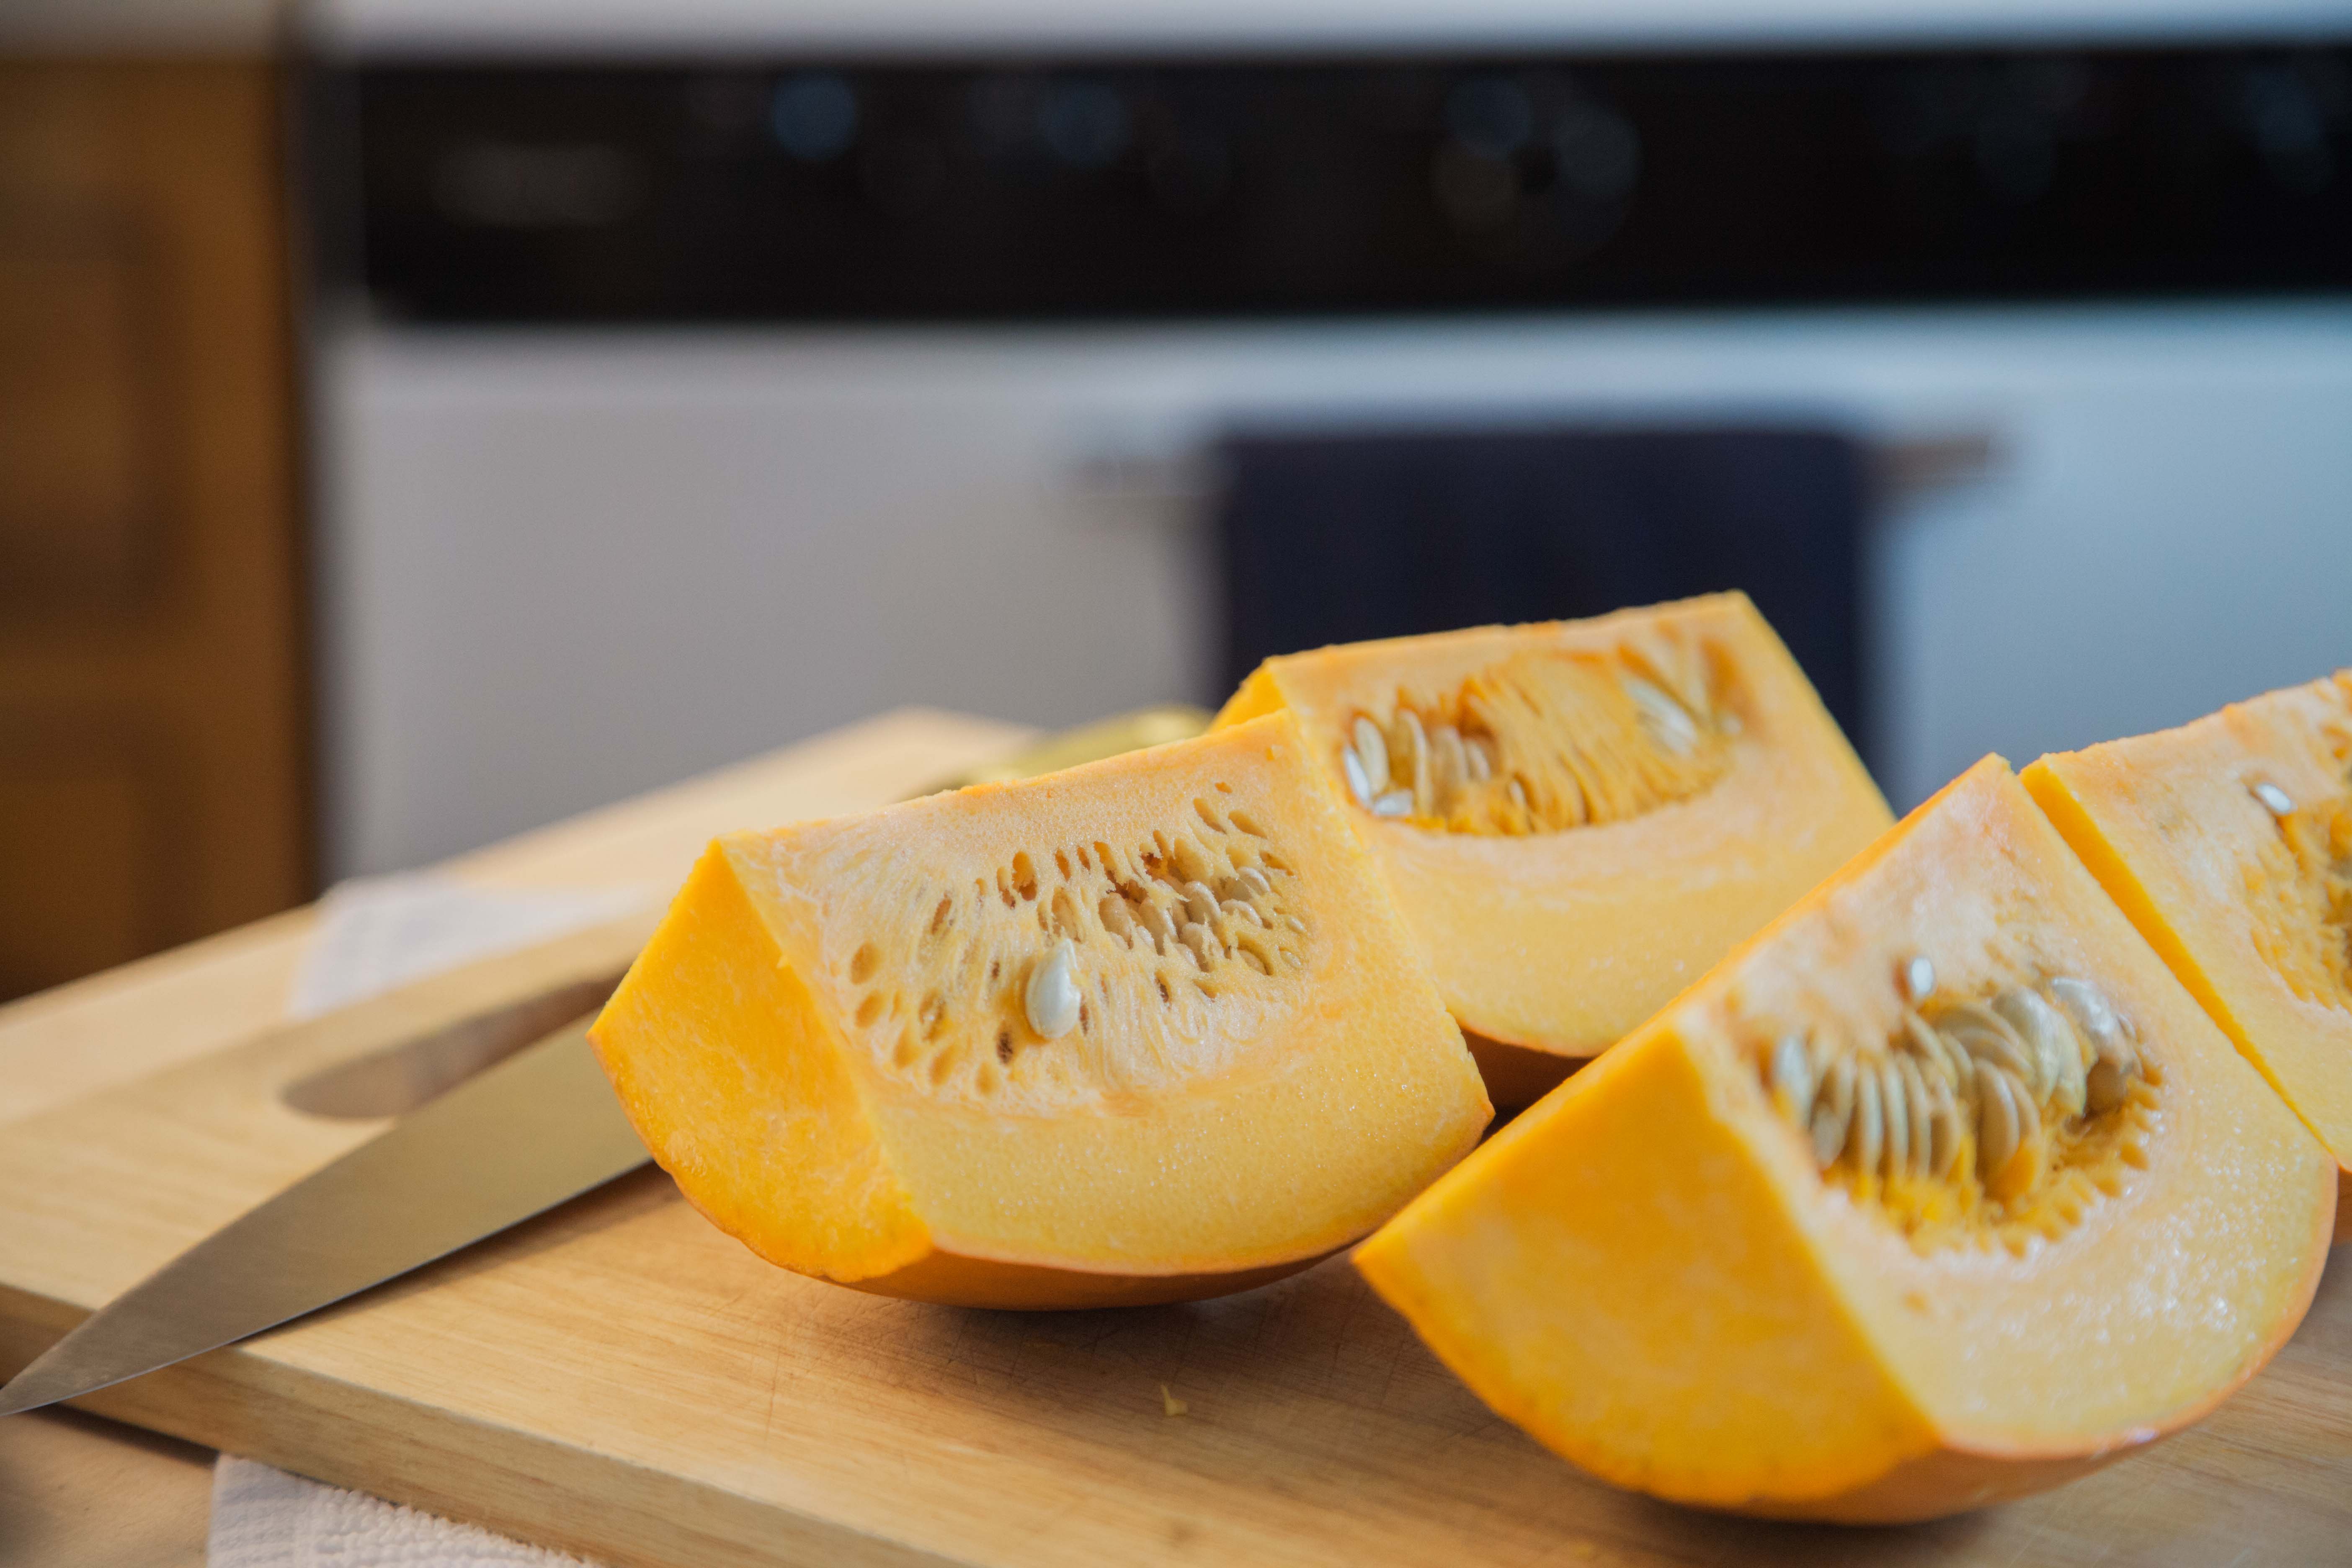
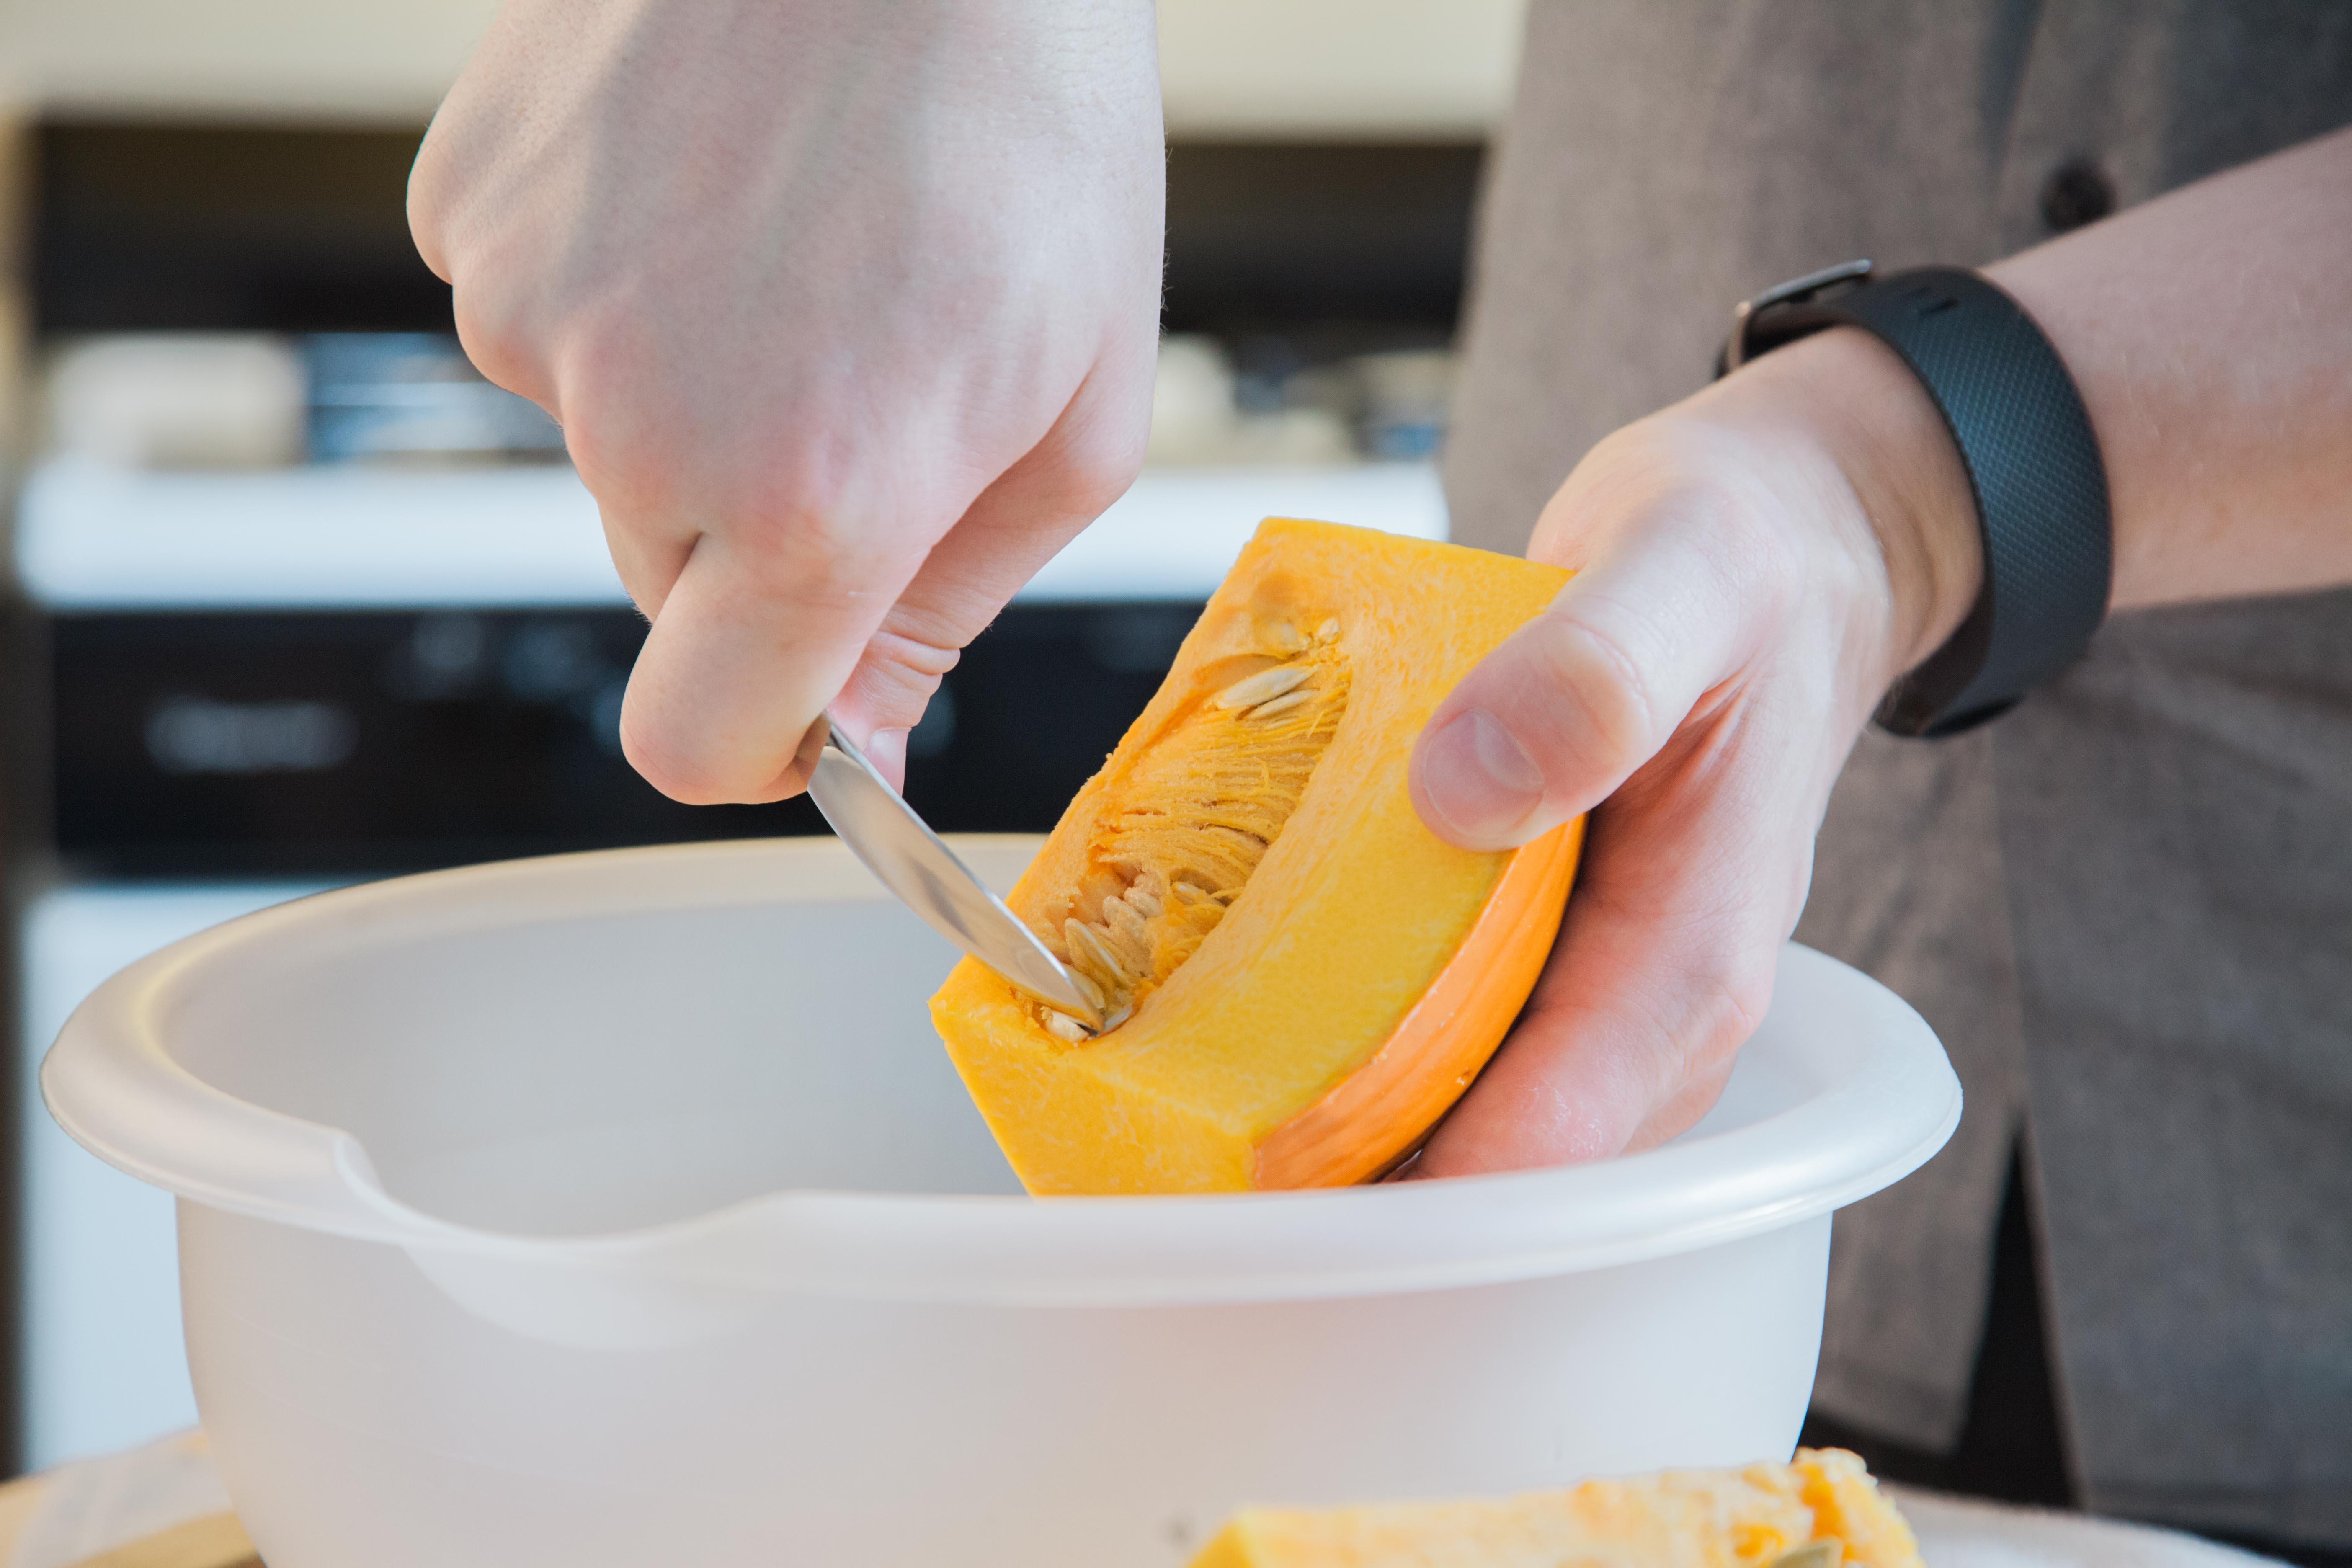
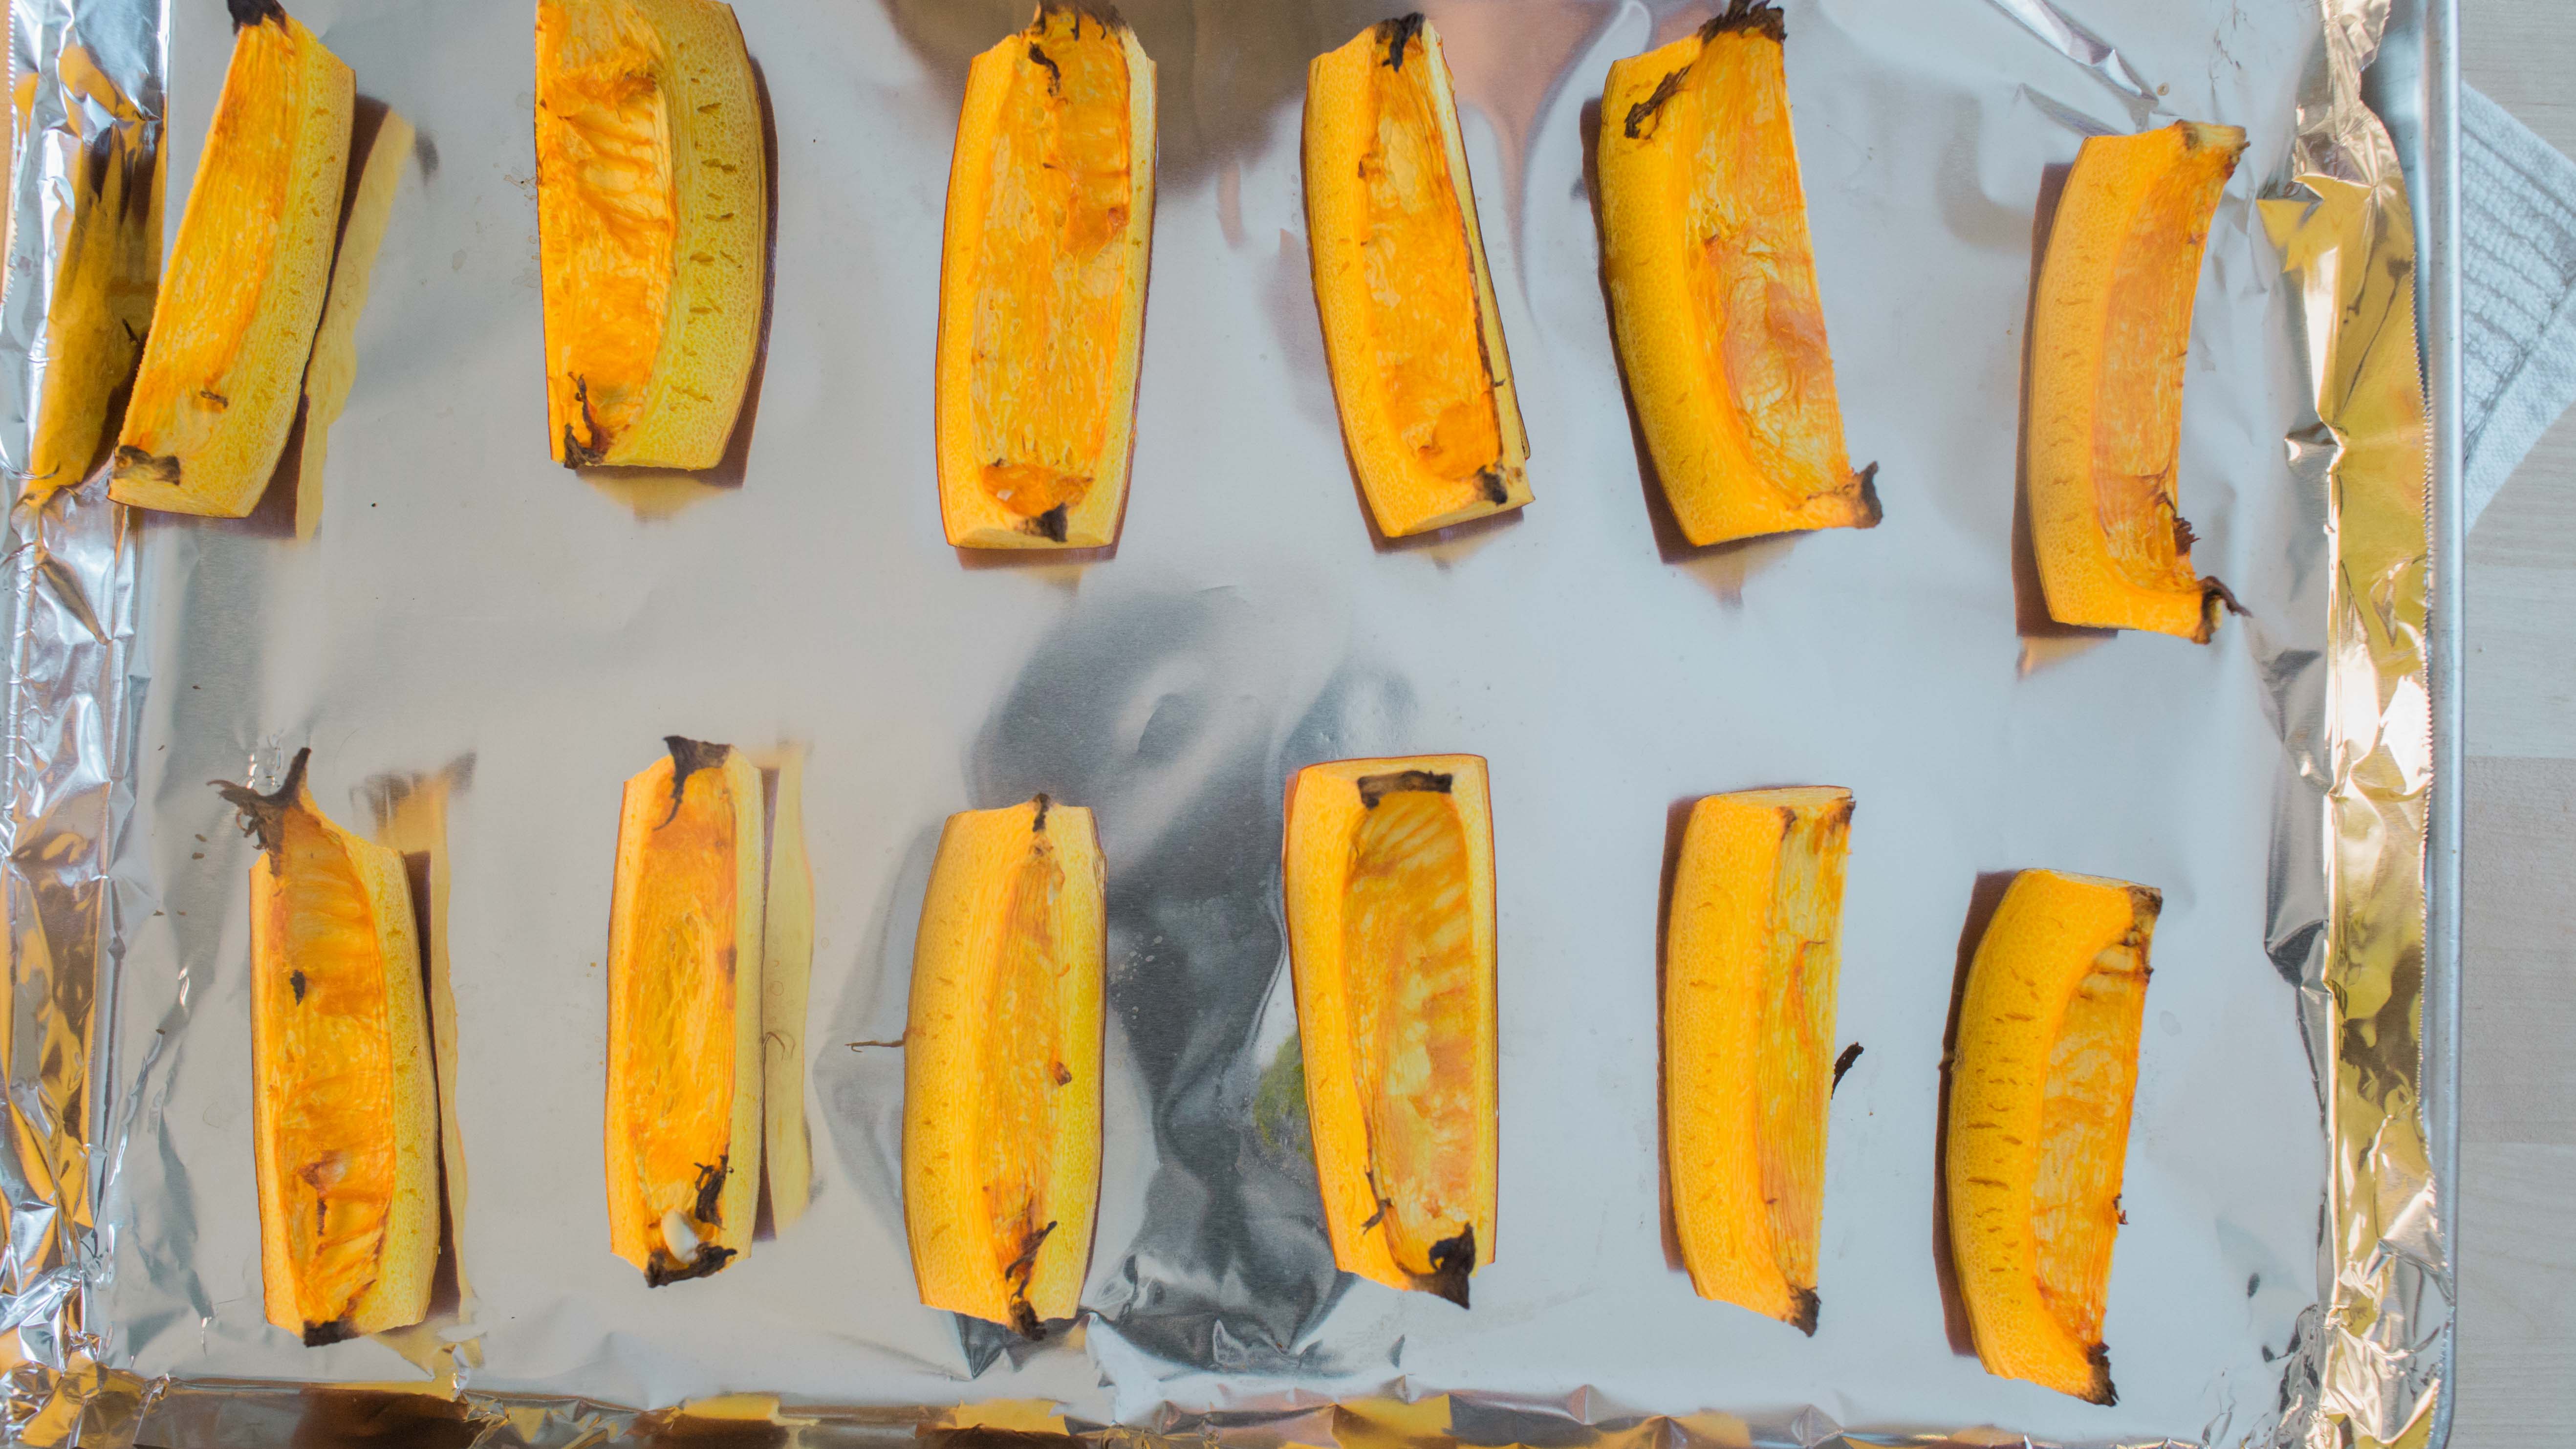
On the night before you want to make the syrup, it’s time to prep your pumpkin. Depending on how much syrup you wish to make, you’ll want to aim for a pumpkin weighing 3 lbs or more. Carefully quarter your pumpkin, scooping out and reserving the seeds and pulp. The quarters can be further divided into cubes or slices for more uniform cooking. Roast the pumpkin skin-on at 425 F until the edges are browned and caramelized, about 1-2 hours (depending on the size of the pieces and how much pumpkin you are roasting).
Rinse the seeds and discard the pulp. Spread the seeds on a baking sheet covered in foil, with no oil or seasoning. Toast the seeds at 350-400 F until golden brown, about 30 minutes for a standard half sheet pan. (Tip: you can roast the seeds as the oven preheats for the pumpkin, just be sure to watch them carefully to prevent burning.)
When the seeds are toasted, they’ll need to be cracked. You can do this easily by lightly crushing them with a rolling pin or the bottom of a flat drinking glass. Add the seeds to a container with a lid, along with an equal volume of water. Refrigerate overnight.
When the pumpkin has been roasted, cut it free from the skin and cut into cubes. Just as with the seeds, add the cubes to a sealed container and cover with a few inches of water, then refrigerate overnight.
“Pie crust” powder
To emulate the flavor of pie crust, I use two ingredients: toasted flour and caramelized dry milk. Caramelizing dry milk requires the use of a pressure cooker, so if one is not available then you may substitute browned butter in the later steps.
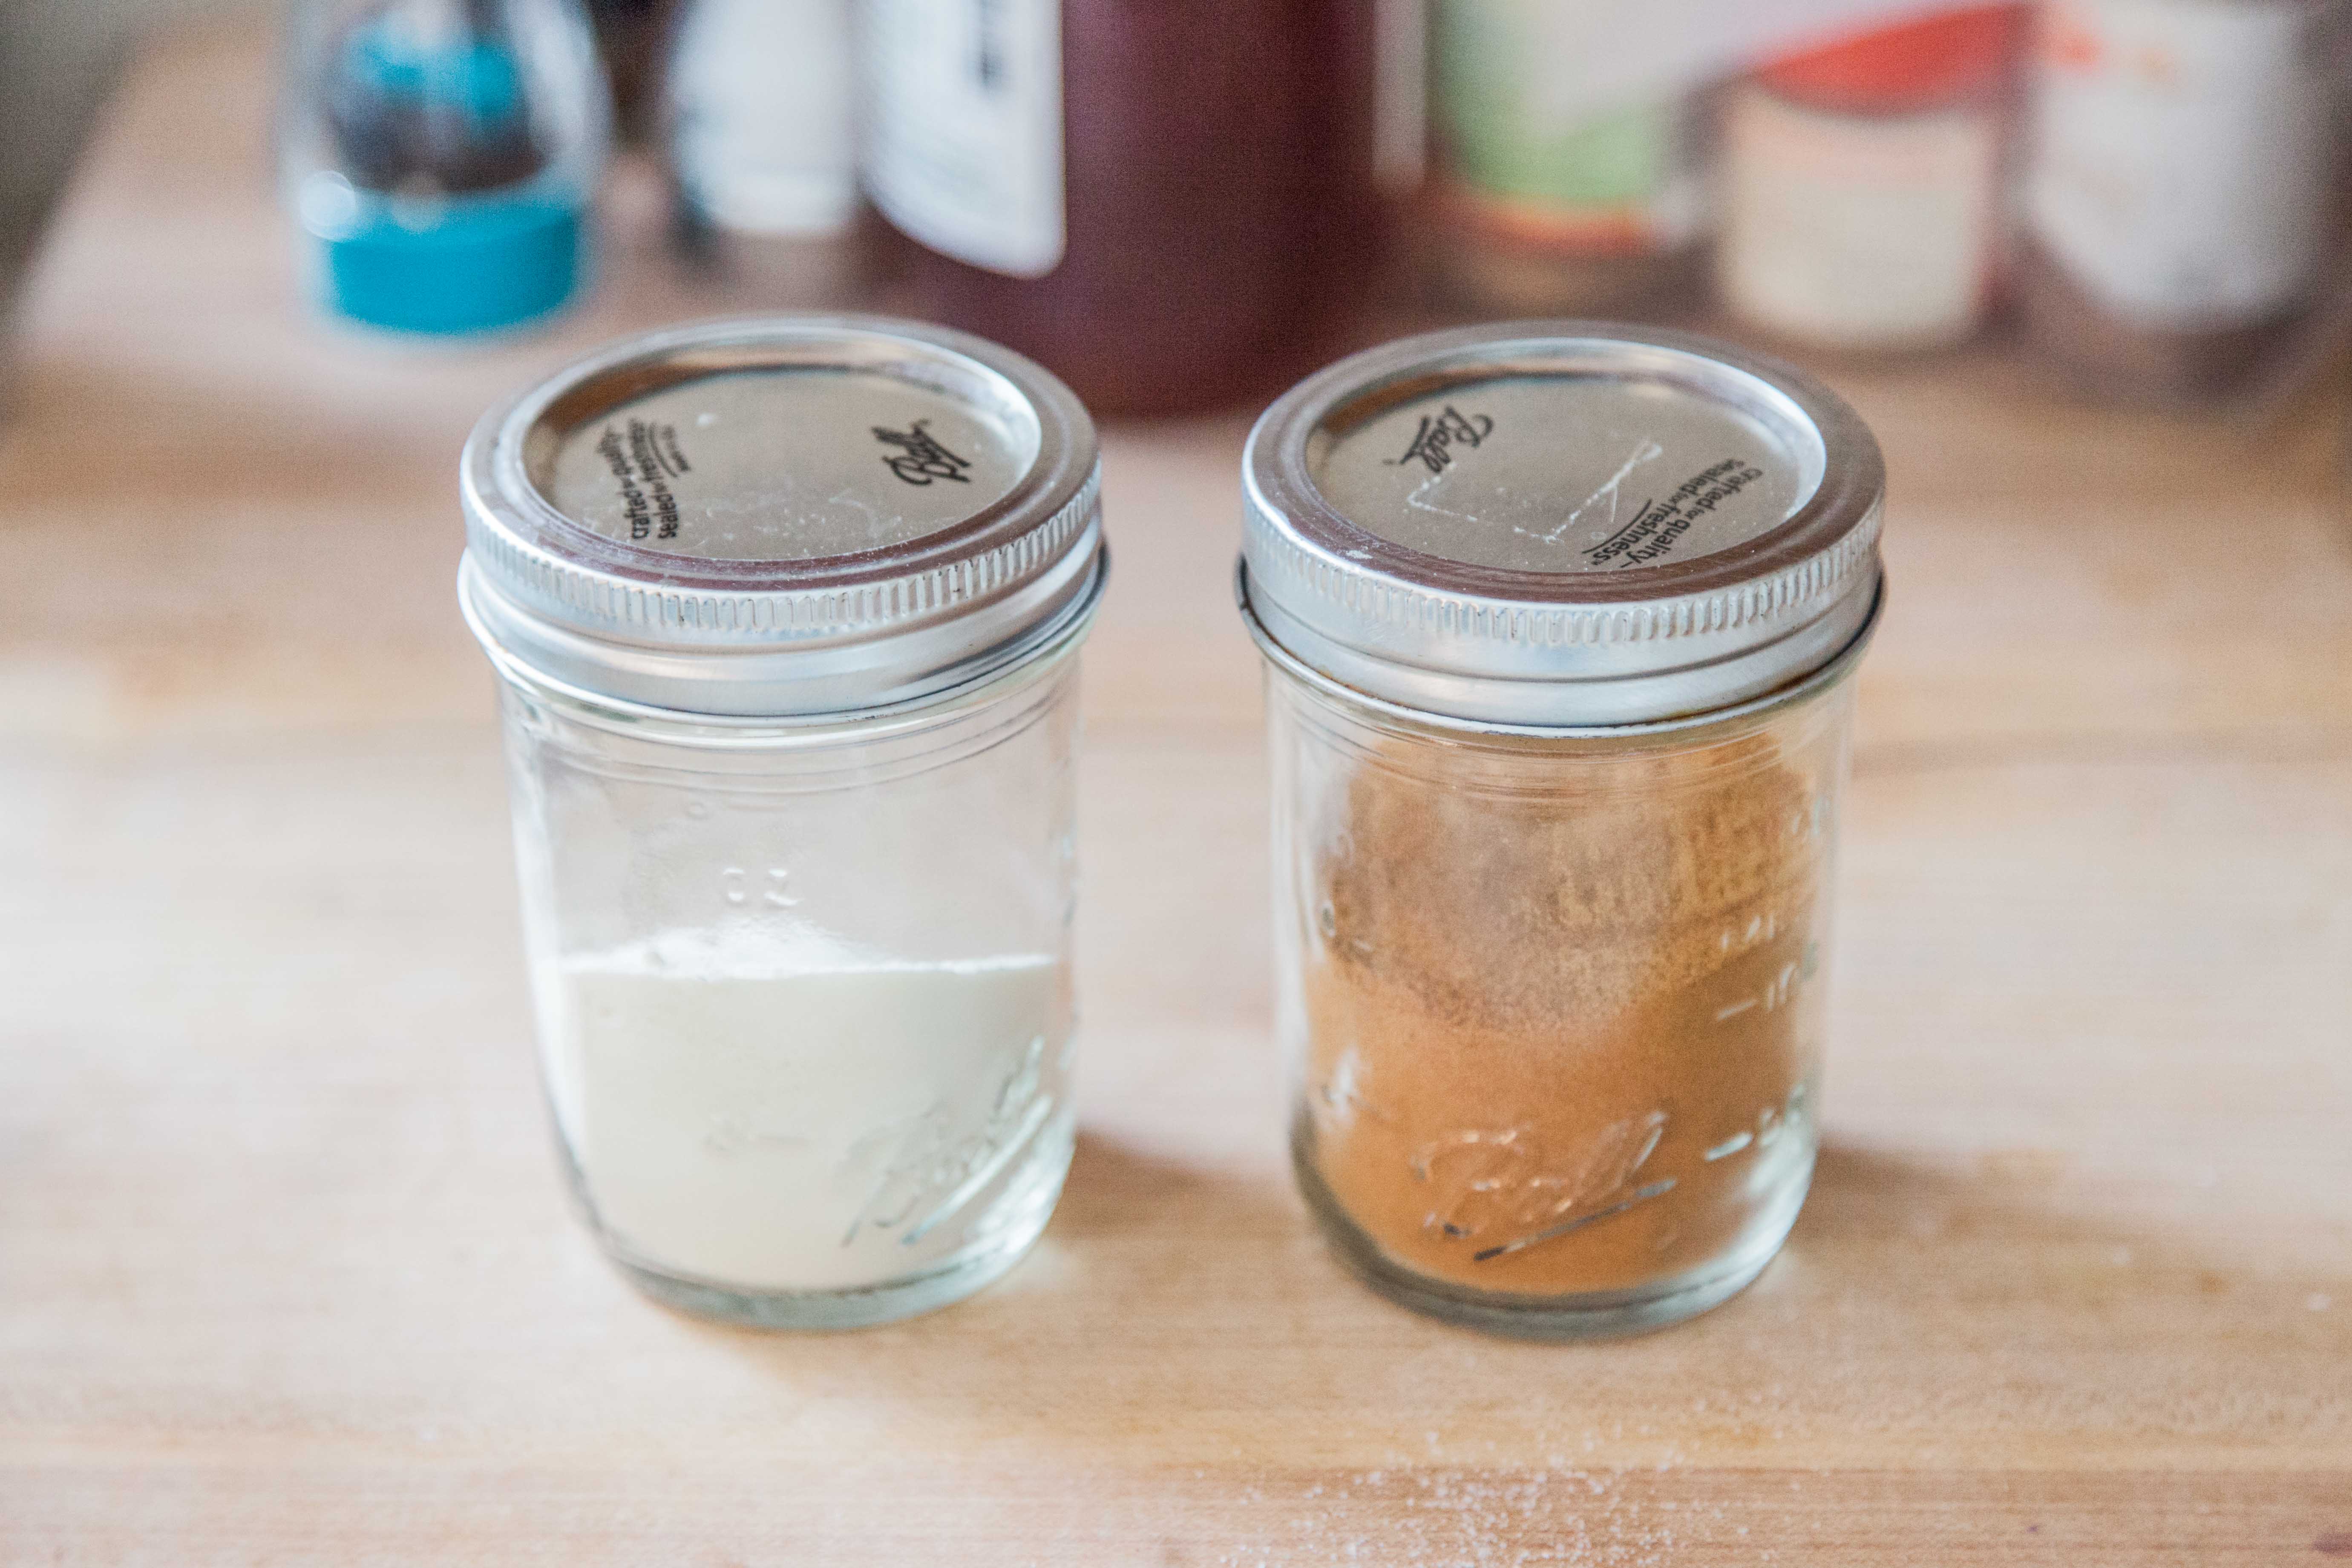
Nonfat dry milk is added to a canning jar and loosely sealed (finger tight is fine). The jar is then placed into the pressure cooker with about two inches of water and cooked at high pressure for 60-70 minutes. The added pressure raises the boiling point sufficiently for Maillard browning to occur, with no added moisture in the jar. Once the pressure cooker is depressurized, the milk solids should be lightly brown, aromatic, and sweet to taste.
For the toasted flour, there are a few different routes available to you. A malted grain flour will have the best flavor, but may be tough to find at your local grocer. Unbleached wholemeal flours will be the next best option, with brown rice flour making for a tasty gluten-free option. The flour should be spread in a thin layer on a baking sheet, then baked at 350 F until lightly browned and fragrant. This may only take 10-15 minutes depending on your oven and the flour being used, so keep an eye on it and don’t be afraid to cook longer if needed.
If you prefer the flavor of a graham cracker crust, then you can skip all the above and just use crushed grahams for your pie crust powder. How simple!
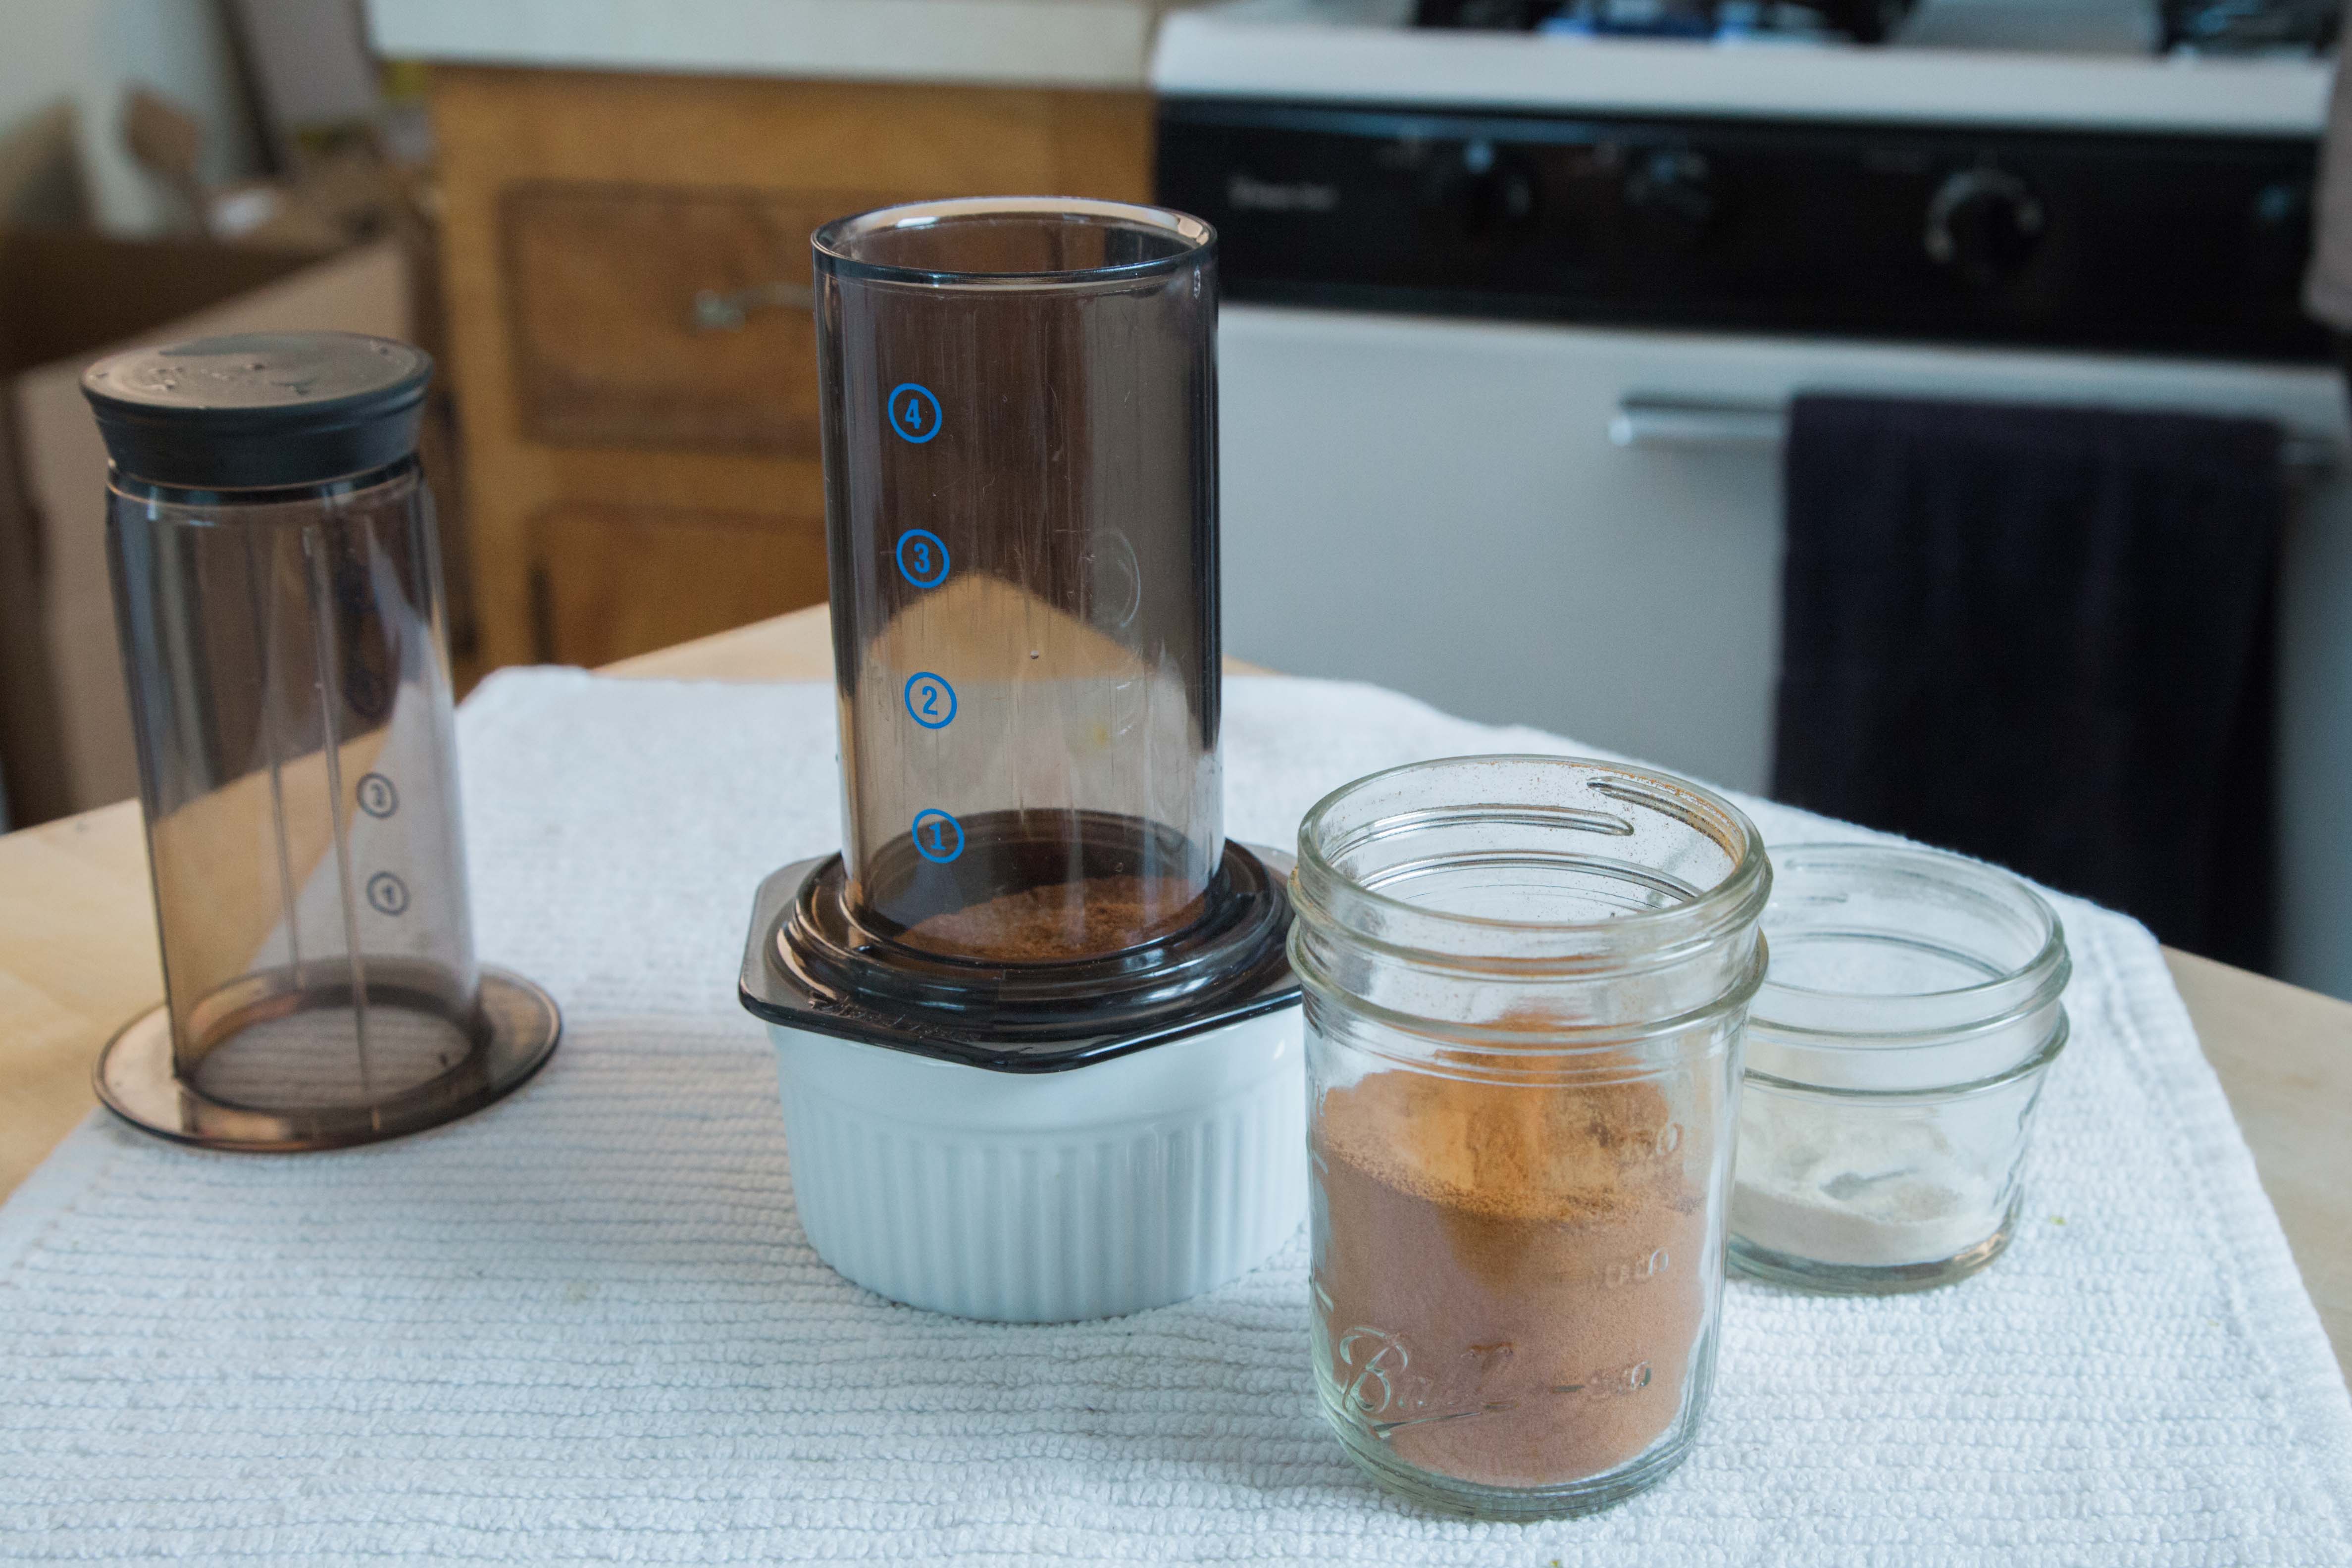
Extracting the flavor from these ingredients is easy, as they only need to be combined with hot water and simmered briefly, then strained. For a little bump in flavor, add a tiny pinch of salt as well.
If you plan to use browned butter, all you need to do is heat butter in a pan over medium heat on your stove. Once the butter begins to foam, stir lightly and continuously to prevent burning. Carefully watch as the color of the butter turns from pale yellow to golden brown, and small specks of butter solids appear. Remove from heat when the butter takes on a light caramel color, and set aside to cool. The residual heat will cook it a bit more, taking on a slightly darker color. Now, you can either strain the butter and add the solids to your pie crust powder, or use a bit of the unstrained butter (be sure to include some of the solids) in the final assembly step. The latter option may make for a slightly greasy sauce, so be sure not to add too much and to stir before use.
Roasted pumpkin sauce
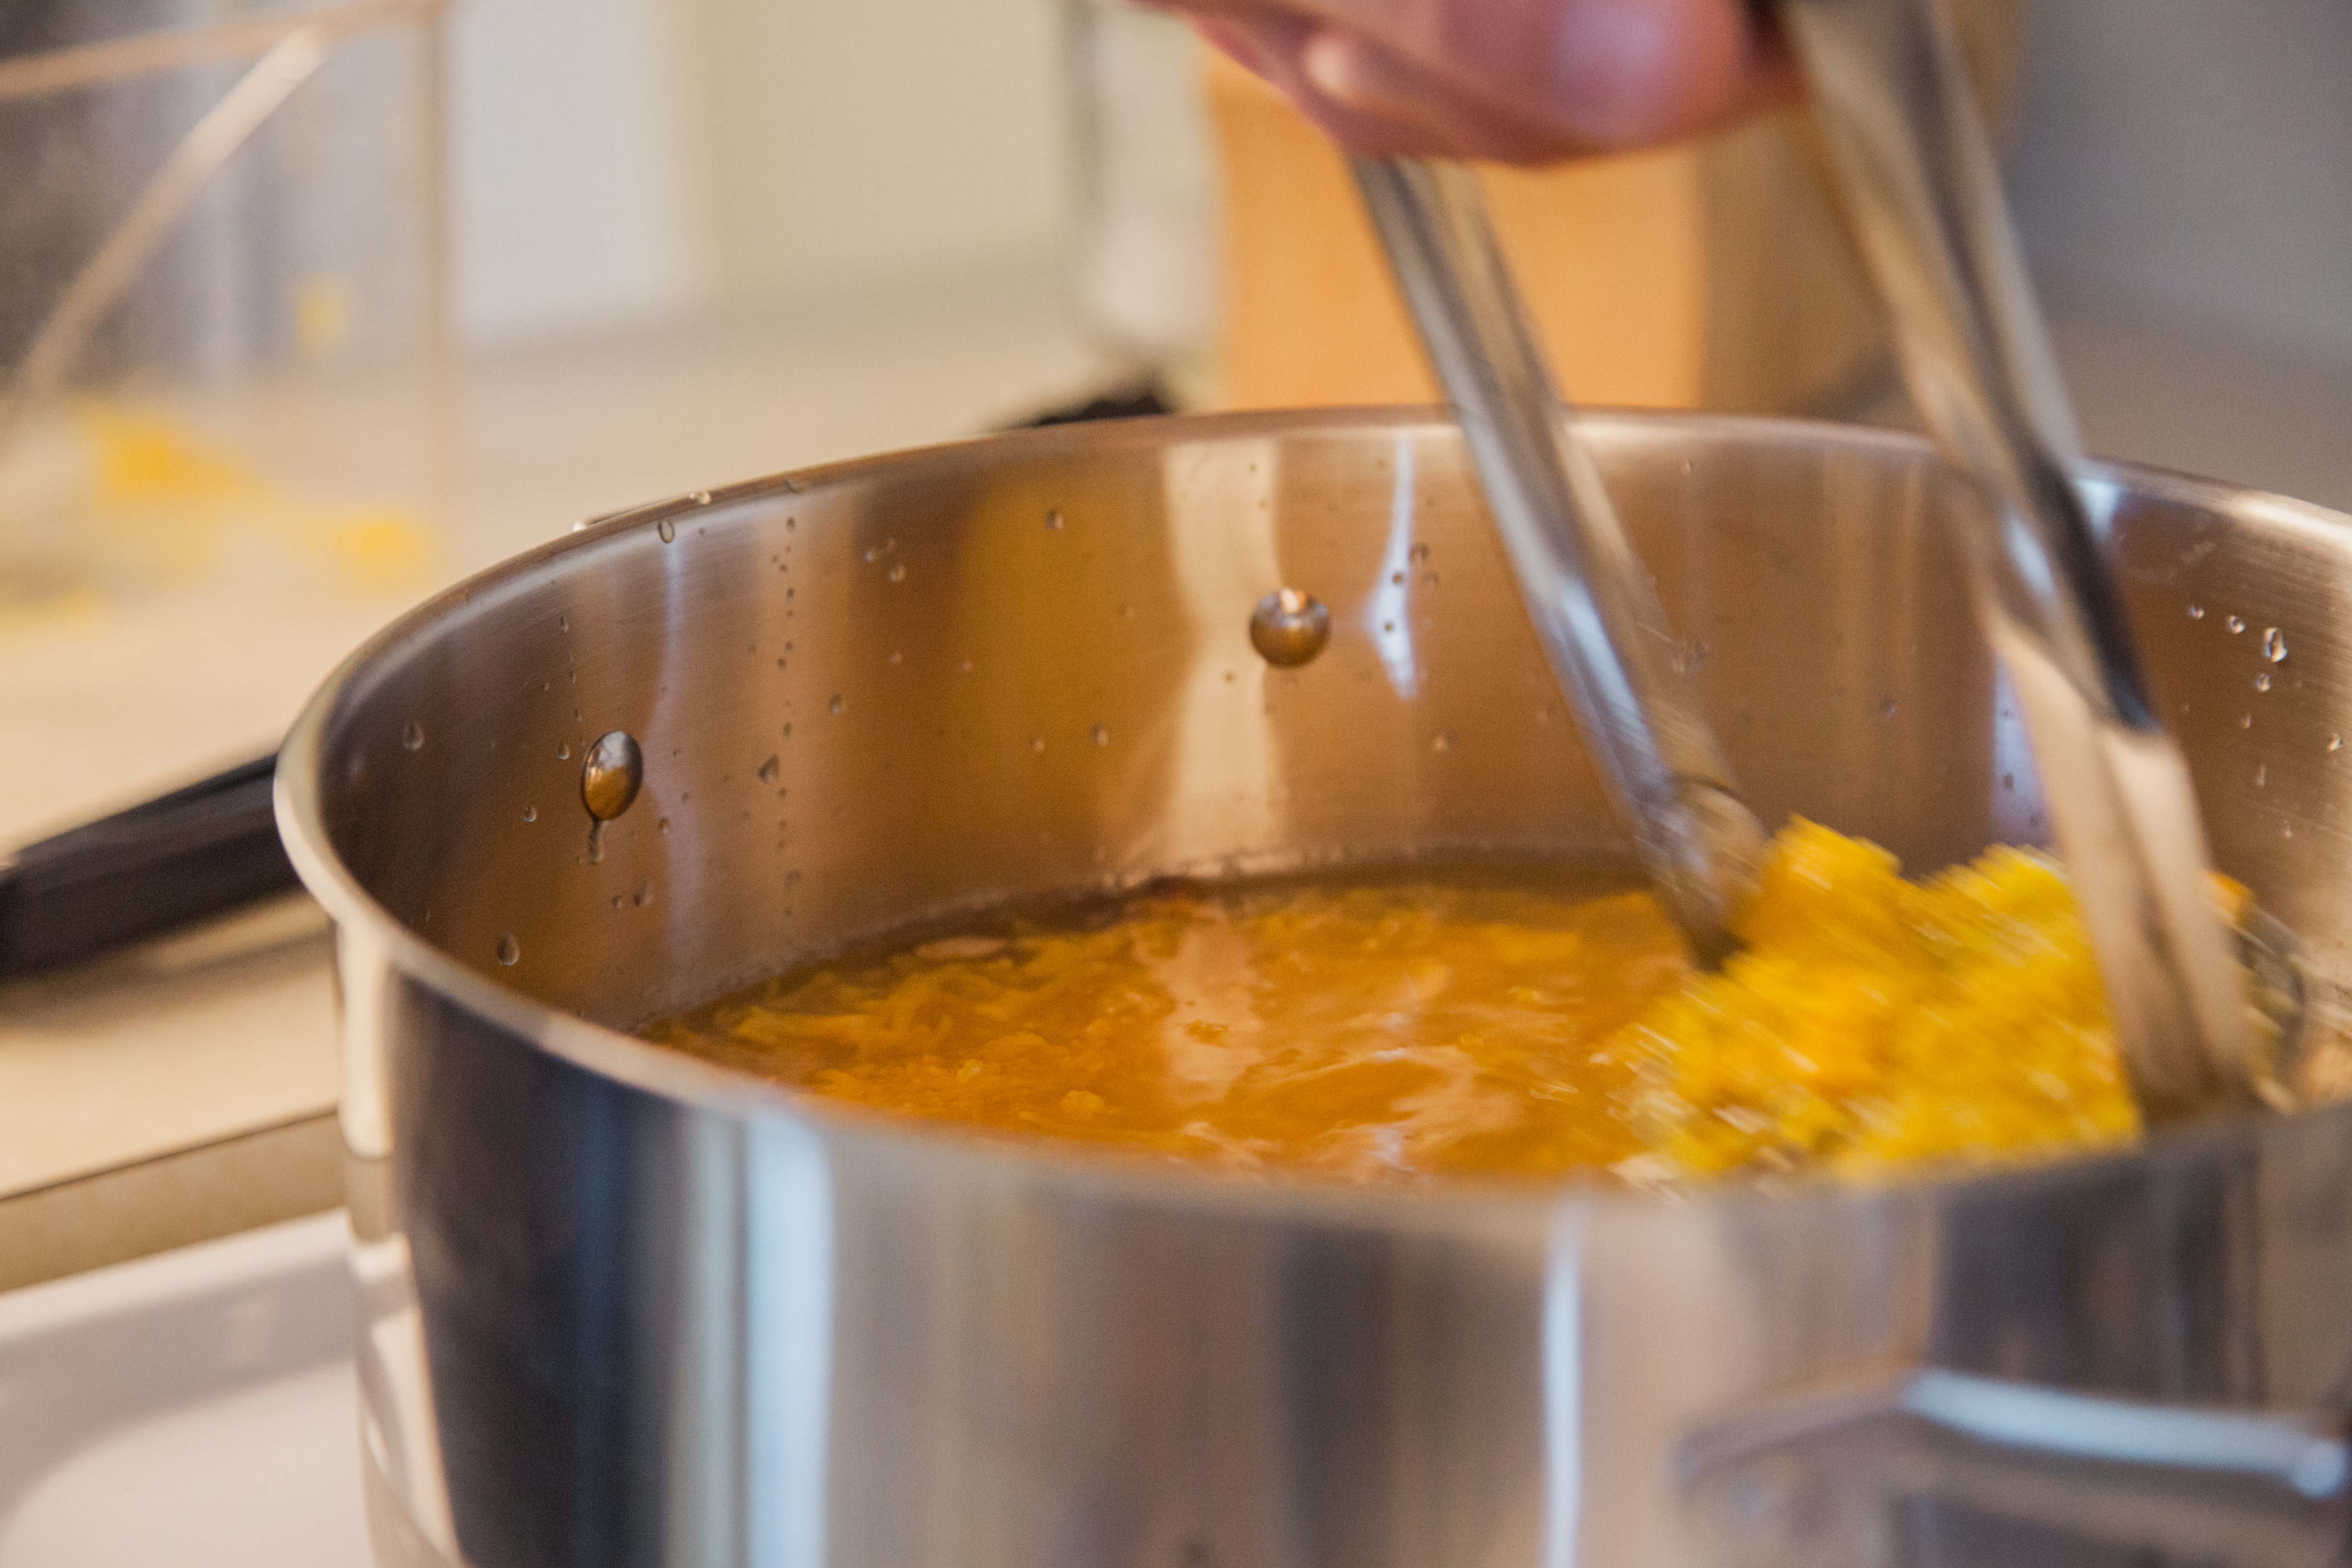
To make the pumpkin sauce, add your roasted pumpkin chunks and water to a wide skillet over medium high heat and simmer. Once the water is almost completely reduced, smash the pumpkin and add another 2-3 cups of water to cover. Simmer again until reduced by half. Then, add the mixture to a blender or tall container and puree. To cool it quickly, pour into a sheet pan on your counter - the extra surface area will bring it down to a good handling temperature in just a couple minutes.
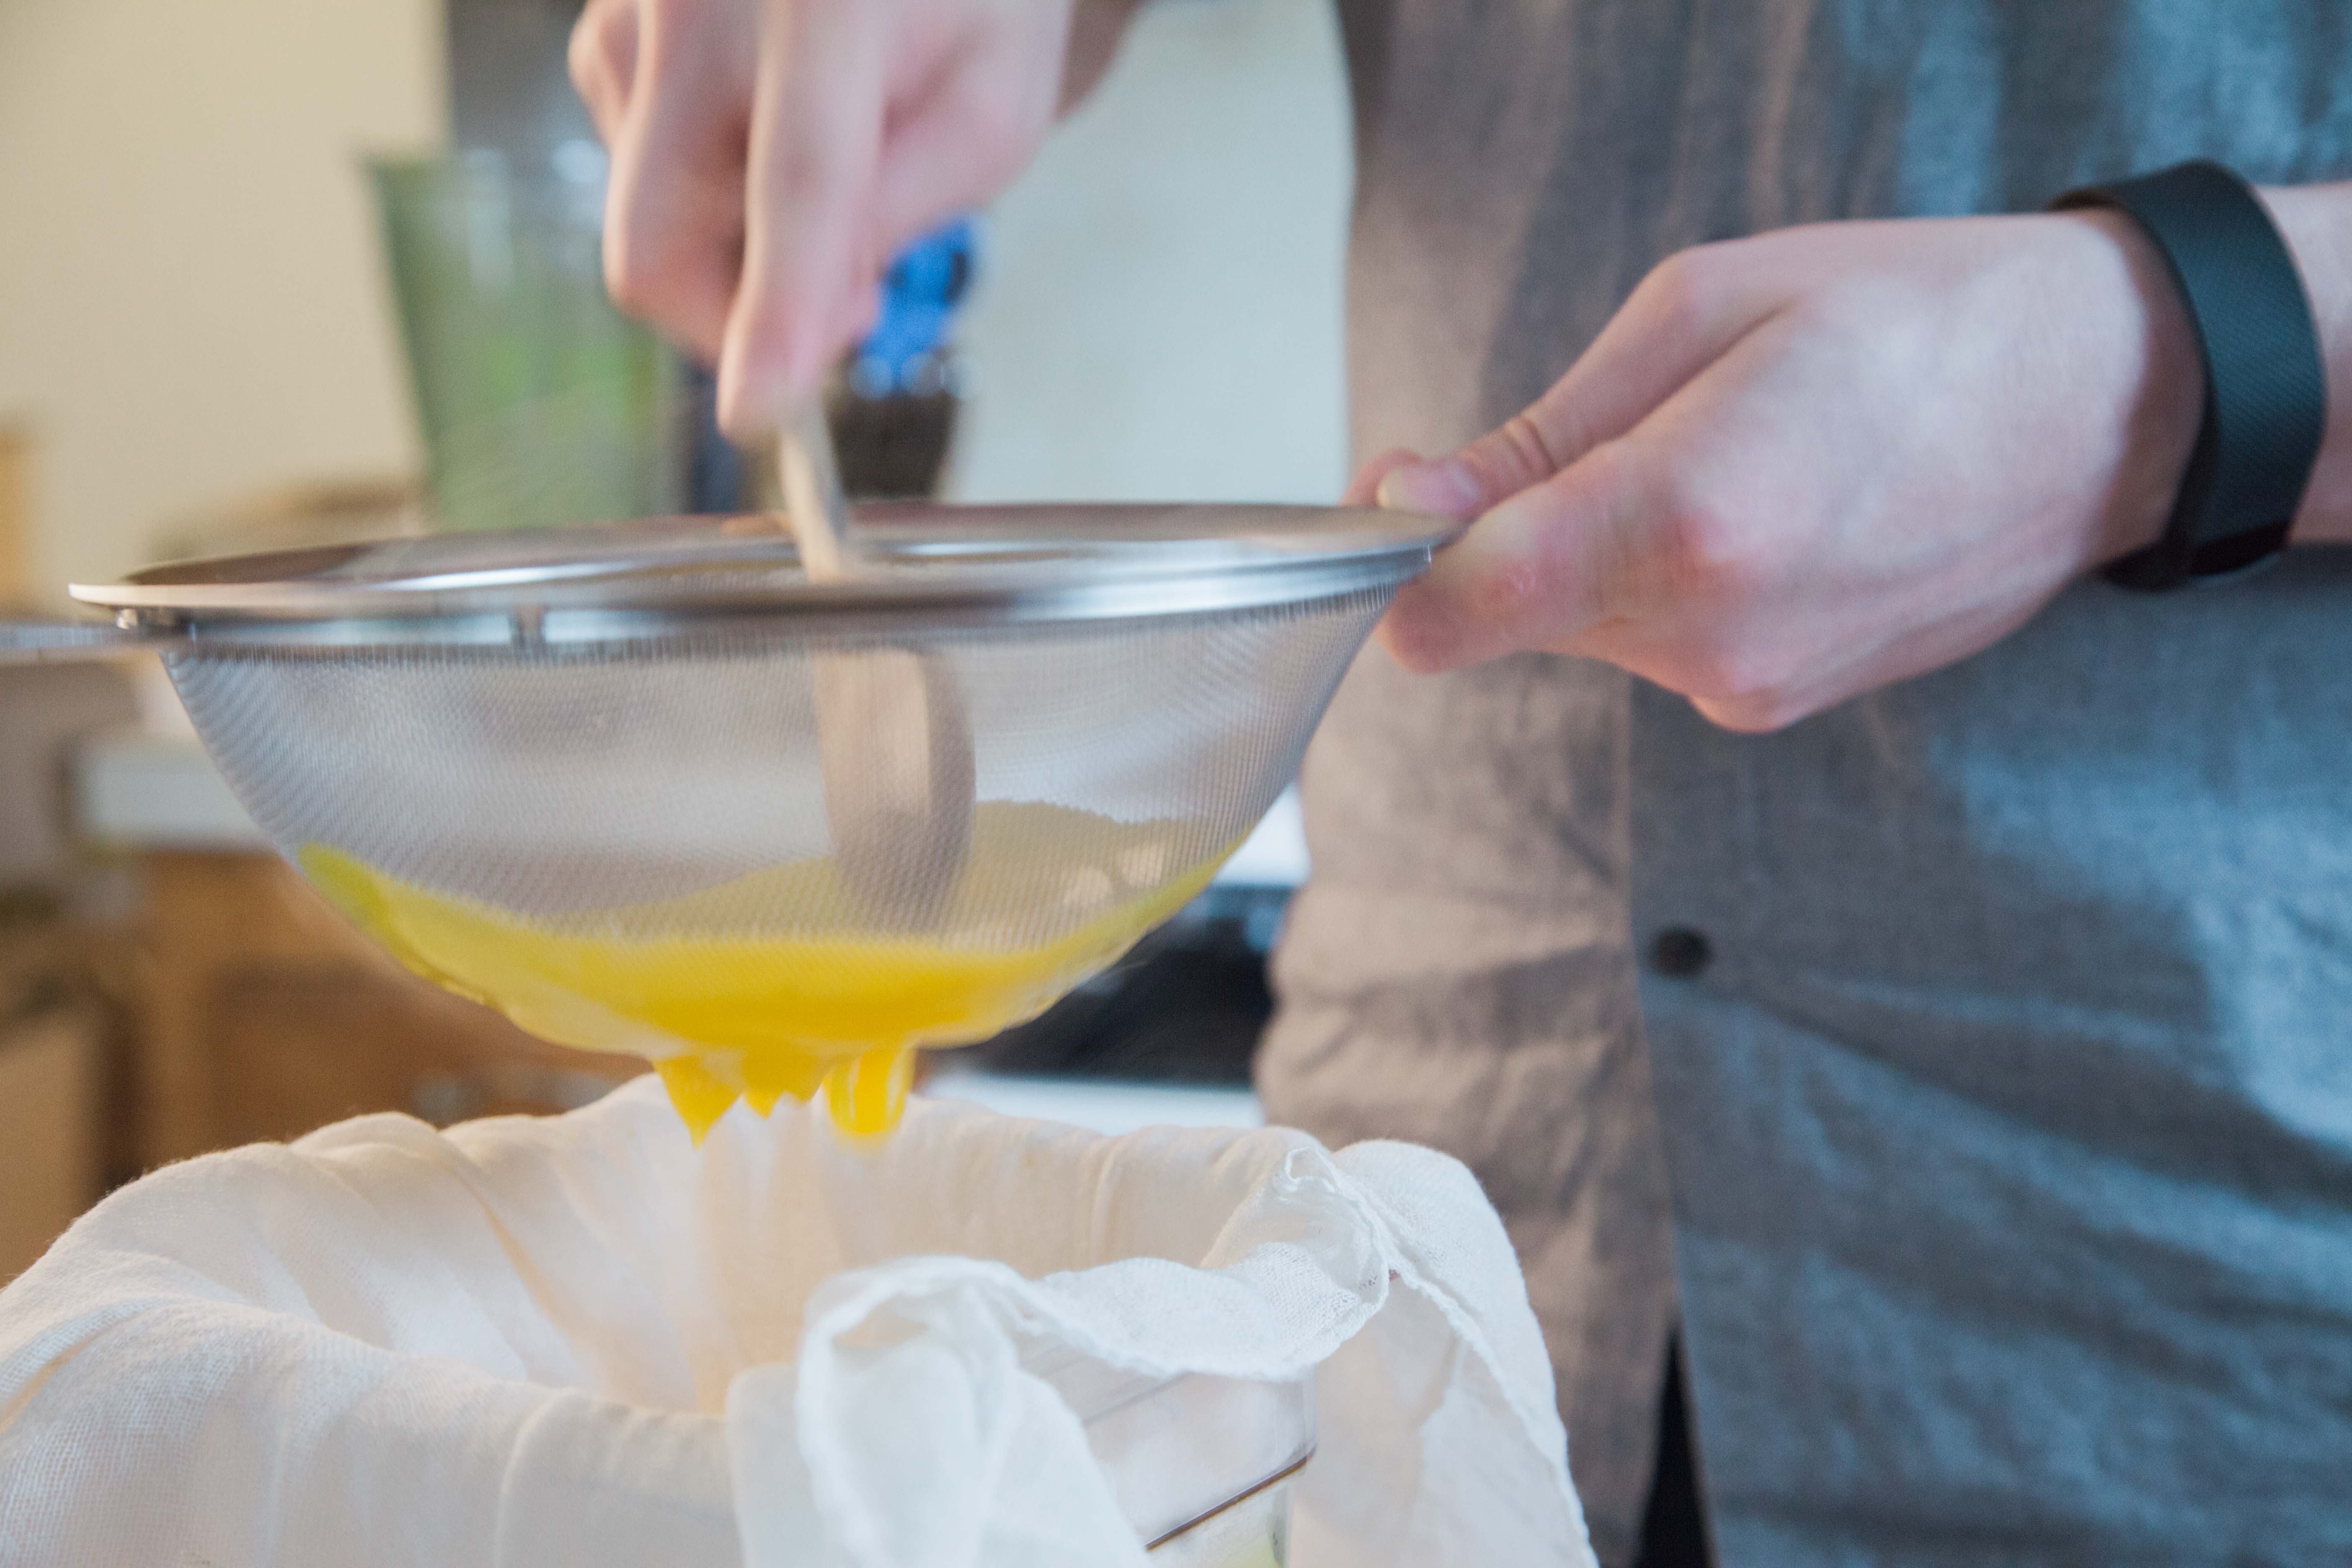
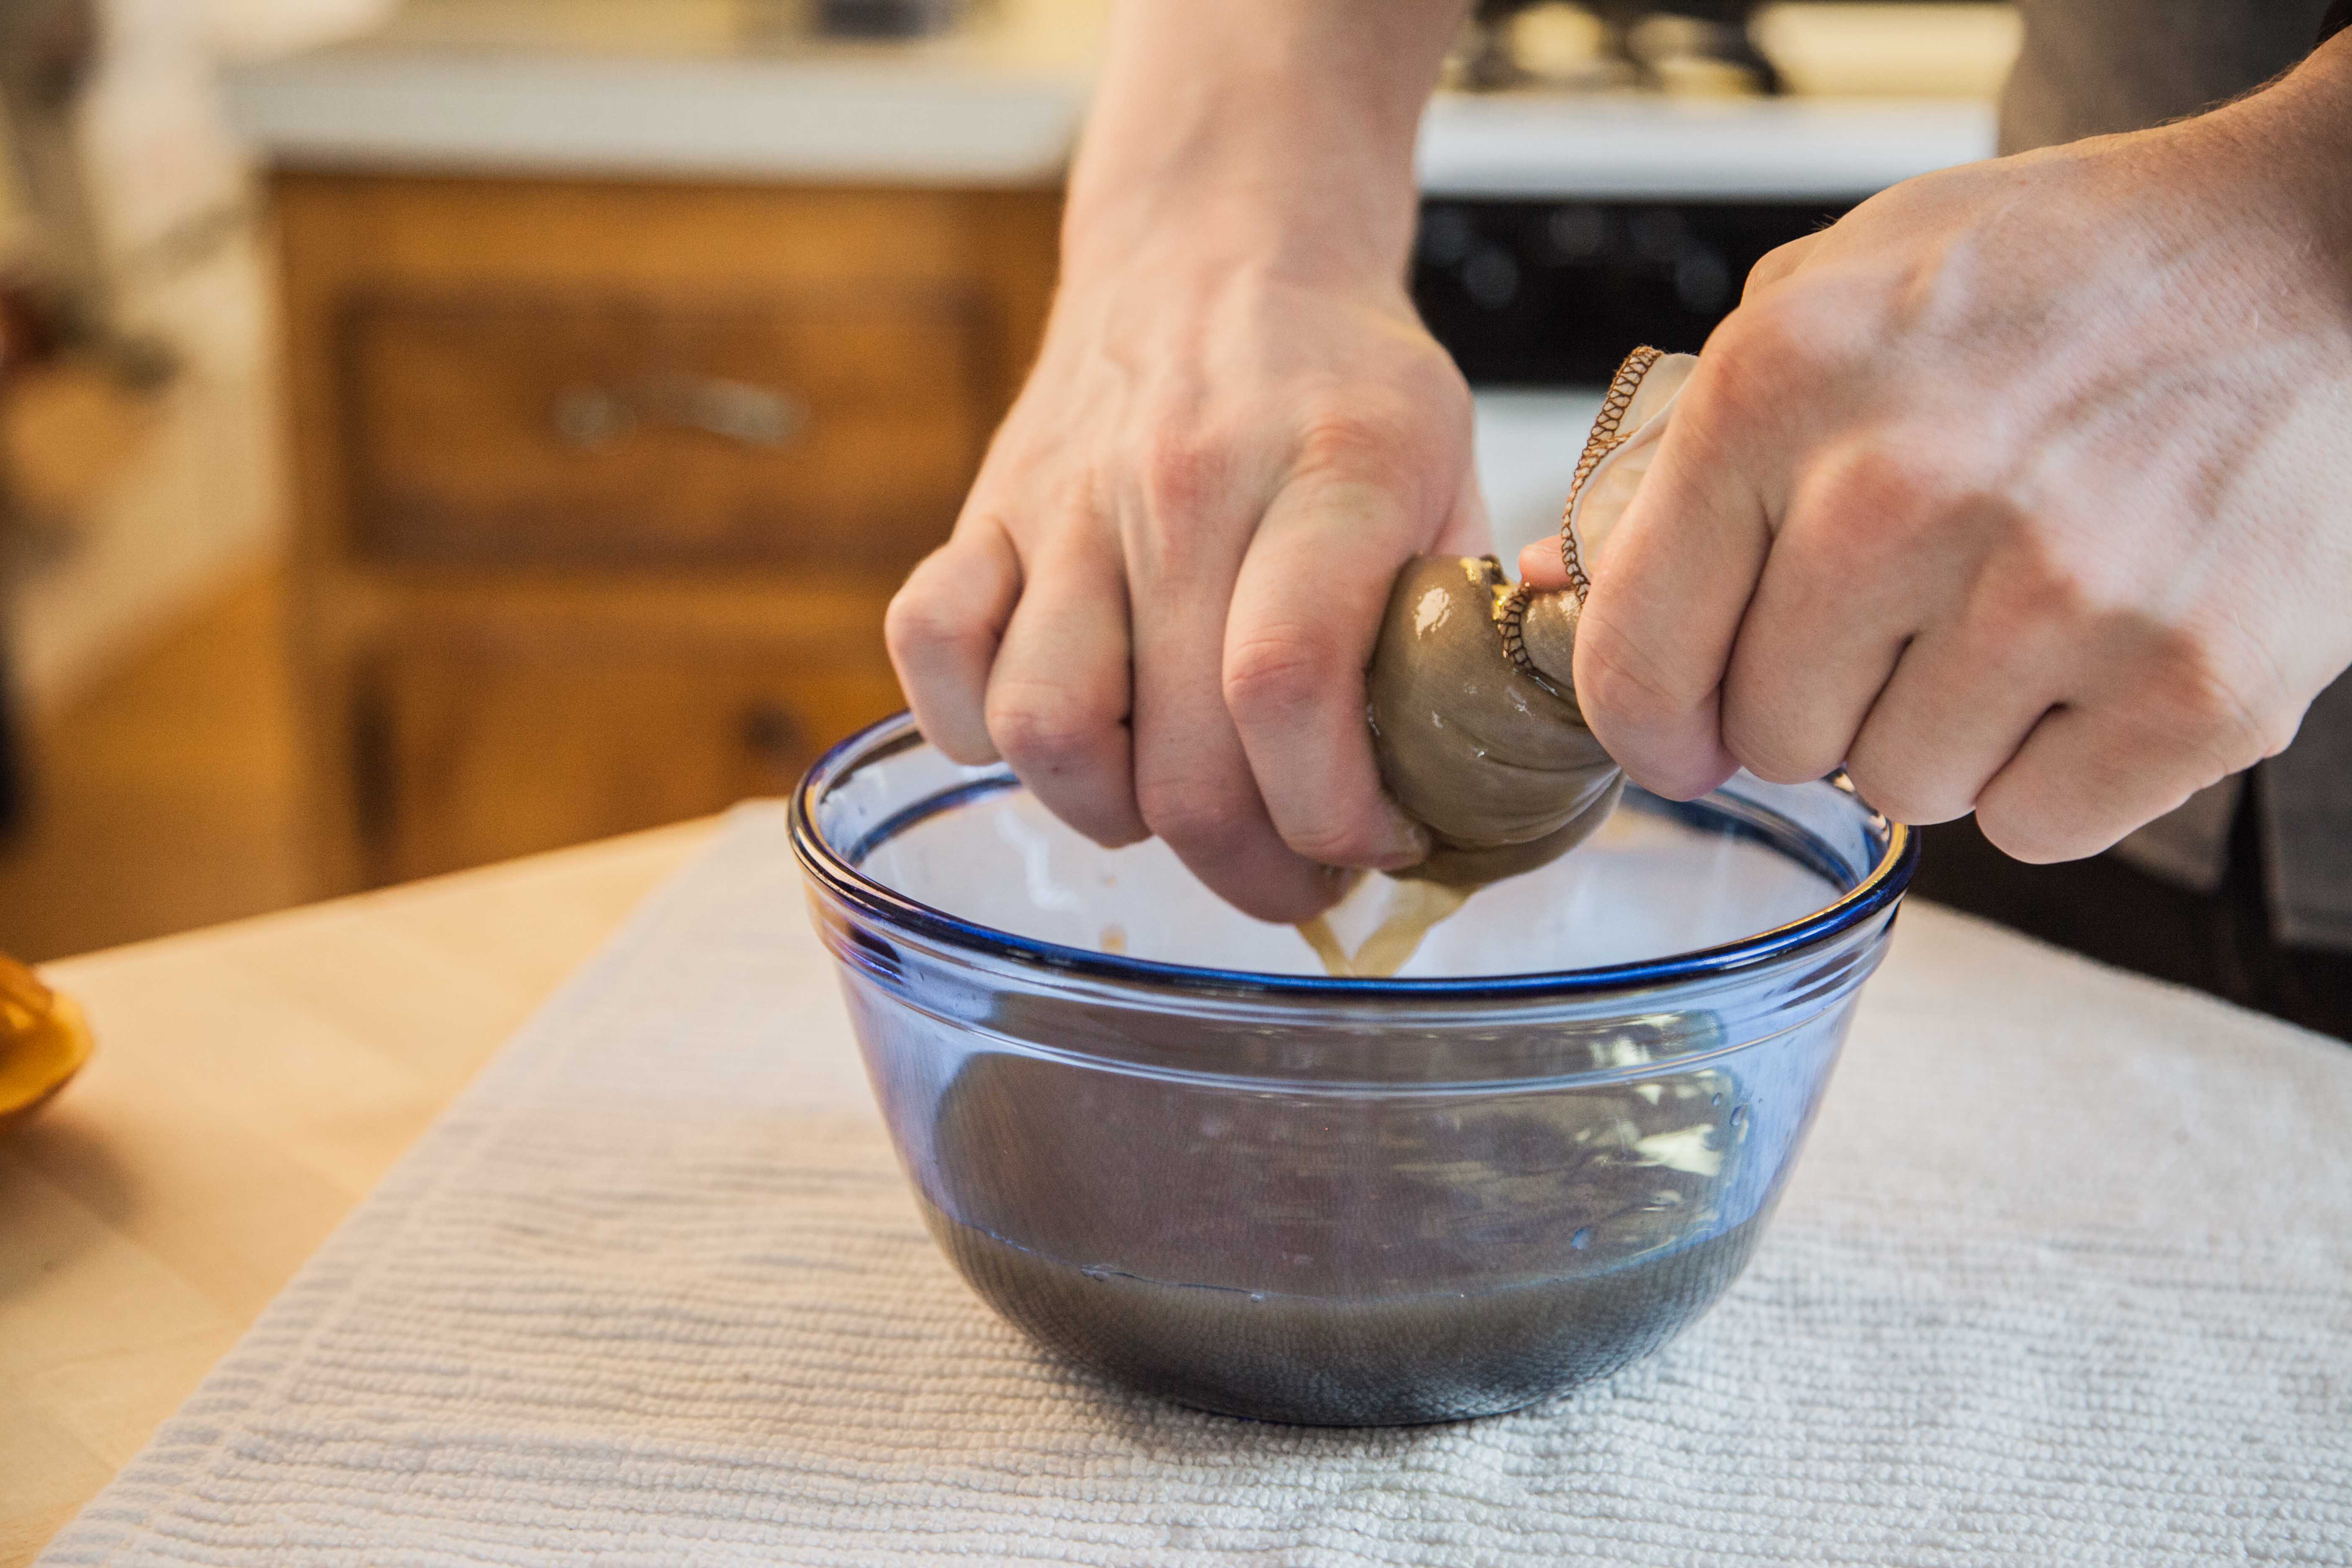
Strain the puree with a cheesecloth and wring out as much liquid as you can. I also add some of the puree back into the liquid as well for more flavor and a bit of a thicker texture, up to about a tablespoon of puree. The leftover puree can be used in your other baking projects, but you’ve extracted a good deal of flavor from it so bear that in mind when using.
Toasted pumpkin seed milk
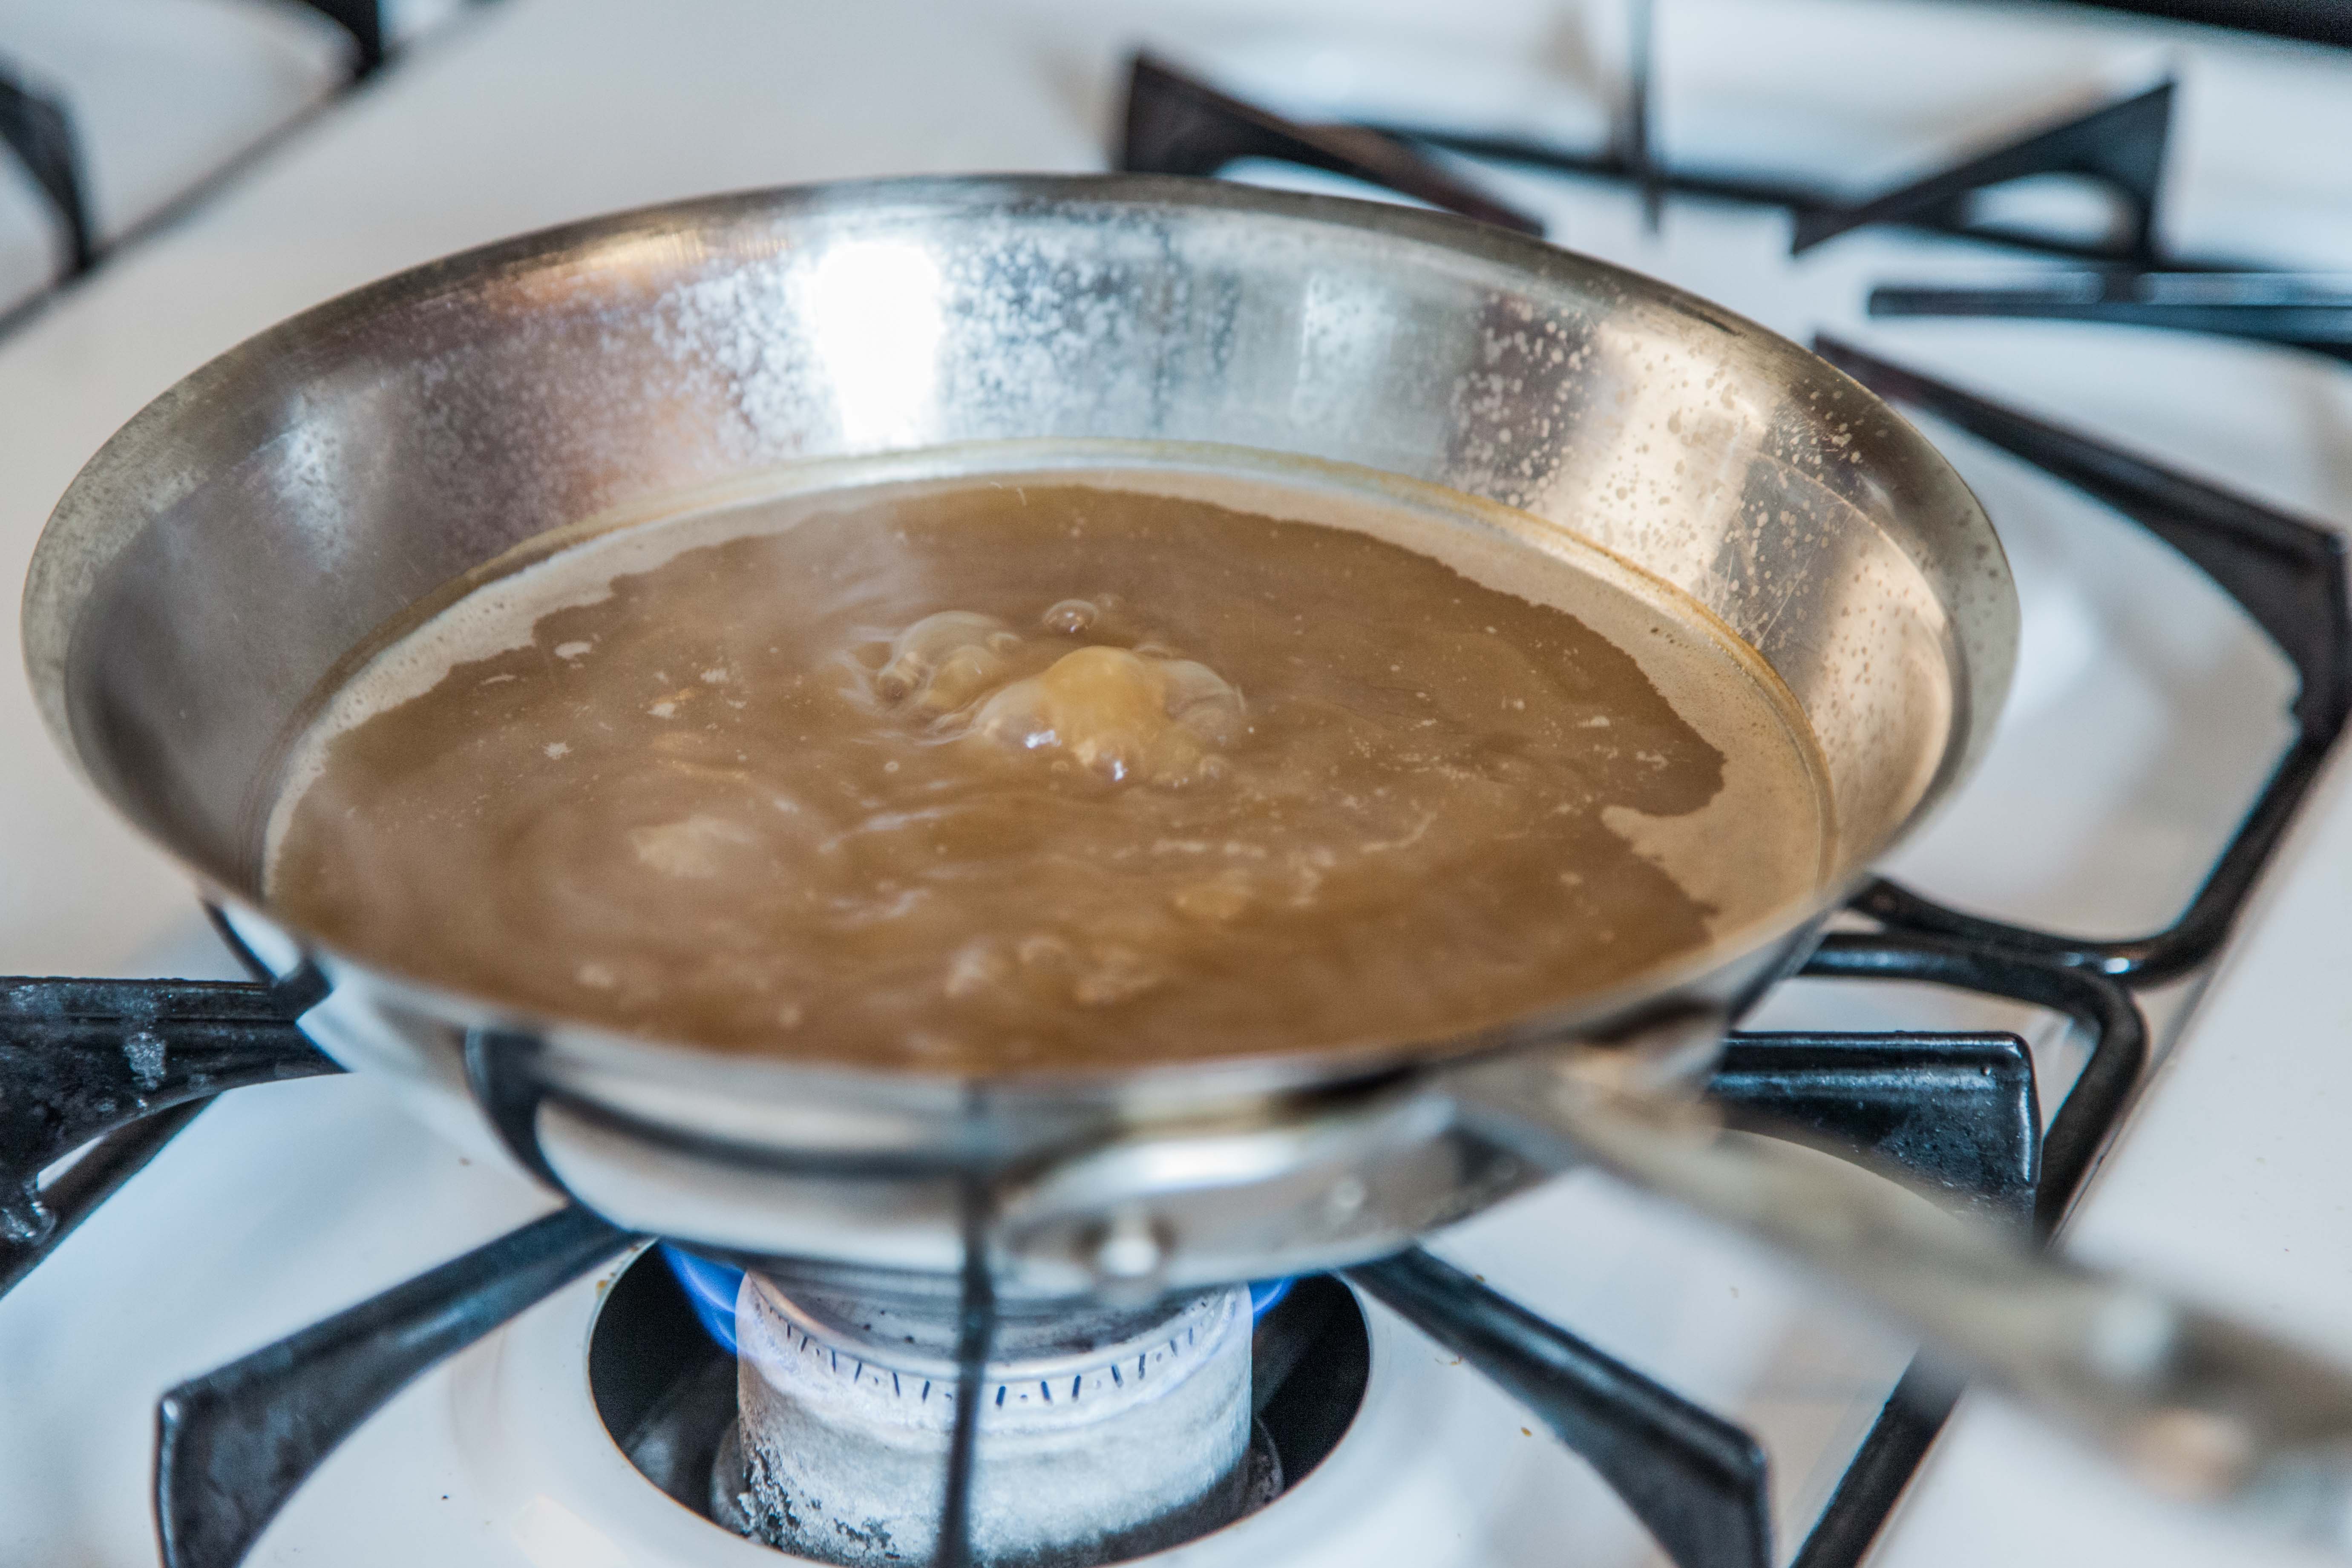
Remove the seeds and water from the fridge and place into a blender. Puree until the seeds are fully pulverized, then strain into a shallow pan. It’s important to filter out any grit here, you don’t want shell pieces to end up in the drink. Simmer the milk until reduced by more than half and slightly thickened. It will take on a darker, smoky color, with a deep and nutty flavor, which you can sweeten if desired.
Assembling the sauce
Now that we’ve completed all the component ingredients, we can finally assemble our pumpkin syrup! The main base will be the roasted pumpkin sauce, so I usually work by adding bits of the other ingredients to that, tasting as I go. The recipe here is somewhat loose, because each pumpkin will have a slightly different flavor, and you may be going for something sweeter or spicier than I am.
To the pumpkin sauce, begin by adding a few spoonfuls of the pie spice extract and some fresh ground spices (cinnamon and nutmeg, and allspice if you wish). Start with small measures, and taste a little as you go. I want my syrup to be very spicy and fragrant, as once it is combined with coffee and milk it won’t be quite as punchy. Be careful with the spice extract, as you do not want to make the syrup too boozy (unless that’s what you’re going for!). The syrup should be very aromatic, smelling of pumpkin pie already, if you’ve added enough spices.
Next, add the toasted pumpkin seed milk, again just a little bit at a time. I’ve found this ingredient to be especially potent, but unless you burned the seeds it shouldn’t be very bitter so the main risk is simply overpowering the spices. I default to adding about as much of this to the mix as I did the pie spice extract, as this seems to balance the two well.
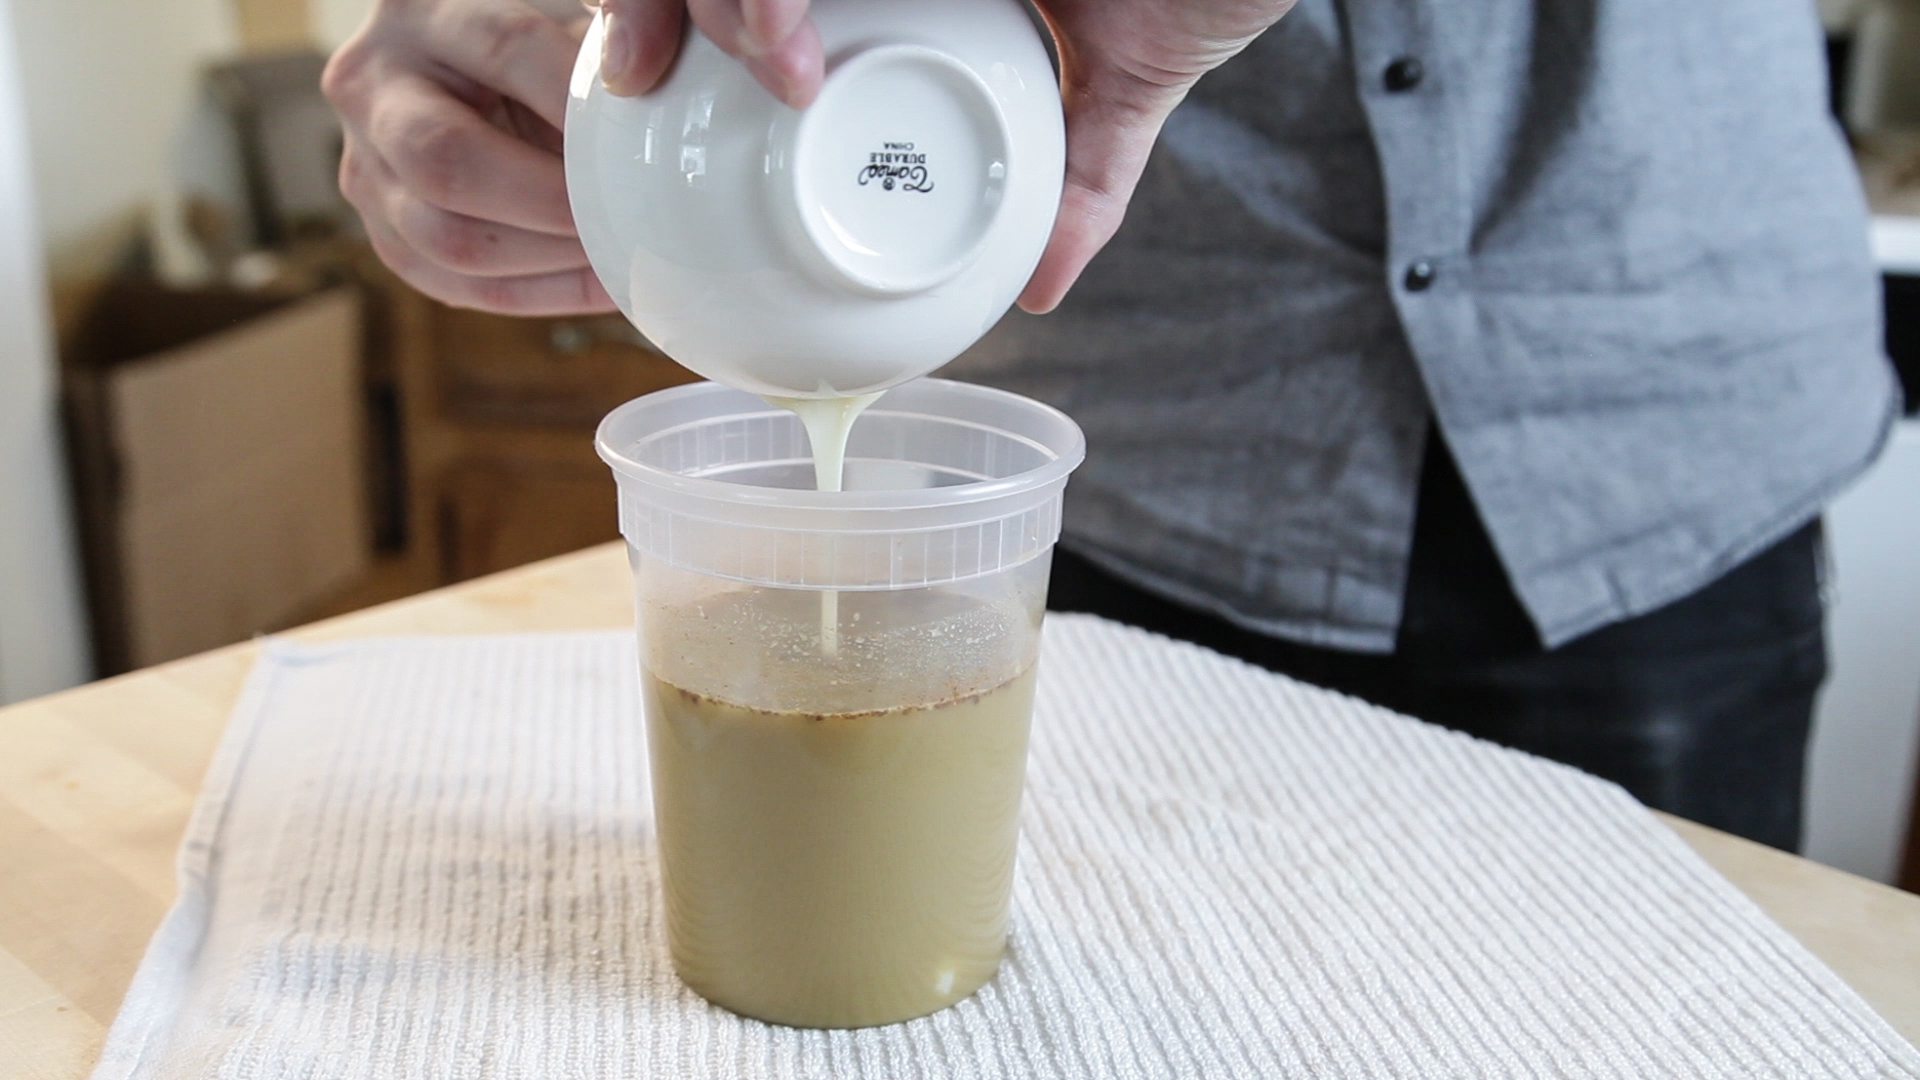
Next, it’s time to sweeten things up a bit by adding some of the condensed milk. I don’t usually add much, just a teaspoon or two. This will thicken the syrup quite a bit, as well as intensify the sweetness. At this stage, you may also consider adding other flavors, like maple or vanilla, to enhance the sweetness and make it a little more reminiscent of baked goods. I like mine a little simpler, so I stick to the condensed milk alone.
Finally, I prepare a bit of the “pie crust” liquid and add a spoonful or two to the mix. This is a subtler flavor, and it’s usually a bit watery, so I don’t add too much. If you don’t mind altering the texture of the syrup, you could skip the extract part and just add the pie crust powders directly to the syrup, which will be even more flavorful. I’ve tried this, and I don’t particularly like that the flour doesn’t dissolve, but if it doesn’t bother you it is a surefire way to bump up that pie crust flavor.
Remember: the goal here is to make a syrup that is strongly flavored on its own, as it will be dulled slightly when it is mixed with coffee and milk. Most sauces and syrups meant for use in coffee drinks will be too sweet or too strongly flavored to be enjoyable on their own, but they’re meant to be balanced out by 6 or more ounces of other liquids later. Taste as you go, and tweak the mixture to your desired standards. I like my lattes a little more subtle, so my syrup doesn’t overpower the coffee or the milk, and I aim for a syrup that adds flavor and complexity to the coffee instead of over it.
Once your syrup is ready, you can jar or bottle it and keep in the fridge for a week or so (separation may occur, and that’s normal - just shake it up before use). If it develops any funky smells or mold, it’s certainly past its prime and should be discarded. You should be able to freeze it as well, but I haven’t tried.
Making the Prima Pumpkin Spice Latte
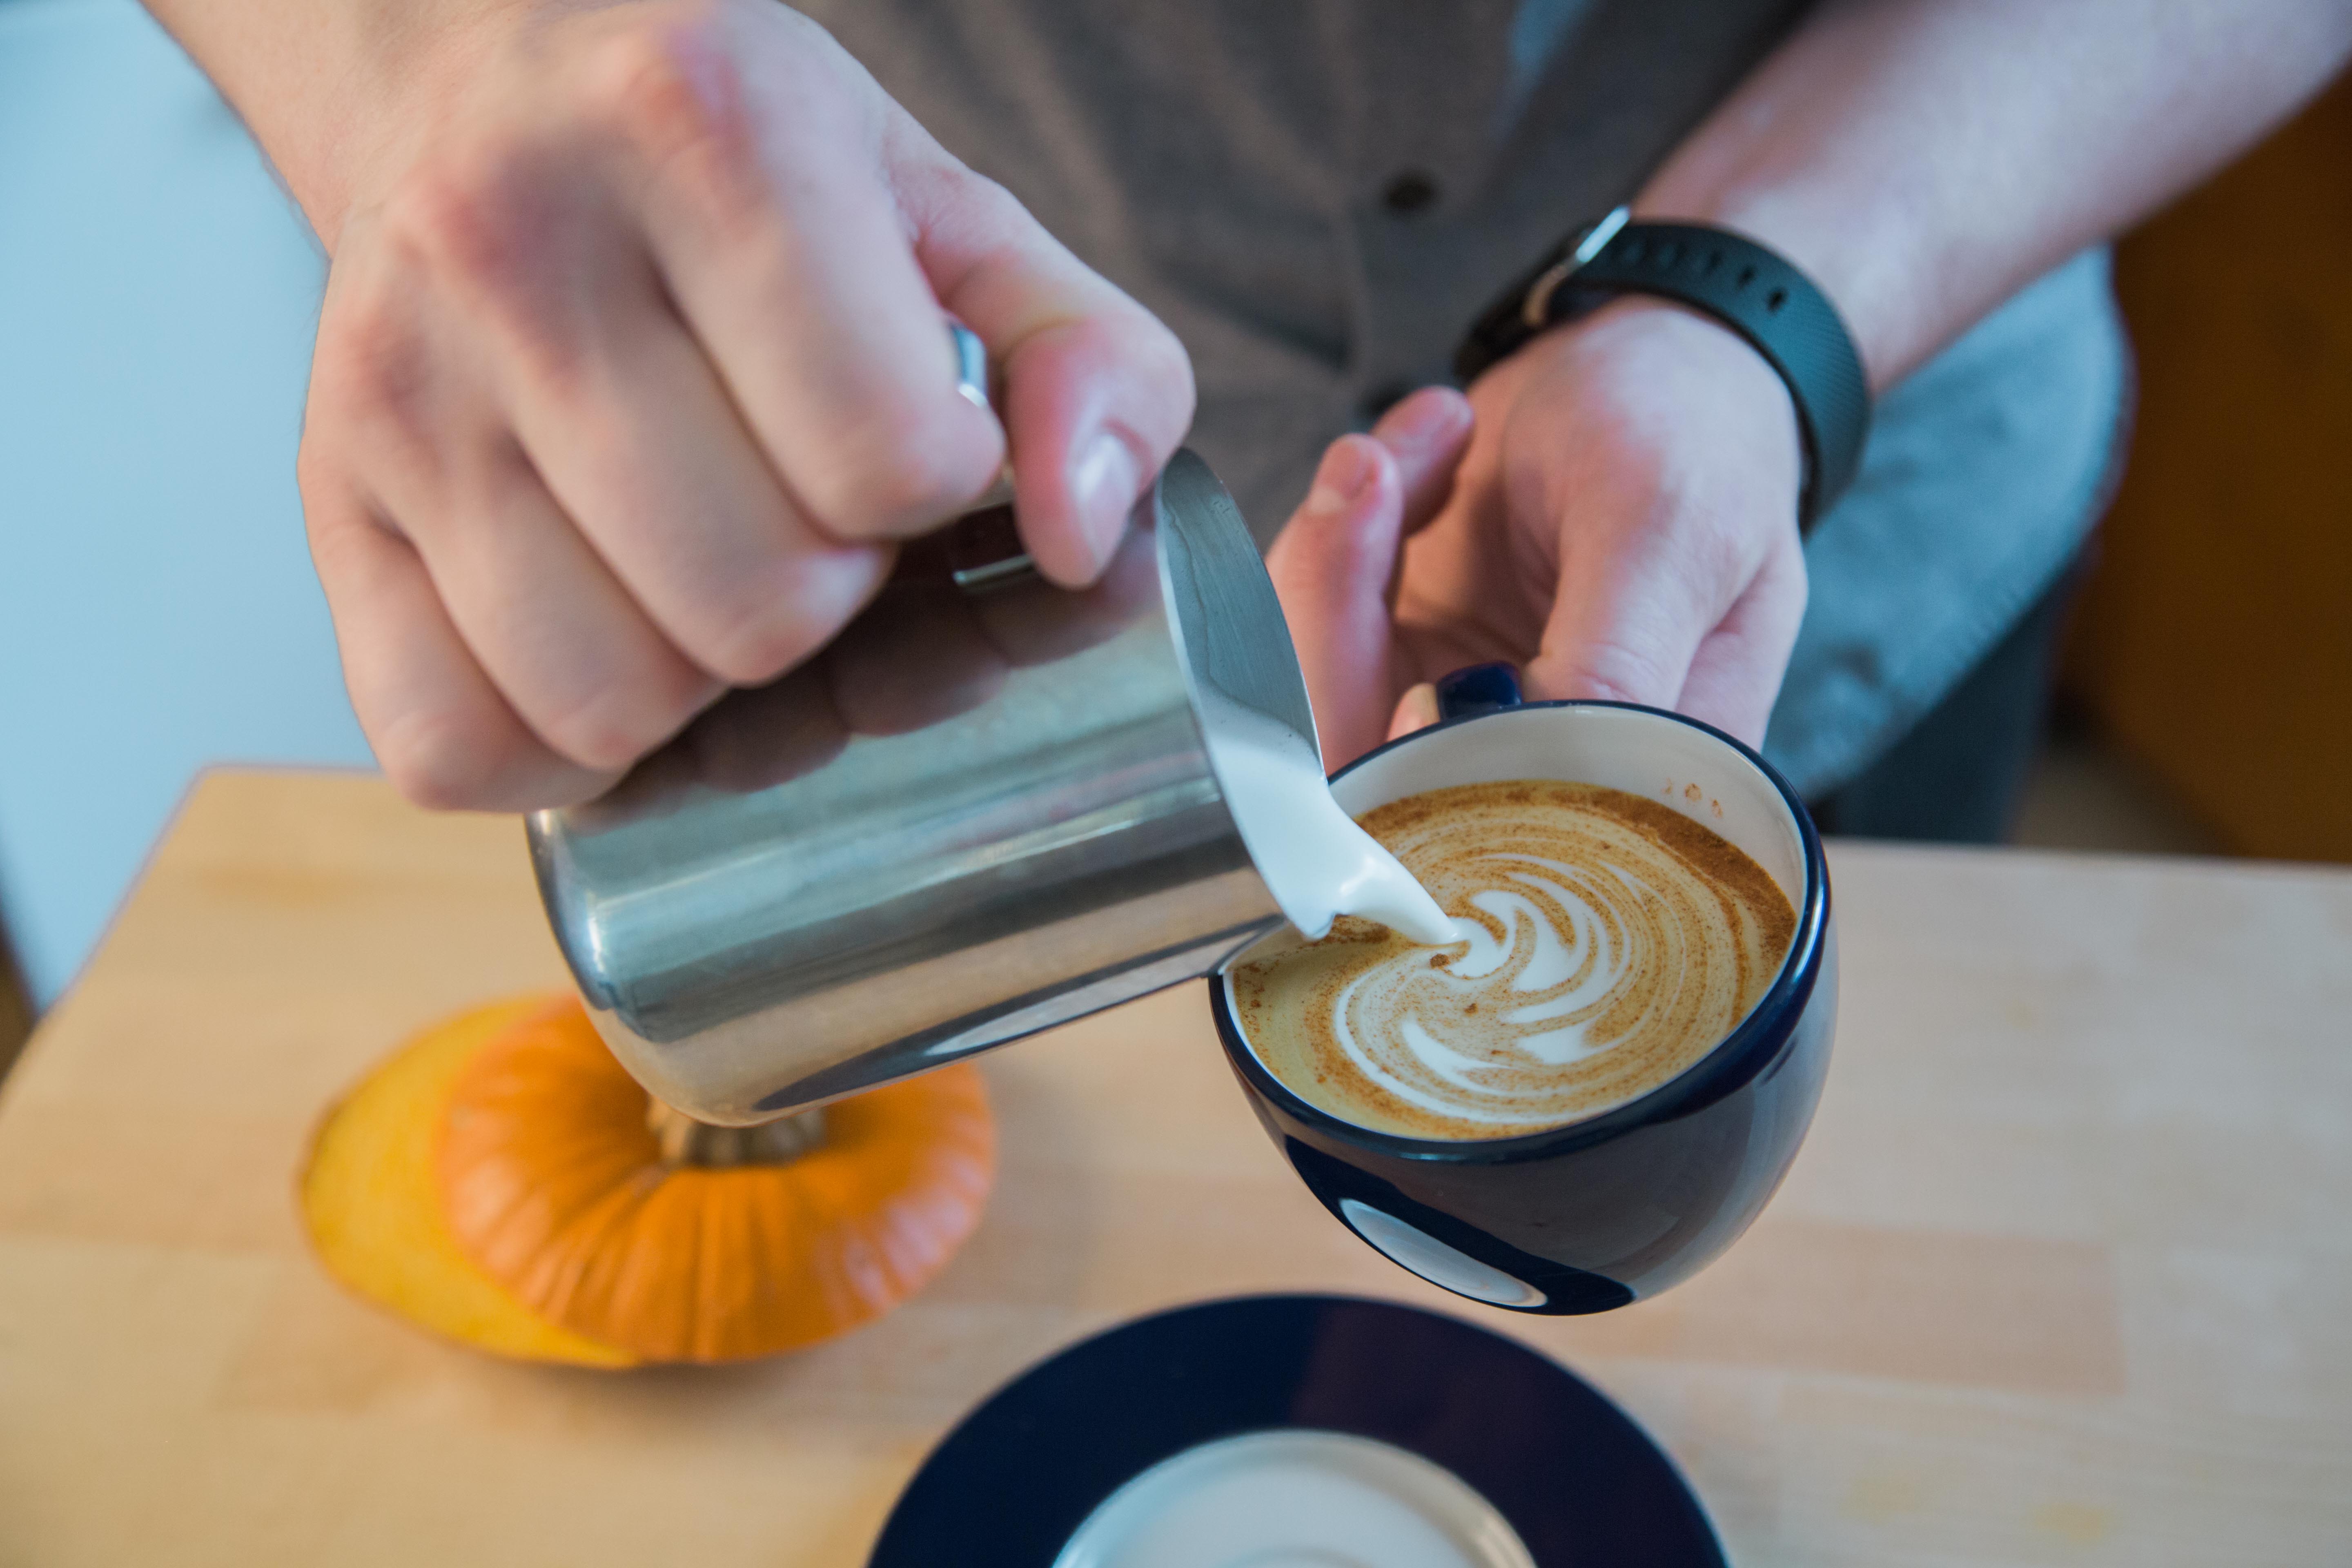
Enough of the cooking and mixing, let’s make a tasty drink! This is the easy part: add about equal parts of syrup and espresso to your cup - so for a small cappuccino, it’s about 1 ounce of espresso and 1 ounce of syrup, or 2 ounces each for a larger latte. Mix thoroughly while hot, and top with a bit of cinnamon if desired. Steam your milk to the desired consistency, pour a pretty rosetta (or etch in a pumpkin for seasonal effect), and enjoy!
Congratulations, you’ve made yourself a fairly complex and convoluted pumpkin spice syrup which hopefully emulates a real and delicious pumpkin pie. It’s not the most complicated thing to make, it just takes a fair bit more time and effort than running off to the local chain coffee shop for your pumpkin spice fix. But I think the payoff is fantastic, and while I won’t be making it a weekend routine any time soon, I’ve enjoyed exploring the process of deconstructing a pumpkin pie and reconstructing its core flavors. If you’re a bit of an obsessive kitchen nerd yourself, I’m sure you’ll have just as much fun - especially when you make some pumpkin spice lattes for family and friends and watch the surprise and delight cross their faces as they exclaim that it’s just like drinking pumpkin pie!
Recent Posts
-
Video Overview | The Canvas Coffee Cart
Jan 14th 2026 Written by Ryan FelbingerI'm Ryan from Prima, and this is the Canvas Coffee Cart. At Prima, we know that launching a mobile … -
Coffee Carts & Corgis | The Loyal Cup's Journey to Success
Dec 11th 2025 Written by Mac AubreyThe path to launching a mobile coffee business often begins with passion, community, and the rig … -
Video Overview | Nuova Simonelli Oscar II Espresso Machine
Oct 30th 2025 Written by Ryan FelbingerI'm Ryan from Prima, and this is the Nuova Simonelli Oscar II Espresso Machine. At Prima, we know …
