How to Clean Your Burr Grinder
A burr grinder is one of the essential tools in your coffee brewing arsenal and sets the stage for the quality of your daily cup. As we've detailed before, a good burr grinder is one of the best investments you can make toward coffee brewing perfection. It should be no surprise, then, that a grimy grinder can lead straight to a hot cup of disappointment. A regular cleaning of your grinder doesn't have to be a chore and will ensure your brews are tasting their absolute best.
Stuff you'll need:
- A grinder in need of cleaning
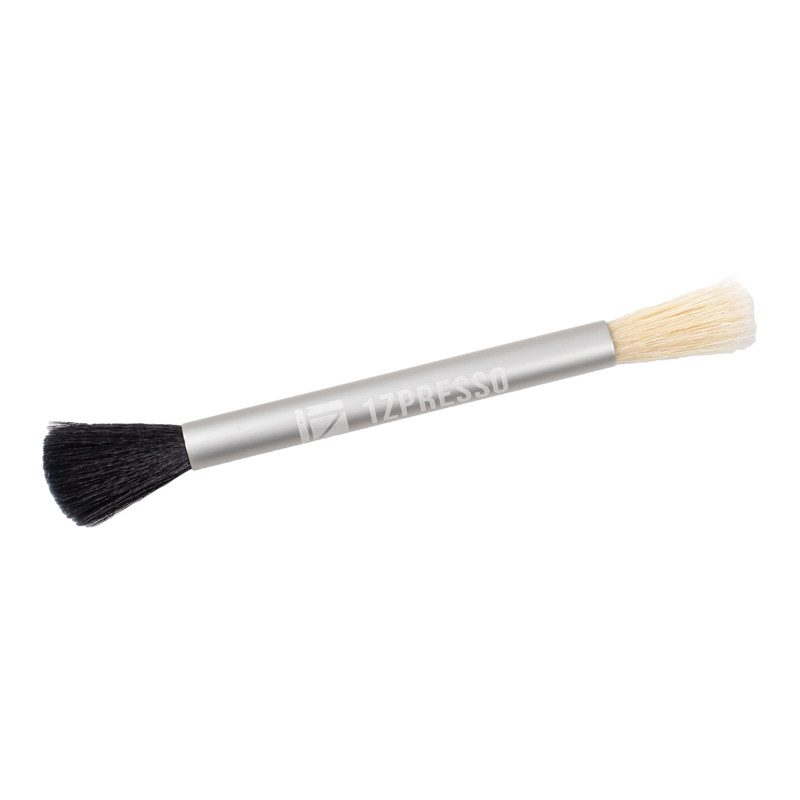
- A soft brush or cloth

Optional goodies:
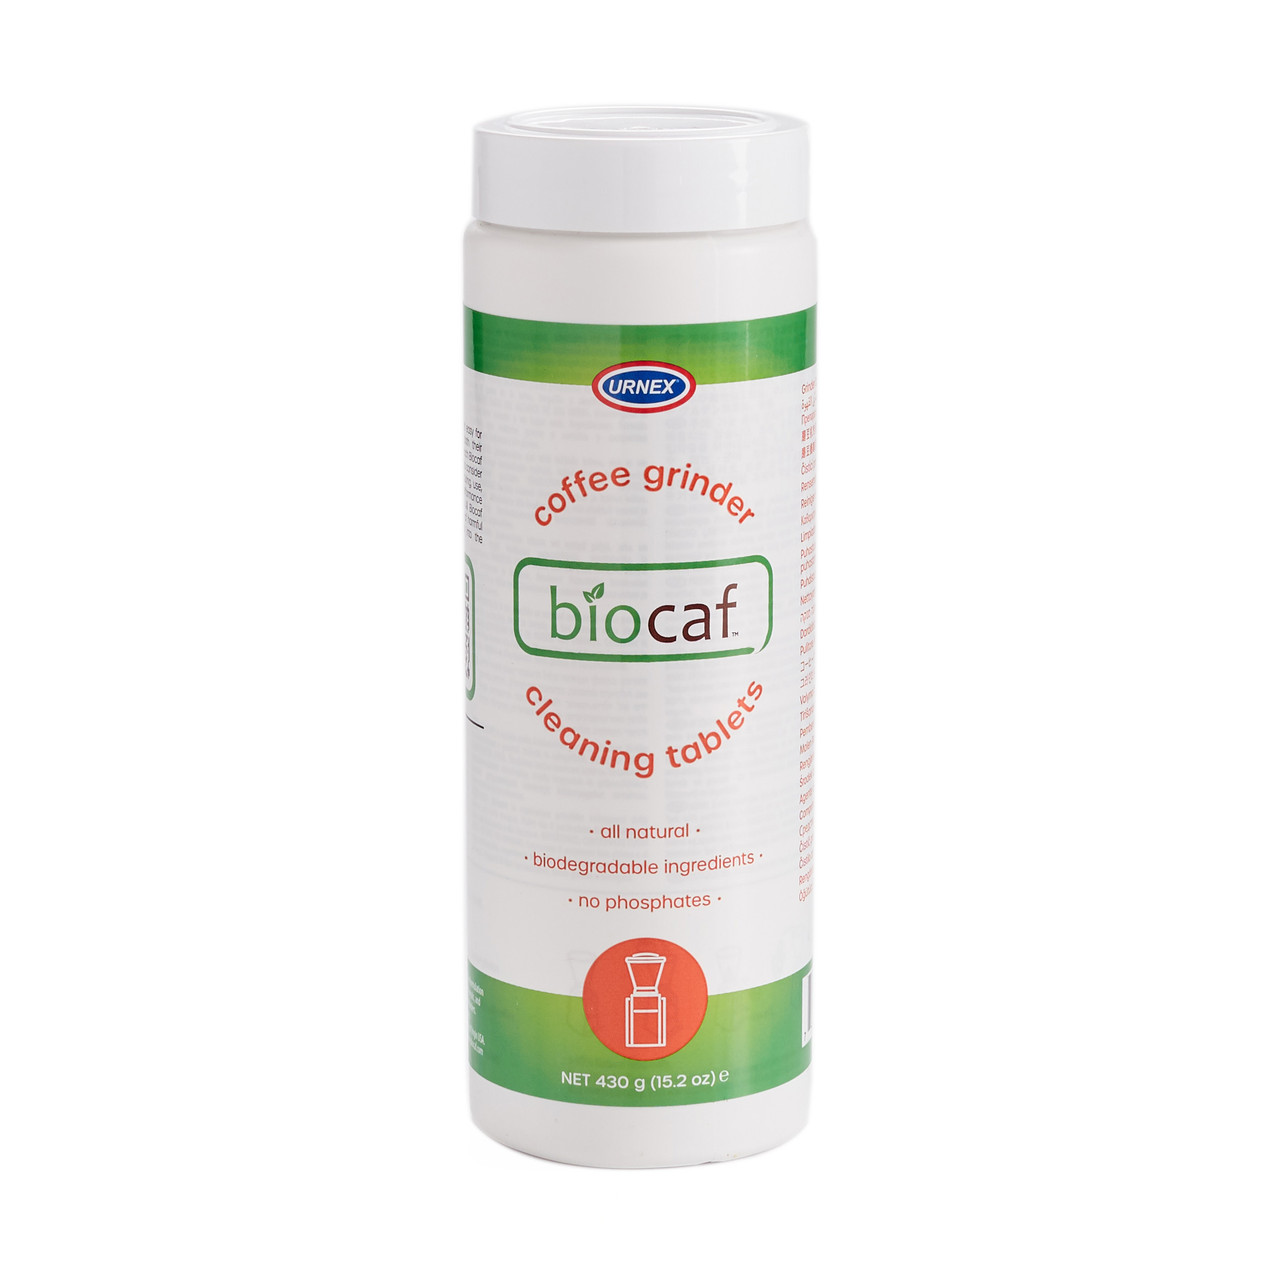
- Biocaf Grinder Cleaner
- A vacuum cleaner with a hose attachment
- Wooden toothpicks
- A burr removal tool or screwdriver
- Spare coffee to "re-season" your burrs

Coffee grinders can get gunked up with a few different things that lead to off tastes and poor brews. Coffee dust has a nasty habit of finding its way into every nook, cranny, crack and crevice in a grinder. Over time, this can lead to broken parts, decreased performance, or even a dead motor if the buildup is severe. Oils are also problematic. Even if your coffee beans aren't french-roast-slick with an oily sheen, there's still plenty of oil contained within. Wherever the ground coffee contacts grinder parts, oil will begin to build up, causing staining and stickiness if left to sit. Even worse than that, those oils will spoil over time. This causes off flavors that can taint your future brews and ruin an otherwise good cup. Thankfully, the simple solution to all this comes with a little light cleaning - no elbow grease required.
The Light Touch-up
Generally speaking, all you really need to clean your grinder is a dry, soft brush or cloth. Simply brushing or wiping away visible debris and oil is enough to belay the negative effects of coffee buildup. You could do this every day, once a week, or just in between bags of coffee, and your grinder will last a very long time without getting bogged down by gunk. You'll want to start by unplugging the grinder, just to be safe. Then, remove the hopper, the upper grinder casing if applicable, and anything else you need to access the burrs (be sure to check your grinder manual for help, you may need a tool or two to get in there). Once you've got those parts free, just wipe them all down or work at them with a soft brush to remove any dust or debris. You can reassemble at this stage if you like, or see below for tips on a full deep clean.
A Quick and Easy Clean
One of our preferred methods for cleaning our grinders is to use a product like Full Circle Grinder Cleaner, or Urnex Grindz. These products come in coffee bean-sized pellets, are made out of food-safe materials, and are edsigned specifically to help clear coffee dust and oil buildup. Using the pellets is as easy as running them through your grinder. Grind about a tablespoon's worth of pellets on a medium-fine setting on your grinder, and you're back to a shiny clean grinder just like that. We suggest grinding a few grams of spare coffee afterward on the same setting just to push out the remaining few crumbs of pellets that may be left over. Repeating this once or twice a month will keep most home grinders fit and functioning at full steam.
A note on cleaning with rice: Some folks recommend using rice as a grinder cleaner in place of a grinder cleaner like Grindz. We admit, we've tried it ourselves as well and found rice to be fairly effective. However, there are a few potential problems with using rice. The first is hardness. Rice can be quite a bit harder than your average coffee bean, which can stress the motor and burrs more than the beans they were designed for. Starch is also an issue. The powdery loose starch on uncooked grains of rice can gum up your grinder parts over time. Quick-cook dry rice, being less dense and relatively starch-free, avoids both problems, but may still be inadvisable as it is not covered by most manufacturer warranties. Baratza, for example, has noted that they don't cover damage caused by the use of rice and only recommend using Full Circle or Grindz pellets. If you do decide to use rice, we suggest using the quick-cook variety (and doing so at your own risk), but we'd recommend just going in with a brush if you'd rather not buy grinder cleaner.
Tear Down and Clean Up
A really deep clean can be oh so satisfying for both you and your subsequent brews, so we recommend doing it once every month or so. You can begin with either of the steps above to remove the bulk of the buildup. Then, after unplugging your grinder, remove the hopper and any parts necessary to access the burrs, and set them aside. With a brush or a wooden toothpick, clear out all the grounds and dust from the teeth and screws. Depending on the model, you may also wish to remove the upper burr from its carrier to clean out any dust from those hard-to-reach cracks and crevices. After cleaning the upper burr, move on to the lower burr and repeat the process. Use a wooden or plastic pick to dislodge buildup, especially in the grinds chute. Then it's time for the really fun part.
Using the hose attachment of a vacuum cleaner, suck out all the remaining bits and debris. Avoid sucking up any loose screws or pieces of the grinder, and marvel as your machine transforms from mess to immaculate. Be sure to hit the grinds bin and chute with the hose as well. In seconds, your grinder will look as clean as the day you unboxed it.
Before reassembling your grinder, wipe down the hopper and grinds bin with a lightly damp cloth to remove any oily buildup. A very mild detergent can help here with more stubborn oil, just be sure to rinse these parts and dry them thoroughly before putting them back in service. Remember, avoid allowing moisture near the burrs and grind chamber, especially if you have steel burrs. You don't want rust or corrosion anywhere near the moving parts or motor.
So now that your grinder is sparkling clean, you're ready to carefully reassemble it and put it back to use. We do suggest grinding a small amount of coffee (about 10-20 grams) before going back to brewing. Part of the reason is that when you remove and replace your upper burr, the adjustment settings can get just a touch out of place. Grinding some beans will help set everything back where it should be. Another reason is that, almost counter-intuitively, a little coffee oil is your friend. We don't want that oil to go rancid and make your coffee taste gross, but we do want a little to stick around to keep oxidation at bay. That thin coating of oil helps keep your grinder rust-free. So, after your regular cleaning session, grind a little bit of coffee to "re-season" the inner workings and get it all ready to go back to work.
Congrats! You've now got yourself a beautifully clean grinder. Pat yourself on the back for a job well done, and get right back to brewing that awesome coffee!


