
Video Overview | Timemore Nano Scale
The Timemore Black Mirror Nano Scale is the second scale from Timemore. This model is much smaller than the original Black Mirror, allowing it to sit comfortably on most, if not all, espresso machine drip trays, yet it has a slanted display that is viewable even under pour over vessels as large as the Chemex. The Nano has three modes: standard (manual), auto 1 (for pour over brewing), and auto 2 (for espresso). It takes a USB-C for charging its lithium battery.
Transcript
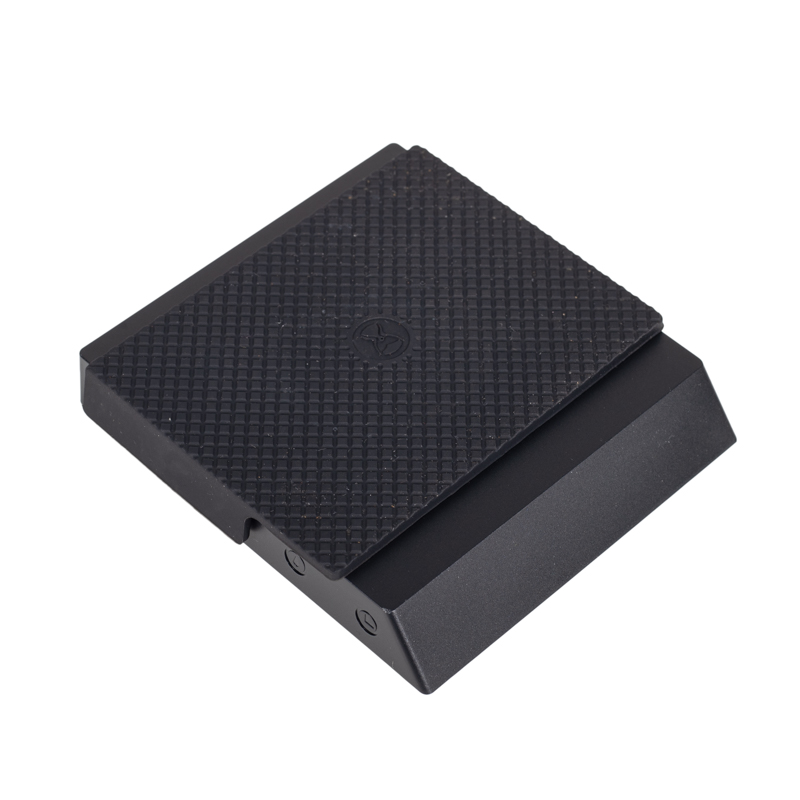
Hey, it's Steve here from Prima Coffee, and today we're going to go over the Timemore Black Mirror Nano Scale. As you can see from the size here, it's going to be ideal as a drip tray scale for espresso. That said, it does have a mode on here for pour-over brewing, and it also has a flow mode so that you can track your milliliters per second on your pours. And it also has this slanted display screen here on the front, which really does mean that you can put any pour-over vessel, even a Ten Cup Chemex, on here and it won't get in the way of you being able to read the weight and the time. It also has this pad here, this silicone pad, that if you flip it upside down, just like some of the Acaia scales, you can see, it has this little ridge here that allows you to weigh portafilters on here, which fit kind of just perfectly without coming off the edge. So you can use it for espresso weighing, espresso on the drip tray. You can use it for pour-over brewing, and you can also use it for reading how quickly you are pouring. Overall, we're dealing with three modes. You have your Standard Mode, where you do everything manually. So you start the time and you tare the scale on your own. And you have an Auto Mode for pour-over brewing, which allows you to basically put the vessel on, and it will tare that for you, and then you can start pouring, and the moment that it weighs the first drops of water, it'll time the turn the timer on. And then there's the Espresso Mode, which is very similar to the pour-over mode in that once you put your cup here, your demitasse, or whatever vessel you're catching the espresso in onto the scale, it will quickly tare it, and then the timer will start on those first drops of espresso. So those are your three main modes. So to show you how to kind of cycle through all of those, we have here on the side a on-and-off switch. So turn it forward for on. And you can see the display light up. Weight here on this side, and your time over here, which isn't reading at this point because we haven't started it. From the main screen and the main Standard Mode, if you want to get into the flow reading, you hold this drip button for about five seconds. Right now it's showing time. And when you let go, instead of four zeros, you'll see two. And that's going to be your flow that you can see when you put weight on it. It starts to read when you let go. It goes back to zero because it's reading your consistent flow. So there are two Auto Modes, and to get there, you need to hit the time button here five times quickly. And that will cycle you into the pour-over mode.
And we're going to show you how that works. So these buttons, you can see them here, they're just kind of etched into the side. So it doesn't take much, so you don't need to hit that very hard, you don't need to move the scale. You really just need to hit it five times. One, two, three, four, five. And then you'll see the A right there. And that means you're in Auto Mode. This is your pour-over brewing mode. So, to get into the Espresso Mode, you do that same thing, make sure these are both at 0, the time here and the tare. You do that same thing until you see espresso pop up here on this side, ESP. Now you're in the Espresso Mode. To get back out, you just do the same thing, just hit that repeatedly until the A goes away. Now you know you're back into the Standard Mode. The nano here takes a USB-C for charging. It has a lithium-ion rechargeable battery, you can see here. There's your USB-C that comes with it. And on the side, along with this button, you have your USB input. You can see because this port is open all the time and also because on the button here, you can see some space there that water can get into, this is not a waterproof scale. It is not, according to Timemore, even a water-resistant scale, but that does not mean that you cannot get water on here. You can certainly get water on here. It's aluminum. Just make sure that you're not getting water into the port there or in behind the button. What you can do is you can use the silicon pad here to…if you flip it around, so it normally sits like this, but you can flip it around here so that this side here with this extra tab kind of covers up those two if you wanted to. And you can use it so that the water rolls off, it does not get into those ports. But again, not waterproof.


