
How To Move Lelit Bianca Water Tank
Transcript
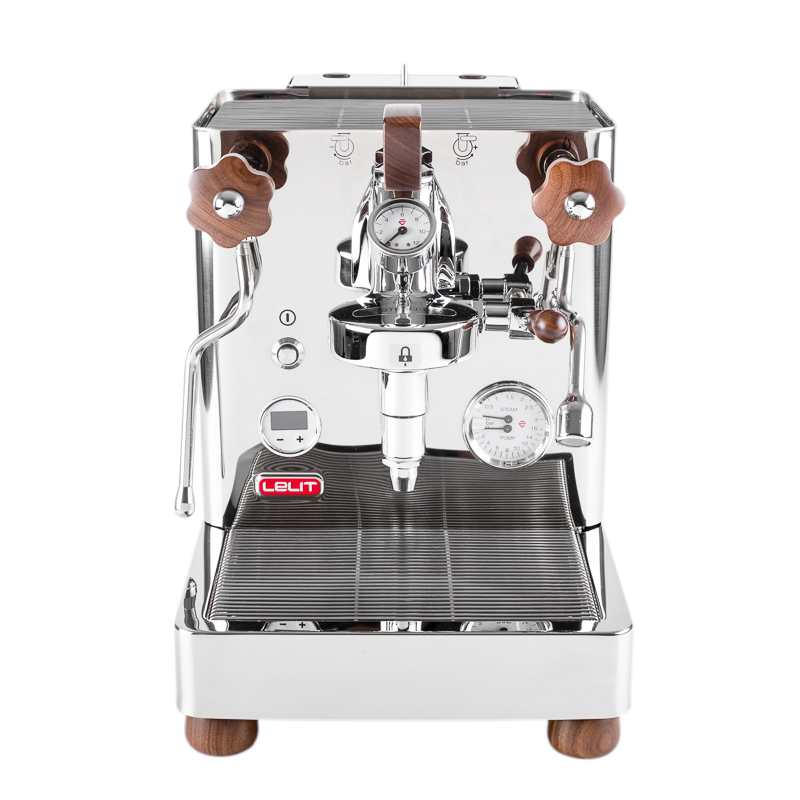
Hey. It's Steve here with Prima Coffe, and today, we're going to show you how to move the movable water tank on the Lelit Bianca. So, Lelit created this movable water tank so that if your countertop didn't have a lot of depth, you could move this to either side of the machine. You can put it over here, or you can put it over here, or if you were going to plumb in the Bianca, you can take it off completely. And what you're left with is a much more compact machine, so it's not difficult to do. There just are a lot of little steps along the way. The first step is to go ahead and remove the grate off of the top here, which is the cup warmer. You can, kind of, get that out of the way. And then it is much easier to do, much lighter, if you take the water tank out. So, this is the shell, and inside of that, you will have, sort of, your reservoir. And you can just go ahead and lift that out, put that to the side, and it makes this much more manageable. So, all you need is a flat-head screwdriver. We have a couple here. There's going to be a flat-head screw on the top here to move. There's also going to be a flat-head screw right here on the bottom. A couple of extra steps that you're going to need to do is there is a connection here, right under the tank. This is an electric connection. Basically, this cable will tell the machine when it needs to pull water, or when you are low on water, you need to move that. And also, right underneath the machine, when we get in closer, you will see that there is the waterline is held in place by a couple of rubber ties. And we'll need to undo those, so let's go ahead. And we take out the top screw first, and it's very simple to do. You just need to unscrew it a little bit, and it'll pop right out. It is held in by springs. Put that to the side. You're going to need that when you put it on one of these two sides here. So now, the top is off. We're going to go ahead and go in here to the bottom. It's that easy. So now, the tank is off, but like I said, there is a waterline, and you can see the waterline here. And underneath the machine, there are a couple of rubber ties holding that against the body. And when we move the tank, we're going to go ahead and undo those, too, so we can feed it to either side. We need to go ahead and undo those ties underneath. So, it's easiest to do if you tilt this, so if you have someone to help you on the other side, we'd go ahead and tilt the machine like this. And then, you can have them hold it, and you can get under there. And because the waterline, you can see, is right here, and we need to get it underneath this leg here, we're going to go ahead and tilt the machine, move it over. And so, once you have this underneath here, you're going to go ahead and get it into place, but in order to screw it in, you need to remove the little cap. This cap sits on the screw hole here. There's a rubber cap here and a rubber cap there on the bottom. So, you'll move that off, and then go ahead and close off the port where it was originally. Move the washer over, this little tiny washer, put it into place, and then you can go ahead and swing this on top, clamp it down on top of that hole, and make sure, on the bottom, it's meeting there as well. So, the next step is to go ahead and take those original screws and go ahead and put them in. Start with the top here, push it down, and then it really just takes about a half a turn to get that into place because it's held in place by that spring. We'll do the same thing on the bottom. Get that bottom screw in there. Connect this electric cable here back into the bottom of the shell. Feel that? Good. And then, the last step is really just to go ahead and tie that waterline, which is right here now, underneath the tank back into its place. So, once you've done that, the tank has been moved, and you are ready to go ahead and get the actual water reservoir back in. It'll show you which side. It says FRONT here, and that's, basically, the side that is facing the machine. So, put that back in. We're good. Replace it with the cap. All right. Put the grate back on, and you are ready to plug it in and start making coffee.


