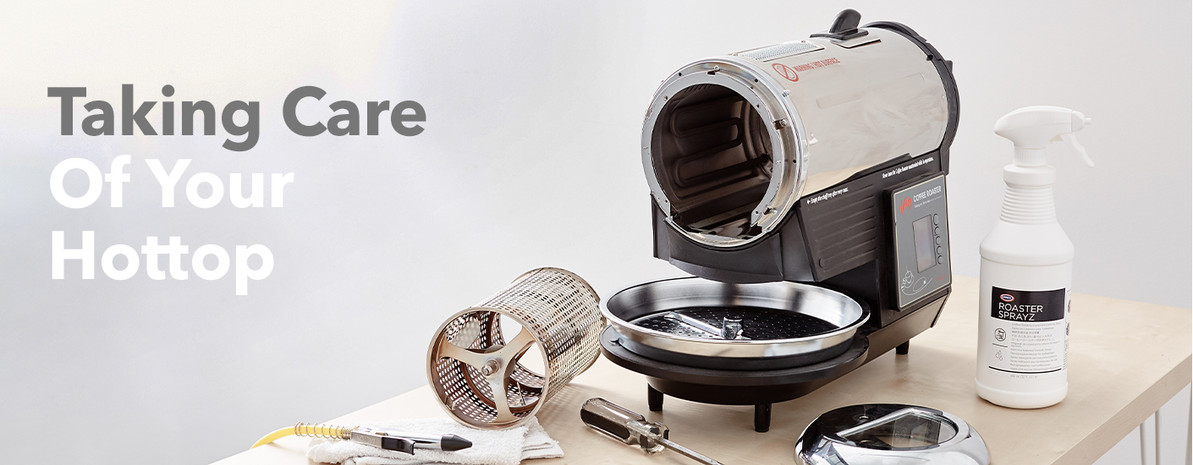
Taking Care of Your Hottop Roaster
A guide through regular and preventative maintenance for your Hottop home roaster.
Keeping your coffee gear ship-shape should always be a priority, but perhaps no piece of equipment is more important to maintain well than a roasting machine. Your roasted coffee will taste better, you’ll get a longer life out of your investment, and your roasts will stay more predictable. Most seriously though, a roaster that’s allowed to get dirty and fall into a state of disrepair becomes a dangerous appliance quickly; mixing high temperatures and dry dusty debris is a seriously dangerous combination, and a surefire way to learn an unexpected lesson in firefighting. But maintaining your roaster can be easy! With this guide, a few tools, and a little elbow grease, you’ve got everything you need to keep your roaster happy and healthy for a long time.
The Tools You’ll Need
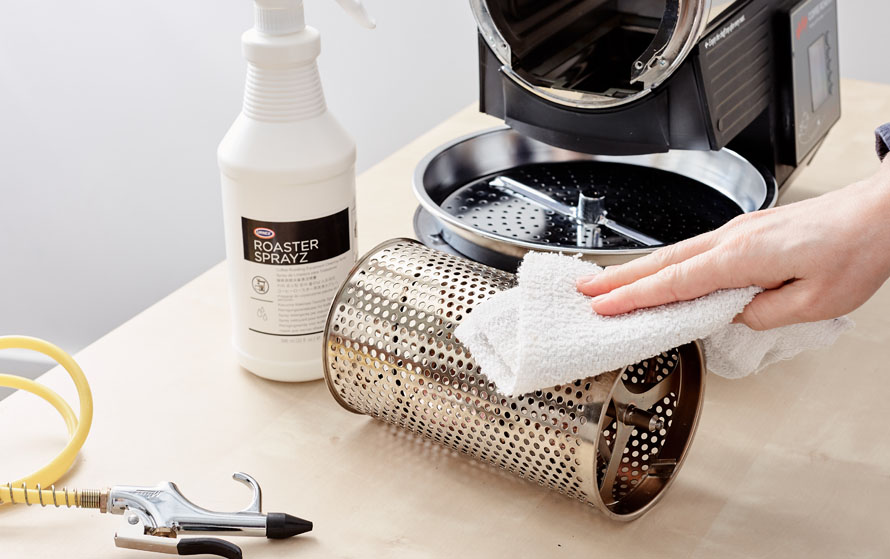
Every successful project starts with effective preparation, and conveniently most of the tools you’ll need to clean and maintain your Hottop roaster are easy to come by if you don’t already own them. You won’t need all of these tools for every maintenance project, but having them on-hand will mean that you’re always prepared for anything. You’ll need:
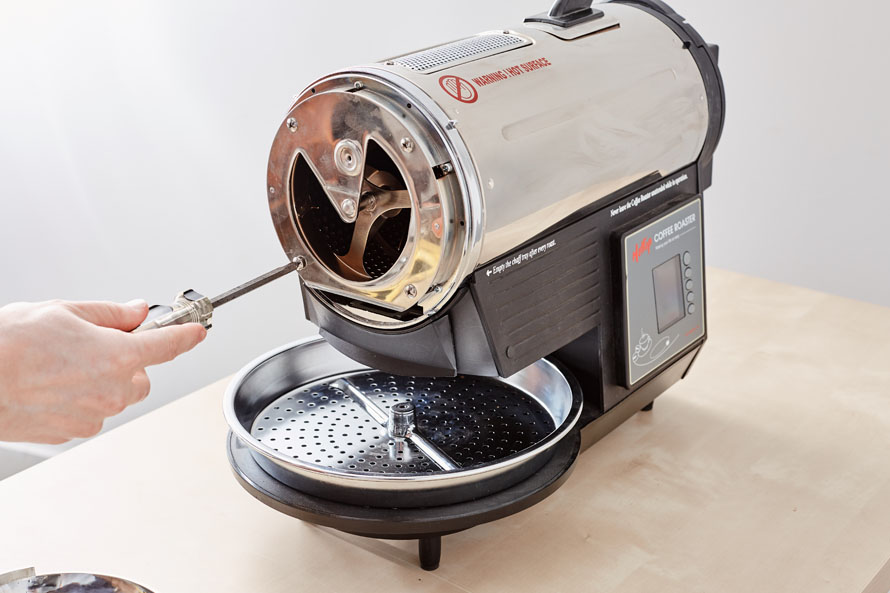
• #1 and #2 size Phillips head screwdriver
• Brushes and rags for cleaning
• Wooden dowel. This could be a wooden spoon handle, a chopstick, or anything comparable.
• Compressed air
• Vacuum with a thin/narrow attachment
Safety First!
High heat, electricity, moving components—working on a roaster can be a dangerous activity if you’re not mindful of the hazards. Be sure to protect yourself whenever you get down to business by keeping these guidelines in mind.
• Have gloves available. Some of the surfaces and edges on the machine can be a bit sharp, so protecting your hands is definitely a good idea.
• Keep eye protection handy. A lot of maintenance will be clearing dust, chaff, and other debris out of your machine, and as those end up in the air you’ll want to be prepared to keep them out of your eyes. Trust me on this one.
• Be sure that your machine is entirely cool before you get to work. These machines can hold on to heat for longer than you might expect, so double-check the surfaces you’re going to be touching before you get to work.
• Always unplug your roaster before starting any maintenance at all.
• After you’ve completed service, run a dummy roast cycle to be sure that everything is reassembled properly and entirely. If something unexpected is going to happen post-maintenance you’d rather have it be with an empty drum rather one full of flammable material!
The Task List & Schedule
It’s difficult to outline a schedule that suits every individual roasting machine, but by starting with a general schedule like the one outlined below you can figure out what makes the most sense for you and your roaster. There is one task that is non-negotiable in its schedule though—one of the most common dangers in coffee roasting is chaff catching fire due to the high temperatures in the machine, so emptying the collection tray after every time you roast is an absolute must. Other than that, use your instincts and adjust your schedule for what your roaster needs!
Every Time You Roast
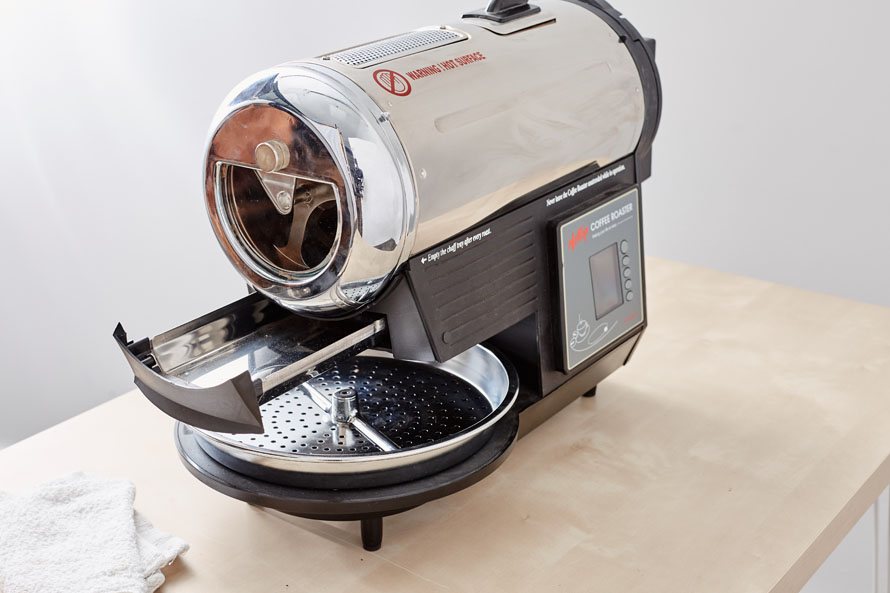
• Remove the chaff collection tray and dump the chaff that’s collected there. If you’re roasting several batches back-to-back this can be good to do even between batches, it will keep too much chaff from building up and becoming a potential fire hazard.
• After you’ve finished roasting and the roaster has cooled, remove the front cover and brush or vacuum out any chaff that ended up outside of the chaff collection tray. It’s also acceptable to make this a part of your pre-roast routine instead of waiting after each roast, just be sure that it happens every time!
• Take a peek at the rear filter, located in the back side of the roaster, to be sure that it’s in reasonably clean condition.
Monthly Check-In
• First, complete your usual “Every Time You Roast” checklist.
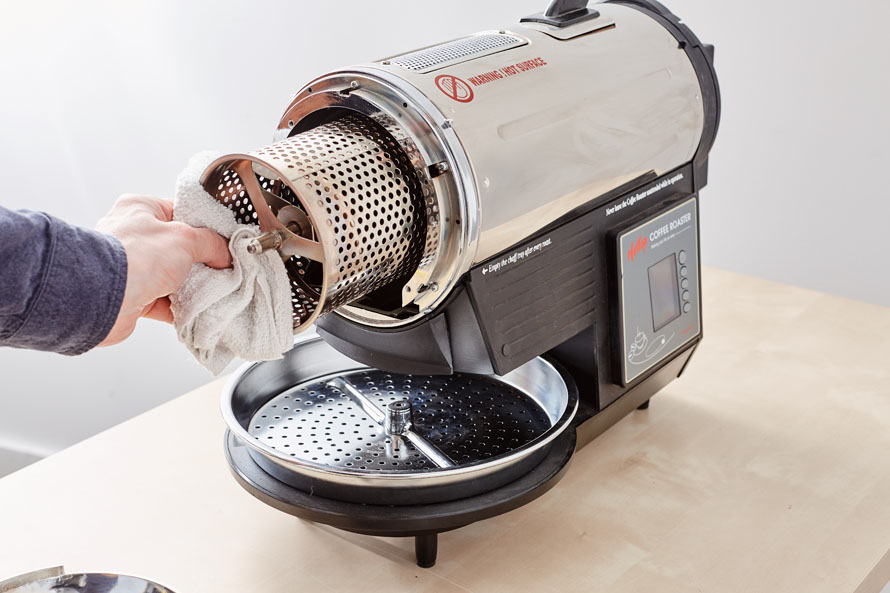
• Remove the bearing plate from the front of the roaster, then remove the drum from inside of the roaster. Brush or vacuum out any chaff, dust, and coffee bean pieces that have ended up in the body of the machine.
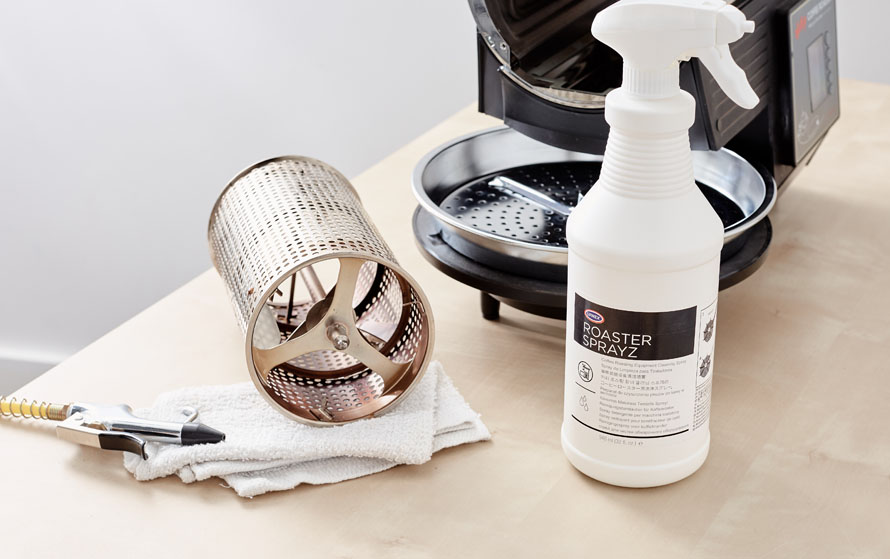
• While the drum is out, check the interior surfaces of the roaster for any substantial build-up that could use some cleaning. Use roaster cleaner, following the directions on the bottle, to clean any oil/coffee deposits.
• Using compressed air, blow the dust and other build-up out of the rear filter.
• Check the top filter by looking at the ceiling inside of the roaster to ensure that the top filter is still covering the outlet there completely.
• Using a wooden dowel, check the eject door’s function by pressing it open and making sure that it snaps back into place.
• Test the function of your emergency eject release by pulling the handle and checking the door again with your wooden dowel.
Every 6 Months
• Remove the rear filter and unscrew the back cover to the roaster, taking the fan and fan assembly off of the machine. Using a damp cloth, clean the fan of any dust and debris that has built up. If you use roaster cleaner for this, be sure to wipe any residue away entirely with water and a cloth afterward. Let the fan dry completely before using your roaster again.
• Optional maintenance, recommended yearly: Remove the top of the roaster, exposing the bare chassis of the machine. Using compressed air, blow out all of the dust, dirt, chaff, and coffee debris that has made its way into all of the crevices, nooks, and crannies of your roaster. Compressed air will be a fine way to clean out every part of your machine EXCEPT for blowing compressed air directly into the cooling tray fan; the fan isn’t made for that kind of air pressure and you can cause damage to your fan.
This list isn’t a comprehensive explanation of every maintenance task that your roaster might require—Hottop has some fantastic resources both in their user manuals as well as on their website for that—but it should be more than enough to get off on the right foot with your machine.
Happy roasting, y’all.
