Coil: Reinventing Cold Coffee
Life is full of workarounds, those temporary or patchwork solutions that serve as quicker, easier, or cheaper alternatives to the ideal. Coffee brewing is no different, and one coffee category sticks out from the rest when it comes to less-than-ideal solutions. That category is...
Life is full of workarounds, those temporary or patchwork solutions that serve as quicker, easier, or cheaper alternatives to the ideal.1
Coffee brewing is no different, and one coffee category sticks out from the rest when it comes to less-than-ideal solutions. That category is cold coffee. To date, there have been two go-to methods for making cold coffee: Cold Brew and Iced Coffee.
Aside: if you're unaware of what these methods are, we recommend jumping over to our Iced Coffee / Cold Brew blog post for a moment to read up as for brevity's sake, we won't re-hash all of the specifics of each here and don’t want to lose you on some of the comparison details below!
If we stop to think of what the ideal cold coffee would taste like, it’d be no more complicated than a cold version of a hot brewed coffee, one whose extraction and taste mirror that of its hot-brewed counterpart. If that is the ideal, we must admit that the cold coffee methods we currently have to work with end up falling short of that ideal. That is to say, both Cold Brew and Iced Coffee are workarounds. Today, we introduce you to a device that has set out to uncomplicate cold coffee by providing not just another cold coffee device, but an entirely new way of approaching cold coffee.
This new approach to coffee is Crash-Cooling,2 and that new device is the Coil.
What is Crash-Cooling?
At the outset, we should state that both Iced Coffee and Cold Brew can make good tasting cold coffee.3
Producing good cold coffee however, doesn’t mean that Iced Coffee and Cold Brew don’t have their shortcomings, or that there’s not a better alternative out there.
With a traditional Iced Coffee method, you brew your coffee as normal, but cut the amount of hot water used in half, supplementing the remaining brew volume with ice. The ratio is often changed around, but the concept remains the same: divide your total water volume used between hot water and ice (the ice will even out the brew strength of the coffee when melted). Following this method makes you significantly alter your usual hot brewing method, since you have to figure out a ratio of water to ice that works with your coffee, measure and dose them out separately, and then compensate for the lesser water by grinding finer. In addition to this, when using the same amount of coffee with half as much water, you're going to get a different tasting result than if you were brewing normal strength. Even after diluting with ice to even out brew strength (a.k.a. bypass brewing), it's still not going to taste the same. Dialing in a coffee for Iced Coffee brewing is complicated and confusing. When you Crash-Cool a hot brew, you don’t have to worry about trying to figure out any of it.
With Cold Brew, you pour water over coffee grounds and let it steep for 12 hours in a refrigerator. There are recipe variants that will have it steep anywhere from 2 to 24 hours, but most common in practice is throwing it in your fridge overnight so that it’s ready the next morning. Brewing with room temperature or cold water over an extended period of time extracts coffee differently than a short brew with hot water, and this is why Cold Brew tastes so unique.4
Some people prefer this unique taste, and for those people, Cold Brew is the way to go. Crash cooling is different, in the sense that it produces a very similar flavor profile to that of a hot brew, and you don’t have to wait 12 hours to drink it.5
To summarize, Iced Coffee methods deal with complicated ratios and changes to your grind that make it easier to end up with an under-extracted brew. Cold Brew takes forever and doesn't offer the same taste profile as the coffee brewed hot. With the Coil, you brew your normal hot coffee recipe and pour it through.
The Coil Review
The Coil is a Kickstarter-funded coffee chilling device dreamt up by Louisvillians Tyler Deeb and Chris Heiniger. It is the first device that gives you the ability to easily Crash-Cool your coffee ("Coil Crash-Cools" #tonguetwister). It's a beautifully crafted device with a simple function. We've had one on hand to play around with for a few weeks so we figured we'd put together some of our thoughts on it:
Design
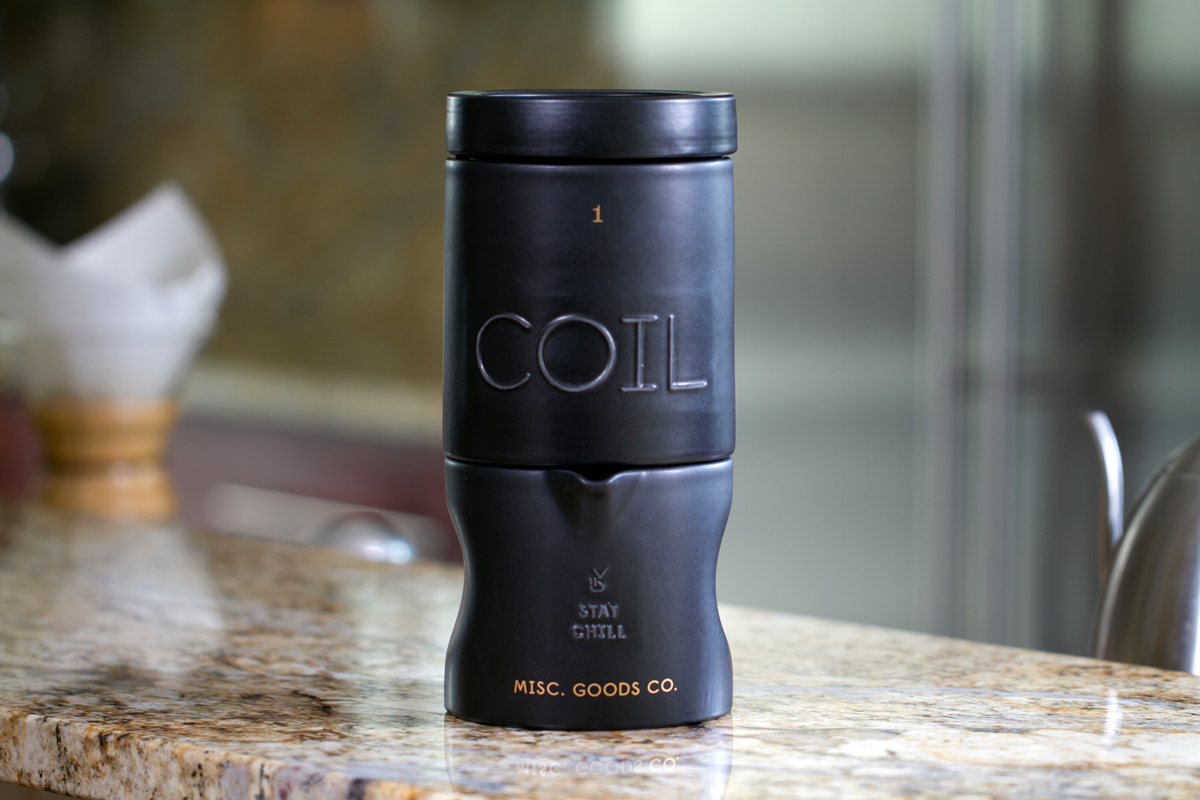
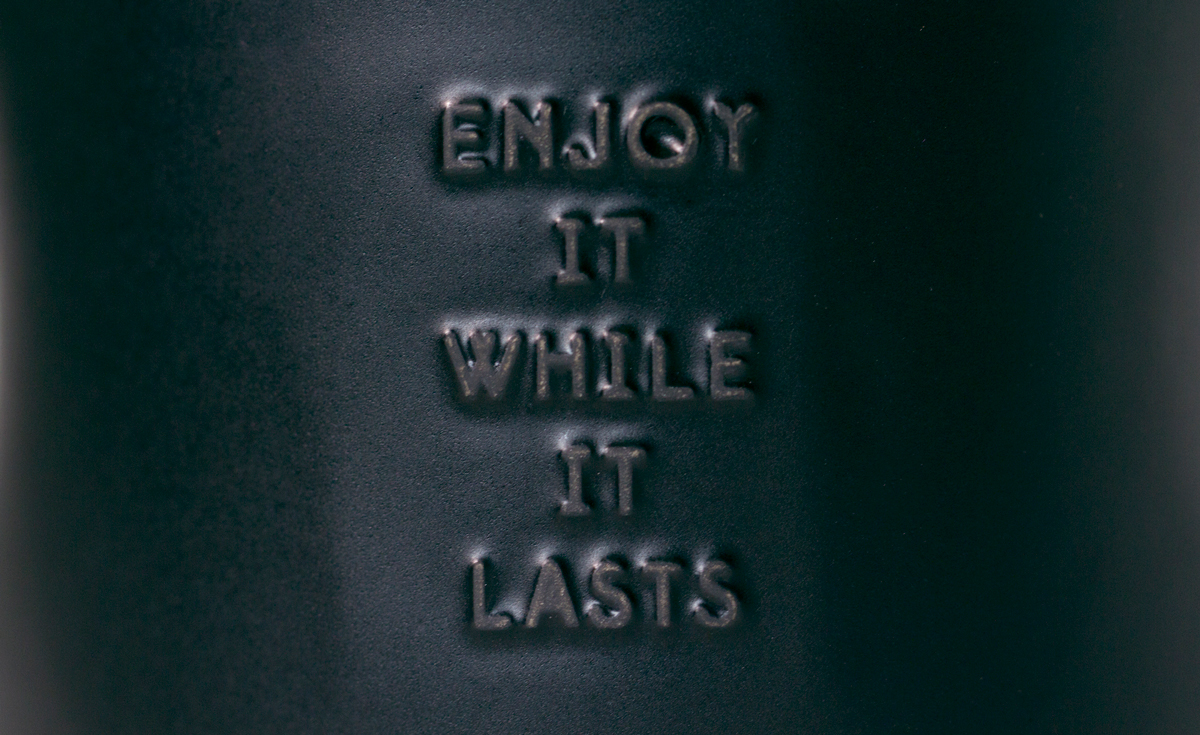
Tyler Deeb, the founder of Misc. Goods Co. and creator of the Coil, just happens to be a designer by trade. With a history in graphic design, this is Deeb's first major venture into product design and he pulls it off in style. He seems to make all the right calls, keeping the curves simple, and letting his own design style come out in the accents. Calling the Coil a "product" or "device" doesn’t seem fair. Its impression is statuesque, as the semi-gloss glaze finish of the black ceramic embraces and accentuates the crafted ceramic texture variations. The raised ceramic lettering and gold lettering provide a total package that is part crafted-industrial and part stately elegance. The Coil uses the aforementioned raised ceramic lettering to provide instructions around the device. The messages range from instructive ("POUR HERE"), to playful ("STAY CHILL"), to didactic ("ENJOY IT WHILE IT LASTS"). The last of which functions as an entendre whose theme you see communicated across Deeb's Misc Goods Co products. The choice of ceramic may be dissed by some, but for Deeb, everything in this life is fragile. Make it good, make it beautiful, and enjoy it while you have it.
Function
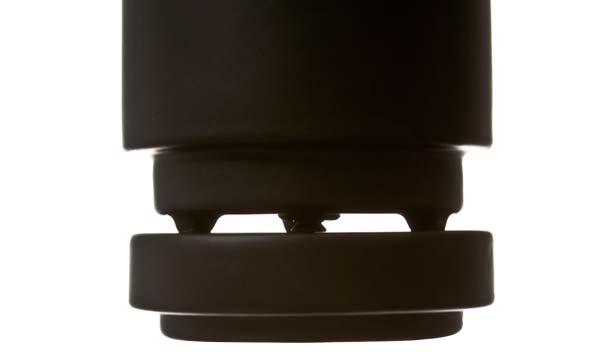
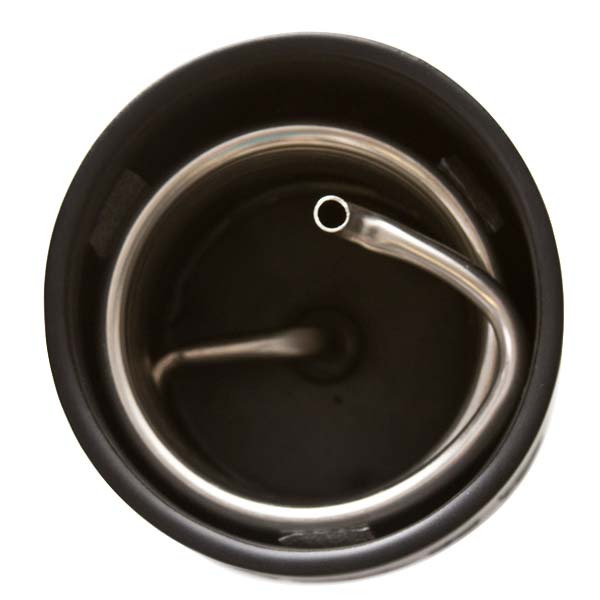
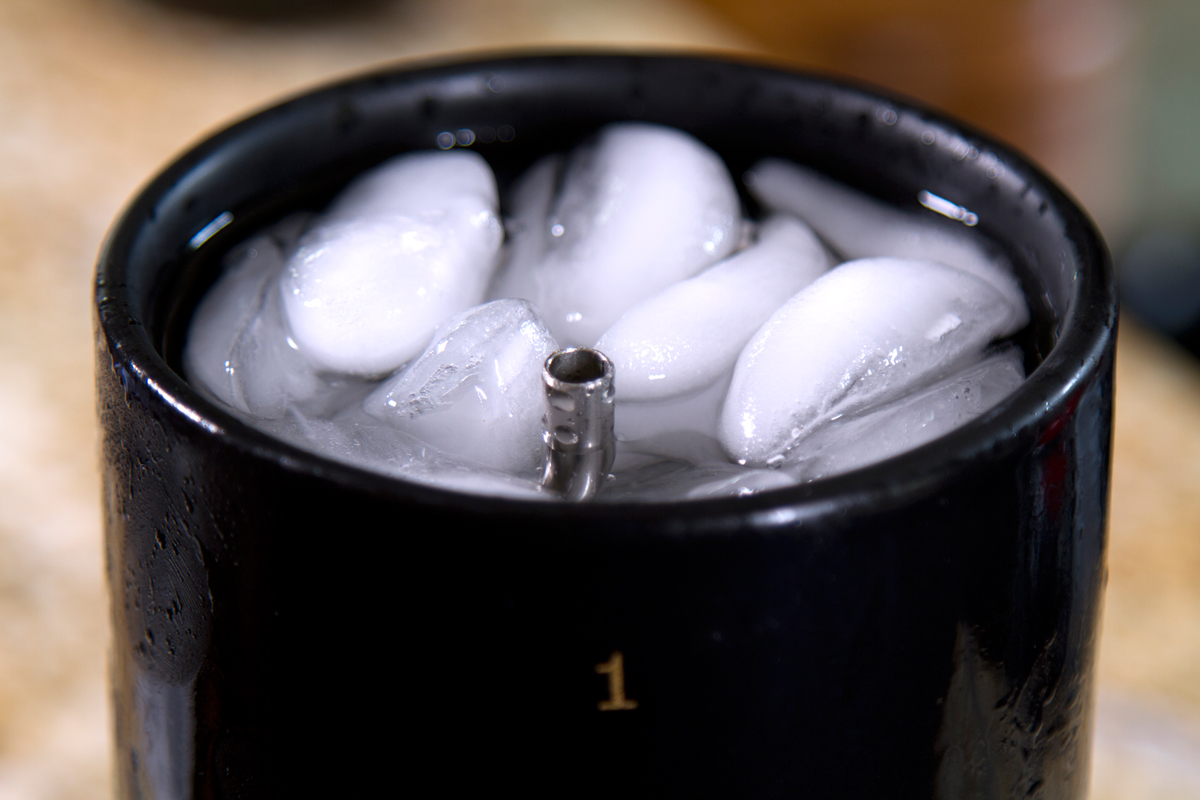
As mentioned earlier, the function of the coil is pretty simple. The Coil accomplishes the crash-cooling by running your coffee through 9 feet of stainless steel tubing submerged in an ice bath. It is comprised of three ceramic parts: lid, cooling chamber, and server. The stainless steel tubing sits in the top section, the cooling chamber. To use the coil, you fill the cooling chamber with ice and water, put on the lid, set the cooling chamber on the server, and then slowly pour your brewed coffee into the lid. The lid has a grommet that connects to the steel tubing which carries the coffee through the ice bath and out into the bottom server.
In terms of getting the coffee into the Coil, you can brew directly into it, but the coil is so heavy6 that it works on very few scales without some piece-by-piece taring chicanery that may or may not have adverse effects on your scale. The exception to this is the Jennings Scale; it can handle the full weight of the Coil. Since we wouldn't recommend brewing without a scale, our recommendation is to pour from your server into the Coil after you’re done brewing. If you do brew directly into the Coil, you'll need to make sure your brew time extends to over 3 minutes when brewing 450mL or greater. Otherwise, you’ll risk overflow from the top lid.
There are some functionality/design negatives that I see with the Coil. None of them are deal-breakers, but they're there.
First, the grommet in the lid of our test version sticks up from the lid basin a bit (.1"), meaning that not all of the coffee will drain through it, and you need to pick the lid up and move it around to get as much of the last amount of the coffee to drain as possible. After that, there's a small amount of coffee that is retained in the top (15mLs).
Secondly, the top chamber is designed with three feet which allow you to take it off and set it on the counter after you crash-cool the coffee. The problem is that you will still have some residual drippage that will leak out onto your counter.7 On our version, I can take the lid off, and then set the top chamber on the lid for the lid to catch any extra drops, but the feet don't exactly match up with the lid, so I have to sit it carefully, and get nervous it could tip over.
Third, we haven't found any of our drippers that will fit onto the bottom server. It would be great to be able to use the bottom server for hot coffee during the cold months, but as is, you'll need to take the lid, set it on the bottom server, and brew into the lid.
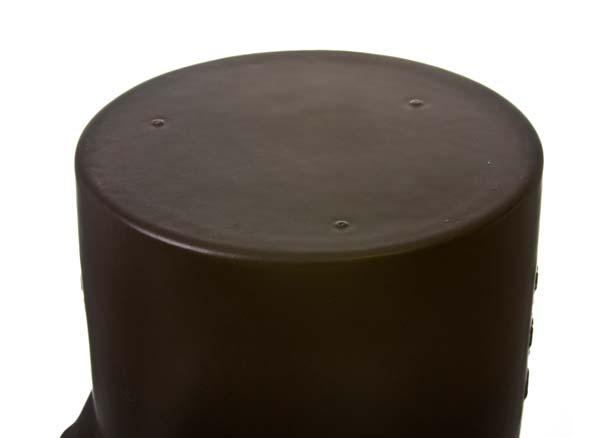
Fourth, there are three little pinhole feet from the ceramic firing on the bottom of the server. Another of our testers mentioned this scratching up a counter they were using it on. I tried to replicate this with my desk, but could only get it to leave marks when I was pressing down significantly.8
Finally, there are some composition parts that don't entirely match the quality of the ceramic. The stainless coil is buffered by pieces of foam to hold it in place and protect it from rattling. The foam is a lower quality open-cell foam, that doesn't look premium. Most of these negatives are nit-picking and don't take away from the overall look or function, but they're there and something to be aware of.
Performance
Temp
The Coil comes with a brew card that has 3 recommended batch sizes: 250mL (8.5oz), 350mL (11.8oz), and 450mL (15.2oz).9 We had a number of different results in our testing ranging from 47° on a 250mL batch to 57° on a 500mL batch. We did some testing when our break room was warmer (78°), and were getting some 250mL batches that were showing 53°. These temperatures aren't crazy cold, but we think they're plenty cold enough. If you want to add ice, go ahead, the colder temperature of the coffee will keep meltage to a minimum.

There are a few things that you can do to help get the coolest temps possible. We'd recommend filling both the top cooling chamber with ice and water and the bottom server while you're getting the coffee ready to brew.10
If you have the opportunity to chill your drinking glasses in the freezer, that will help too. Overall, the performance in terms of chilling was quite impressive and delivered a result that we were happy with.
Taste
The body, flavor, and strength of the brew is all retained. I'm conditioned to expect a cold coffee to either have the distinct cold brew flavor profile, or have an ice-cold watery taste. Tasting cold coffee that has the same body and brew strength as hot coffee is different. When drinking Iced Coffee it seems like I'm always drinking a small amount of melted ice water that hasn't yet mixed fully with the brewed coffee. Crash-cooled coffee on the other hand tastes even, well-rounded, full-bodied.
The Coil can chill just about any liquid you want, so of course we tested tea and lattes.
For the tea, we brewed an Oolong that was excellent. As with coffee, you get the same taste profile as the hot version chilled down. The Oolong was chilled down to 57° and honestly, this temperature was perfect. With many green, white, and white herbal teas, you're going to get a lot more subtle flavor notes and lighter bodies. The Coil compliments these teas perfectly by not chilling too cold as to numb out all of the delicate flavors, and by not diluting the body. The chilled Oolong retained its subtle properties chilled to that temperature and the light body perfectly matched the temp. It tasted like a high class beverage.
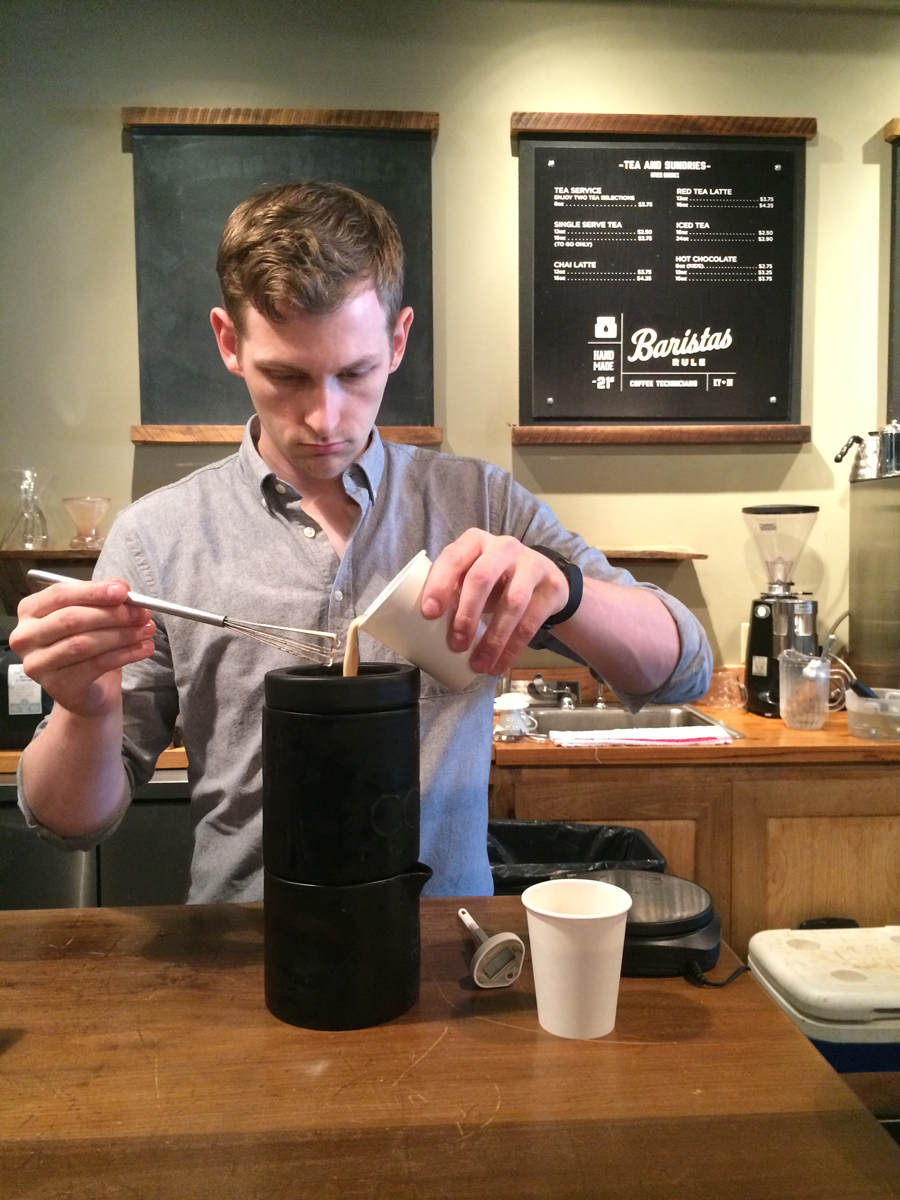
The texture of the lattes we ran through the coil were noticeably softer and a touch sweeter than the iced lattes we made. Our own Steve Rhinehart made and tasted the lattes alongside me and noted a little bit of caramelized sweetness to the crash-cooled latte over the iced latte, almost as if it had a touch of syrup to it. This makes sense, as steaming the milk hot brings out some sweetness in the milk and that sweetness is not tapped into when pouring cold milk over espresso and ice. The steaming also aerates which could account for the softer body we were getting on the crash-cooled lattes. In contrast, the iced latte tasted flat and hard.
Care and Cleaning
The Coil is a low-maintenance device. There is a nasal aspirator included with the Coil which is pretty much all you need for cleaning. That's right, a nasal aspirator. It's funny to see at first, but it does the job perfectly well.
After every use:
Run a couple ounces of hot water through coil and use aspirator to pump out the water.
Deep Clean:
Full Circle Cleaner after every 30 uses.
Full Circle Milk Wash after every latte run through. If you're using this to cool multiple lattes at home or using it in a cafe setting, you can run hot water through after each use and run Milk Wash through a couple times a day. Just make sure and run the milk wash through after the last latte use of the day.
Troubleshooting:
If the Coil slows down or won't drain, you may have some fine coffee grounds that made their way into the coil and are blocking the flow restrictor. Take a penny, unscrew the flow restricting screw. After it is out, run some more water through the coil and use the aspirator to pump it out again. Also use the aspirator to blow or suck out the hole in the screw. Put the screw back in and you should be good to go!
Application
At Home
There are two things that make the Coil special: its ease of use, and its looks. These characteristics fit particularly well at home. Part art piece, part craft-coffee gadgetry, this is something you can be proud to have out on your counter.
In the Cafe
There is a lot of potential value in adding the Coil to a cafe line-up. If you'll allow me to brainstorm (spit-ball):
- In lieu of a dedicated double-strength brew for iced coffees, you could offer crash-cooled by the cup from a bulk brewer. Just pour from the bulk carafe, and then pour through the Coil to chill. The coil takes about 20 secs to pour a 250mL (8.5oz) brew into the top and 3 minutes for that brew to make it's way through the Coil.
- Alternately, if you're offering multiple brew methods in your cafe, this adds another unique brewing method for cold coffee.
- In presentation and service, the taste profile produced by the coil could work well in a whiskey or tasting glass offered Neat or On-the-Rocks. Crash-cooled tea would work especially well with this. Crash-cooling keeps the tea delicate without cheapening or watering it down like adding ice does. Presenting the crash-cooled coffee or tea like a cocktail beverage would allow you to match the presentation quality to the beverage quality.
- Offer a tasting flight of the same coffee hot brewed, cold brewed, and crash-cooled.
TL;DR
It's not everyday that we get to introduce and review a product that offers a new way to present coffee. The Coil is beautiful, it's unique, and it introduces a new way to make cold coffee without complex ratios or wait times.
Endnotes:
- 1Just think of the proliferation of websites and resources dedicated to 'bootstrapping' or 'life-hacking'.
- 2Crash-Cooling is rapidly cooling the coffee without diluting it with ice. The term is used regularly in other industries, but I first saw it used for describing this cold coffee method by our own Steve Rhinehart.
- 3Personally, I really dislike the taste of Cold Brew, but the reason I dislike it (smooth, mellowed-out taste), is precisely the reason some people like it. And that's fine, there's enough room in cold coffee for a number of taste preferences.
- 4See 'Temperature' Section, http://www.scaa.org/PDF/CoffeeBrewing-WettingHydrolysisExtractionRevisited.pdf
- 5Or wait 12 hours to find out the grind size or dose you used was off.
- 64.5lbs empty, 6.25 when top chamber is filled with ice and water.
- 7This isn't much different than when you're done brewing with a pour-over dripper, but the feet on this section of the Coil are just begging to be set on the counter instead of in your sink.
- 8Deeb has said that this is something he plans on discussing with the ceramicist and that he believes will be an easy fix.
- 9The Coil server can hold up to 600mL, so you can chill up to that amount if you wish.
- 10Remember to dump the ice and water out of the bottom server before placing the top chamber back on. I forgot and ended up with a bottom server full of slightly coffeenated ice water a couple of times.
