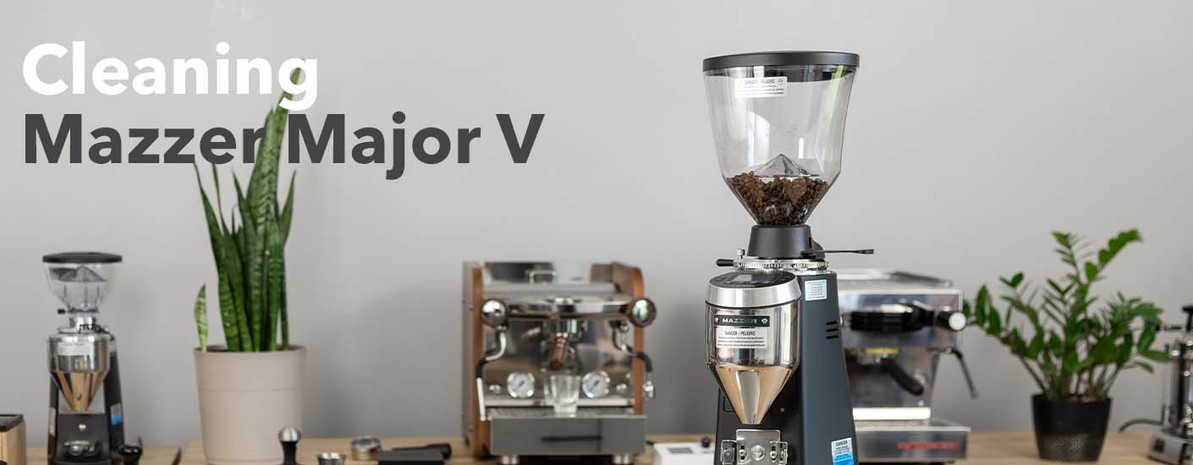
Video Cleaning | Mazzer Major V
In this video we will walk you through, step-by-step how to clean you Mazzer Major V.
Hey, there. It's Ragan from Prima Coffee, and today I'm going to be showing you how to clean your Mazzer Major V. All right, so let's get started. You are going to need a few tools to do this. We have a flathead screwdriver, a 4-millimeter hex Allen key, we are using it with a driver, something that is sharp and pointy. It doesn't matter what that is. It could be something along the lines of this, or even a toothpick can work. We have the Mazzer brush and a vacuum. We suggest, starting out, that you clean the grinder with some kind of cleaning tablet. We have Biocaf cleaning tablets, and we will drop the link to the video on how to use those. After you do that, remove the hopper. What's really cool with the Mazzer V is the adjustment collar stays in place, so that when you remove all of this, you don't have to...it doesn't mess up your grind adjustment at all. After you remove the hopper, we are going to be removing the top burr assembly. There are four screws up here that are covered by little rubber pieces. The first time, we're going to use this little pointy thing. It's just easier to pop them off this way. All right, once you have these four removed, this...it's pretty heavy, but it should slip right out. And you'll see your top burr. So, to really go ahead and clean this thoroughly, go ahead and remove the bottom burr, and you'll remove that using a Phillip's head. There's just three screws keeping this in place. All right, once you have the three screws removed, you get a good grasp onto the burr on either side, and you can pull it straight up to remove it. And there's tons of coffee throughout, and that's another time that something small and sharp will help get the coffee grounds out of the small creases. And here, you can use the Mazzer brush or, better yet, a vacuum. And then you can go ahead and remove the top burr as well the same way using a Phillip's head screwdriver. Again, you use something small and sharp. Get all the coffee grounds out of every little nook and cranny. You can go ahead and sweep and even vacuum this with it as well. It is important to note that, when you're putting all of this back together, even a slight amount of coffee ground can keep it from sitting straight and makes it hard to re-assemble. Once you have cleaned all the burrs, you can put everything back, screw it all back together. Make sure the holes are lined up. Put the bottom burr in first. All right, and then we are going to put top burr back on. Screw that up using the flathead screwdriver. All right. Now, once the burrs are back in, you can pop the top burr assembly back in place, and, because everything that just popped back in normally, it means we did a good job cleaning it. There is no coffee grounds where there shouldn't be. Just tighten this up. We're going to stick these little rubber covers back on, and then, once the hopper's back on, we are done. Right, and the hopper should fit comfortably right back. Tighten that back up. Your grind setting is exactly where it was before you started this, and now you have a nice, clean grinder.


