
Video Overview | Delter Coffee Press Portable Coffee Maker
Delter's Coffee Press delivers consistent, quality brews with ease, whether you're trotting the globe or relaxing at home. Its lightweight body and compact size make it an ideal travel companion, while its innovative Jet-Seal works to combat common travel-brewer issues and promote greater control over your brew. Learn more about the Delter Coffee Press and watch it in action in this video, as Steve shares on this travel-friendly coffee brewer.
Transcript
Hey folks, it's Steve with Prima Coffee. Today we're taking a look at the Delter Coffee Press. This is a compact and travel friendly coffee maker with a pretty unique approach to brewing. So, the Delter might look pretty familiar. It is fairly similar in size and shape to the AeroPress that we all know and love. However, it does take a pretty different approach to how you brew coffee. And that hallmark feature that the Delter has is what they call the jet seal. It is basically a piece of perforated silicone that separates the coffee bed from the water until pressure is applied. So, unlike the AeroPress, we actually don't really have much in the way of different approaches to brewing. We can't do an inverted method here. We have to brew upright, but that's okay because the Delter actually gives you pretty decent results especially as a travel brewery. It's going to give you a really great cup of coffee for backpacking, for traveling on the road, anything like that.
Delter Coffee Press Portable Coffee Maker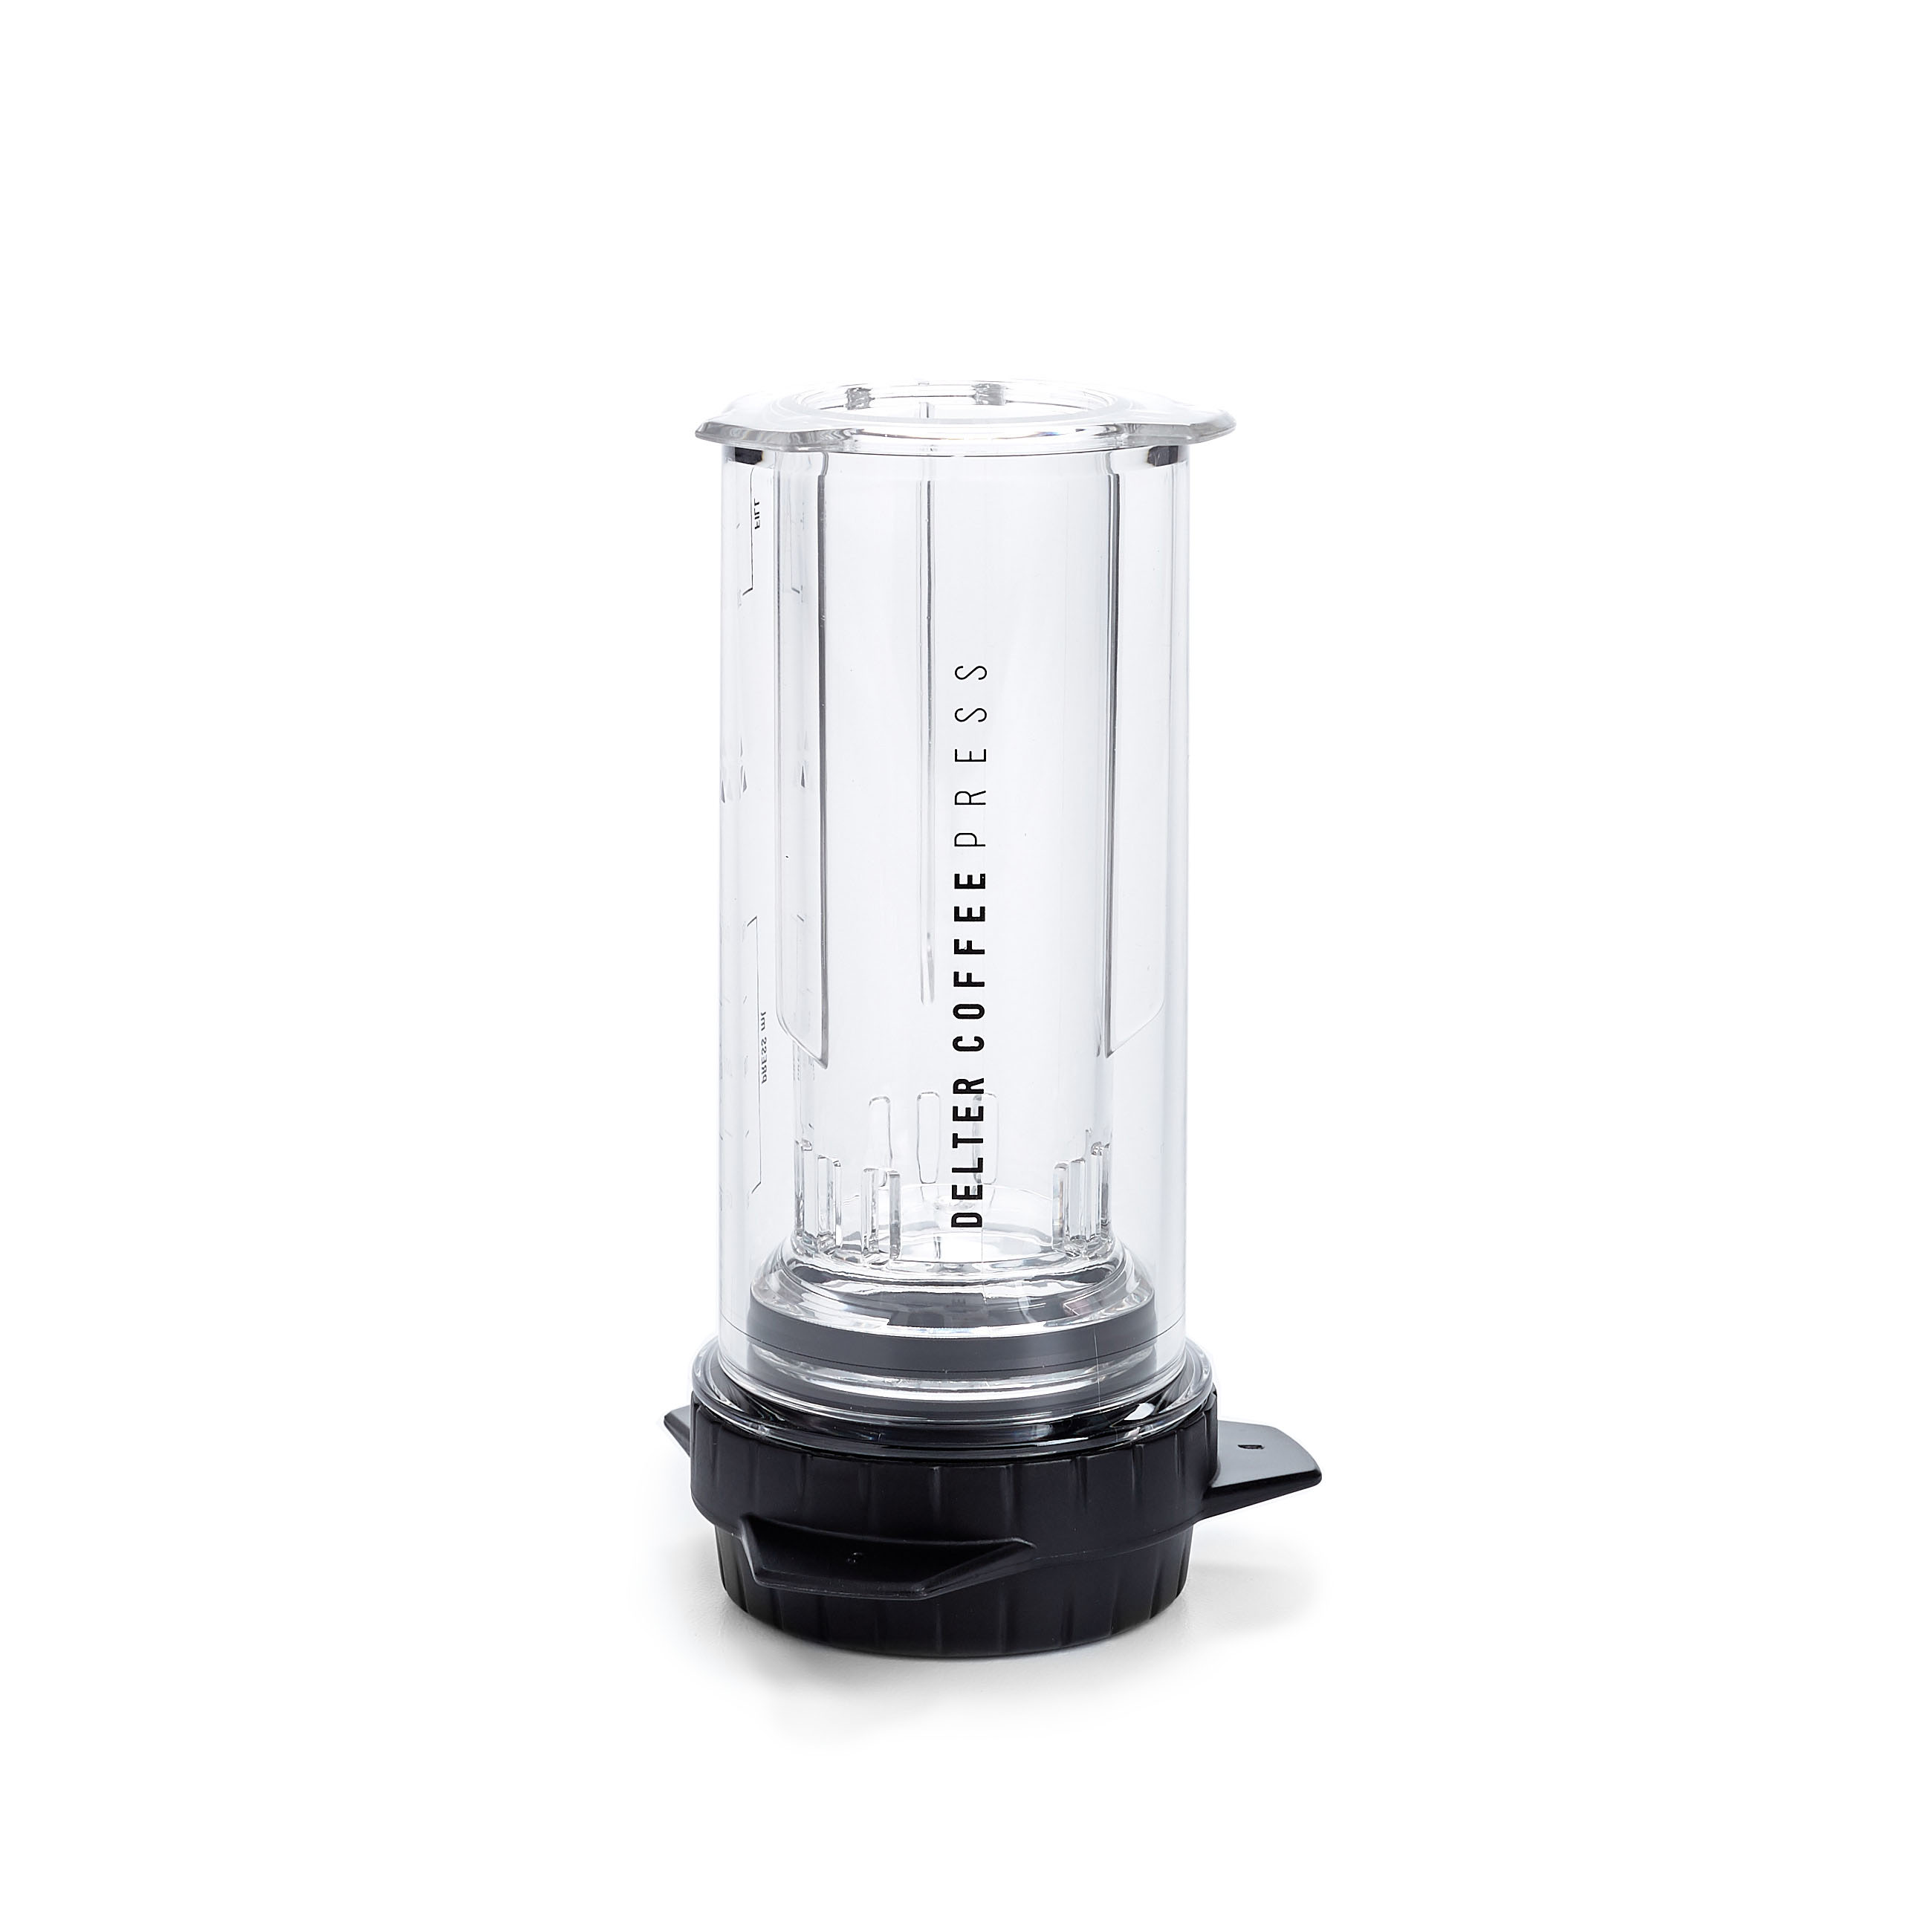
Innovative Jet-Seal keeps coffee and water separate until pressure is applied
Featured Product
Now, this is a 250-milliliter capacity. But we actually have sort of an expanded capacity because you can refill the Delter and continue brewing thanks to its sort of unique design. We have a Tritan plastic brewing chamber and plunger. We also have this pretty unique, what they call a y-seal, it's basically a one-way gasket. So, as I push down the gasket seals against the sidewalls and will force my water down through the jet seal and through the coffee. But then if I actually draw back up, I can access and sort of draw more water from above in the brewing chamber to sort of refill and press again. So, I have some options here in terms of how much brewing capacity I have. We also have this neat little silicone cap, which Delter says holds about six grams of whole beans. So you can use that as a reference scoop. You can scoop three or four scoops of whole beans in your grinder, grind them up, load them into the Delter Coffee Press and sort of basically brew by eye because let's face it, a lot of people when they're traveling are not going to really bring a scale or pre-weigh all the stuff for coffee brewing.
We do have some handy graduations on the side of the brewer, so, again, we have a 250-milliliter capacity almost to the top, and then we have some lines to denote how much water is in either part of the chamber. Let's actually take a look at how to brew with this, it's pretty simple. I'm going to screw off my filter cap here, and, again, I have to brew basically upright, and in order to load it, I need to invert the Delter. I'll load my coffee in here. I have 20 grams of about filter-grind coffee. You can go a little bit finer. You can brew sort of a concentrated sort of moka-pot-style shot of coffee. You can't really do espresso-style, you just won't really have enough pressure, but you can do sort of moka-pot-style strength. It does take AeroPress filters, paper filters, it can even take aftermarket, like, steel filters, like the Able Disk filter. Not everyone will fit, but you can probably fit most of them in here. The filter cap is almost exactly the same size as the AeroPress cap. So we're going to add our filter in. You can rinse it if you like, I'm not going to today.
Screw the cap back on and now we need to turn the Delter back upright. So, we have our coffee loaded into its position, basically. It's always going to stay in this lower chamber. It is sealed off from any water that we add here until we press. So, what I'm going to do is I'm actually going to grab a scale. I'm going to set up my server here and I'm going to pour in my first 100 milliliters into the press and then I'm going to treat that sort of as a pre-infusion. And I just pour water straight into the top. You'll note that my plunger is set all the way down. I'm going to weigh out that first 100 grams. Perfect. And then I'm actually going to set the scale aside I'm not going to use it from here out. What am I going to do, as I noted before, I'm going to draw the plunger up and that allows water to enter from the top part of the chamber to below the plunger. And then as I press... I'm just going to press nice and slow. This is just going to be sort of my first infusion stage. I'm going to press this all the way through. And, essentially, what I'm getting out of this is sort of a strong first extraction. It doesn't require a ton of force.
And what I'm going to do afterward is add another 200 milliliters to get more of a full, you know, mug of coffee. That 20 grams to about 300 milliliters is a pretty good place to start. So I'm going to fill...I'm going to turn this towards you so you can see, I'm going to fill to that 200-milliliter line up here. All right. And then I'm going to draw my plunger back up partway, press again. I'm going to press part of the way and then I'm going to draw my plunger back up to draw the final bit of water into the lower part of the brew chamber and then give it one final push. So, I kind of like this method because it's somewhat similar to having maybe, like, three pours in a V60 or Kalita Wave. I find that you get decent body because of the a little bit of added pressure when you are plunging. The force of water moving through the cake of coffee is pretty nice. It helps to add a little bit of body, but you are still paper filtering so you don't really have any fines to worry about or muddy brews or anything like that.
So you get good flavor quality, and good flavor clarity. I just have, like, a tiny little bit of water left here. And, overall, you know, the cup quality is pretty good. You know, for a travel brewer, it tastes great, it's nice and lightweight, it's really easy to use. Just about the only downside of this versus the AeroPress, I mentioned, you know, you don't really have the versatility and the ability to brew inverted if you want to. Really, the only downside, I think, is that the clean-up is a little bit different. You know, with an AeroPress, you can push the plunger all the way through the tube and eject, you know, any coffee that you have, but since we don't have that here you do probably need to give your Delter a rinse. You remove the filter cap, dump out any coffee that you have into your, you know, waste bin, and then give it a rinse and a wipe-out just to get any...clear out any extra residue.
What I actually like to do is go over to the sink and, you know, pour some water into the top and push that through the jet seal also to helps clear some of the excess grounds that might stick behind. But overall, very easy to use, super-lightweight brewer too, it's only about 250 grams total, so it packs really light. You can take your paper filters and stick them in the internal cylinder to travel with you. You could pack some beans in there as well. And the sort of scoop combo cap will help keep everything nice and tidy inside that brew chamber. So overall, very easy to use and a nice, unique brewer to add to your travel arsenal. So that is the Delter Coffee Press. Thanks for watching.


