Product Maintenance | How to Clean and Calibrate Your Mazzer Espresso Grinder
To keep your Mazzer espresso grinder performing at its best, regular maintenance is a must. Routine cleaning can help prevent clogging in the burr chamber, which is a top cause of grinder failure. Want to keep your grinder going strong? Watch along as Ryan demonstrates how to clean and calibrate a Mazzer espresso grinder.
Transcript
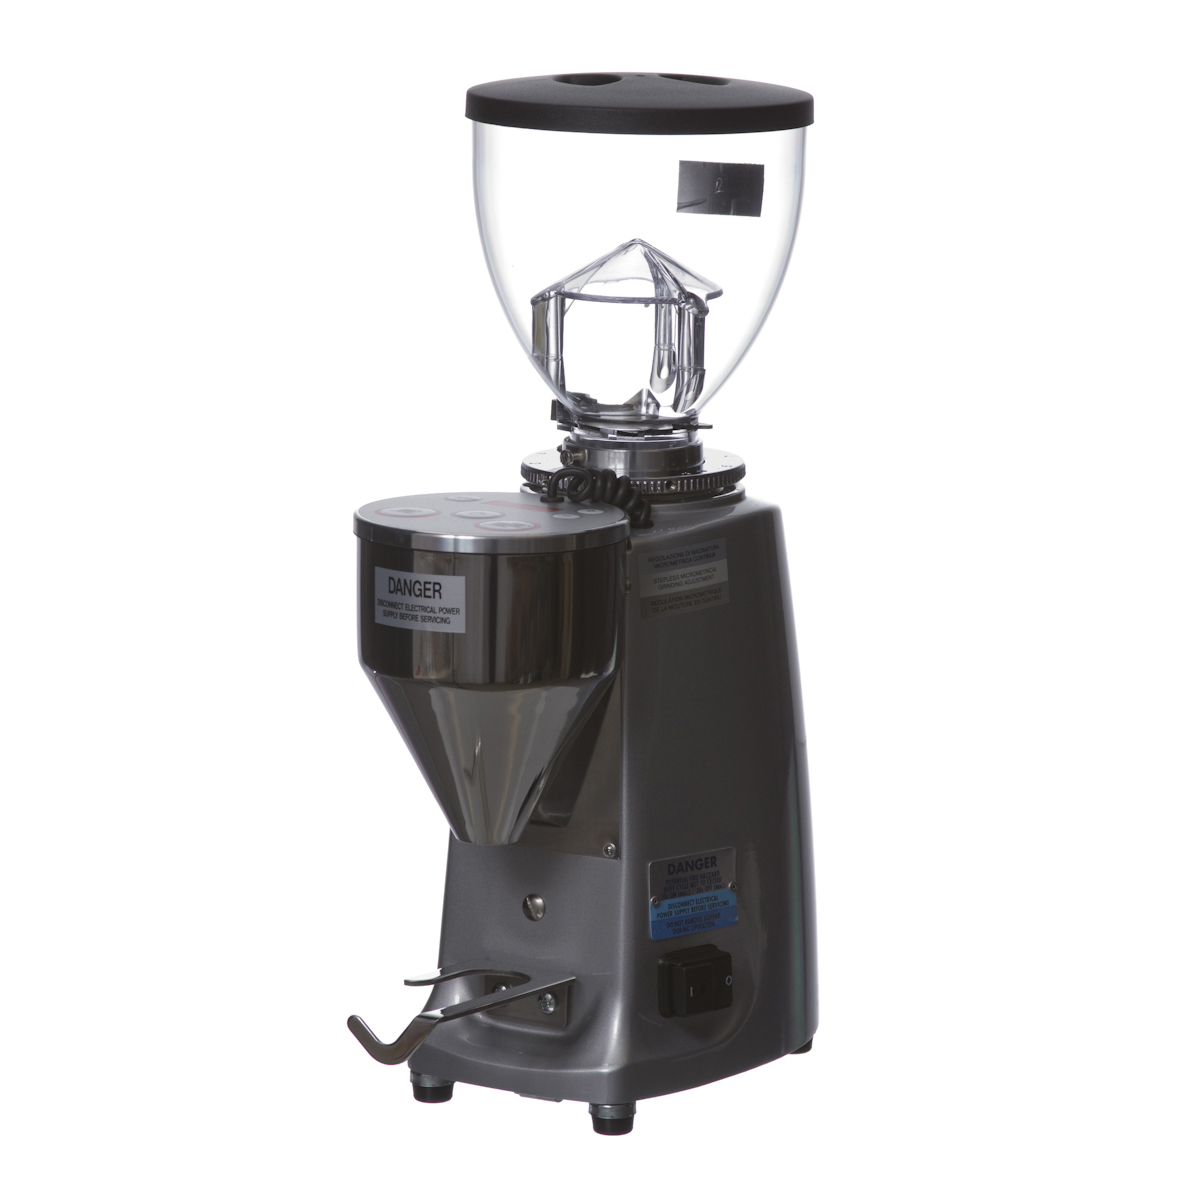
Hey, guys. Ryan from Prima Coffee Equipment here today and I'm going to be showing you how to clean a Mazzer grinder. One of the most common problems that's reported to us in the customer service department at Prima is, "My grinder has stopped grinding or it has just stopped working." Well, about 99% of the time, that issue can actually be traced to clogging in your burr chamber. That's usually due to a lack of cleaning or grinding too fine so that those really fine grounds kick up and stop the burrs. So let's jump in and I'm going to show you how to clean the grinder and resolve that problem. So first of all, you're just going to take the hopper off. You can just pull up. The Mazzer Mini here It doesn't have that screw in the back that secures it down, so you can just lift up.
The next thing you're going to do is take off this lid. If you have a doser, that will prevent the collar from turning if you don't. Next we're going to take out the screw on top of the collar that prevents it from moving in a full circle. You just need a small flathead screwdriver for this. Okay. And there's a few pieces to this grinder, so it's good to have a clean place or even a cup next to your grinder to set them aside so you don't lose them. Okay. Don't forget that. Screw out. Now we can remove the collar and we're going to turn it in the course direction. This is kind of counterintuitive. You'd think right tighty lefty loosey, but Mazzers are actually threaded in the opposite direction. So turning it to the left will tighten it, turning it to the right will actually loosen it. Once you've loosened it a few turns, you can just go ahead and lift this off.
The next step is to remove these three springs located on the top of the grinder. And we're just going to set those aside with the screw. Okay. Now we have access to the burr chamber. You can see the bottom burr in there. You can also remove that burr and get it cleaned. For today's video, we're just going to show how to clean the burr chamber because that's the primary issue when it comes to Mazzers getting bound up and stopping. So what you want to do is take a screwdriver if there's caked grounds and really get in there and remove those on the side. You can use a brush. It's especially important to remove the grounds from these threads. Brush the burr chamber as well. As an extra step, you can also use your screwdriver and remove that bottom burr and use that grinder brush to scrub the grounds off of that as well.
I also brought some compressed air. This is a really good tool for getting excess grounds out so you're not turning this upside down and shaking it. It can also easily get grounds outside of the chute as well. That's a hard place to get to with the brush. Okay. So once the threads and the burr chamber are completely clean, what you're going to want to do is take some food safe lubricant. We like Molykote 111, otherwise known as Dow 111. It's a food safe lubricant. What you can do is just take a little tiny bit and put it on your finger, not a generous amount, and then rub it into the threads on the side. Okay. Once you have that pretty well incorporated into all the threads, it's time to start reassembling the grinder. So the first thing we're going to do is put the springs back in place. Now we're going to line up the top of the adjustment collar. And again, you do not want to turn this in the right direction because you can cross-thread it. So we're going to turn it to the left. Just put a little bit of force on top of it and it will catch. Great.
So while you're here, you may as well zero out your grinder to set a reference point. And you can do that by turning this in the fine direction while the grinder is running, really slowly until you hear the unmistakable sound of burrs chirping. Once you hear that sound, just go ahead and back it off maybe about a quarter of a turn. And then you can take something like a chalk marker, something that will come off of stainless steel, and put a little reference line right in front here so you know that's your zero point every time you do this. So that's it. The clogging issue is pretty common. This problem is especially prevalent with the Mazzer Mini and the Super Jolly's, which have a little bit less powerful motor. So if your grinder has stopped up and you're wondering what's going on, going through this process and kind of resetting everything is going to help you get back up running. So that's it. Thanks for watching.