
Video Overview and Installation| Espresso Parts Glass Rinser
Bring coffee shop convenience into your very own kitchen! With the Espresso Parts Glass Rinser you can rinse glasses, mugs, and cups using a high-powered sprayer that is installed directly to your kitchen sink. Learn more about the Espresso Parts Glass Rinser and how to install it by checking out this video.
Transcript
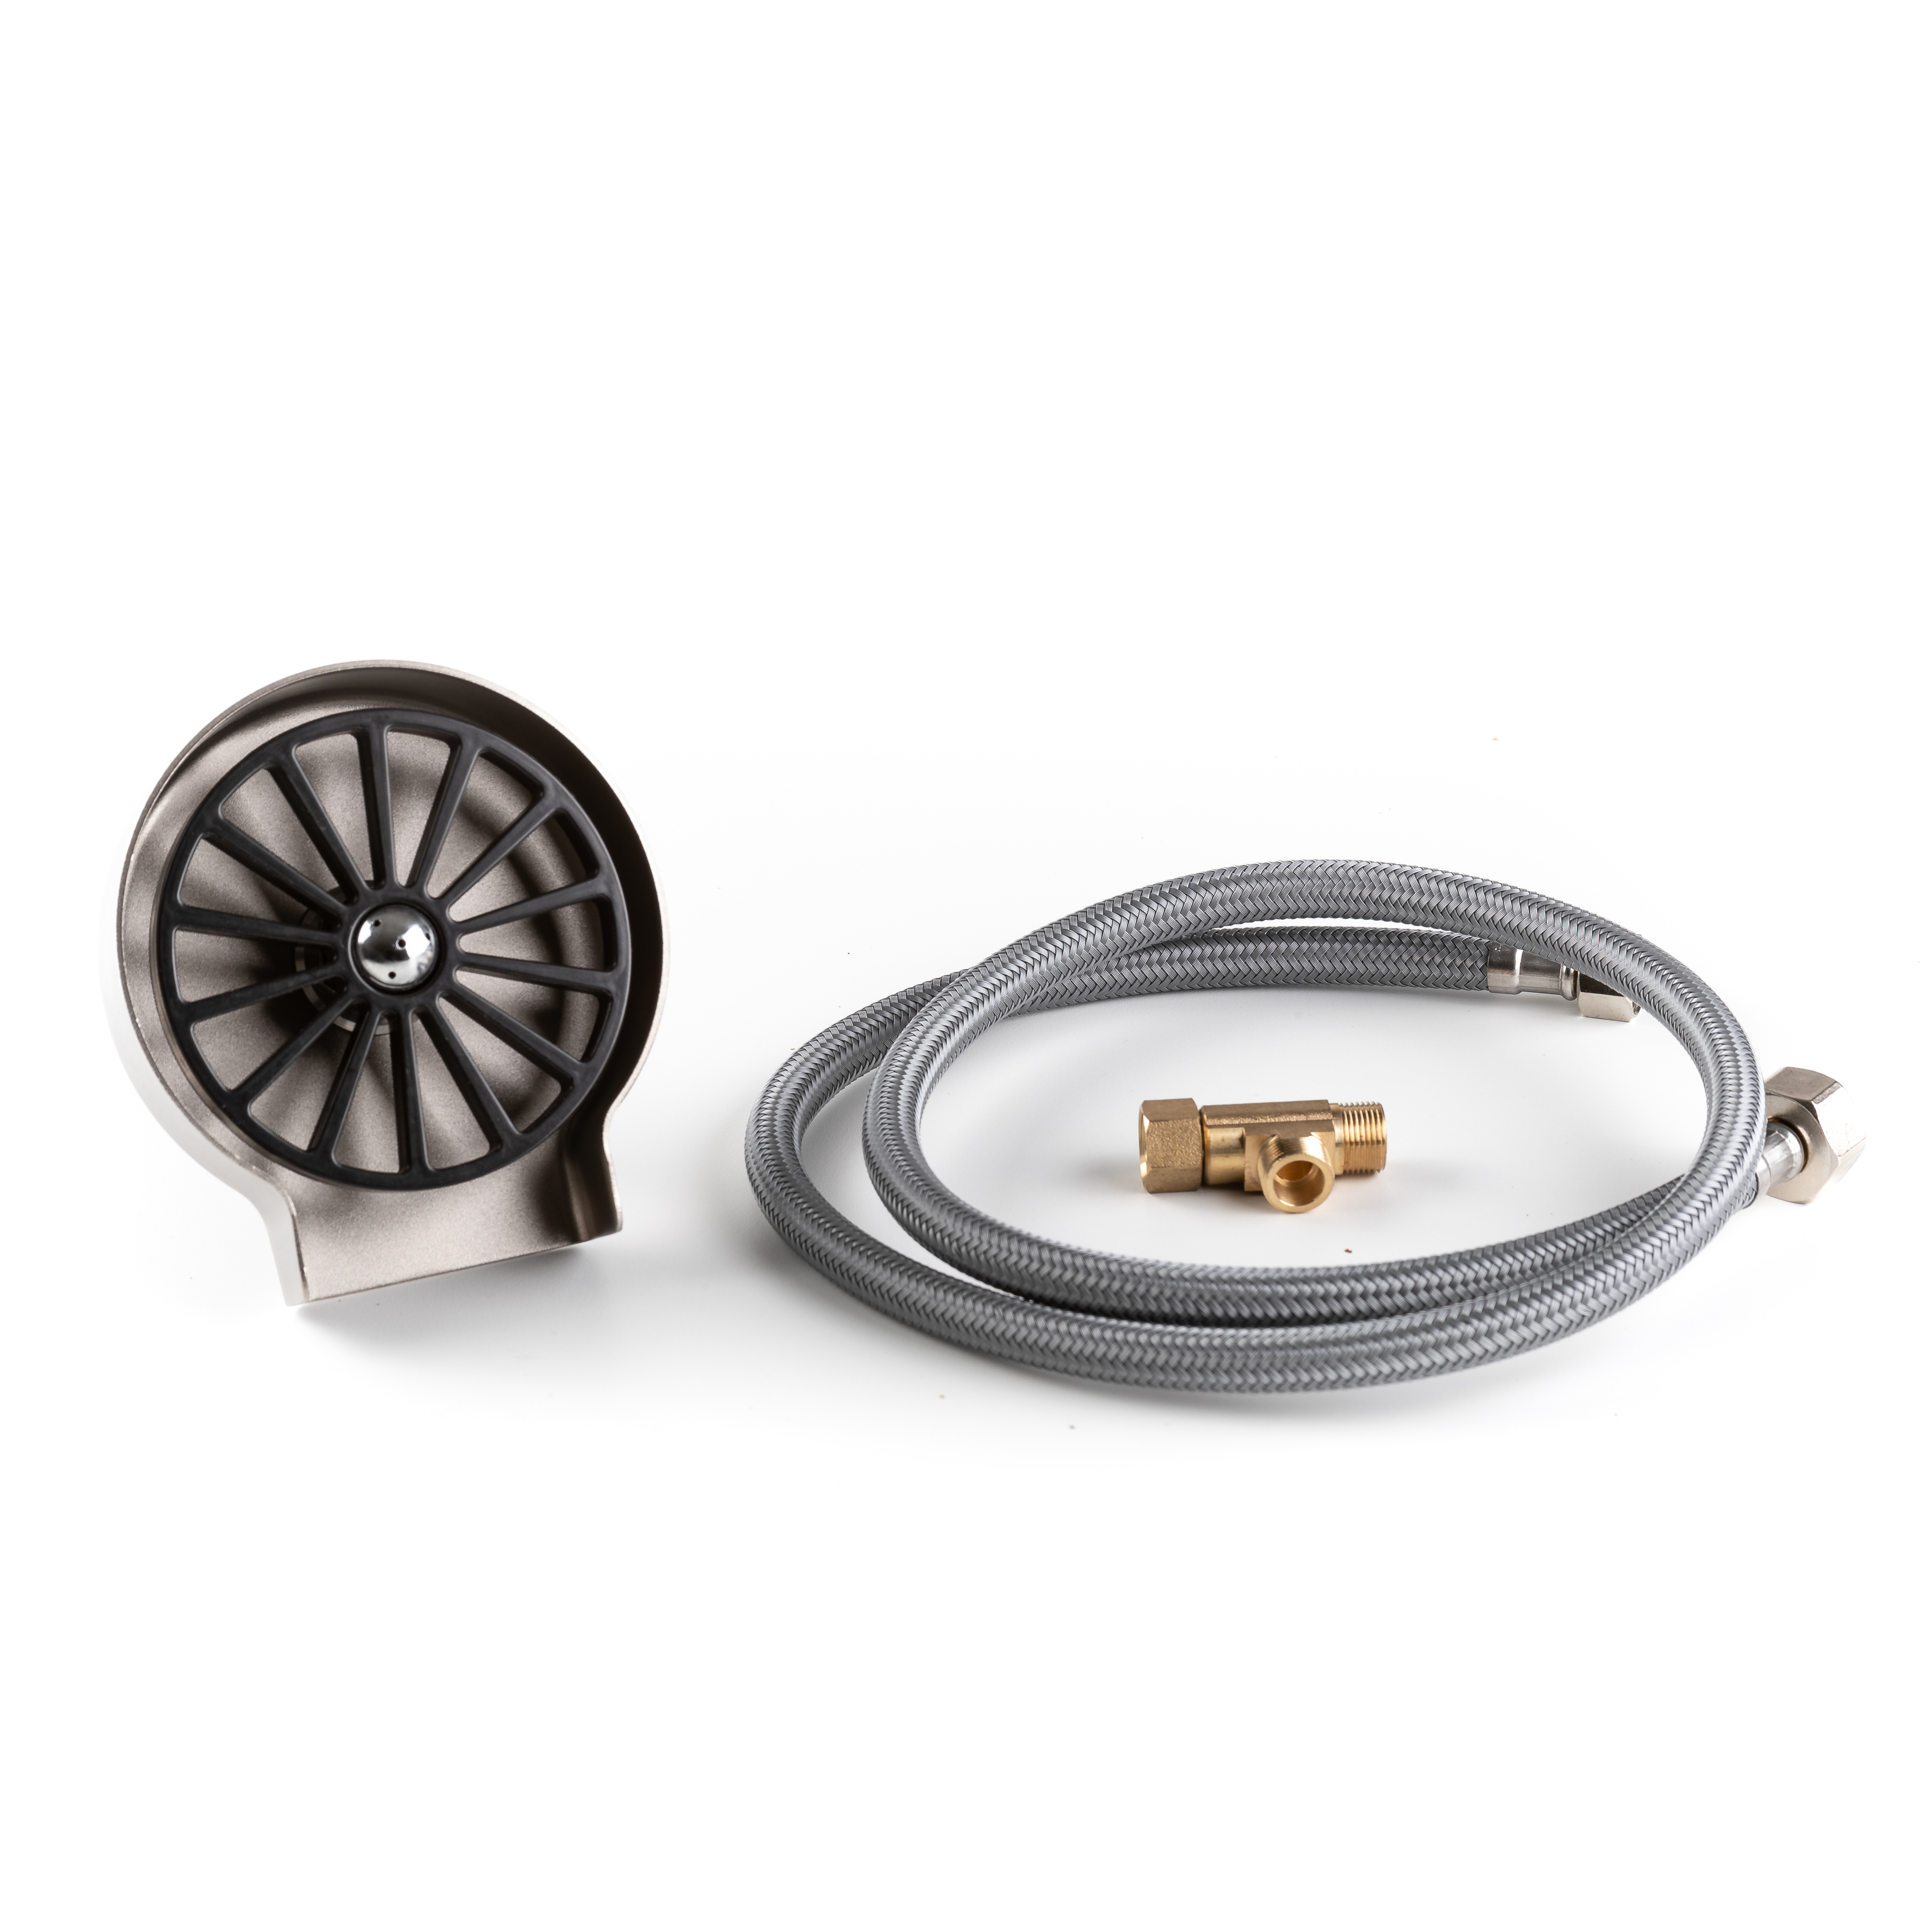
Hey, there. It's Reagan from Prima Coffee, and today we're going to take a look at the Espresso Parts Glass Rinser for kitchen sinks. We're really excited about this product because it brings the convenience that you see in cafes, restaurants, and breweries into your very own kitchen. So I'm going to show you what this rinser is about and how to get it installed. This glass rinser is compatible with any drinkware that has a mouth size between 1 and 3.6 inches in diameter. So that means your coffee mugs, your wine glasses, your pint glasses, and even your baby's bottle can be cleaned with this. It has a swivel plate too, so when you apply pressure with your cup or mug, the water shoots out, and will hit all of those hard-to-reach areas on the inside of your cup. So the rinser comes with everything you need to get started. The only thing you need to bring is a kitchen sink to install it into, and maybe a wrench or some pliers to make sure everything's secure. Inside the box, you will find a rinser plate, the spray rinser assembly that includes a spray head, a plate gasket, 2 more gaskets that will go underneath, a washer, a fixing nut, the spray pan, the T-fitting or adaptive valve, a spacer, and a 42-inch stainless steel, braided water line. The pan itself, when you're installing it, is 4 inches in diameter, and you need to make sure that there's at least 2 inches around the installation hole. And it also needs to be no further than 2.25 inches from the edge of your sink, so the water can flow into it without spilling everywhere. It also comes with a spacer, and this is provided for sinks that have raised flanges. And we see this most often in older stainless steel sinks. So what you do with this is you place it underneath the pan's hole, and they line up, and it levels it, rather than installing it on the flange where it will sit at an angle.
So now that we know all about the different parts, I'm going to show you how to get this installed, and it's super simple. Okay, so now we're going to take a look at how to assemble this because there's a raised flange on this sink, we are going to install it using the spacer. So let's put the spacer, set the plate on top of that. And then we'll put the spray assembly in, you'll see that there is a plate gasket and a gasket underneath. Slide that through. Then we're going to need to secure it from the bottom. So we have a gasket. We're going to slide up. And a washer. And then we have the fixing nut. So we're going to hold this from the top to keep it secure. If you're under your cabinet, you're probably going to need another hand, somebody to hold it from the top, so it's not moving around. And then we'll just spin this up. And this is one of the areas where a tool will, like, come into play. Just ensure that everything is nice and tight. Now we obviously don't have this hooked up to a water line, but we did, that's the first thing you want to do, is turn off the water to the valve that you want to use, whether that's the hot or the cold. Once the water is turned off, you can remove the water line, and you will install the T-fitting or the adaptive valve fitting. Once you've done that, you can...it'll be connected right here. You will want to connect your normal water to one end, and then you will take your stainless steel, braided water line and connect it to the rinser. Okay, once that is secure, you'll take the other end and also connect it to the T-fitting. And after that, it's that simple, it's pretty much done. You might want to turn on your water, make sure nothing comes spewing out, or make sure everything is tight with the rinser as well. Any leaks, just get a wrench or pliers, and tighten it all up. And it's really that simple. You now have a rinser installed in your kitchen sink. So once you have the rinser installed, you have cafe convenience in your very own kitchen all the time. So that means that the plethora of coffee mugs and cups that has a tendency of accumulating is no longer acceptable because all you have to do is press down, swivel around, and your glass is rinsed.


