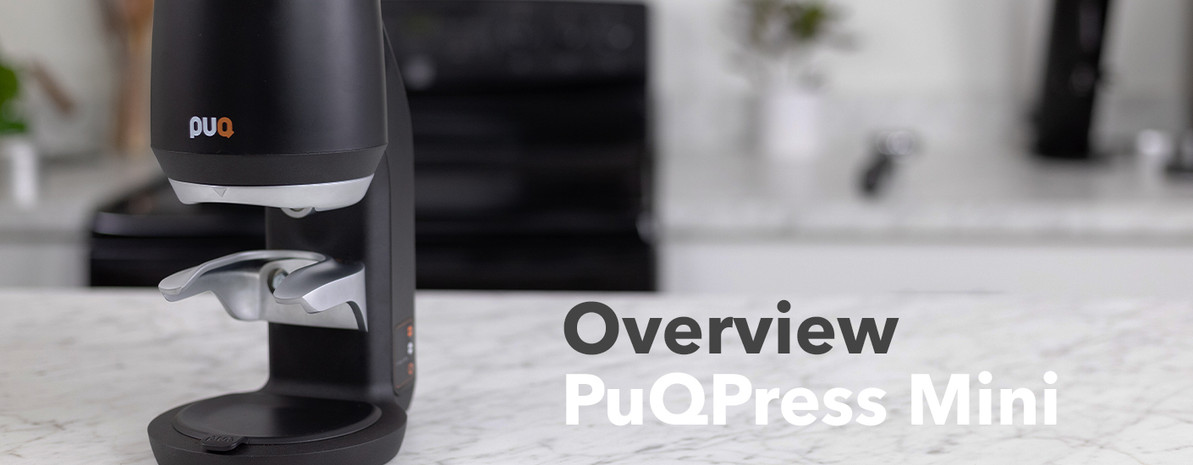
Video Overview | PuQ Press Mini
Transcript
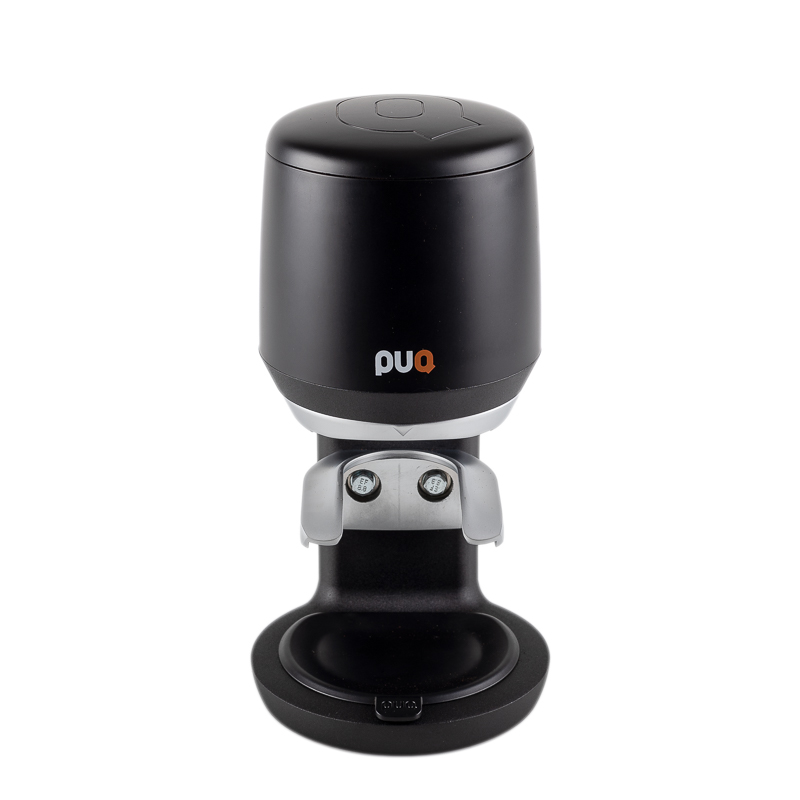
Hey, guys. It's Ragan from Prima Coffee. And today, we're going to take a look at the PuQ Press Mini. The PuQ Press Mini is a fully automated tamper that has a lot of the same features as the Q1 and Q2, but this one was designed for a very low volume cafe setting or perhaps a business that wants to add coffee but not focus mainly on it. And it would make a really nice addition to a home espresso setup. It has a lot of the same settings that you see in the Q1 and the Q2, but they're different. For instance, the Mini has less pressure settings than the Q2. It's still from 20 to 60 pounds, which is plenty. And it also has less tamping settings. This has three. But as a combination of your pressure options and your settings options, you have tons of room to experiment and figure out what works best for you. Regardless of the settings that you choose, it does produce consistent tamps across the board, which once you have dialed in what's perfect for you, you'll get a better extraction. And most importantly, with the PuQ Press Mini, you don't have to worry about straining your wrist from tamping all the time. As you can see, it's a pretty small and compact machine. It is 11 inches tall, 5.5 inches wide, and 7.5 inches deep, which means it's small enough to fit on almost any countertop. We also offer it in black and white options so that you can coordinate it with whatever your espresso setup is. It has a 58-millimeter tamper that works with any kind of portafilter, so bottomless, single spout, double spout, and single basket, double basket, and VST baskets. So with all of these options, that means it works with any home espresso machine that has a 58-millimeter portafilter. So you've got your Linea Mini, your Silvia Pro, your Lelit Bianca, this will work with it. So I'm going to show you how to set up your PuQ Press Mini. First, just make sure you have the plug inserted into the back and then into the power outlet. And the on/off button is here on the back.
So all you do is press the switch up, and you'll see this number up here on the side. This is the pressure. This can be adjusted by pressing the plus sign and the minus sign, and it moves in increments of two pounds. Now, to adjust the tamping settings, you hold this set button down for five seconds, the one that looks like a gear. And you'll hear it go through the motion that it does when it's cleaning. And once you hear for a second time, let go, and you'll see a P0 flashing. This is one of the settings. This is the speediest setting, and it's a double tamp that completes in 1.5 seconds. Then you have P1 that is the precise setting, and this too is a double tamp, but the tamper base takes longer to retract from the portafilter. And lastly is P2, and this is just a single tamp. Once you've chosen your setting, you just press the set button again, and you'll see it go back to the pressure. So once you have all of the settings adjusted, you want to make sure that the lower clamp fits the portafilter you're using. This is pretty simple to do. You use the T wrench that comes with the PuQ Press, and you loosen each of these bolts, and they will move up and down, and then you tighten them up. You might want to line your portafilter up with it to make sure you're at the right level. Also, they don't move evenly at the same time, so you do run the risk of them becoming uneven. So we suggest that you get a level to make sure that it's straight across. All we did was download an app on our phone, and it worked just fine. So once everything is aligned and set the way you want it, all you do is take your portafilter, slide it in, and there's a sensor on the back that triggers it to tamp. We did run a few tests on the PuQ Press Mini, and we did find a pressure setting between the 30 and 40-pound range was more than enough. Anything around the 60 pounds was so much, and it made the PuQ too compact, and we didn't get a great extraction. And anything less than that, around the 20 pounds, we got a lot of channeling.
As for the different settings, we didn't really notice much of a difference. It's really up to your preference. When we ran tests, we used the precise setting, because we thought we'd get better results. Ultimately, the speedy and the precise and the single all produce very, very similar results. Care and maintenance for the PuQ Press Mini is pretty simple. It's just a little maintenance here and there. They do suggest that you wipe down the tamper base daily because coffee will build up on there. You can also do a deeper cleaning. There's a Clean setting if you just press the set button. You'll see the tamper drop down. Just take a dry rag and clean all around the sides because it will fall when you're tamping if you don't. And then, once a month, they suggest that you clean the upper-level cavity of this, and all that takes is taking the top lid of this. The Allen key that comes with the PuQ Press, loosen the bolt in here, and all of this will come out, and you will be able to take a rag and get that all clean as well. A few notes and warnings about the PuQ Press Mini, make sure to refrain from sticking your fingers between the lower clamp and the tamper base when it's on because you will run the risk of smashing your fingers or pinching them. And also, if you're performing any maintenance on it, make sure it is unplugged because it is electric and you could run the risk of getting shocked. Other than that, this is the PuQ Press Mini. It is a wonderfully convenient automatic tamper. It consistently produces flat level stamps, and in doing so, you get a more even extraction. And most importantly, you don't have to worry about straining your wrist while tamping continuously.


