Video Overview | HyperChiller Coffee and Tea Chiller
Skip the line at the coffee shop and get perfectly chilled iced coffee at home with the HyperChiller. Its simple, easy to use design exposes your beverage to the cooling equivalent of over thirty large ice cubes, without the threat of dilution. While it does excel at quickly chilling a cup of coffee, you can also use it to cool wine, juice, tea, or whatever you need to chill. Plus, once you’ve chilled your current beverage, you can rinse your HyperChiller and toss it back into the freezer, so it’ll be ready to go the next time you’re craving a cold brew.
Transcript
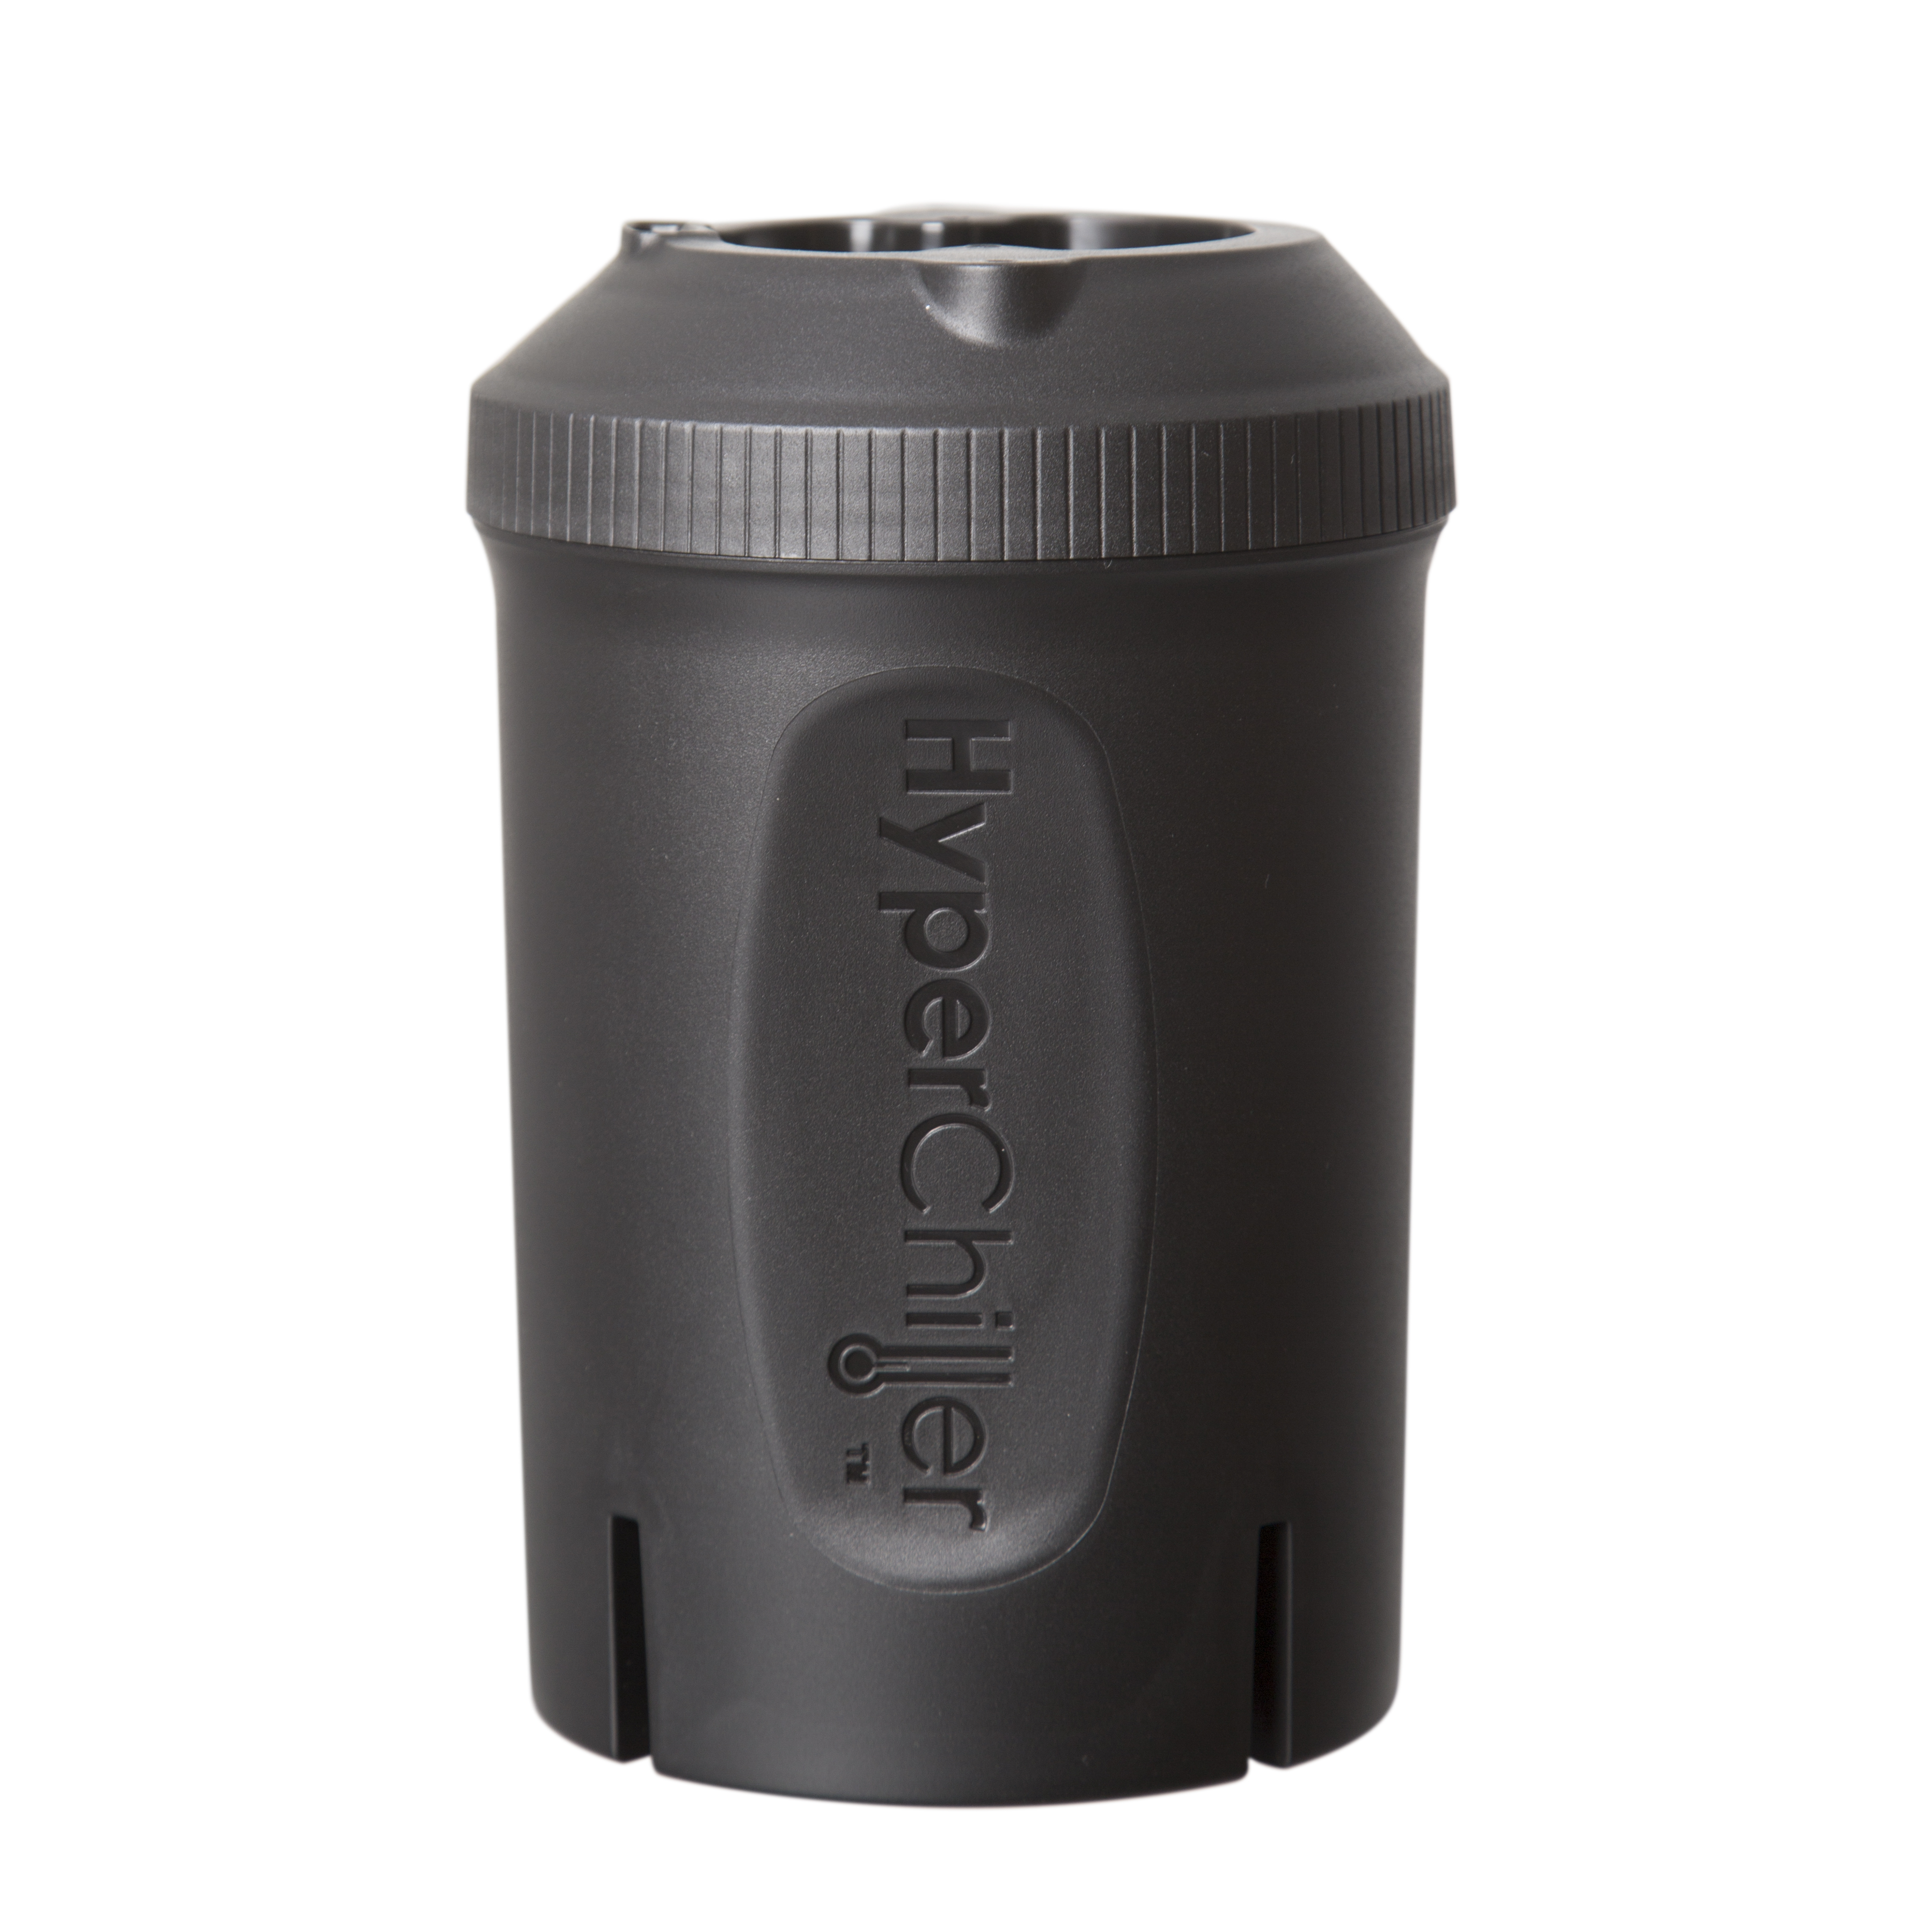
Hey, folks. It's Steve with Prima Coffee here, and I'm going to tell you about a cool little product called the HyperChiller. This is a simple and easy to use way to make ice coffee really quickly without diluting it, which is one of our favorite things here at Prima. It's a very, very simple device in terms of construction and in the way that it's used. Basically it has four pieces. We have these two little cups inside, a large reservoir, and then a lid. And basically what you do is you freeze two chunks of ice in here, and then when you're ready to chill your coffee you basically pour it in through the lid and it will sit in this reservoir here surrounded by ice and chill down in a minute or two from freshly hot brewed.
HyperChiller Coffee and Tea Chiller
Made of stainless steel and BPA-free polypropylene plastic
Featured Product
So, the way you use this is first you're going to fill this cup here, the big cup, up to this notch up with water. So, just pour water right in the center, and then you're going to pour that in the outer reservoir. That is the water that is going to be used to make the outer casing of ice. Then you're going to take the little inner cup, and you're going to fill it up again to the notch that's imprinted on the side with water. That one you're actually going to screw directly into the lid, and this is going to be the inner ice cube. Basically this is the inner core of ice that's going to sit inside this stainless steel cup, which you're also going to screw into the lid. And then you're going to screw this whole thing into the outer reservoir. Basically, the way this is set up is there's that inner core of ice, there's that outer shell of ice, and the coffee or whatever liquid you want to cool goes into the middle. So it's surrounded basically on all sides. There's a lot of surface area of ice to the hot liquid, or whatever liquid you're trying to cool. And that means it's going to cool really quickly without dilution because that ice is not in contact with the liquid that you're cooling. And it's going to be really effective for a single cup of coffee or, I don't know, a glass of wine on a hot day. Really great, really fast, and easy to use.
So basically once you have all the water in place you'll leave it in your freezer, you'll let it freeze up, it'll take a couple of hours. And it's really only good for maybe two uses. With coffee you're talking about probably one just because it's so hot, and it takes so much thermal energy to cool it down. But with something like a room temperature liquid, you could get two, maybe three, you could probably stretch it to three uses before you need to refreeze it again. But all you have to do when you're done, after you've chilled your liquid, you just rinse it out. All you have to do is pour water directly into this basin up top, give it a good swirl, pour it out. And then you can stick it right back in your freezer and freeze it again. It'll be good for maybe four or five uses before you may have to open it back up and refill the water level.
That kind of depends on your freezer. It also depends on how much water has just evaporated over time. If your freezer runs a bunch of freeze-thaw cycles it might lose some water a little bit more quickly. But in many cases you're good for at least four or five freezing uses before you have to open it up and fill again. So, now that we've taken a look at that, let's take a look at how this whole thing works. I have this HyperChiller already frozen. You can see it's nice and covered with frost, and I have some hot coffee that I've just brewed. I'm going to just dump it right into the top, carefully, just so I don't spill. Unfortunately, the lid is not going to be super great for brewing directly on to. And that's partly just because of the shape. You can see there's these sort of indents here. So, you wouldn't be able to set a V60 directly on it. It would be kind of precarious to try and balance other brewers on top of it. So we do recommend brewing into a server or something and then pouring it directly in.
Now, they have actually advertised that this might work really well for Keurigs or other single cup brewers. So that could be a good way to chill a cup of coffee down on those sorts of brewers that actually have a spigot that just brews directly down into the little reservoir or the basin here. Now, my coffee has already sat in there for thirty seconds or so. I'm just going to give it a swirl. Again, you already have a big surface area in contact with the liquid so it's going to cool down relatively quickly. And the capacity inside that inner cup is about 12 fluid ounces or about 350 milliliters. So, you do have fairly decent capacity, and again, really great for one good size cup of ice coffee. I've got a glass of ice here. My coffee is probably pretty well chilled. And all I have to do, again, I have the basin here and then a little spout, so I'm going to pour out of this spout over my ice. And there we have a nice, quickly chilled, undiluted, cup of ice coffee. It tastes great. It's nice and cold. So that is the HyperChiller. Thanks so much for watching.