Video Overview | Mahlkonig Mini Dosing Hopper for EK43, Peak & K30 Grinders
Add a quick-dosing hopper to your EK43 or EK43S grinder with Mahlkonig's newest grinder accessory. Watch as Steve covers the essential features of this hopper, as well as how to install it onto your grinder.
Transcript
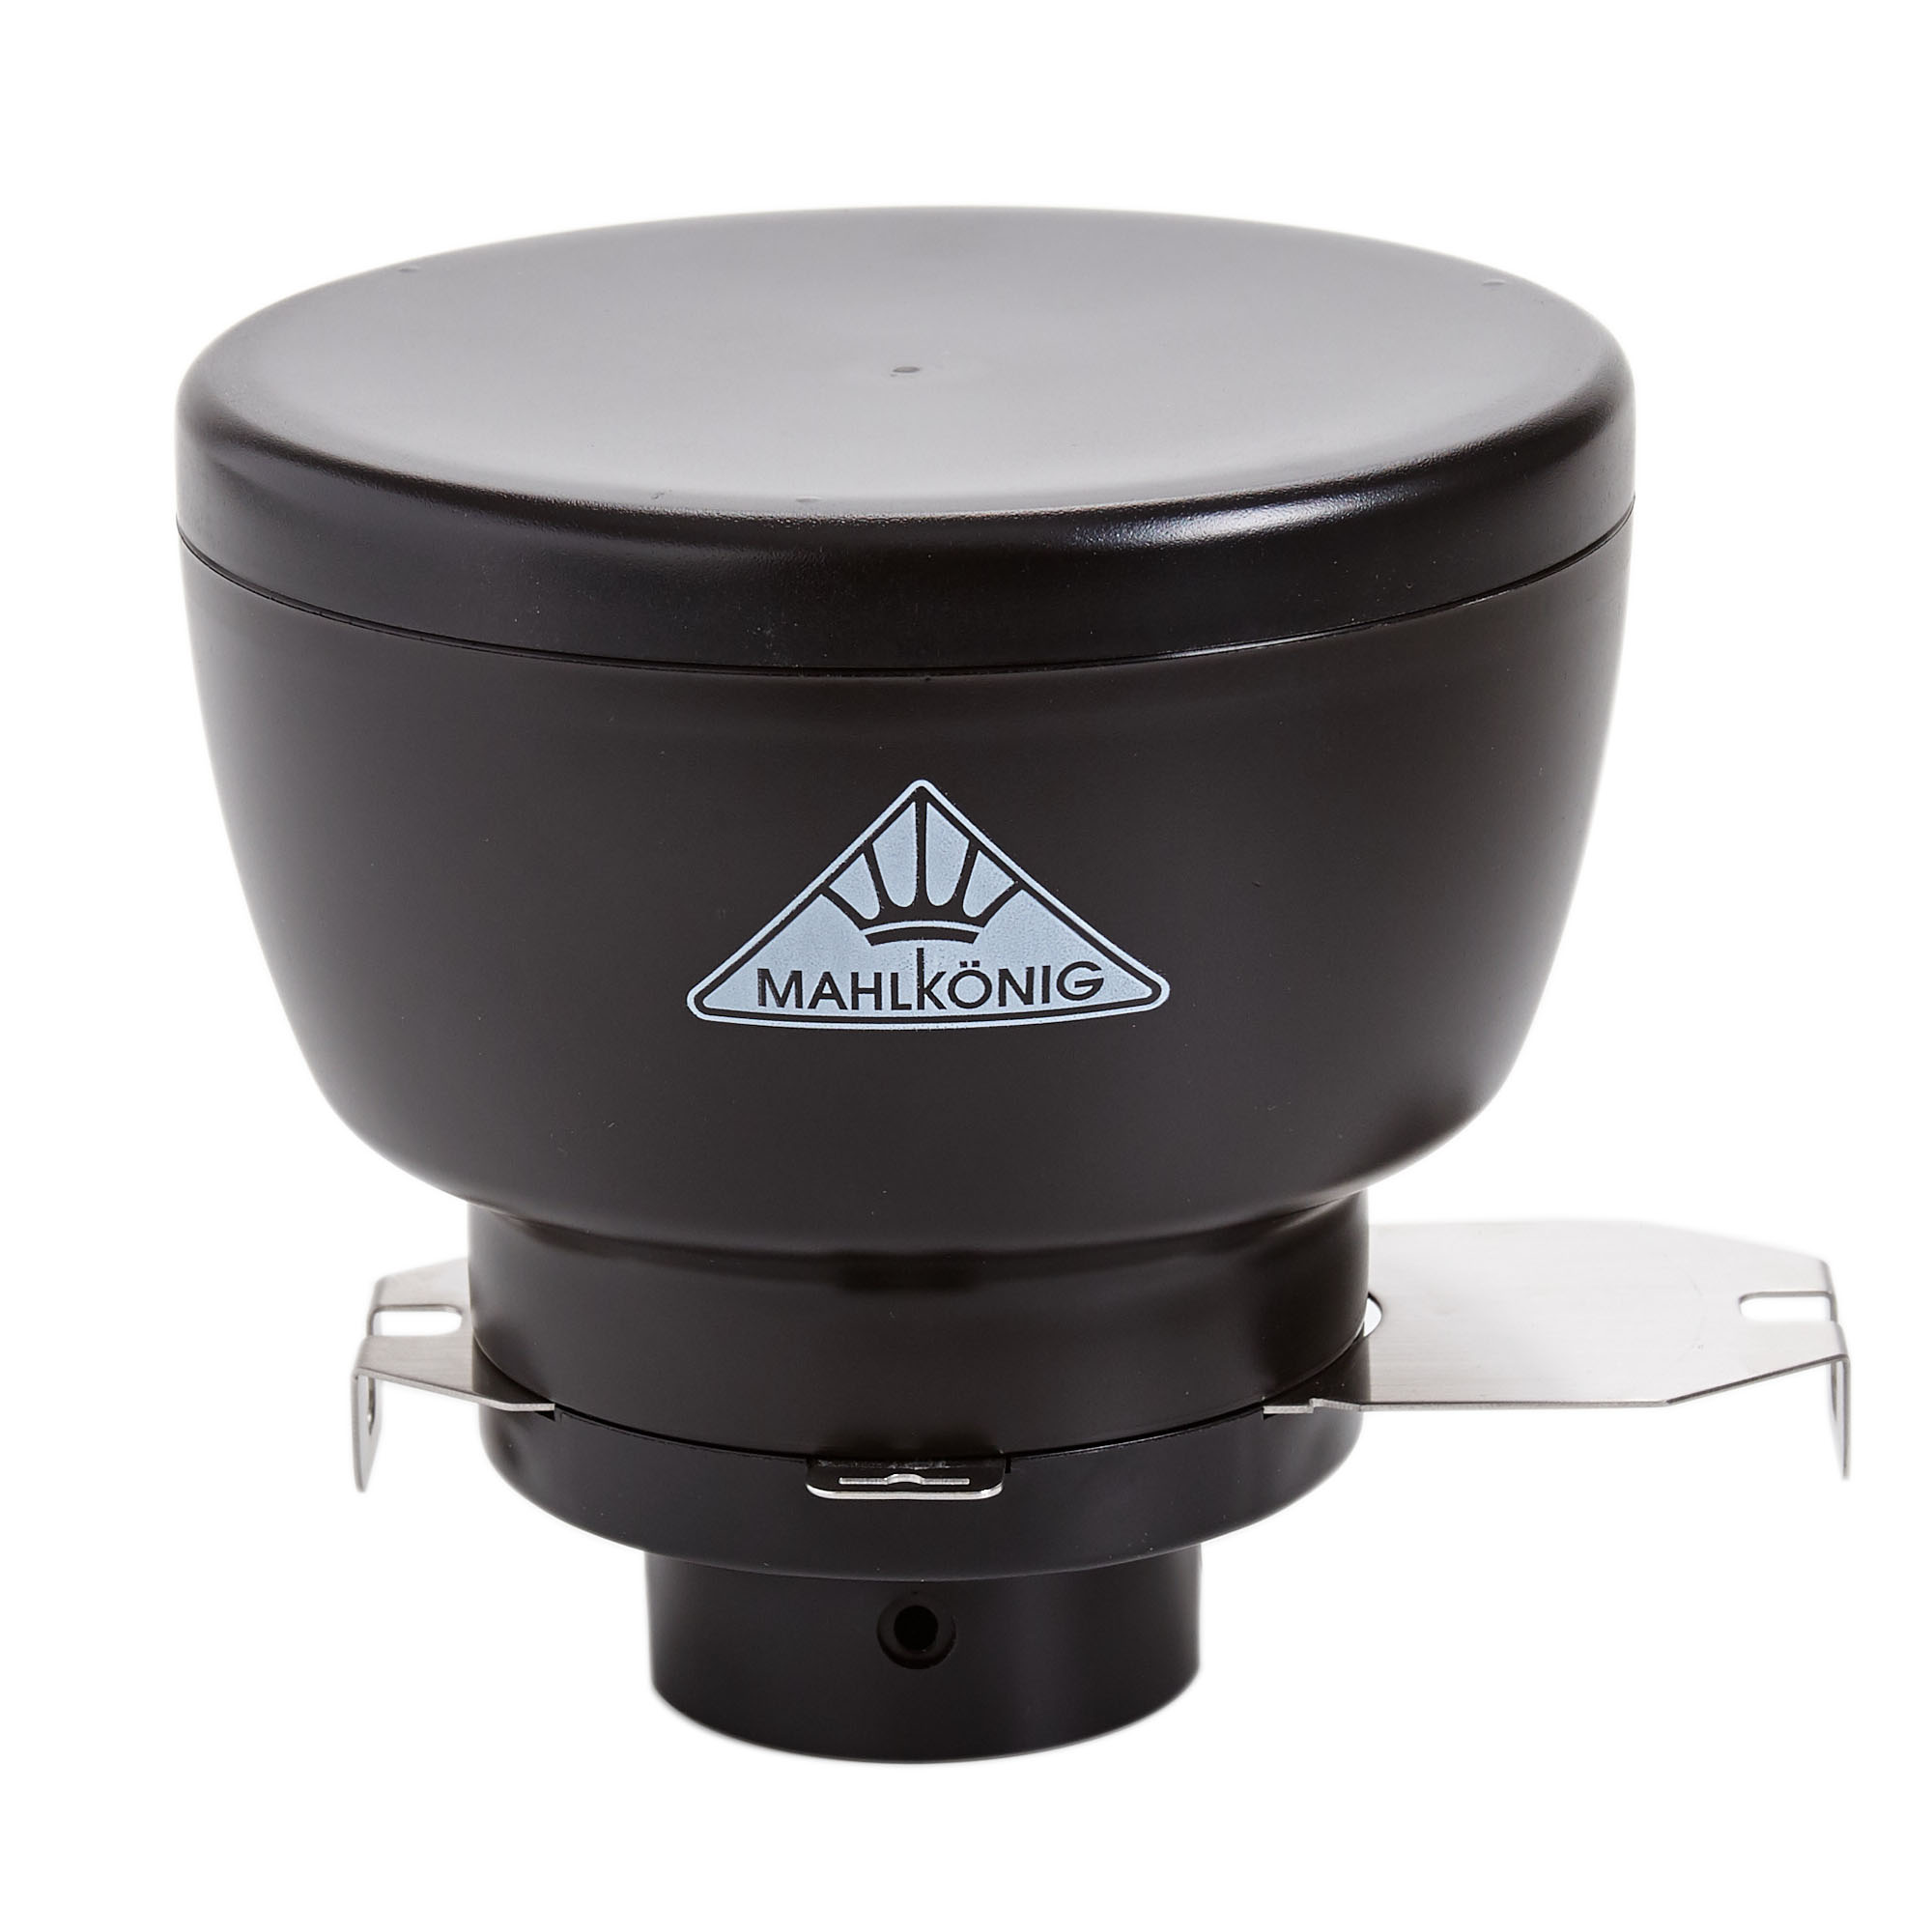
Hey, folks, it's Steve with Prima Coffee here. Today we're taking a look at the mini hopper for EK43 grinders from Mahlkonig. This hopper is a great addition to your EK43 if you would like to single dose, speed up your workflow, or just get a smaller stature on your EK43 or EK43S. So the mini hopper is pretty unique, as far as Mahlkonig hoppers goes, because it has a spring loaded gate. So it's very nice and easy to just be able to push this really quickly, drop your dose into the grinder, and then it automatically closes itself. This is a 250 gram, roughly, volume hopper, all black ABS plastic, really nicely built. It will fit any EK43 or EK43S, with a catch that older models have a slightly different fitment on the attachment point, so it might be a little bit loose and you might need to add a shim. I'll get to that in just a little bit. Inside the hopper, you can see here, is just, again, a black plastic. And you can see that that gate is closed for me. Again, this is a spring loaded gate, so I can push it open, and the hole will open up.
Mini Dosing Hopper for Mahlkonig EK43, Peak and K30 Grinders
250 g capacity
Featured Product
You can also see that the hole is slightly offset. That's just to help the beans feed through. We do have a pin lock that will lock the gate open. So, if I push this in and push that pin, now my gate stays open. And in order to release it, I push the gate in slightly, pull the pin out, and now my gate is free to close. Installation is quite easy. It uses the existing hardware on your EK43 or EK43S, and all you need is a single slotted screwdriver. So to start, I'm just going to take this screw out. This is just the attachment screw for the actual sort of bayonet ring on the grinder itself. I don't, obviously, I don't have a hopper installed on my EK43 here. That's the first step that you'll need to do is close and remove your existing hopper. With the removal of one screw, I can take that bayonet ring off and set it aside. I don't need it anymore. My mini hopper has four attachment points, basically front, back, left and right. So I can rotate this 90 degrees, however I wish to use it. If I want my gate to be on, you know, my user's right side, I can do that. If I would prefer it to be on the back, I can do that.
Just for the sake of this, I'm going to have it face the right from the front of the grinder. All you have to do is make sure that that installation hole is lined up with the screw hole. You want to also make sure that the hopper is fully seated down and, of course, the hole is centered on the screw hole. Once that is all set, you can insert your screw again and tighten it down. And then you're ready to use it. That is all the installation needs. So again, just a few minutes with a slotted screwdriver, and you're all set. So, I mentioned that this is a 250 gram capacity hopper. Its best use case is probably for single dose grinding. Let's say you pre-weigh your doses for single cup brewing or for small batch brewing, that's probably what it's best for. At 250 grams, it's a little bit small for most retail grinding. You might have 250-gram bags. You might be able to fit, you know, almost 12 ounces into the hopper, or let it kind of mound up in the center and still be able to grind a retail bag.
But for workflow purposes, you know, that spring loaded gate, the smaller capacity and the shorter stature really makes it a lot more of an appealing addition to a cafe that wants to do single dose grinding for either espresso or small batch brewing. So, the workflow is really nice and fast. Again, it's a quick open and quick close on its own. To demonstrate that, I'm just going to grind 20 grams of coffee real quick. I will start up my grinder, drop in my dose in top. Grab my dose cup below. And then all I have to do is push that gate, and it will release on its own. And just like that, I have ground enough for a small pour over brew. That was just 20 grams of coffee, nice and quick. So again, the mini hopper's a nice addition. It does, more or less, replace your existing hopper. So it's not as quick swappable as the bayonet style hoppers are. But if you are looking for that quick workflow, that smaller capacity, and perhaps you really only need to single dose grind, then it is a great addition to an EK43 for you. That is the EK43 mini hopper from Mahlkonig, Thanks for watching.