Video Overview | Uniterra Nomad Manual Espresso Maker
Uniterra’s Nomad manual espresso maker is the answer to getting perfect espresso no matter where you are. Compact, portable, and extremely easy to use, the Nomad is a surprisingly effective route to a tasty shot. It features a double action manual pump, which pushes water through your puck at the proper 9 bars of pressure, and a removable crema-enhancing valve. Ready to see the Nomad in action? Watch along as Steve demonstrates the usefulness of this little manual espresso maker.
Transcript
Hey, it's Steve with Prima Coffee here. Today I want to take a look at a new espresso brewer called the Nomad. Now this is a fully manual, portable size espresso maker. Basically the kind of thing you might want to take camping or, you know, if you're going on a road trip or something like that. Maybe you've got an RV and you want to stick something like this in there. It is a compact, fairly portable espresso maker and it is a true espresso maker. You know, it might kind of look like a toy, this is an actual espresso machine. It can hit nine bars of pressure and it can produce some really good shots of espresso.
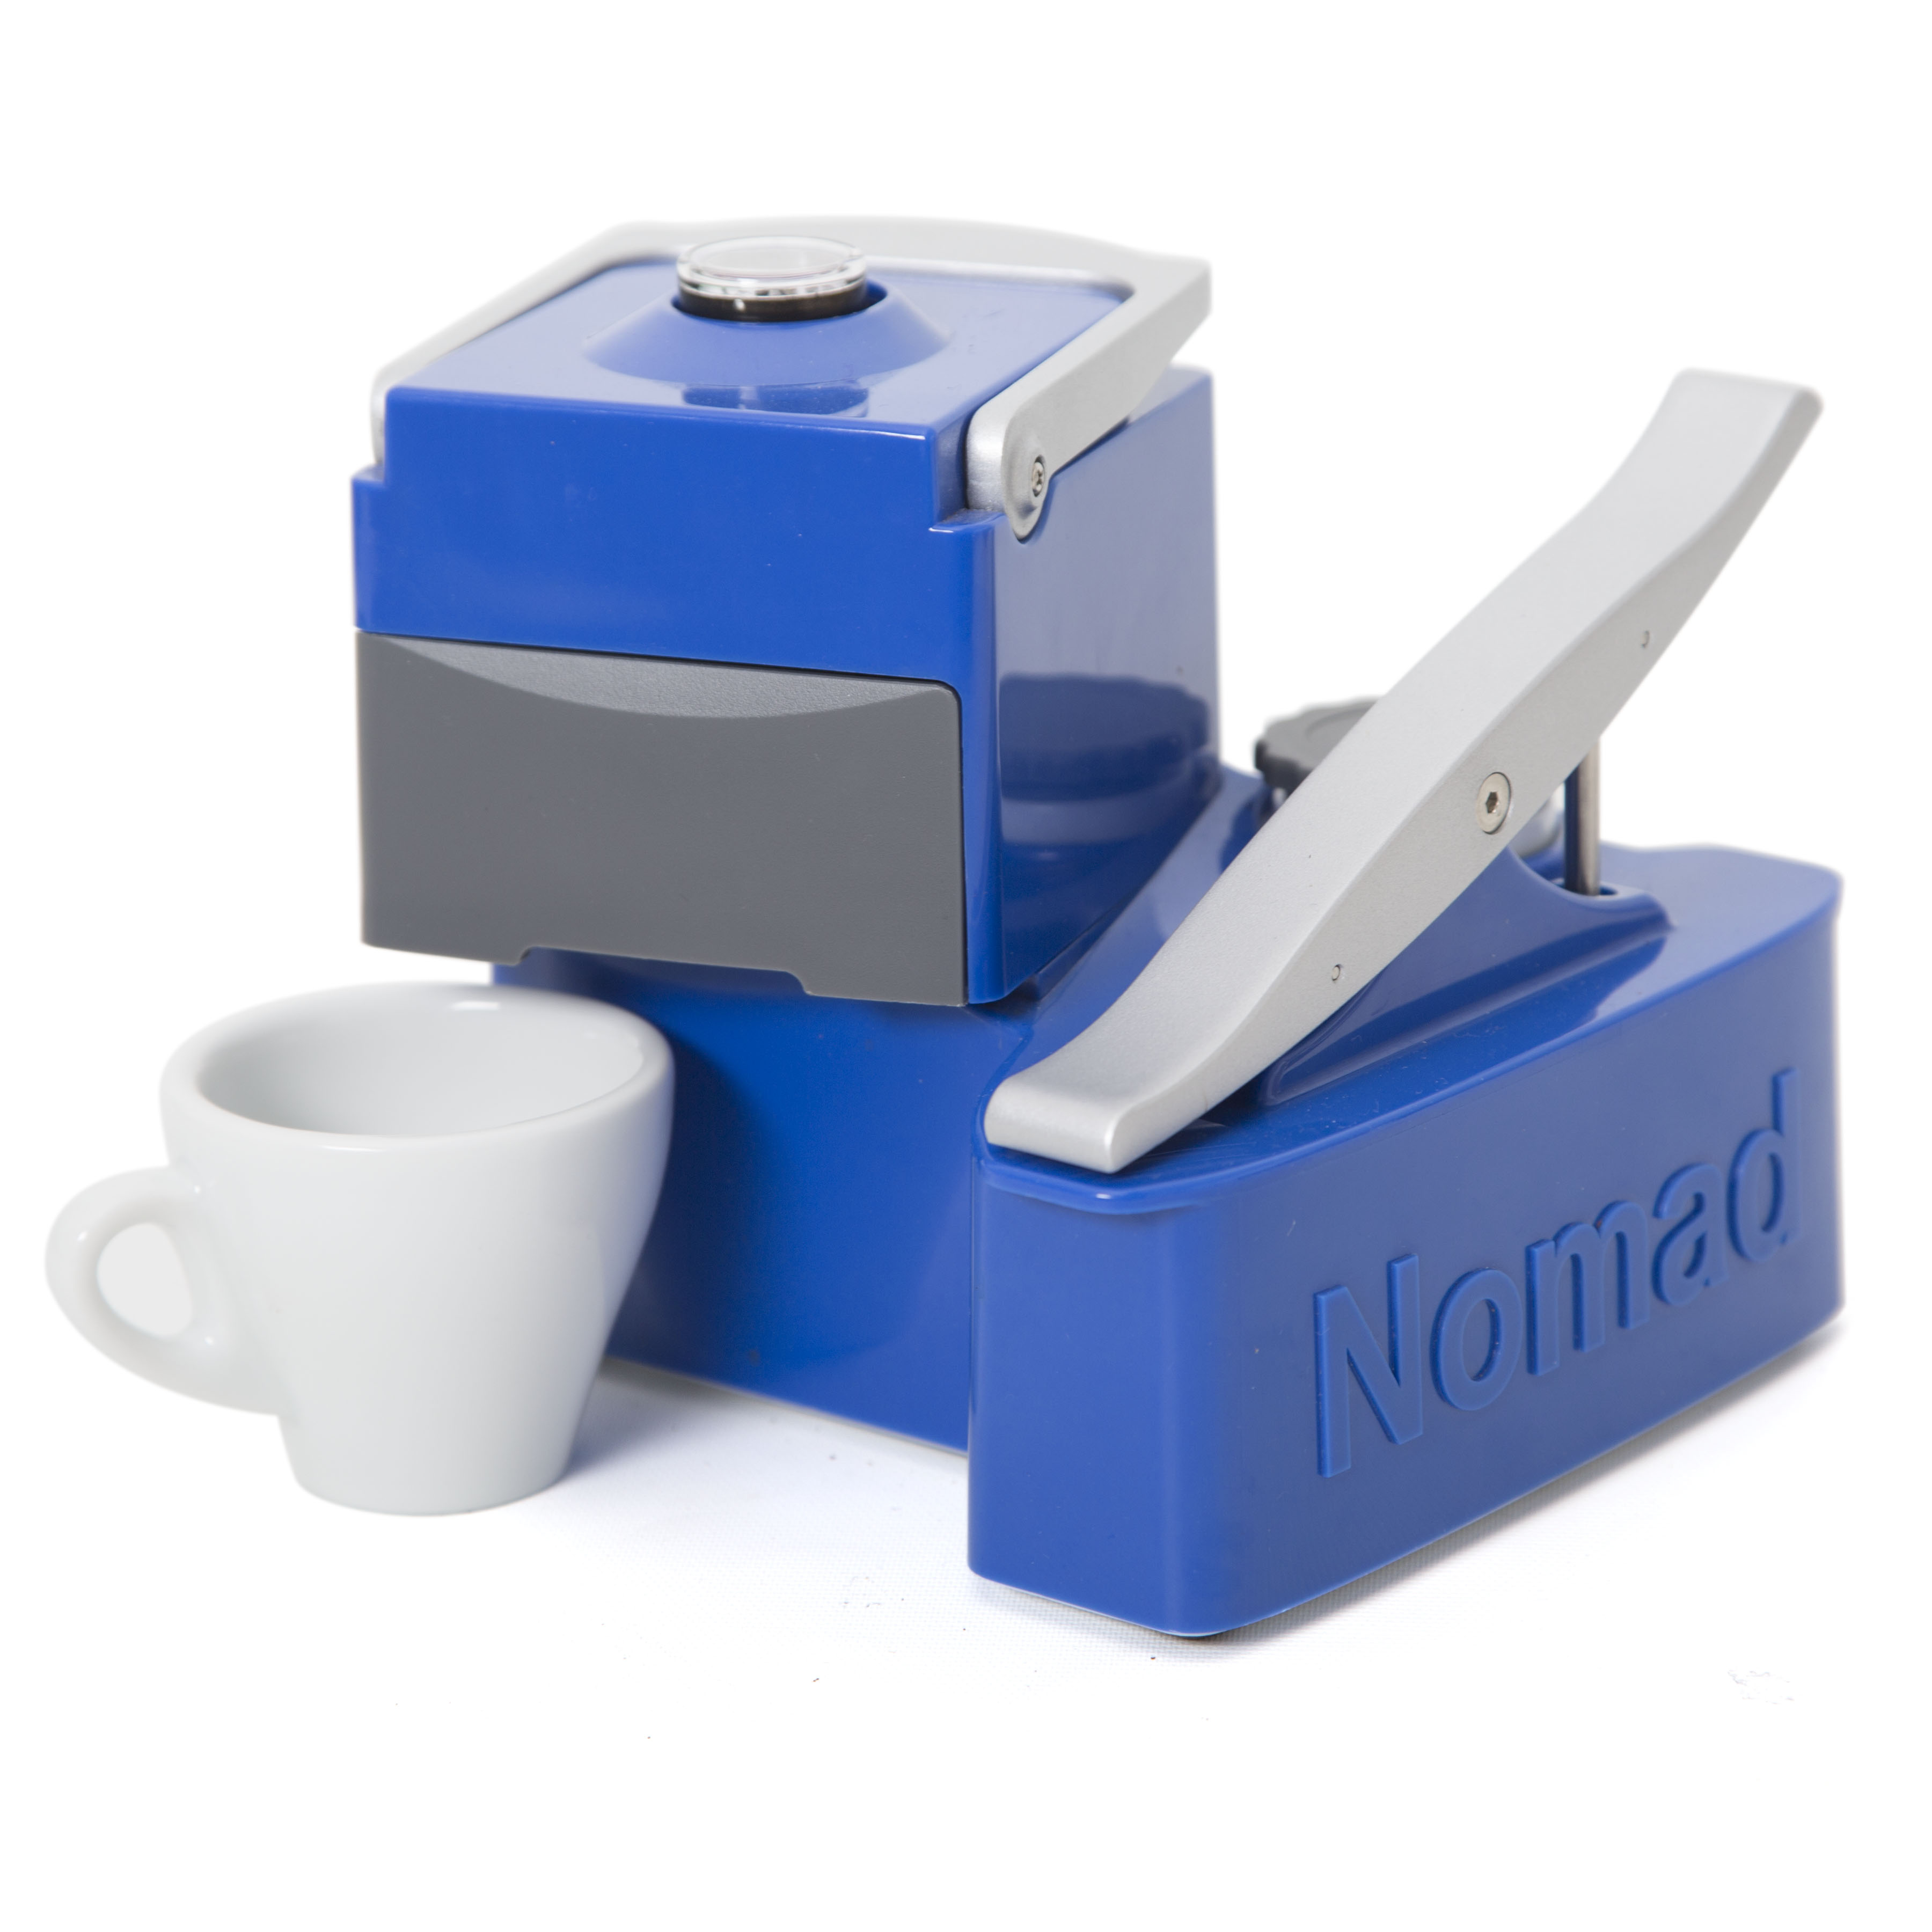
Uniterra Nomad Manual Espresso Maker
Manual pump achieves 9 bars of extraction pressure
Featured Product
So what's really unique about this design, obviously, like I said, it's a manual machine and it uses this sort of see-saw like pump to pump the water. There's sort of a priming tube and things in here. You know, a lot of great engineering went into this, and using this, as I'll show you later, you can pull nine bars of pressure. You can get a really great shot of espresso and again it's just a compact and fairly portable design. So in addition to this pump lever, we have a reservoir here, so we just have this cap. You've got about 350 milliliters of water. We do recommend preheating this, so if you're going to use it, put some hot water through it first, pump it out the basket, and then refill it with fresh hot water, just so everything's nice and warm. We've got our brewing group up here. There's a handle, like a locking handle, that allows you to remove this tray.
So we have a 49 millimeter basket. This is a proprietary basket. We haven't tested, but you can probably use something like a La Pavoni or maybe even an Electra basket, other 49 millimeter style baskets, as long as you put this gasket in underneath them. That's important, just so it has a nice mating surface with this plastic tray below it. Now, you notice there's a little screen in here held in by a tiny screw. This is basically the exit path. And then we also have this valve. This is basically a crema valve or a pressurization mechanism basically that will froth the coffee. So like, let's say you don't have a perfect grind size or maybe you've got some channeling. This will help produce a fairly decent coffee foam, much like a pressurized portafilter would. But for the sake of this video I'm actually going to take this off and we're just going to use the bare hole here.
And then finally we have just the overall holding tray. This is just what slides in and locks into the machine and then there's a little exit spout right here. So to assemble it, you put your white plastic tray and your basket into that tray, and then I'm going to go ahead and load up my coffee here. I've got 16 grams of coffee in this convenient little dosing funnel. So I'm just going to load that up, give this guy a little tap to settle. So the basket, as a 49 millimeter basket, it is a little bit smaller. If you've seen our La Pavoni video, we talk about the capacity of that, so it's around 15 to 16 grams. This is 16, as I said. It can probably hit maybe 17 with certain coffees, but you're probably not going to see those like 18 to 20 gram doses that you might see on larger commercial espresso machines or that sort of thing. I'm just going to clean up my stray grounds here, going to load up and lock in. You'll also notice I have a pressure valve on top. That'll be important in a moment, as I'm brewing.
But I'm going to put in some freshly boiled hot water. I preheated right before we started this video, so we're still pretty warm but ideally you'll do it right before you brew. I'll put the cap right back on. Got my cup here, and then I'm just going to start kind of pumping, and you'll see the pressure gauge on top is going to start to build. And it's getting a little bit harder to pump. We are going to start to see some nice crema forming. I'm going to actually taper off my pressure here. I want to keep it in that sort of green range between 8 and 10 bars, and you can change your pumping speed to kind of keep it in a certain place. And then I'm just going to let it taper off as my shot finishes up. Here we go. Again, we took out that crema valve, so we have a pretty decent shot with a decent head of crema here. This is a lighter roast coffee, so this kind of lighter crema is to be expected. And really the only thing here is the crema is a little bit light because there's kind of a longer brew path than there might be in a more traditional style portafilter, so there is a little bit of reduction in crema, but nonetheless, a tasty shot of espresso.
So we've been really happy with the quality of results that come out of this, in terms of the shot flavor and what you're able to do with kind of modulating your pressure. You can do a little bit of pressure profiling with this. It's a little bit tricky but just kind of getting used to how you pump that sort of see-saw handle, but it can be done. It's not too difficult to say, do a softer pre-infusion stage at about four bars here on the dial and then ramp it up to maybe eight, and then kind of taper it back, if you like. You can obviously play with your grind size as well. And that basket is a traditional style, just sort of open bottom basket, so you're able to tamp it as normal. It's not a pressurized basket. You can treat it as a normal basket. So again, just a lot of really great features packed into this little, small, portable device. Again, great for taking on the road, or like an RV or maybe a college dorm sort of situation. All you need is access to a grinder, a hand grinder would be perfect, and some hot water and you're ready to go. So that's the Nomad espresso machine. Thank you for watching.