Brewing Guide | A Beginner's Guide to Making Espresso
So you're ready to start pulling shots? Welcome to our world! In this beginner's guide, Chris will walk through all the basic of making espresso. Grab your gear, then open wide: one heaping spoonful of espresso skills is coming right up.
Transcript
Hey, I'm Chris with Prima Coffee Equipment, and today we're jumping into the world of espresso. We're doing a little crash course in making espresso if you're new to it. So the first question we should answer is what exactly is espresso? Is it just really strong coffee? Is it a special bean, or special roast, or something like that? And all of those, the answer is really no. Espresso is just another way of making coffee with the same ingredient. So just as you make a different cup of coffee with a French press or a pour over, you're making a different cup of coffee with espresso.
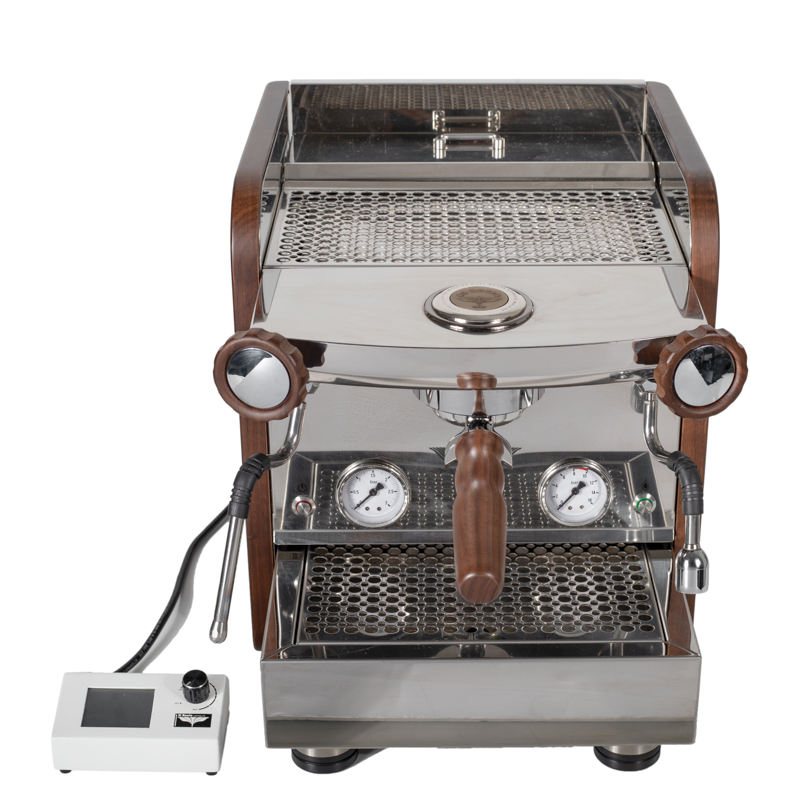
El Rocio Zarre V2 Espresso MachineSeparate boilers for maximum temperature stability and minimum recovery time
Featured Product
Now what happens when you're making espresso is you are using high-pressurized water to actually shorten the brew time and dissolve more solids in emulsified oils, which gives you that distinctive layer of crème at the top of the shot. So that's kind of an overview of what espresso is. It's just a very concentrated means of making coffee that requires some different equipment. So before we actually get into making it, let's talk about the things that we need to consider as we're making it. As with every brewing method, there are certain brewing variables, things that you manipulate and control to get different results. So first, we have our grind. We're gonna use a special grinder for making espresso, usually, and the grind that you're gonna use to make espresso has to be very, very fine. So you're grinding much finer than usual. It actually starts to clump together, because it's that fine, but it still has a distinct texture when you rub it. It feels a little bit smaller than table salt, perhaps, but it is finer than just about any other kind of coffee besides Turkish.
Also, there's our dose. Dose refers to our brewing ratio, so no matter what kind of coffee you're making, there's always a ratio of coffee to water, and we call that "dose." So with espresso, if you're brewing a double shot, you are usually gonna be using between 18 and 21 grams of ground coffee. At least, that's what we prefer to use. Some people go outside of that, higher or lower. We recommend between 18 and 21 grams for your coffee dose, and that is actually relative to your yield. So with espresso, instead of measuring coffee in and water in, we measure coffee in and espresso out. That's because we're not really able to measure the exact water that goes into that shot of espresso into that pot, because we're using an espresso machine. So we measure the coffee we put in, and we measure the yield we get out. That dose that I gave you, 18 to 21 grams, is what we recommend for about a 2-ounce yield, or a 2-ounce shot that you actually get out. And that is going to weigh... if you're using a scale, which we do like to use scales, it's gonna weigh around 30 grams or so. So that's the ratio that you're working with.
So we have dose. We have yield. We have grind. We're also going to be working with a completely new variable, and that's tamp. "Tamp" refers to the act of compressing that coffee. When you grind coffee into this, which is called a portafilter, you're going to have to compress it with a tamper. What that does is it creates the restriction, and that's necessary for keeping that coffee and that water together. Because this is under high pressure, if you weren't tamping at all, the water would just fly right through. You'd get a very weak, underdeveloped shot. So we tamp to create restriction so that the coffee and the water are actually forced to hang out together. That forces the reaction. It emulsifies those oils. It dissolves more solids. So that's one of the very key parts of making espresso, that tamp part.
Now there's also temperature. That's not unique to espresso, but with any brewing process, you can manipulate temperature, and again, it's usually gonna be between 195 degrees and 205 degrees Fahrenheit. That's what most people recommend for making espresso, and with this particular machine, as with many, you can control that right on the display here. So I can easily get into the system. I control it right now. It's set at 201, which you can see right there. If your machine that you're working with doesn't have that, that's fine. You can assume that the machine is doing what it's supposed to for now. There are ways to kinda manipulate that without this sort of display, but for now, you can just assume that your machine is doing what it's supposed to brew within that range. That's really all the brewing variables that we're gonna work with, and we have dose, grind, yield, tamp, and temperature.
Prima Coffee Espresso TamperAvailable with either a flat or convex base
Featured Product
Before we actually make a shot, let's look at the equipment you need. You need some kind of unique equipment. So first we're gonna have, of course, an espresso machine. This is what makes the magic happen. It's your brewing method, like your French press or your pour over dripper, your espresso machine. In that espresso machine you have a portafilter. This is really just a filter in the same way that you have a paper filter or any metal or cloth filter. It's metal. It's a little cylindrical basket called your portafilter attached to this handle, which you can grab onto. You're going to need an espresso grinder. These grinders need to be capable of grinding very fine, and often the burrs are different, more cut toward espresso. We do wanna highly, highly stress that you're using a burr grinder to get consistent results. That's contrasted with the blade grinder. So espresso grinder that can grind very fine, uses burrs to cut instead of blades, and offers very fine adjustment. You want to be able, within that really fine range, to make very minute adjustments. You don't want one click to be a wide swing, or else you're gonna find it just kinda difficult to manipulate, not very fun to work with.
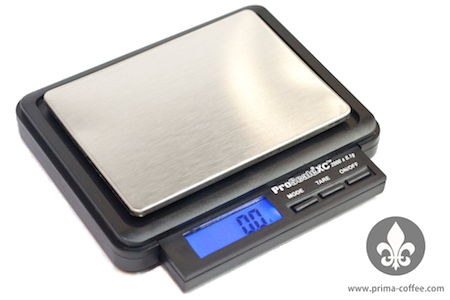
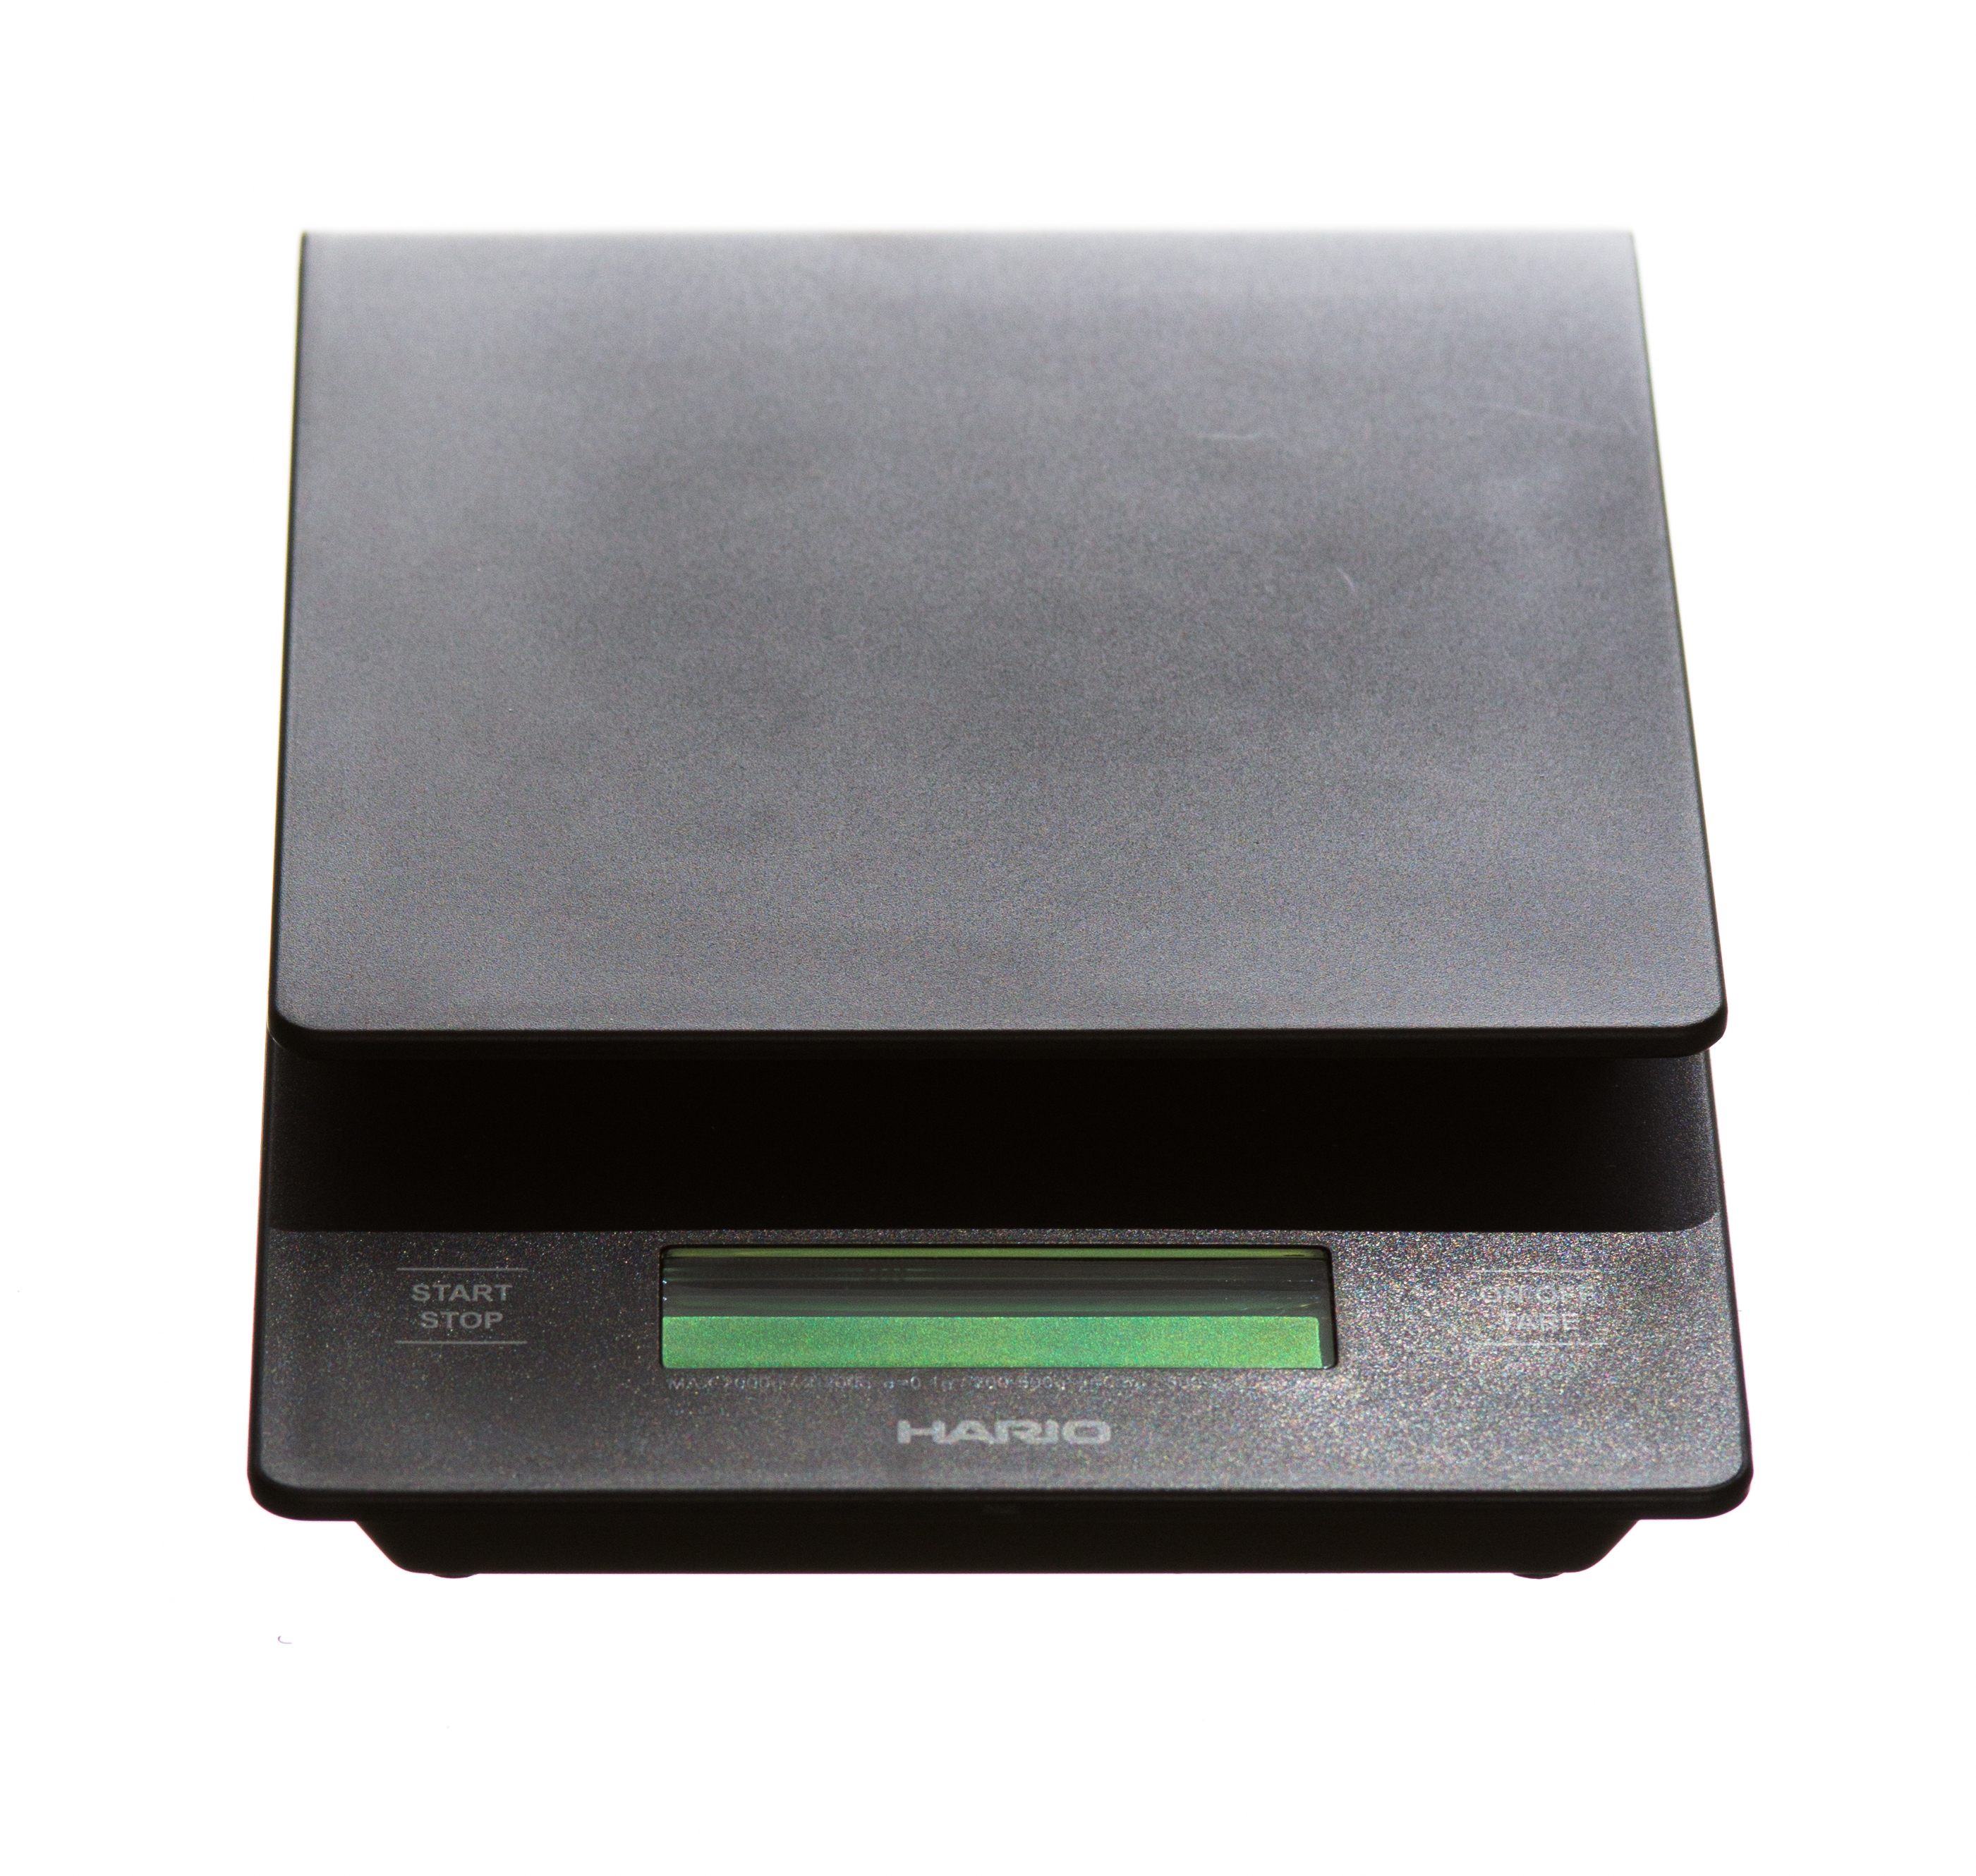
So this is the Mazzer Mini. It's a great espresso grinder. We also recommend having at least one scale that can measure in small increments. The scales are useful for weighing your dose, or weighing the coffee you put in, and for weighing the yield, the espresso that you get out. So we use one or both of these scales as we're makin' it. Also gonna need a tamper, of course. We talked about that. This is what you're gonna use to compress the coffee into the portafilter. If you want to get really particular about your technique and really home that in, we recommend the Prima Tamp very strongly, like that a lot. Finally, you're gonna need a shot glass to get your shot into, and then the timer's gonna be helpful too, just to keep track of the whole process.
Pro Scale XC2000 Small Precision ScaleReads in Grams, Ounces, and Pounds
Featured Product
So let's get started. The first step is going to be preparing your espresso machine. You just need to fill the machine with water. In this case, there's a reservoir right in the back here that can fill with water. Some of these machines you can actually plumb directly. So you wanna get your machine full, and then you're gonna need to heat it up. The machine, just depending on its size, could take anywhere from 10, 15, up to 45 minutes to heat up. Larger commercial machines even longer, perhaps. But don't just jump into things as soon as you see that temperature ready to go. I, right here, can see when my temperature is ready, but I actually want more than that. I want the whole machine to be hot. I wanna make sure every component is really warm and ready to go before I'm started, or else all of these wide swings while I'm actually brewing, and that's not gonna end up well for our shot. So put your water in. Heat your machine up.
Next, you're actually gonna begin preparing your shot, so what I like to do is go ahead and just run water through the group and through the portafilter. What that's gonna do is bring the fresh water to the front, since there are a couple of pipes in here that are filled with water that had been sitting for awhile. It's gonna bring fresh water to the front, and it's also gonna get everything hot. So the group is hot. The portafilter's hot, and that's gonna help me ensure temperature stability while I'm brewing. I'm gonna go ahead and wipe this out, wipe the portafilter out, top and bottom, and wipe that screen so that everything is dry before we actually start. If it's dry, you're gonna have coffee sticking in weird places and clumping together more, and that's not gonna promote even extraction very well. So that's good to go.
Now, I'm going to go ahead and grind and dose my coffee. So get the portafilter right under here, and I'm gonna fill this up, shooting roughly for, like I said earlier, 18 to 21 grams of coffee. So we'll get this going, and as I do that, you're gonna see me sort of moving the portafilter around. That's gonna help distribute that coffee evenly in that basket. I'll tell you why in just a second. Now, as I'm filling, you are gonna see me distribute this by moving the portafilter and sliding my fingers across the grounds there. That's gonna help to make sure that everything is already distributed before I tamp. Even packing of the coffee actually starts right at distribution. If you have a big peak in the middle, and then you go ahead and tamp, you're gonna have uneven pressure. So the goal is to make sure everything is nice and even before you even tamp, and then you're really sealing that off when you tamp.
So based on what my grinder's been doing, this is about between 18 and 21, that range I was shooting for. I'm gonna go ahead and tamp. Make sure that your tamper is dry. It's free from any loose coffee particles. Anything that's on here can actually mess with the puck, and we don't want that. There's already enough room for error there. So go ahead and tamp just by setting this in the basket. Feeling with your fingers here, make sure that it's nice and even, and you're gonna give it a nice firm press with everything aligned, your wrist, hand, all the way up through your arm and elbow. Give it a firm press and give it a little twist. That twist there, sometimes referred to as a polish, is going to help really put loose grounds in their place and make sure that everything is nice, even, and smooth for the water to begin penetrating that. That's good to go. I'm gonna stick my portafilter inside the group. This time I'm gonna use a scale to weigh my yield, so turn that scale on.
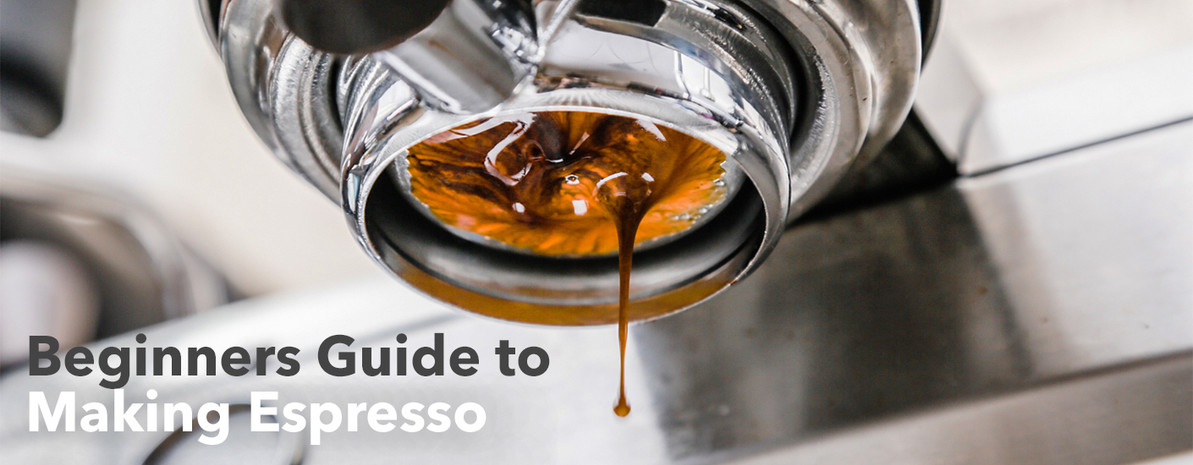
Oh, got a dead battery in our scale, it looks like, but no worries. This is a 2-ounce shot glass, so we know that its yield is gonna be just about right if we get to the top of this glass. So that's all lined up. Now I'm gonna go ahead and start my timer right when I activate the switch, and that's gonna turn the pump on and get this goin'. Right now I am using something called a bottomless or naked portafilter. You can see unlike some portafilters it's chopped at the bottom. There are these spouts. What that helps me do is helps me check my tamping. I can actually see after this whether, and during, actually, whether the stream is even, which would indicate whether or not my tamp was even, and firm, and everything. So we're right up to the top there, which means you're right at about 30 grams, 2 ounces or so right in there. You can see this sort of Guinness effect, as it's referred to, and you can see that distinct layer of crème at the top, which indicates that you have actually made espresso with the pressure, and with fresh coffee, all those sort of things.
So that is how you make a shot of espresso. It's very simple, very easy, once you have the equipment and get the hang of it, to actually make really tasty espresso at home. It's not second-rate. It's the real thing, just like the café experience, and you can really enjoy that at home. So get that goin'. Work on that for a while. If you start to notice some problems, you can actually check some of our other films in our blog to get some troubleshooting techniques, which will help you discern how to change certain things that went wrong if you're shot's tasting kinda funky. So I'm gonna make a shot of espresso. Thanks for watching and enjoy.


