Brewing Guide | Walkure Porcelain Pour Over Brewer
Brewing with Walkure's porcelain coffeemakers is surprisingly simple. A ceramic dispersion plate forgives sloppy technique and the built-in porcelain grid eliminates the need for disposable filters. With a quality burr grinder and hot water source, you're all set to embark on your most exciting brewing adventure yet.
Transcript
Hey, I'm Chris from Prima Coffee equipment. I'm just about to brew with the Walkure Pour Over Coffee Maker. Walkure is, like I said, a pour over brewer, but it's totally unique. It might be unlike anything that you've seen before. It has a flat bottom filter that's actually comprised of two stacked porcelain grids. It has a dispersion piece on the top that basically controls your flow direction and flow rate. As I prepare to brew with this, I just ground about 21 grams of coffee. I'm going to add about 350 grams of water to that. I'll show you my grind setting here. It's medium, a little on the coarse side, perhaps. It's a little bit finer than -- I'm sorry, a little bit coarser than that which I would use for say a Kalita or a Chemex single serving, either of those. You can go surprisingly fine with this brewer, because of a thing called cake filtration.
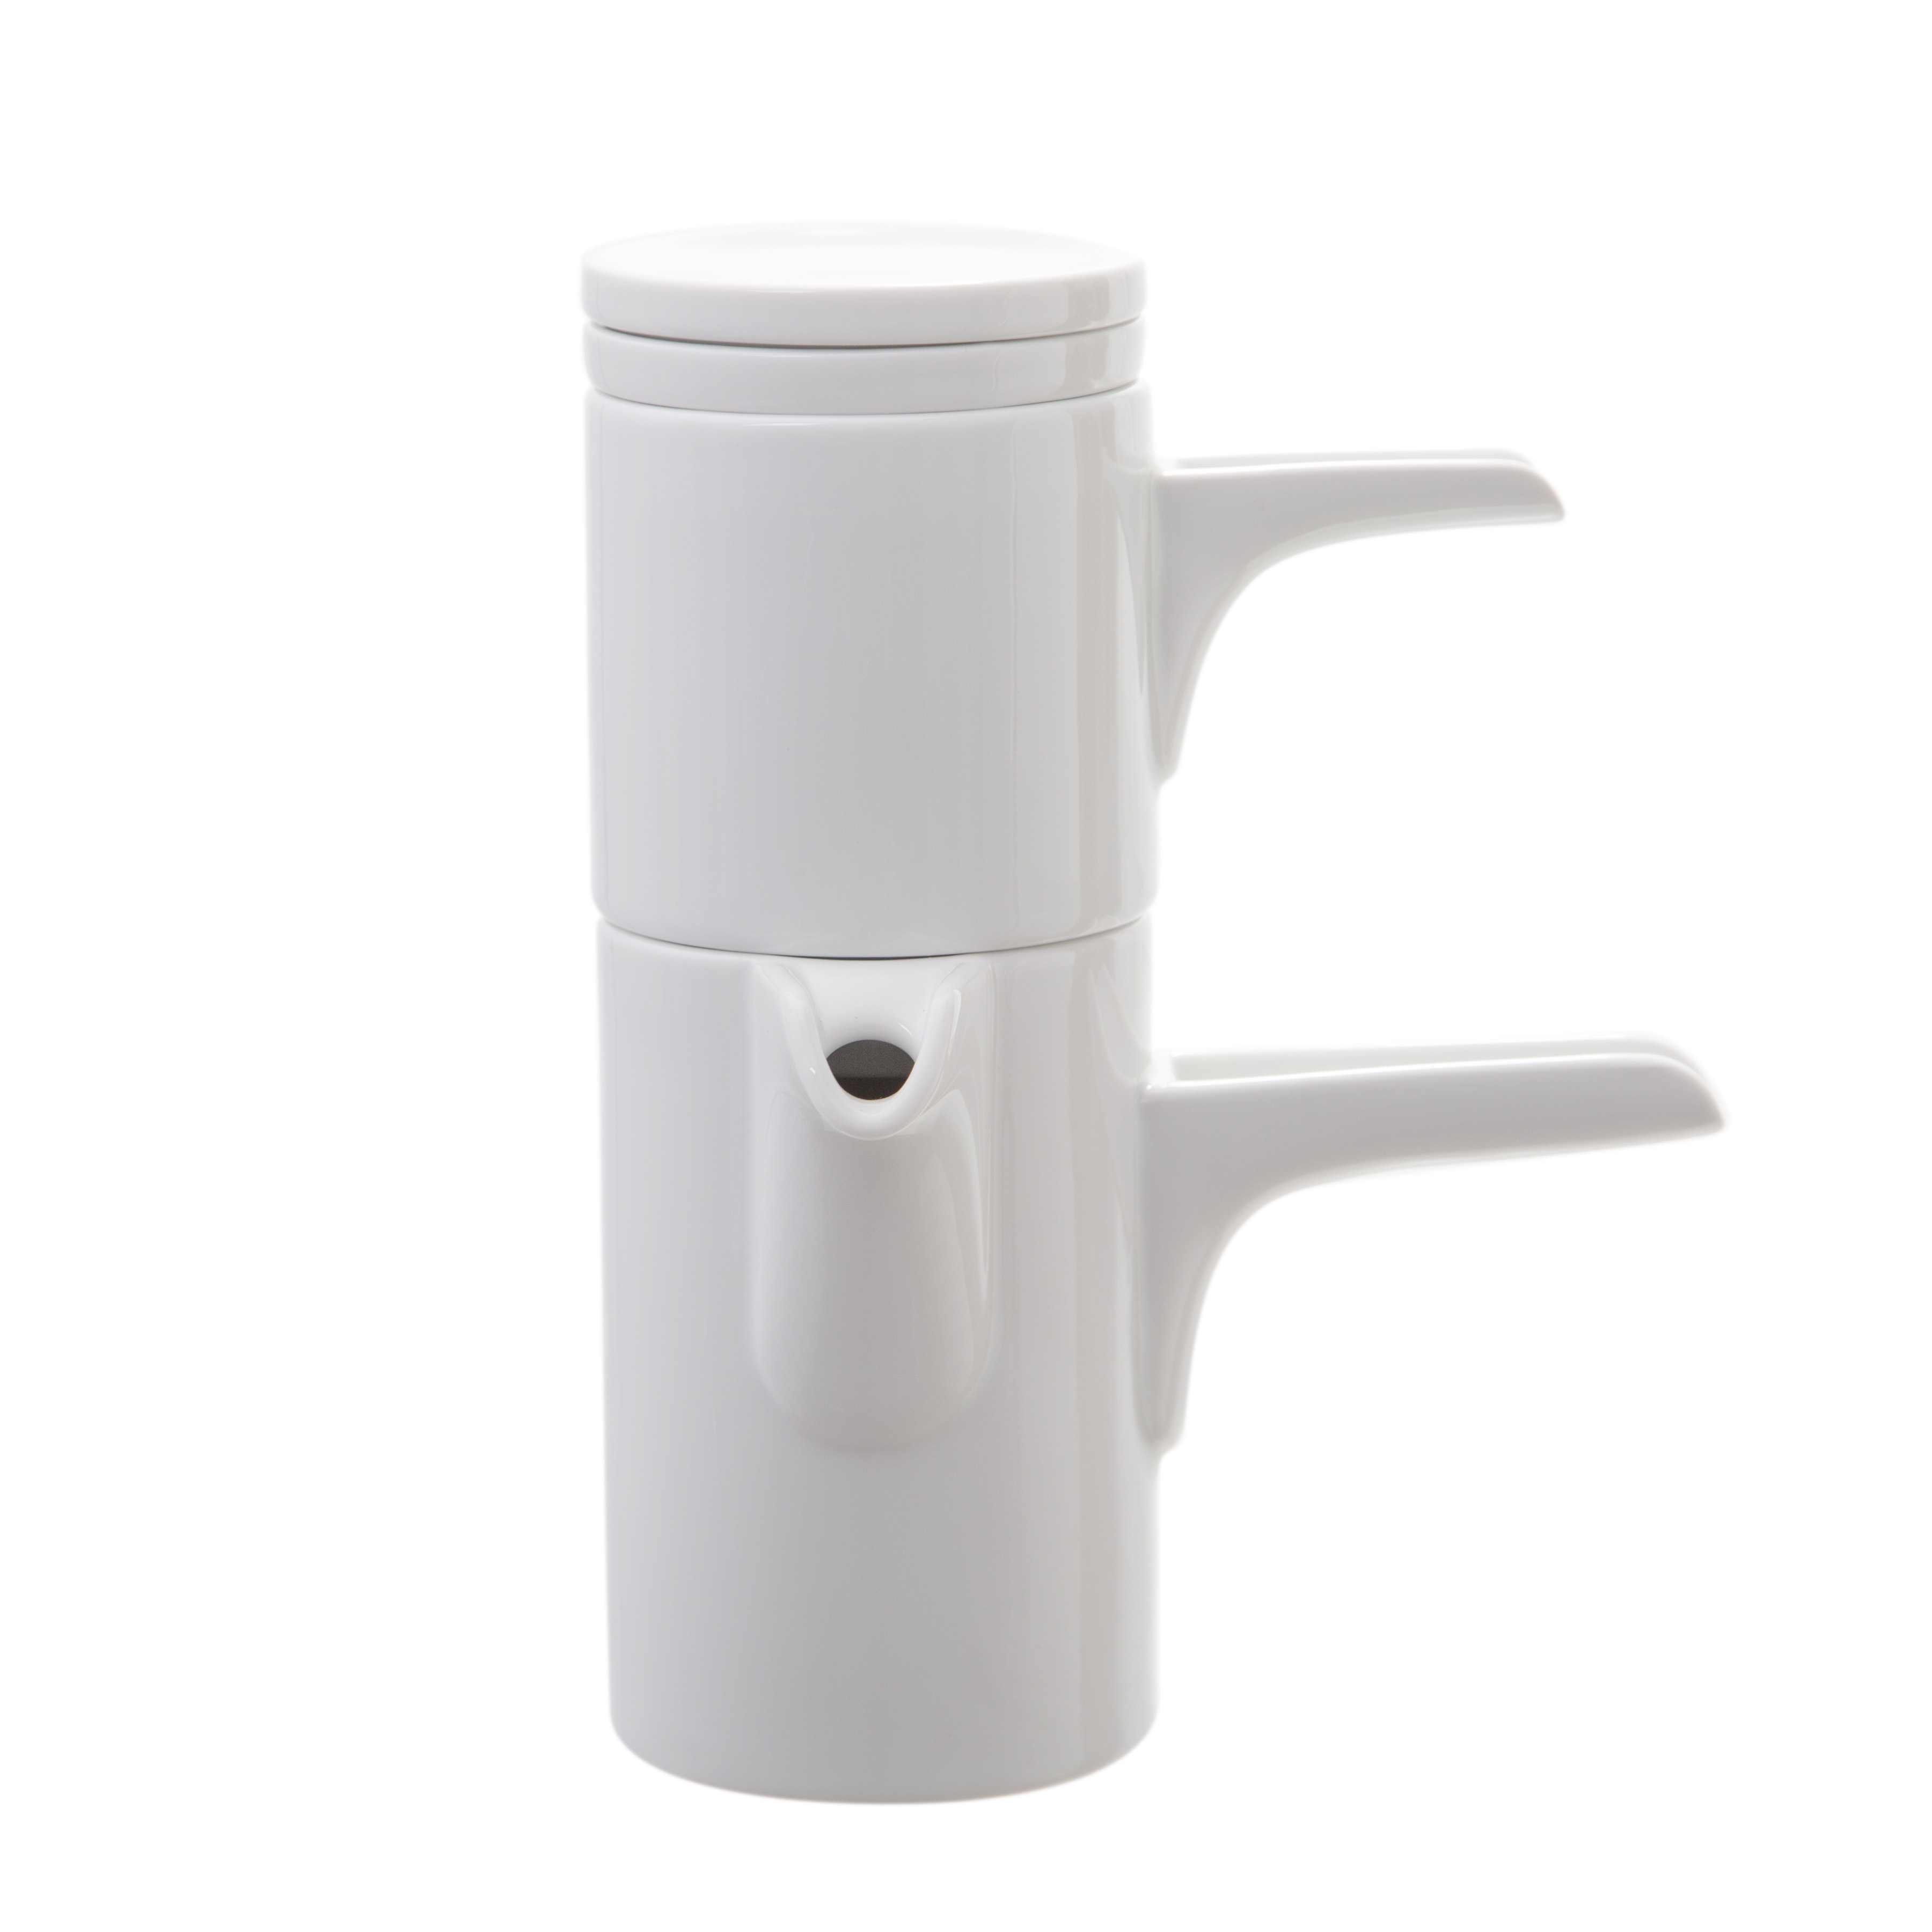
Walkure Bayreuth Porcelain Pour Over Brewer
The Walkure Bayreuth is handmade in Germany and constructed entirely of porcelain
Featured Product
Surprisingly enough, the porcelain grid on the bottom of this guy isn't what does most of the filtering work here. It's not the primary filtering unit. Rather, you suspend a bit of coffee, and then the coffee itself acts as the filtering agent. The coffee develops this cake and filters out grinds from above it. It's actually a very effective means of filtering and produces a surprisingly clean cup. For this coffee, which is actually a Nicaraguan coffee from Finca Los Congos, roasted by Quill's coffee, we're shooting for a brew temperature just above 200 degrees. It's about a week off roast, and a fairly lightly roasted coffee too. I'm shooting for about 200 degrees. Like I said, I'm going for 21 grams of coffee and 350 grams of water. I'm going to use about 10% of my total water volume for pre-infusion here, so about 35 grams. I just pour it on there, and I'll check it out underneath.
This here is actually the dispersion piece that I'm pouring into. It has six holes in the bottom, so there are six -- not necessarily six even streams, but six places where the water comes out. It's distributed over the coffee pretty easily. The coffee has bloomed nicely. It's pretty evenly saturated. I'm going to go ahead and start my timer here. I'm going to keep on pouring. I'm just pouring right into the middle of the dispersion piece here, as you can see. There really isn't a very specific pouring pattern that you need. A slow flow rate is nice, so that you can draw out the brew time, considering the grind's a little on the coarser end. But you don't need to go in any intricate patterns or anything. Really, you don't even necessarily need a kettle that can pour this slowly. If you have enough control with a larger, small spouted kettle, then you're totally fine without a gooseneck pouring kettle like this guy. It does help me drop through time though, and I appreciate it for that reason. I'm just pouring right into the middle of the dispersion piece here.
If you were to look over to the top of this, you would see that there are bubbles starting to come up into the dispersion piece here. You can see the little brown bubbles come up, and this means that the volume inside is just touching up the bottom underneath the dispersion piece. Usually, when I get to that point, I let it rest a little bit, let it calm down, so it doesn't overflow too much. I might give that 10 seconds or so, and then we can keep going - about 230 grams of water right now. Again, my target is 350. I generally hope to hit that right around the three-minute mark. After I stop pouring at three minutes, it might take another 30 to 45 seconds usually to drain all the way through. Now of course, all brewing parameters are important to take in consideration with your brewing. Even with this guy, but there are some that are a little more highlighted.
For example, in this Walkure, your dose and grind setting are of special importance. You're going through those wide swings in brewing time and instruction, just by changing those a little bit. It's really important to consider dose and how it considers bed depth, as well as your grind, which is going to affect your flow rate with this brewer. I mentioned that I'm using a kind of a medium, medium- coarse grind. Really before I adjust much else, I like to consider adjusting my dose. For example, the last time we brewed this we used about 21 grams of coffee and I wanted it to go through a little bit quicker. My brew time was a little over four minute instead of the three and a half that I wanted. Instead of just saying "grind," which a lot of folks' first thought when they were trying to adjust their time, I decided to adjust the dose instead. I'm probably going to notice a pretty dramatic difference with this one.
Let's peek underneath. Our water level is right around here. The slurry is just up underneath the dispersion piece and it's draining slowly. It's been about three minutes since the end of our pre-infusions. We're looking at probably finishing about 3:45 total brew time, maybe 4 minutes. Right, about 350 grams of water here. Now, the resulting cup for this brewer, it's surprising, it's not what you would expect. A lot of folks, when I talk to them, they expect it's going to be very full-bodied. It's going to be very silty, even a lot like a French press. It's not what I notice though, it's really surprising. Because of that very effective means of filtration, cake filtration, the cup is pretty clean. But at the same time, because there's no paper or cloth in between, it's very aromatic.
It's still very flavorful, a bit oily - a very nice cup of coffee, but still being pretty clean. It is a little bit on the full-bodied side. So if you don't like a cup of coffee to really have this significant and noticeable weight in your mouth, it might not be the brewer for you. But we really like it, and the cup is surprisingly clean and tasty. That water is draining through the last of the grounds there. I'm going to go ahead and pop it off, pour it here. Overall, Walkure is a very user friendly coffee maker. It doesn't require a lot of precise skill. Once you have your particular recipe that you enjoy, you're going to get a great cup of coffee, very repeatable, consistent results. We really like it. The Walkure coffee maker, thanks for watching.