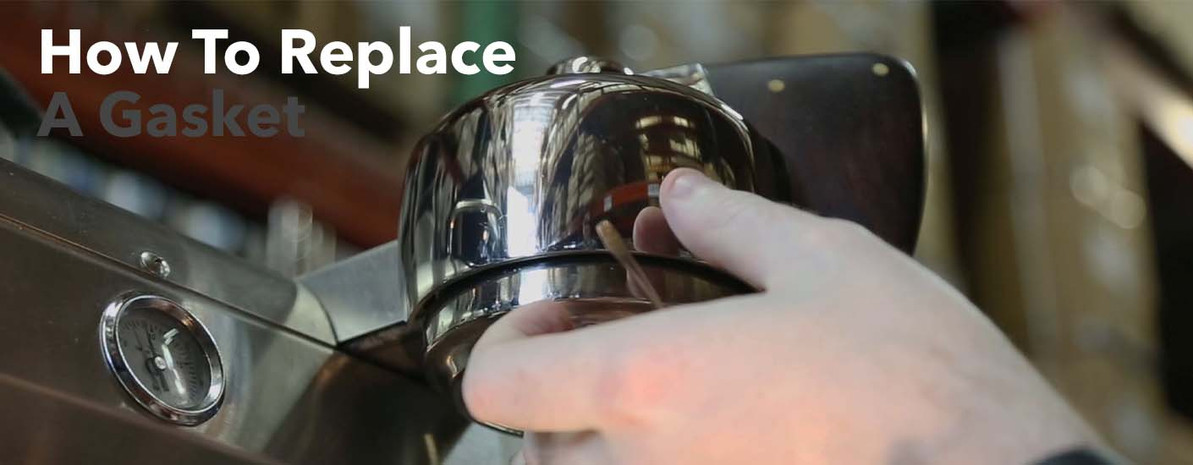
Product Maintenance | Gasket Replacement
When it comes to giving your espresso machine a long and happy life on your bar, preventative maintenance is crucial. Regularly replacing worn out group head gaskets is an important part of that maintenance, since the gasket creates a tight seal for your portafilter. From identifying signs that your gasket needs to be replaced, to covering the tools that you’ll need to do the job, we walk through what you’ll want to know about caring for your gaskets, so you can keep the great shots coming for a long time.
Transcript
Hey. Ryan from Prima Coffee Equipment here, and today we're going to discuss a little bit about preventative maintenance for an espresso machine. More specifically, how to replace the group head gasket. So, the group head gasket is the piece that creates the actual seal for your portafilter, and this is really important to have. The portafilter gasket will, typically, last about six months to a year, depending on how much it's used. Now, our machine is used maybe once or twice a day. Something that you'd see like in a home setting. So, it's made it about a year, and it's still not quite unusable, just to give you an idea of how long it lasts.
Slayer Group GasketsOEM replacement gasket for Slayer commercial espresso machines
Featured Product
Obviously, in a cafe setting where you're using the espresso machine much more often, gaskets will need to be replaced more often. Maybe once every three, maybe six months, it depends. Some signs that your gasket needs to be replaced. Well, the first one is, obviously, going to be leaking. You will actually see water dripping and bypassing the basket and dropping out, and that's a sure sign that you need to replace the gasket. You'll also see over time that your portafilter will, kind of, creep over past the 6 o'clock position over to the 4 o'clock position. That's also a decent indicator that it's probably about time to replace the gasket.
Now, the longer that a gasket ages, typically, the harder it is to remove. So, it's good to get that gasket out at the earliest sign of failure. So, let me show you some basic tools on what we're going to use today. So, this is the gasket. It needs to be inserted with the model numbers up and the flat side, where the seal is created, needs to be facing the portafilter. I'm going to be using a pick, or what's actually called an awl, which is going to help us remove the gasket. And then, I have some food-safe lubricant. Now, this is Dow 111. This is probably the most common lubricant used for this. I also have a proprietary blend that Slayer makes, which is just a little bit different ingredients, but it accomplishes the same thing.
Bunn Haynes Silicone Lube1 oz silicone lube is food-grade and made from FDA approved ingredients
Featured Product
So, the first thing I'm going to do is remove the dispersion screen. We don't want to damage that with our pick. All right. So, I'm going to go ahead and remove the center screw which is holding on the dispersion screen. And you don't have to do this with every machine. Sometimes, machines will actually require you to remove the gasket before the dispersion screen can be replaced. And with those machines, you can just skip this step. Okay. So, now I've got the dispersion screen removed. I'm going to grab my pick, and I'm going to start working at the gasket. Now, like I said, our gasket is relatively new, and it's going to come out pretty simple. Now, that was a dream. It's not always going to be like that. In fact, these will get brittle as they age, and you may end up having to pick these out piece by piece. And don't be discouraged by that. You're not doing anything wrong, but these will get very brittle as they age.
Another thing to do is make sure that inside of this is really clean before you put that new gasket in. So, I'm just going to make sure real quick here that we don't have any excess grounds. Looks good. Okay. So, now I'm going to take some of the lubricant, and I'm just going to apply with my finger a really thin film around the outside. Now, this is food safe so you won't have to worry about those concerns. Okay. And like I mentioned earlier, the indented side needs to go up, the flat, smooth side needs to be touching your portafilter. This is where our seal is going to be. So, very carefully, get in there with your fingers and make sure on all sides that it's tight, and you can go ahead and use your screwdriver.
Okay. It looks good. I'm going to take a towel and wipe off some of the excess lubricant. We're going to put our dispersion screen back in. All right. So, now that we've got the gasket sealed in there, I'm going to go ahead and put the portafilter in to see how we did. Looks good. Feels like a great seal. So, really be careful when you do this. These can be hard to get out and these tools are really sharp, and we've seen technicians stab themselves. So, have fun. Be careful. Thanks so much for watching.


