Product Maintenance | Luminaire Automatic Shot Timer Wire Adjustment
Changing the wire position on your Luminaire Auto Shot timer is quick and simple! Designed to work with home and commercial espresso machines, the Luminaire comes with four notches already set within the body, so you can switch the wire to the best location for your machine. To see the process from start to finish, watch along as Steve demonstrates adjusting the wire on the Luminaire Automatic Shot Timer.
Transcript
Hey guys, this is Steve with Prima Coffee here. Today, I want to talk to you about adjusting the wire position on your Luminaire Auto Shot Timer. Now this is a question that we've gotten fairly frequently since we launched these guys. These are really convenient timers to install on a espresso machine, especially since you can do it on most machines without any tools or any modifications to the machine. However, the wire by default is sticking out of, sort of the bottom of the device, and that can be maybe a little bit of a headache in terms of trying to figure out how to place it on your machine.
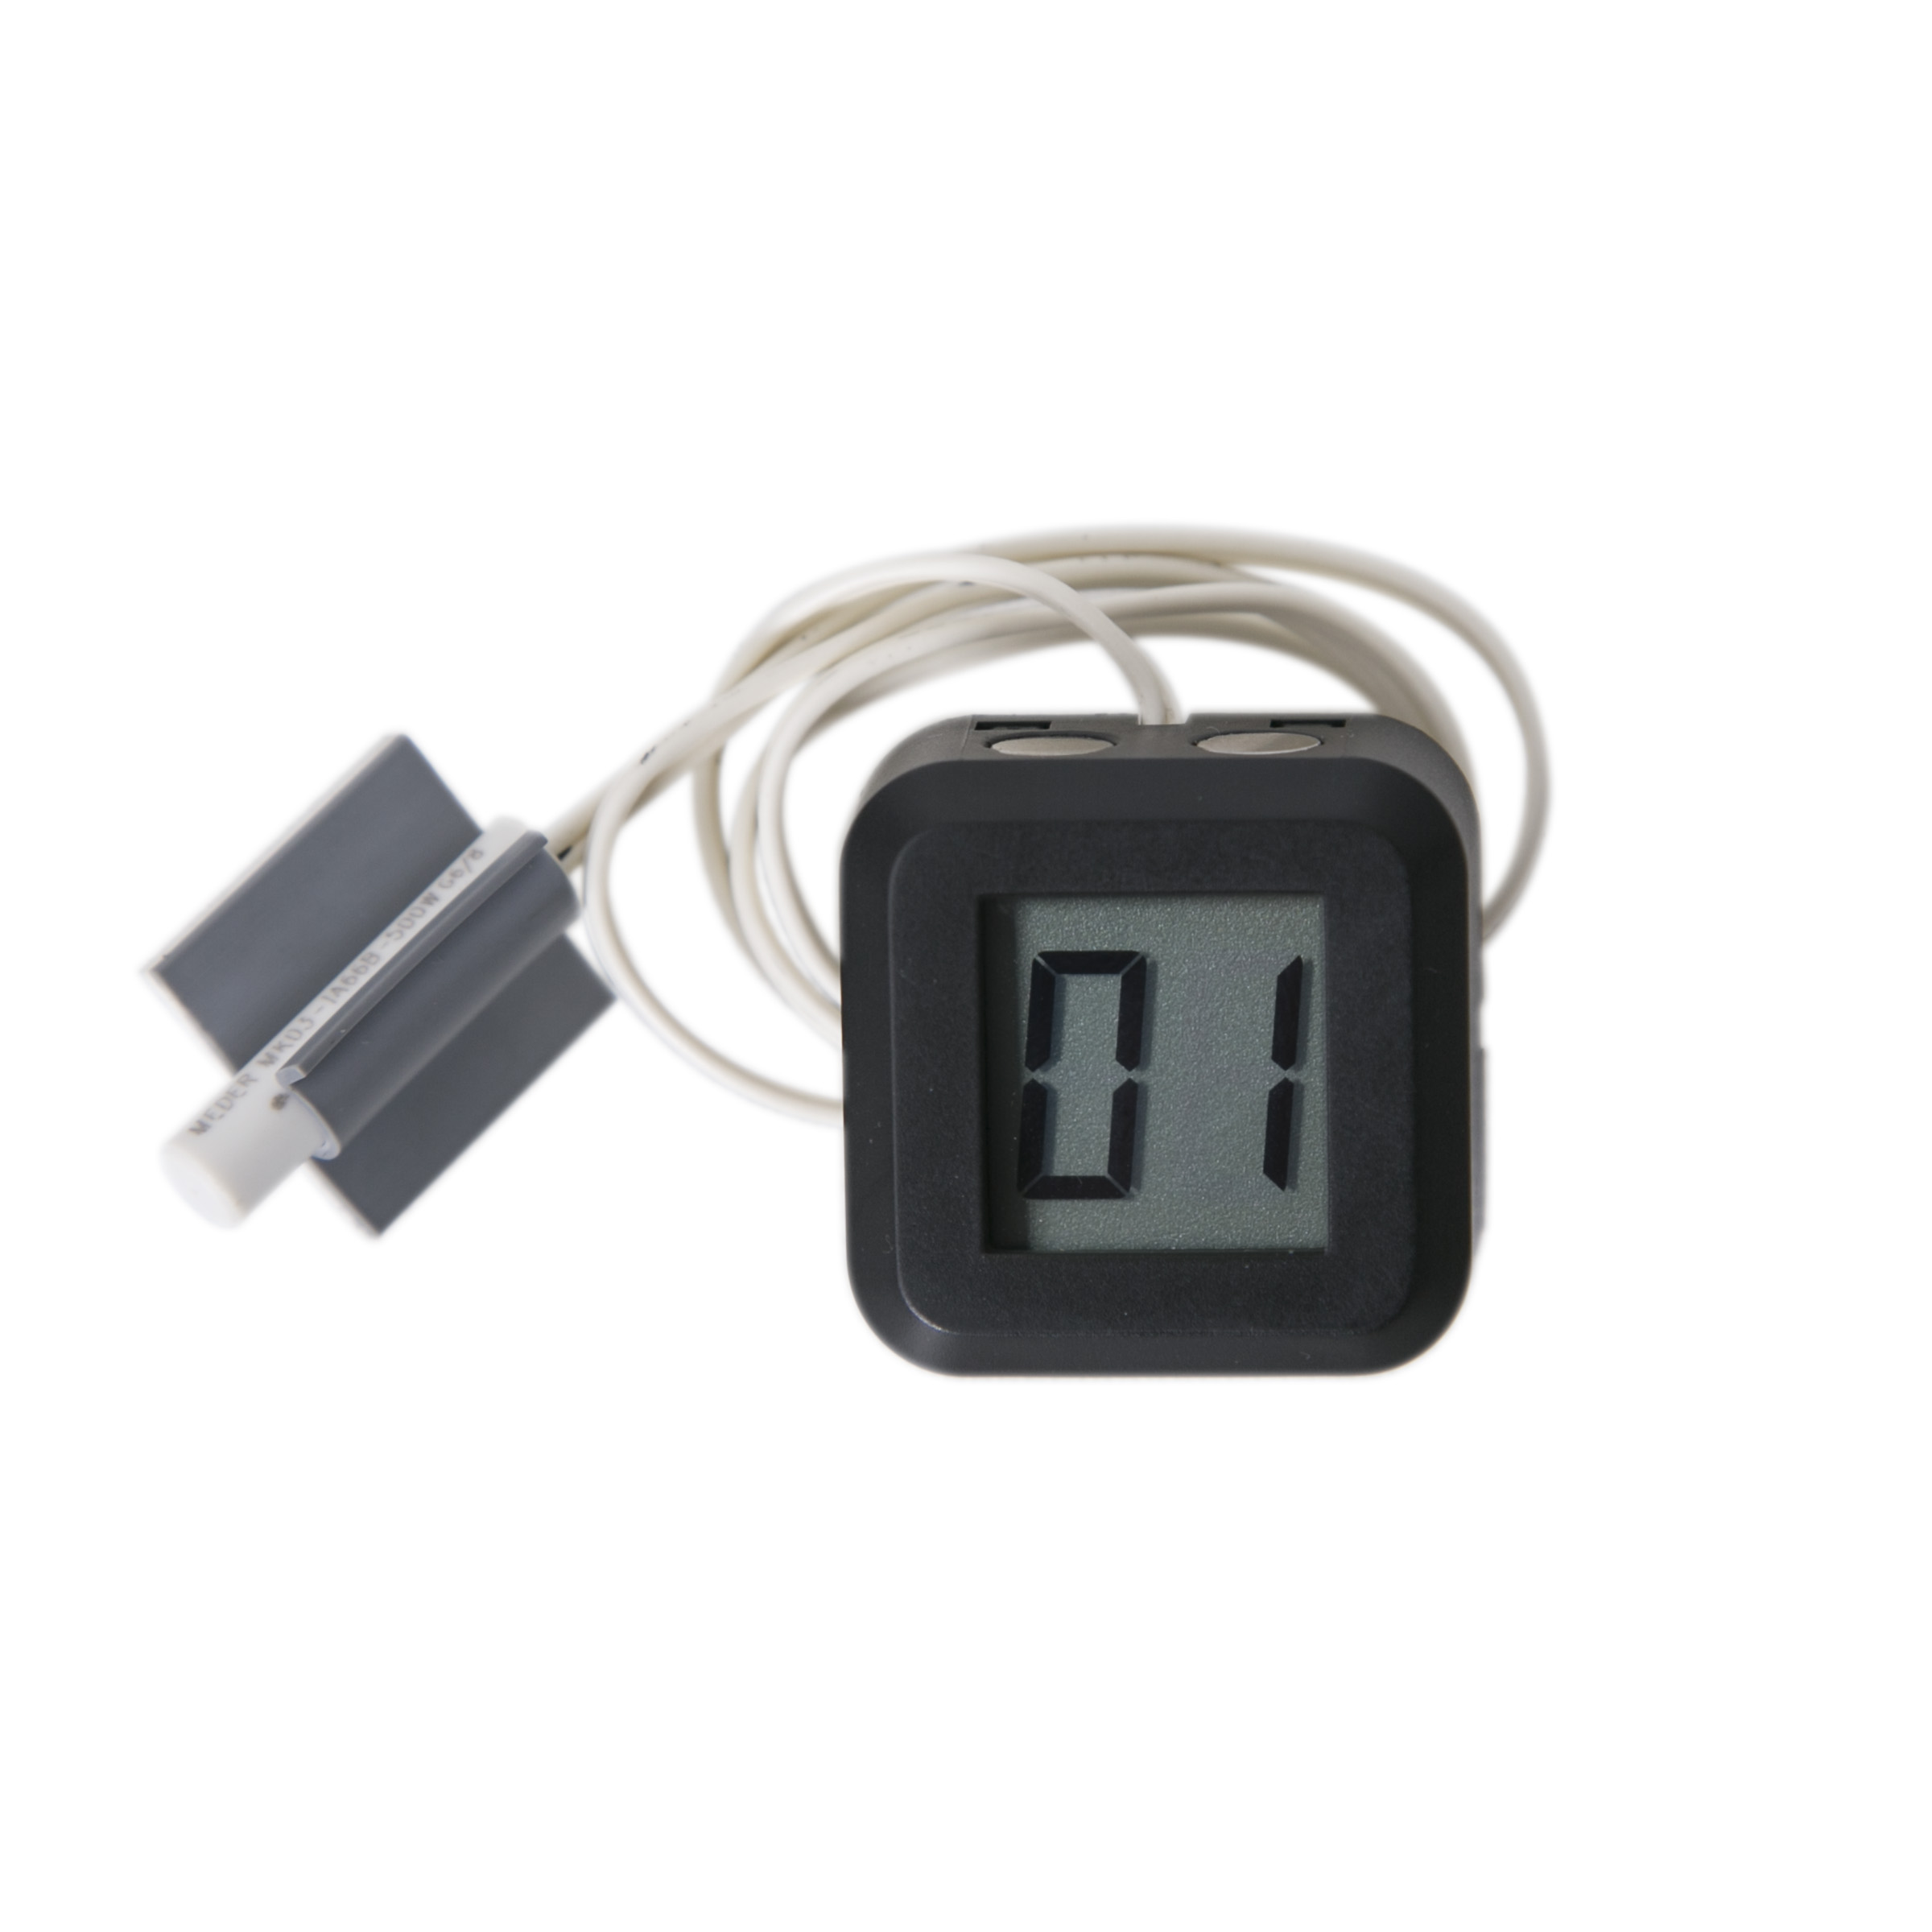
Luminaire Automatic Shot Timer
Works with any 120 V or 240 V solenoid valve, for both commercial and home espresso machines
Featured Product
Now, thankfully, Luminaire's design actually has these four little cutouts, one on each side of the timer. So if you want to adjust the wire position, it's as simple as removing a couple of screws, moving the wire to one of the other cutouts, and then putting the screws back on. So I'm going to show you how to do that right now. I just have a little Phillips bit. All you need to do is take out these two screws on the back, and they're pretty easy to remove. I can even just stick them right there on the magnets to hold them temporarily. The back panel just needs a little bit of a nudge to come off, and then you can really easily remove it. So now we're inside, and we have, again, these four cutouts. And I can choose whatever placement I want. The only thing I need to be a little bit concerned about is being careful not to put too much tension on the two wire contacts here.
We want to make sure that we're not tugging on those two connections and breaking the solder. That could be repaired, but it might be a little bit of a headache. So if I want to change my wire position to like the side, all I need to do is just gently, kind of pull the wire over. You can flatten it out if you like. Just make sure there's a little bit of slack, again, to save those connections. I'll put the back panel back on, get my screws in, and then tighten them down. So just like that, in just a minute, and with a simple Phillips head screwdriver I have changed the wire orientation on my timer. So if I were to want to use those bottom-mounting magnets, now I've cleared the wire out of the way, and I can easily set it up on my machine. So that's that. That is adjusting the wire position on a Luminaire Auto Shot timer. Thanks for watching.