Care & Maintenance for Coffee Equipment
Everything you need to know about keeping up your pour over gear, reusable filters, or auto brewer.
It isn’t glamorous, and it certainly isn’t anyone’s favorite step in the coffee process, but taking care of your gear is absolutely a requirement for brewing up top quality java. Coffee oils build up on everything they contact—your brewer, filter, server, and mugs—and if left unchecked eventually leave a rancid patina just lying in wait, aiming to pollute your fresh coffee with flavors that could adequately be described as “cold brew I forgot about and left open on the counter all week”. Luckily, general upkeep and cleaning for your equipment is almost always as simple as a little soap, water, and an eye for detail.
So with that in mind, we’ve made this guide for you! Read on for recommendations and step-by-step guidance for keeping your brewed coffee setup immaculately clean and ever ready to execute unadulterated extractions.
MANUAL BREWERS & SERVERS
Manual brewers and the carafes that accompany them are often the easiest pieces of equipment to maintain thanks to the simplicity of their design. With a combination of basic upkeep after use and the occasional deep clean when necessary you can be sure that you’re always enjoying your coffee at the height of its potential. Daily cleaning is as simple as giving your gear a thorough rinse with hot water and a quick wipe with a clean towel after each use. When coffee oils begin to build up noticeably—typically appearing as discoloration or staining, as well as an oily look or feel—it’s time to grab the more serious cleaning supplies. The process below is effective and efficient, requiring only a little time working and very few (if any) special tools that you don’t already have.
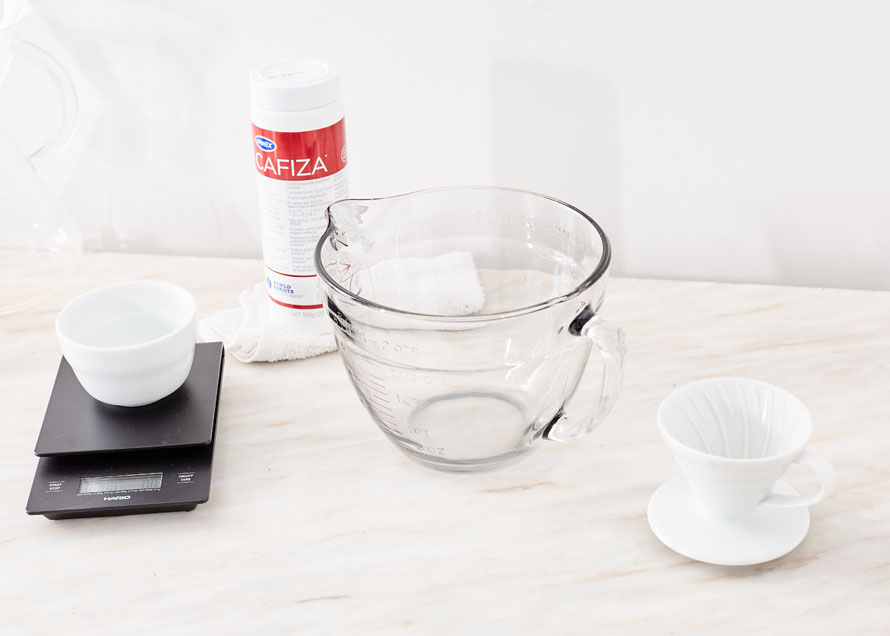
The Goods: Large bowl/cambro/washbasin, coffee detergent, washcloth, long-handled brush
The Process:
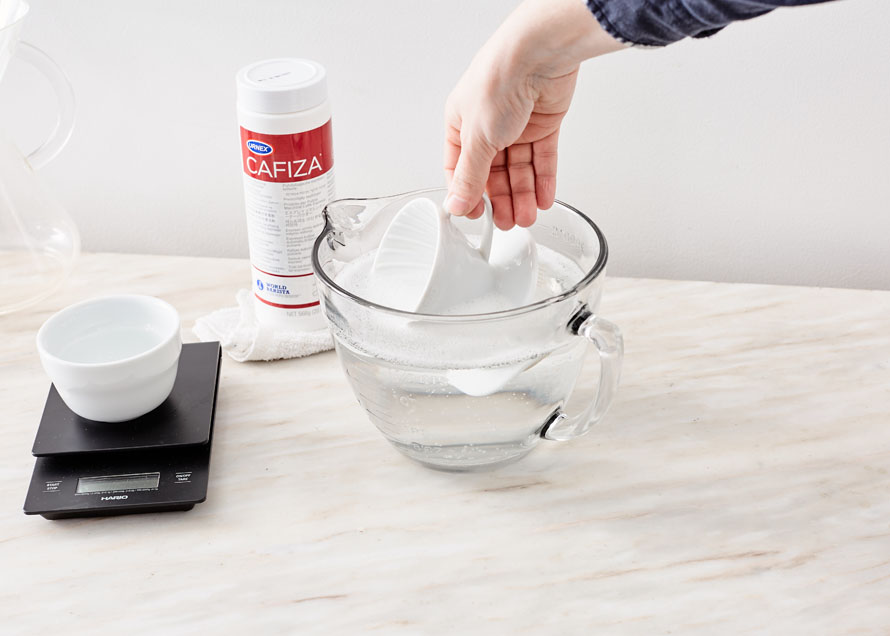
1. Mix your cleaning solution in a large enough vessel to soak your gear in, be sure to follow the concentration directions on the packaging of whichever detergent you choose.
2. Disassemble any parts on your brewer that may need it (e.g. the plunger assembly on a french press) and submerge everything in your cleaning solution. If you don’t have a washbasin big enough to fit everything all together that’s okay! You can use this solution over again to soak multiple brewers and carafes.
3. Let it soak for 15–30 minutes depending on how dirty your gear is.
4. Hand wash everything you can with a wet washcloth, using your long-handled brush to scrub any surface that you can’t reach easily.
5. Rinse everything thoroughly after cleaning.
REUSABLE FILTERS
Reusable filters are a fantastic option for people looking to make their coffee drinking a little more sustainable at home. While the sustainability advantage is fantastic, reusable filters do come with their own set of upkeep requirements to ensure that you don’t have to sacrifice quality in order to reduce your carbon footprint. Whether you invest in a stainless steel filter to use forever, or a cloth filter for crystal clear brews, plan to care for your filter as intentionally as you do your brewer.
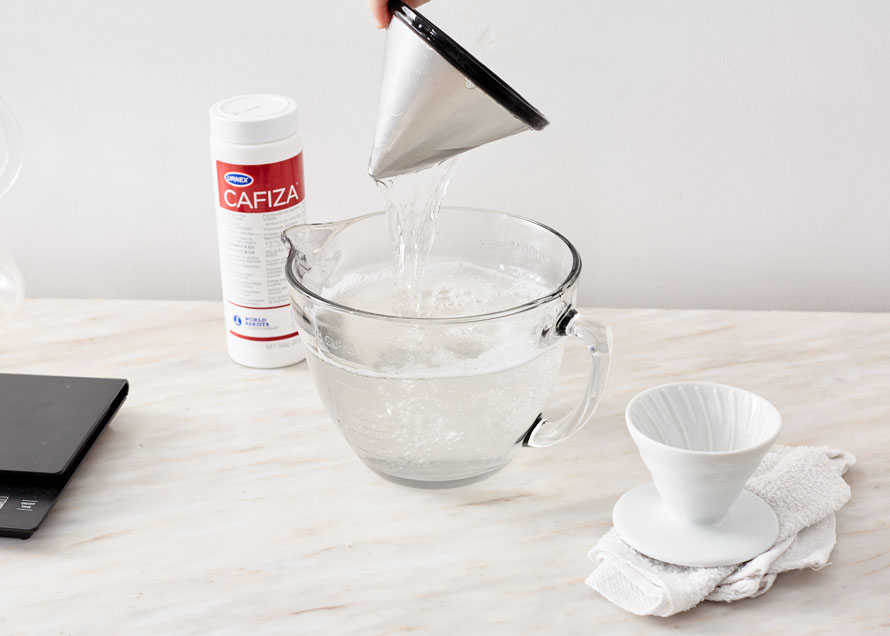
Stainless Steel Filters should fall in with your maintenance routine for any brewers and servers you have. Rinse thoroughly with hot water after each use, and soak the filter in detergent as necessary to keep coffee oils from building up on the surfaces and pores of the filter.
If your filter gets clogged with ground coffee particles, a detergent soak followed by a good scrub with a stiff nylon brush should dislodge and clear those out for you. Once you’ve knocked them free be sure to let the filter soak once more to remove any coffee oil that might’ve been trapped by the grounds.
Cloth Filters present a couple of unique challenges for upkeep, but certainly nothing too difficult to manage. Fabric traps and holds on to coffee oils much more effectively than any other type of filter (which explains the flavor clarity they produce), meaning that they become soiled with each use. Rinse your filter in hot water after use until the water coming out of it runs clear, and plan to use your coffee detergent more frequently on this filter than with any other brewing device you have—giving it a long bath in hot water with detergent at least once a week will help ensure that your coffee stays tasting delicious and fresh.
The second unique challenge is that, without proper care, cloth filters are prone to molding because they retain water as well as coffee oils. Given access to oxygen and suitable temperatures, that environment is perfect for the sort of science experiment you didn’t plan to have before your morning cuppa. To avoid this, plan to store your filter in a resealable container in either your refrigerator or freezer—the cold temperatures will impede the growth of any unwanted passengers on your filter and help extend its working life.
AUTO-DRIP MACHINES
It can be easy to overlook the humble auto-drip machine, but a good quality brewer that’s been maintained regularly is capable of achieving truly fantastic extractions. The best part is that cleaning your brewer is just as easy as brewing coffee! As daily upkeep you should be rinsing your brewer carafe and brew basket thoroughly after every brew. Coffee oils will build up over time just like with your manual brewing equipment, but the process for your auto brewer is simple!
The Goods: Coffee Detergent, washcloth, long-handled brush.
The Process:
1. Add powdered detergent directly into the brew basket, then fill your brewer’s reservoir with fresh water. Be sure to follow the dilution recommendations for whichever detergent you use (e.g Cafiza should be used at 6g/L).
2. Turn the brewer on and let it run a full brew cycle
3. Leave the cleaning solution to soak in the carafe for 15–30 minutes
4. Scrub any stains with your brush or washcloth in both the carafe and brew basket
5. Discard the solution (or, use this as an opportunity to also scrub up any manual brewer, coffee mug, or teapot that could use a good once over) and rinse everything thoroughly.
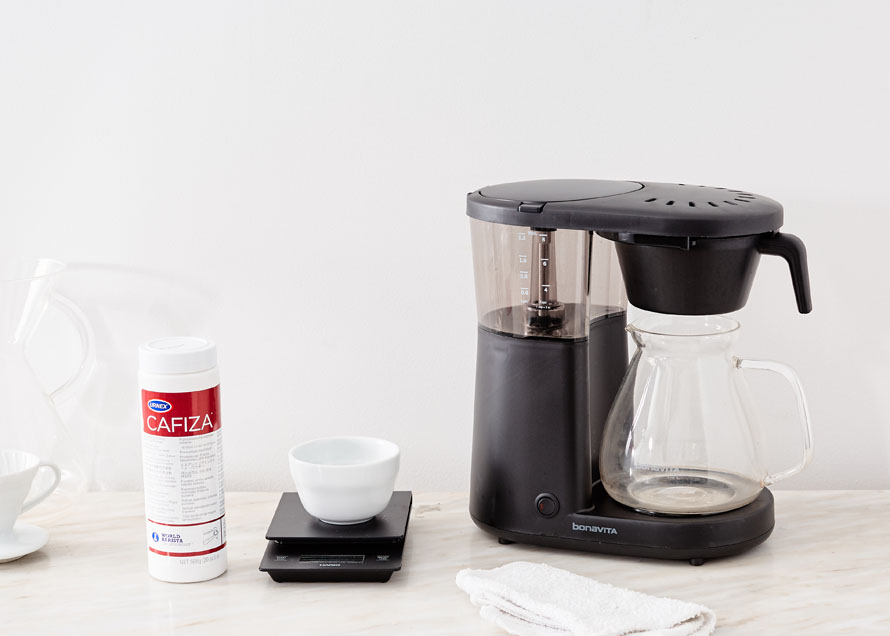
Depending on how frequently you use your brewer and how proactive you are in daily upkeep you should expect your auto-brewer could use a good clean every couple of weeks.
You can plan on needing to descale your water reservoir as well every 6–12 months, depending on the total hardness of your water (if it shows significant build up more frequently than that I fully recommend taking a look at your water quality and considering a small investment in some better water for brewing). To descale your reservoir should only take a handful of minutes just like cleaning out your brewer, just follow these few steps!
The Goods: Citric acid, fresh water
The Process:
1. Mix a citric acid solution (1 tablespoon citric acid powder to 1 liter of water) to fill your water reservoir. Using this acid solution instead of other acidic products (like vinegar) gives you a cleaning product that you can control, as well as avoiding any flavor or scent staining in your machine or carafe. You can find citric acid for sale in many grocery stores near canning supplies, in brewing supply stores, and tons of places on the internet.
2. Run a brew cycle with only your descaling solution in the brewer.
3. Empty your carafe and run a second brew cycle with only fresh water. This will ensure that you’ve flushed any citric acid solution out of the brewer.
It’s that easy!
Sure, maintenance is a chore, but the axiom holds true here—an ounce of prevention is worth a pound of the cure. Five minutes invested on a weekly basis can save you from the headache, time waste, and meticulous scrubbing required to try to recover from months (or even years!) worth of rancid coffee oil build up. If you think that your coffee is going to have any hope of shining, sparkling, and dazzling your palate, be sure to invest in a few tools, the right detergent, and spend just a little time taking care of your gear.
Happy cleaning, y’all.
