
Espresso and Milk for Beginners
Espresso and steamed milk are a classic combination. Take a dive into this how-to explanation for steaming up delicious milk for your cappuccinos, lattes, and flat whites.
Look through almost any cafe menu and it’s immediately apparent, espresso and steamed milk are a classic combination. Now that you’ve got a handle on high-pressure brewing it’s time to take another step toward total baristahood with a primer on steaming up perfectly textured milk to go with your deliciously extracted espresso.
What Makes Steamed Milk So Special?
If you’ve never tasted steamed milk side-by-side with cold milk (and have access to a steam wand) I suggest you stop reading now and go give it a try. Well steamed milk is like taking all of the delicious parts of the beverage and turning them up to 10—it’s rich, surprisingly sweet, and should have a luxuriously creamy texture thanks to its microfoam. Every delicious latte or cappuccino you've ever had has been the result of tasty espresso and deliciously sweet steamed milk coming together in just the right ratio.
With a huge variety of milk and specialty milk alternatives available today it’s becoming more and more accessible for folks to enjoy their espresso at home with a little something extra, but it doesn’t just come easily! Milk steaming is another skill that will take practice and intentionality to execute well, so don’t be discouraged if your first couple of pitchers turn out less-than-perfect.

Tools of the Trade
There are certainly fewer requirements for steaming milk than for making espresso, but that doesn’t make them any less important. You’ll want to be sure you’ve collected all of these items before you get started.
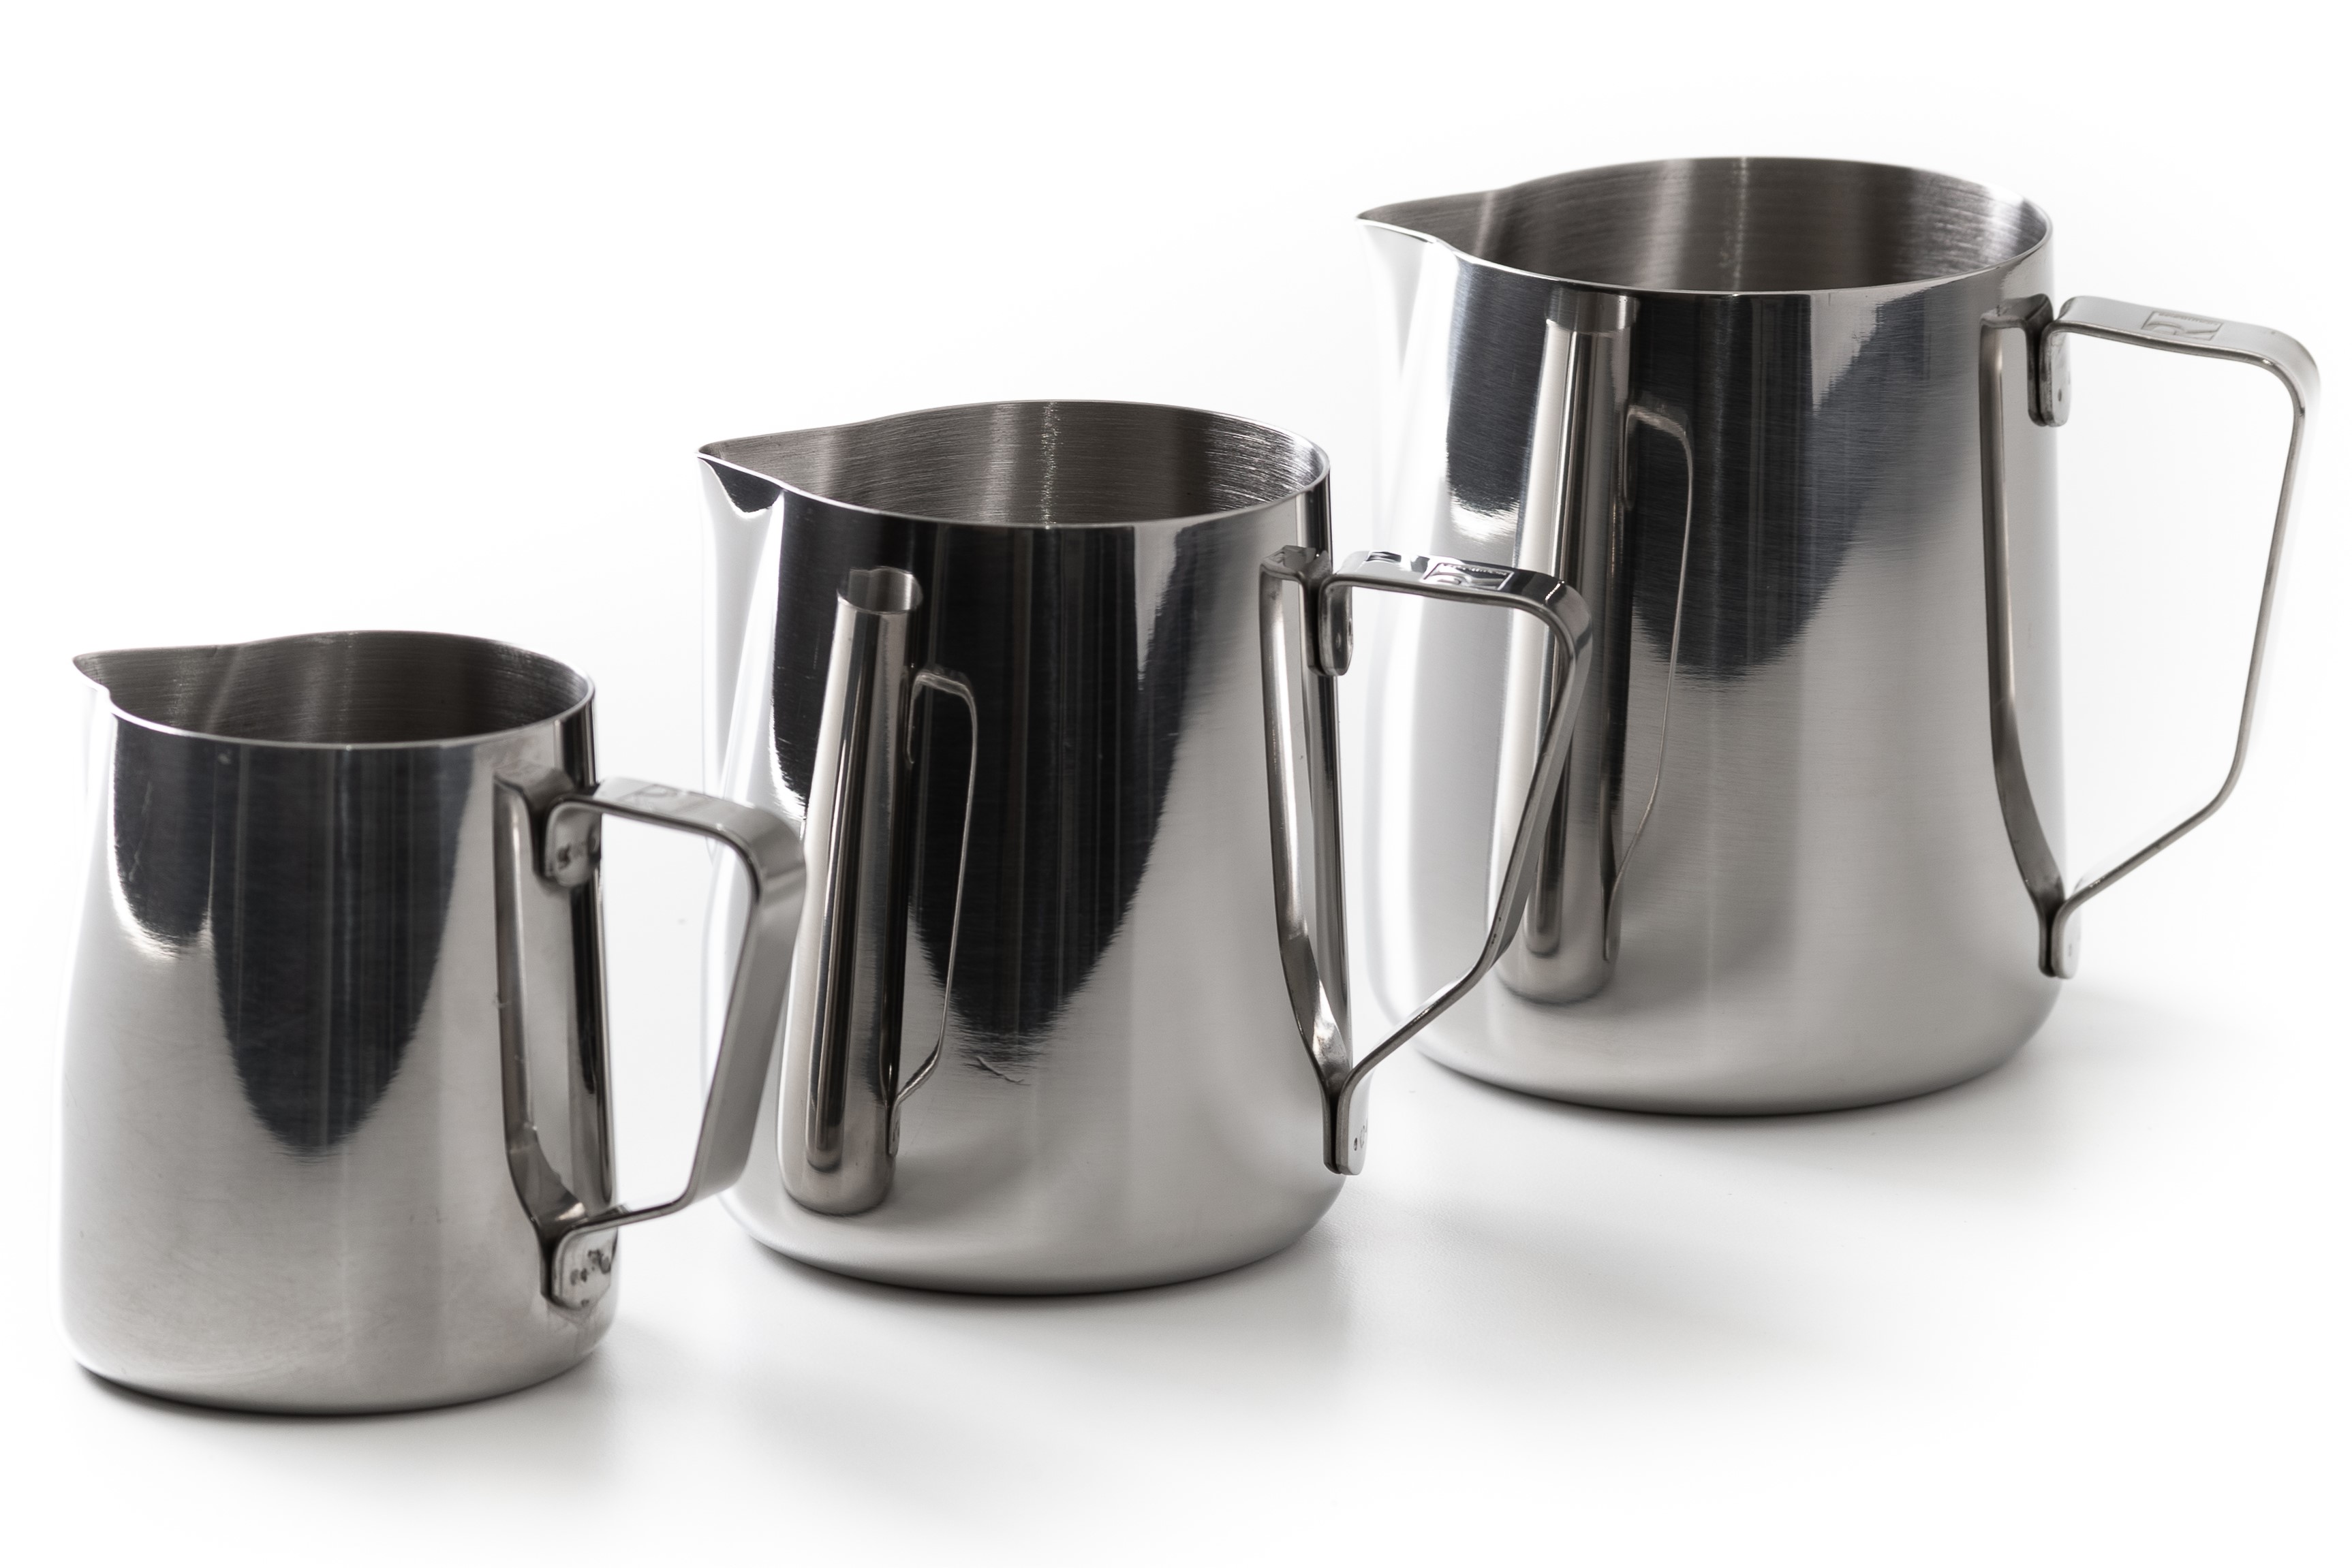
Steaming Pitcher
Depending on the beverage(s) that you’ll be making there are a few sizes that you can choose from for your steaming pitcher, and having a smaller pitcher (12oz) and a larger option (20oz) around will likely come in handy. If you're practiced at transferring milk from one pitcher to another, look into the 30 oz., which is great for steaming for multiple drinks at once. Look for pitchers that have a sturdy handle to keep your hands from the heat, as well as a nice spout to pour from. We have everything from standard stainless steel pitchers to colorful latte-artist pitchers with special spouts.
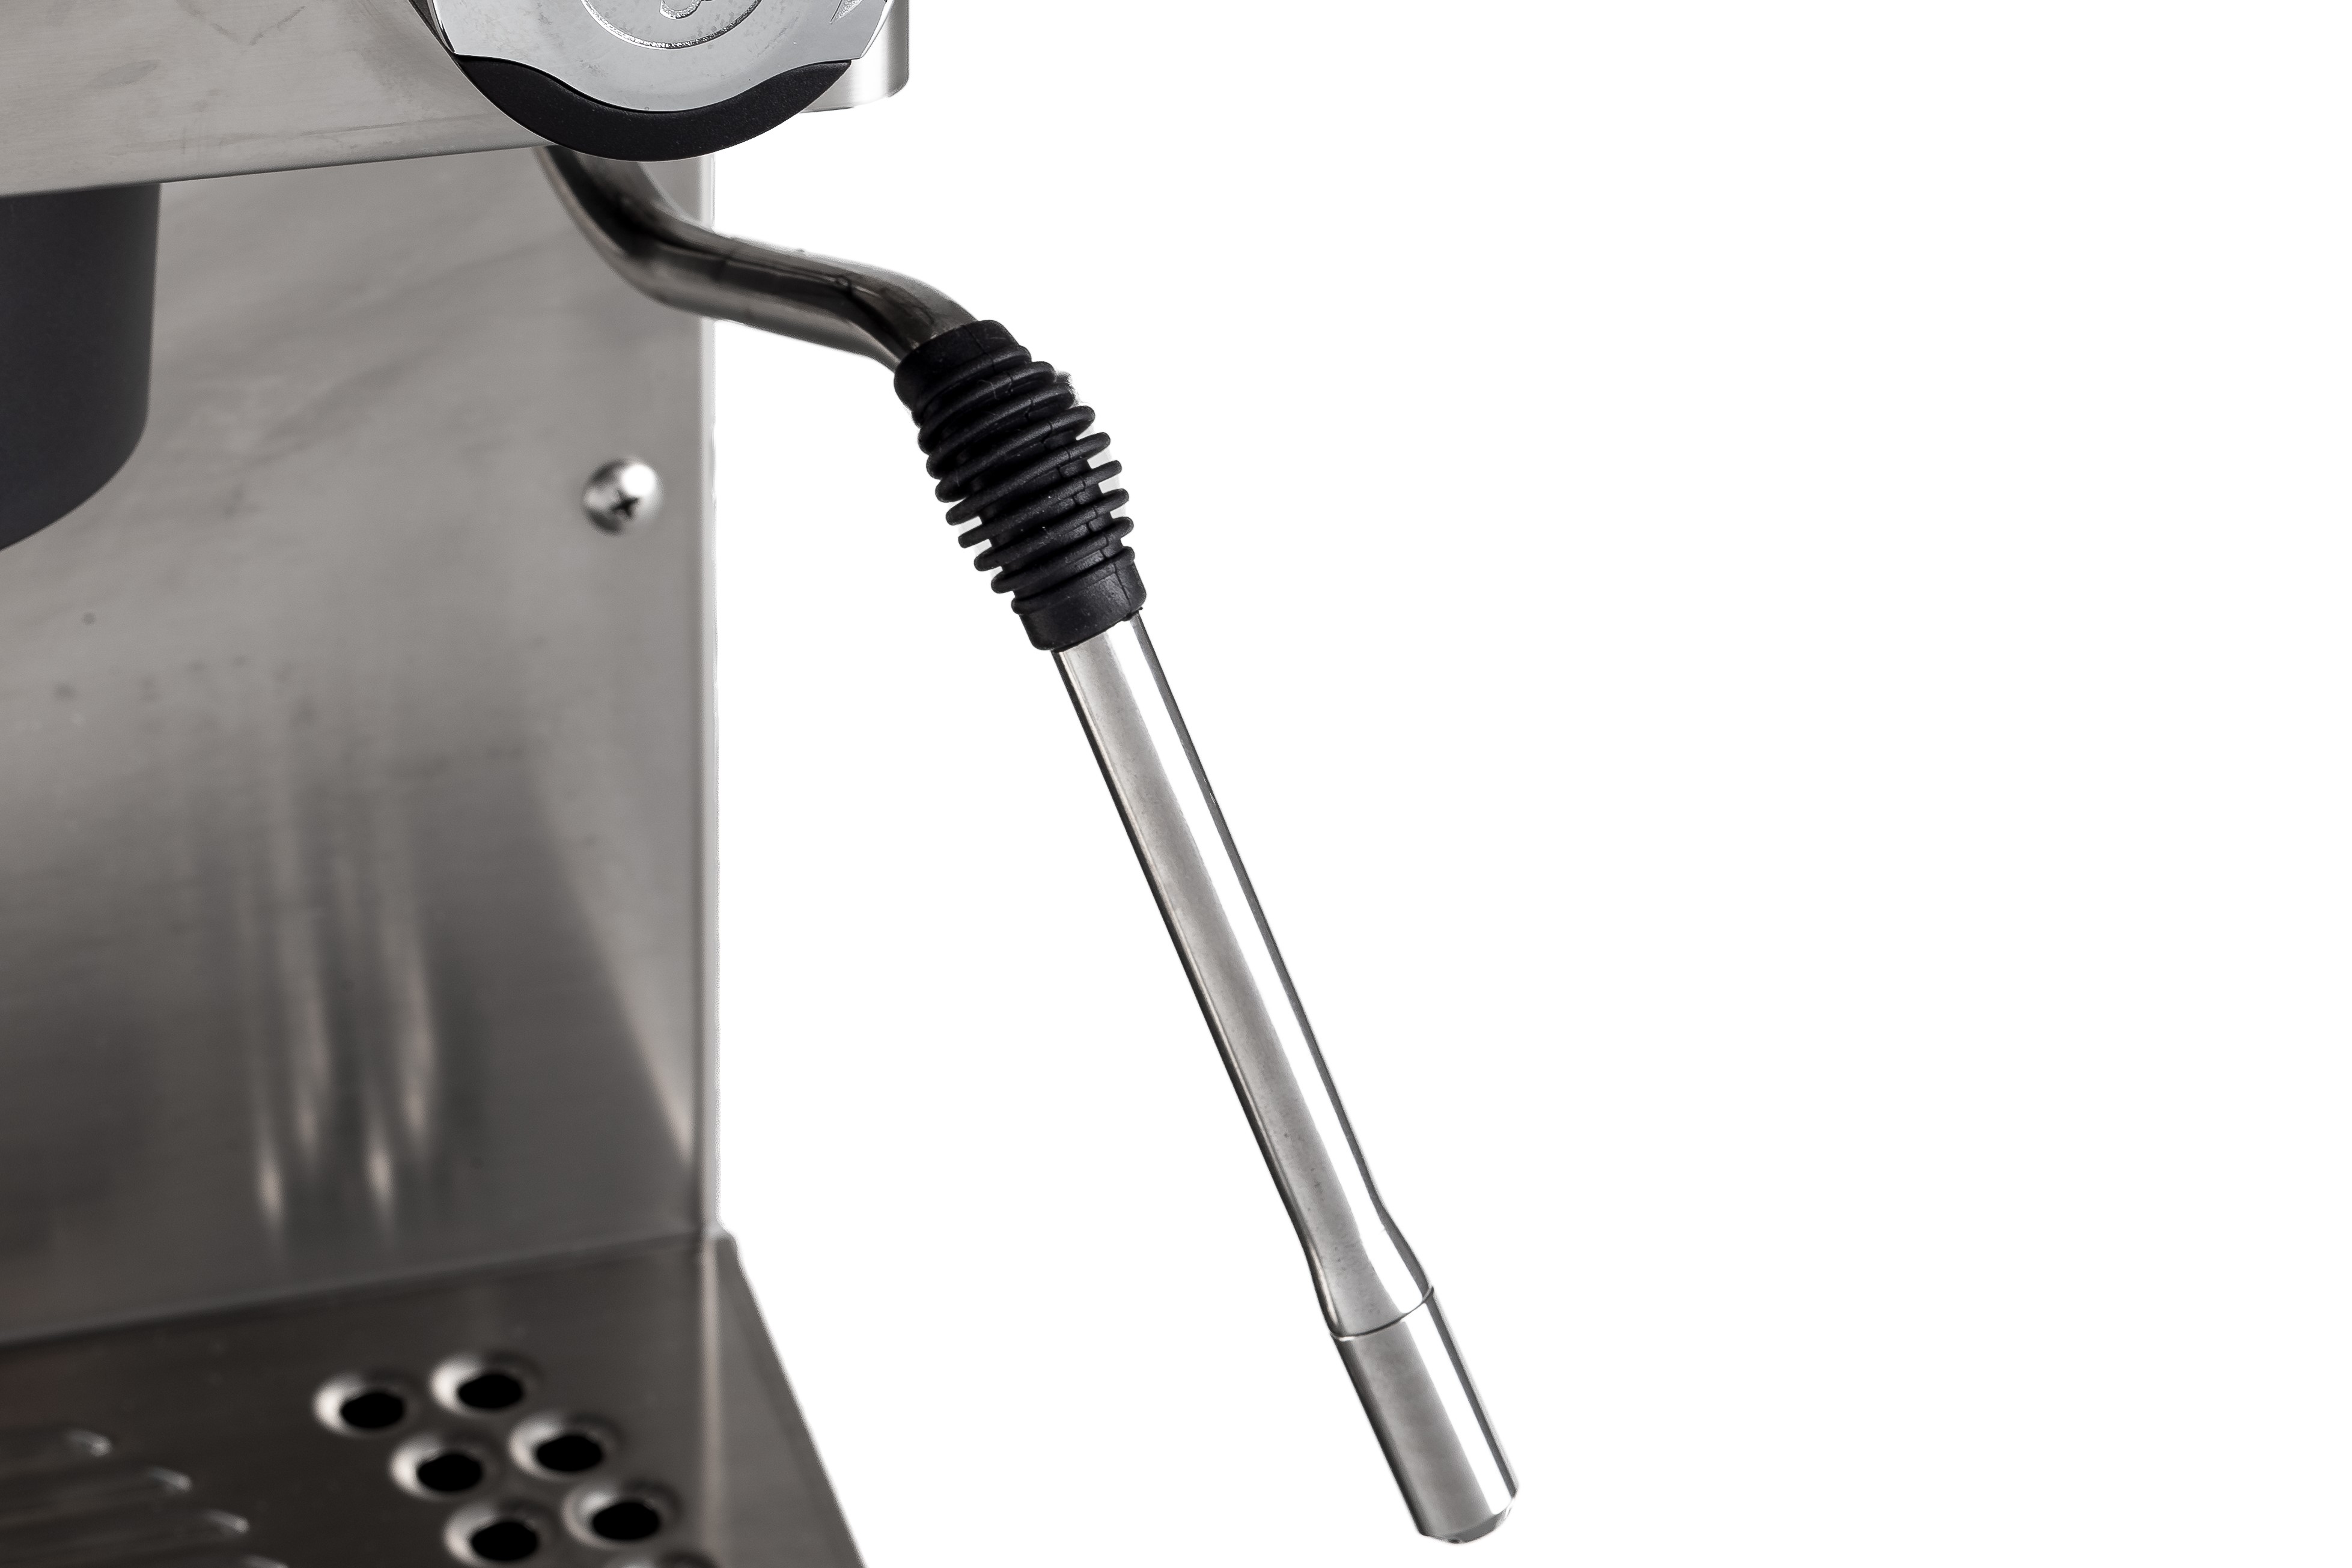
Steam Wand
Most espresso machines (home models included) come with a steam wand. If you have a machine that only makes espresso, though, or even a manual espresso maker such as the Flair Pro 2 or Cafelat Robot, fear not! We recommend the Bellman Stovetop Steamer for an independent steaming setup. It takes some time for the pressure to build, but the steam, once the unit is fully pressurized, rivals that which comes on most home espresso machines. With a little practice, you won't have any trouble steaming cafe-quality milk for cappuccinos, lattes, and more.
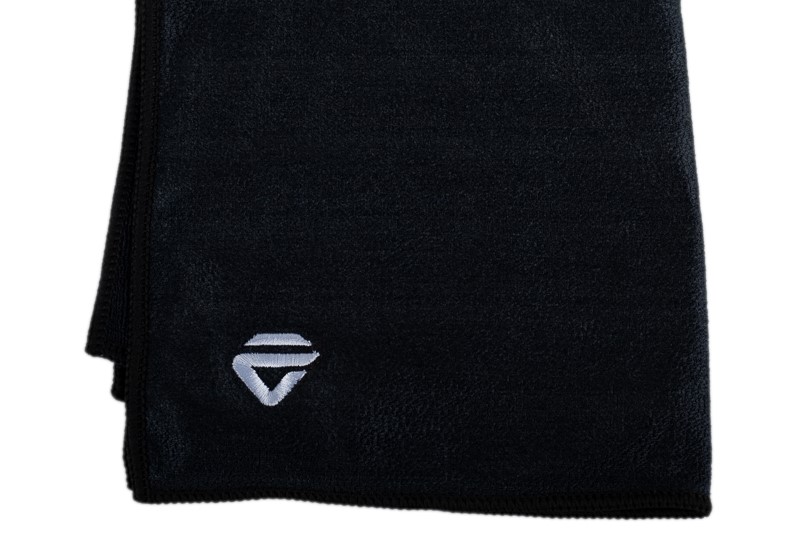
Towel/Rag
Being tidy is important for every step in coffee production, but perhaps nowhere more so than around the steam wand. Without care after every use your steam wand will become a home for built-up, baked-on, difficult to clean milk residue. Do yourself (and your guests) a favor and keep old, dried up milk solids from ending up in your exquisitely executed cappuccino by keeping a damp, clean rag on hand. We recommend microfiber towels for wiping milk off the steam wand.
Milk
If you’re a dairy drinker, most professionals swear by whole milk for steaming; the proportion of fats, sugars, and proteins makes for what seems to be the easiest combo for producing delicious milk. If you’re a milk-alternative person, the options are getting better and better all the time with the roll-out of several “barista series” versions of all sorts of alternatives like soy, almond, and (my personal favorite) oat. Check out our comparison of alternative milks.

How to Steam Milk
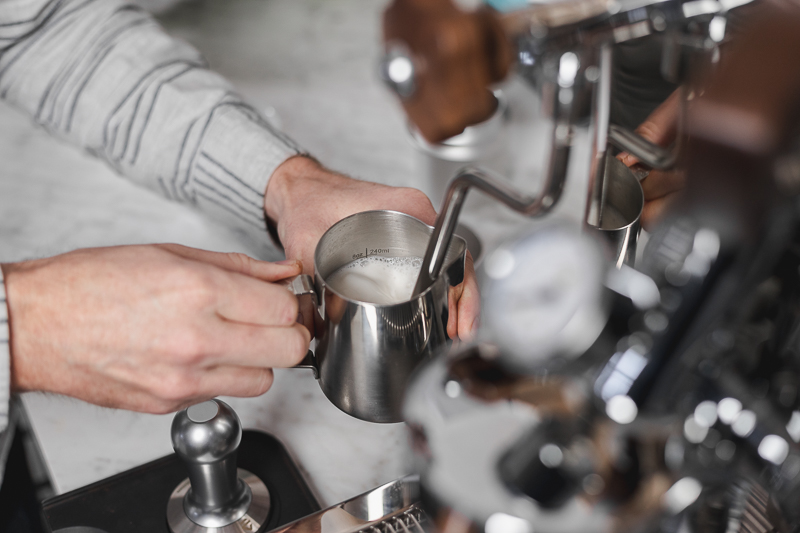

- Add cold milk to a cold (or room temperature) steaming pitcher. Use only the amount of milk you need, and steam it in a vessel no more than 2x the volume of your final beverage. The right amount of milk is going to be around 80% of your final beverage volume minus espresso.
- Purge the steam wand to expel any condensed water that’s collected in the wand tip.
- Submerge the steam wand so that the tip is just below the surface of the milk (around 1cm or ½”), and in a slightly off-center position. This positioning will help to create a whirlpool motion when steaming.
- Slowly move your pitcher to allow small sips of air into the milk by allowing your steam wand to come right up to the surface. Introducing the air should sound like short “chirps” or “sips”, not so large as to become “gasps.”
- After some aeration, and once the pitcher becomes warm to the touch (or reaches 95°F/35°C for those of you using a thermometer), submerge the steam wand more entirely into your milk and position it so that it continues the whirlpool motion in your pitcher. This will help ensure no accidental air introduction too late in the steaming process, which would cause large bubbles and poor texture.
- Shortly after the pitcher becomes too hot to hold (or once it has reached around 135°F/57°) turn off your steam wand. Set the pitcher aside and immediately wipe off your steam wand, being sure to remove any milk residue, and then purge the wand to expel any milk trapped in the steam wand tip.
- Before pouring, tap out any small bubbles on the surface of the milk and give your pitcher a good swirl. This will give a nice shine to the top of your milk and reincorporate the microfoam, giving you a good mix of liquid and microfoam when you pour.
And that’s it! With some practice you’ll be turning out sumptuous and silky pitchers time and time again.
How to Steam for Different Espresso Drinks
Once you get comfortable with how to steam up consistent pitchers with a gleaming luster and bubble-free surface, the next step will be mastering how to produce different amounts of microfoam for different cafe beverages. Most drinks will require just a slight variation from their related caffeinated brethren, but nailing each drink down will take you from professional amateur barista to full-blown coffee commander.
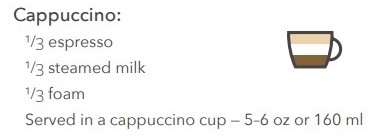
The cappuccino is served with a little more microfoam than other drinks. These small drinks are typically espresso-dominant, adding only 3–5 fl oz of milk to your espresso. Aim to aerate your milk enough to end up with 1cm of pillowy texture on top of your cup.
The classic macchiato has a similar milk texture to cappuccinos but is smaller still. Ranging from a single dollop of milk foam on top through 2 fl oz of milk, this little drink packs a punch of espresso flavor for folks who love their coffee but want just a splash of something special.

The ubiquitous latte has a satisfying texture but is usually a touch thinner than their smaller counterparts. Aim for slightly less aeration to steam up milk that will give you just 0.5cm of tasty microfoam goodness on top of your drink for a delectable latte.

The flat white requires even less air than a latte, focusing instead on the natural weight of the milk and avoiding microfoam entirely. Give your pitcher just a single sip of air at the beginning of the steaming process, this will help keep the pitcher from making an awful screeching noise at higher temperatures, and then simply give the milk enough time to heat while maintaining your swirling motion in the pitcher. This should produce thinner milk, with little to no microfoam, that you can use for your coffee delight from Down Under.

Note: The latte tends to be the base for most flavored coffee drinks as well. Need a mocha? Stir some chocolate ganache into your espresso before adding your milk. Or try honey and cinnamon for a homemade cafe miele. You could make any sort of flavored simple syrup you’d like as well and store it for when you’ve got a little sweet tooth (maybe once a week.. maybe every day, no one’s here to judge).
Milk Steaming Tips and Troubleshooting
Even following all of the steps and lessons above, sometimes milk steaming just doesn’t go the way you’d hope. If your milk just isn’t coming out luscious and tasty, check out our troubleshooting tips for common problems.
My milk is too foamy/thick
Introduce less air while you’re steaming
My milk is too thin
Introduce more air while you’re steaming
My pitcher is screechy/loud while steaming
Introduce more air earlier in steaming
There are large bubbles that won’t tap out when I’m done
This is typically caused by one of two reasons (or, occasionally, both). Either you’re introducing air into the pitcher after the milk is too warm to incorporate it entirely OR your final steam temperature is too hot. You could:
• Finish introducing air earlier in your steaming process by submerging the steam tip earlier
• Reduce your end temperature
Remember that different steaming set-ups will steam differently
There is a broad variety of ways that machines produce and dispense steam for milk, and those differences can drastically affect the steam power, steam-jet direction, and required time for a pitcher of milk. Getting familiar with the way your machine works can help guide you toward quality drinks in no time.
Low steam pressure machines will take a long time to steam relative to other set-ups. Expect 30–60 seconds invested to get up to temperature, which gives you plenty of time to slowly add small sips of air to reach your desired texture. However, this extra time can also make it easy to over-stretch your milk, so learning that balance as well as how to visually judge how much you’ve aerated your milk will be important. The low pressure will also make it difficult to create motion in your pitcher, so finding the sweet spot to create a whirlpool motion while steaming may be trying, but important nonetheless.
Machines with moderate steam pressure are often the easiest to control, giving you enough time to aerate but not so much that you can easily over-do it. The largest challenge with a machine like this will be getting into rhythm to introduce your air, and using the steam power that you have to keep the milk moving through the whole steaming process.
High steam power can feel a little like getting into a sports car after driving your grandma’s Oldsmobile, everything happens quickly and requires a more exacting touch. Your milk will move around in the pitcher whether you like it or not, so having good wand placement at the start will help keep everything under control and flowing the right way. You’ll need to introduce air quickly, but still in just a few small sips, as you’ll add in more air per sip with high steam power. And you’ll need to cut the steam off a few degrees before your target temperature, because the gauge will keep climbing for a few seconds after you’ve finished.
Also consider how many outlet holes your steam wand tip has, as well as their placement. A single hole in the center of the tip will require slightly different placement and motion than a wand tip with various hole patterns, so finding what works for you and your machine will be important!
Happy steaming, y’all.


