Product Maintenance | How to Plumb in a GS/3 Espresso Machine
La Marzocco's GS/3 is one of the most powerful and versatile single-group espresso machines in the world. It's an excellent pick for many applications, including use at home. Connecting your machine to an external water supply will be quick and painless with this short tutorial.
Transcript
La Marzocco GS/3 Espresso Machine: Mechanical Paddle
Manual pre-infusion: controlled by mechanical paddle
Featured Product
- Hi I am Matt with Prima coffee. I'm going to show you how to set up a GS-3: to plumb it into the wall. The great thing about the GS-3 is you can use it with a reservoir or plumbed in and today I'm going to show you how to plumb it in. First of all, with the machine off, remove the drain box, like this and set that aside. Pull out the reservoir and remove this line right here, use a pair of pliers, grab the clamp, squeeze it so it's loose and then gently wiggle the clamp onto the line and now we can release the line just like that. Now we set that aside. In the plumbed in use you don't need the reservoir at all. Next we're going to open up this side panel, first unscrew these caps and then we're going to use a 13 millimeter wrench to take these nuts off.
Okay. All right, remove the second one and the panel slides off like this. Set this aside. Now we have opened up the pump. At this point find the same hose that went to the reservoir, right here, I am going to take this fitting off here. So be very gentle with these copper pipes and brass fittings because they do bend, especially when you go to tighten them up, you can tighten them too far and bend them out of shape. So we got that free we can pull this line out, set that aside, you won't need any of these parts, the reservoir or the water line. A braided hose is included with your espresso machine so go ahead and find that now, feed it up through the bottom, that same hole that the other line was in and tuck it in just like this and then tighten it. Make sure you don't get any kinks in this line you want this to be tucked like that so you get a nice easy curve and we don't restrict our water flow. Snug that up again not too much just a little past snug like that. And then the other end is a three-eighths inch compression fitting. You can have a plumber set that up in your home, I would suggest putting an on/off valve before your compression fitting.
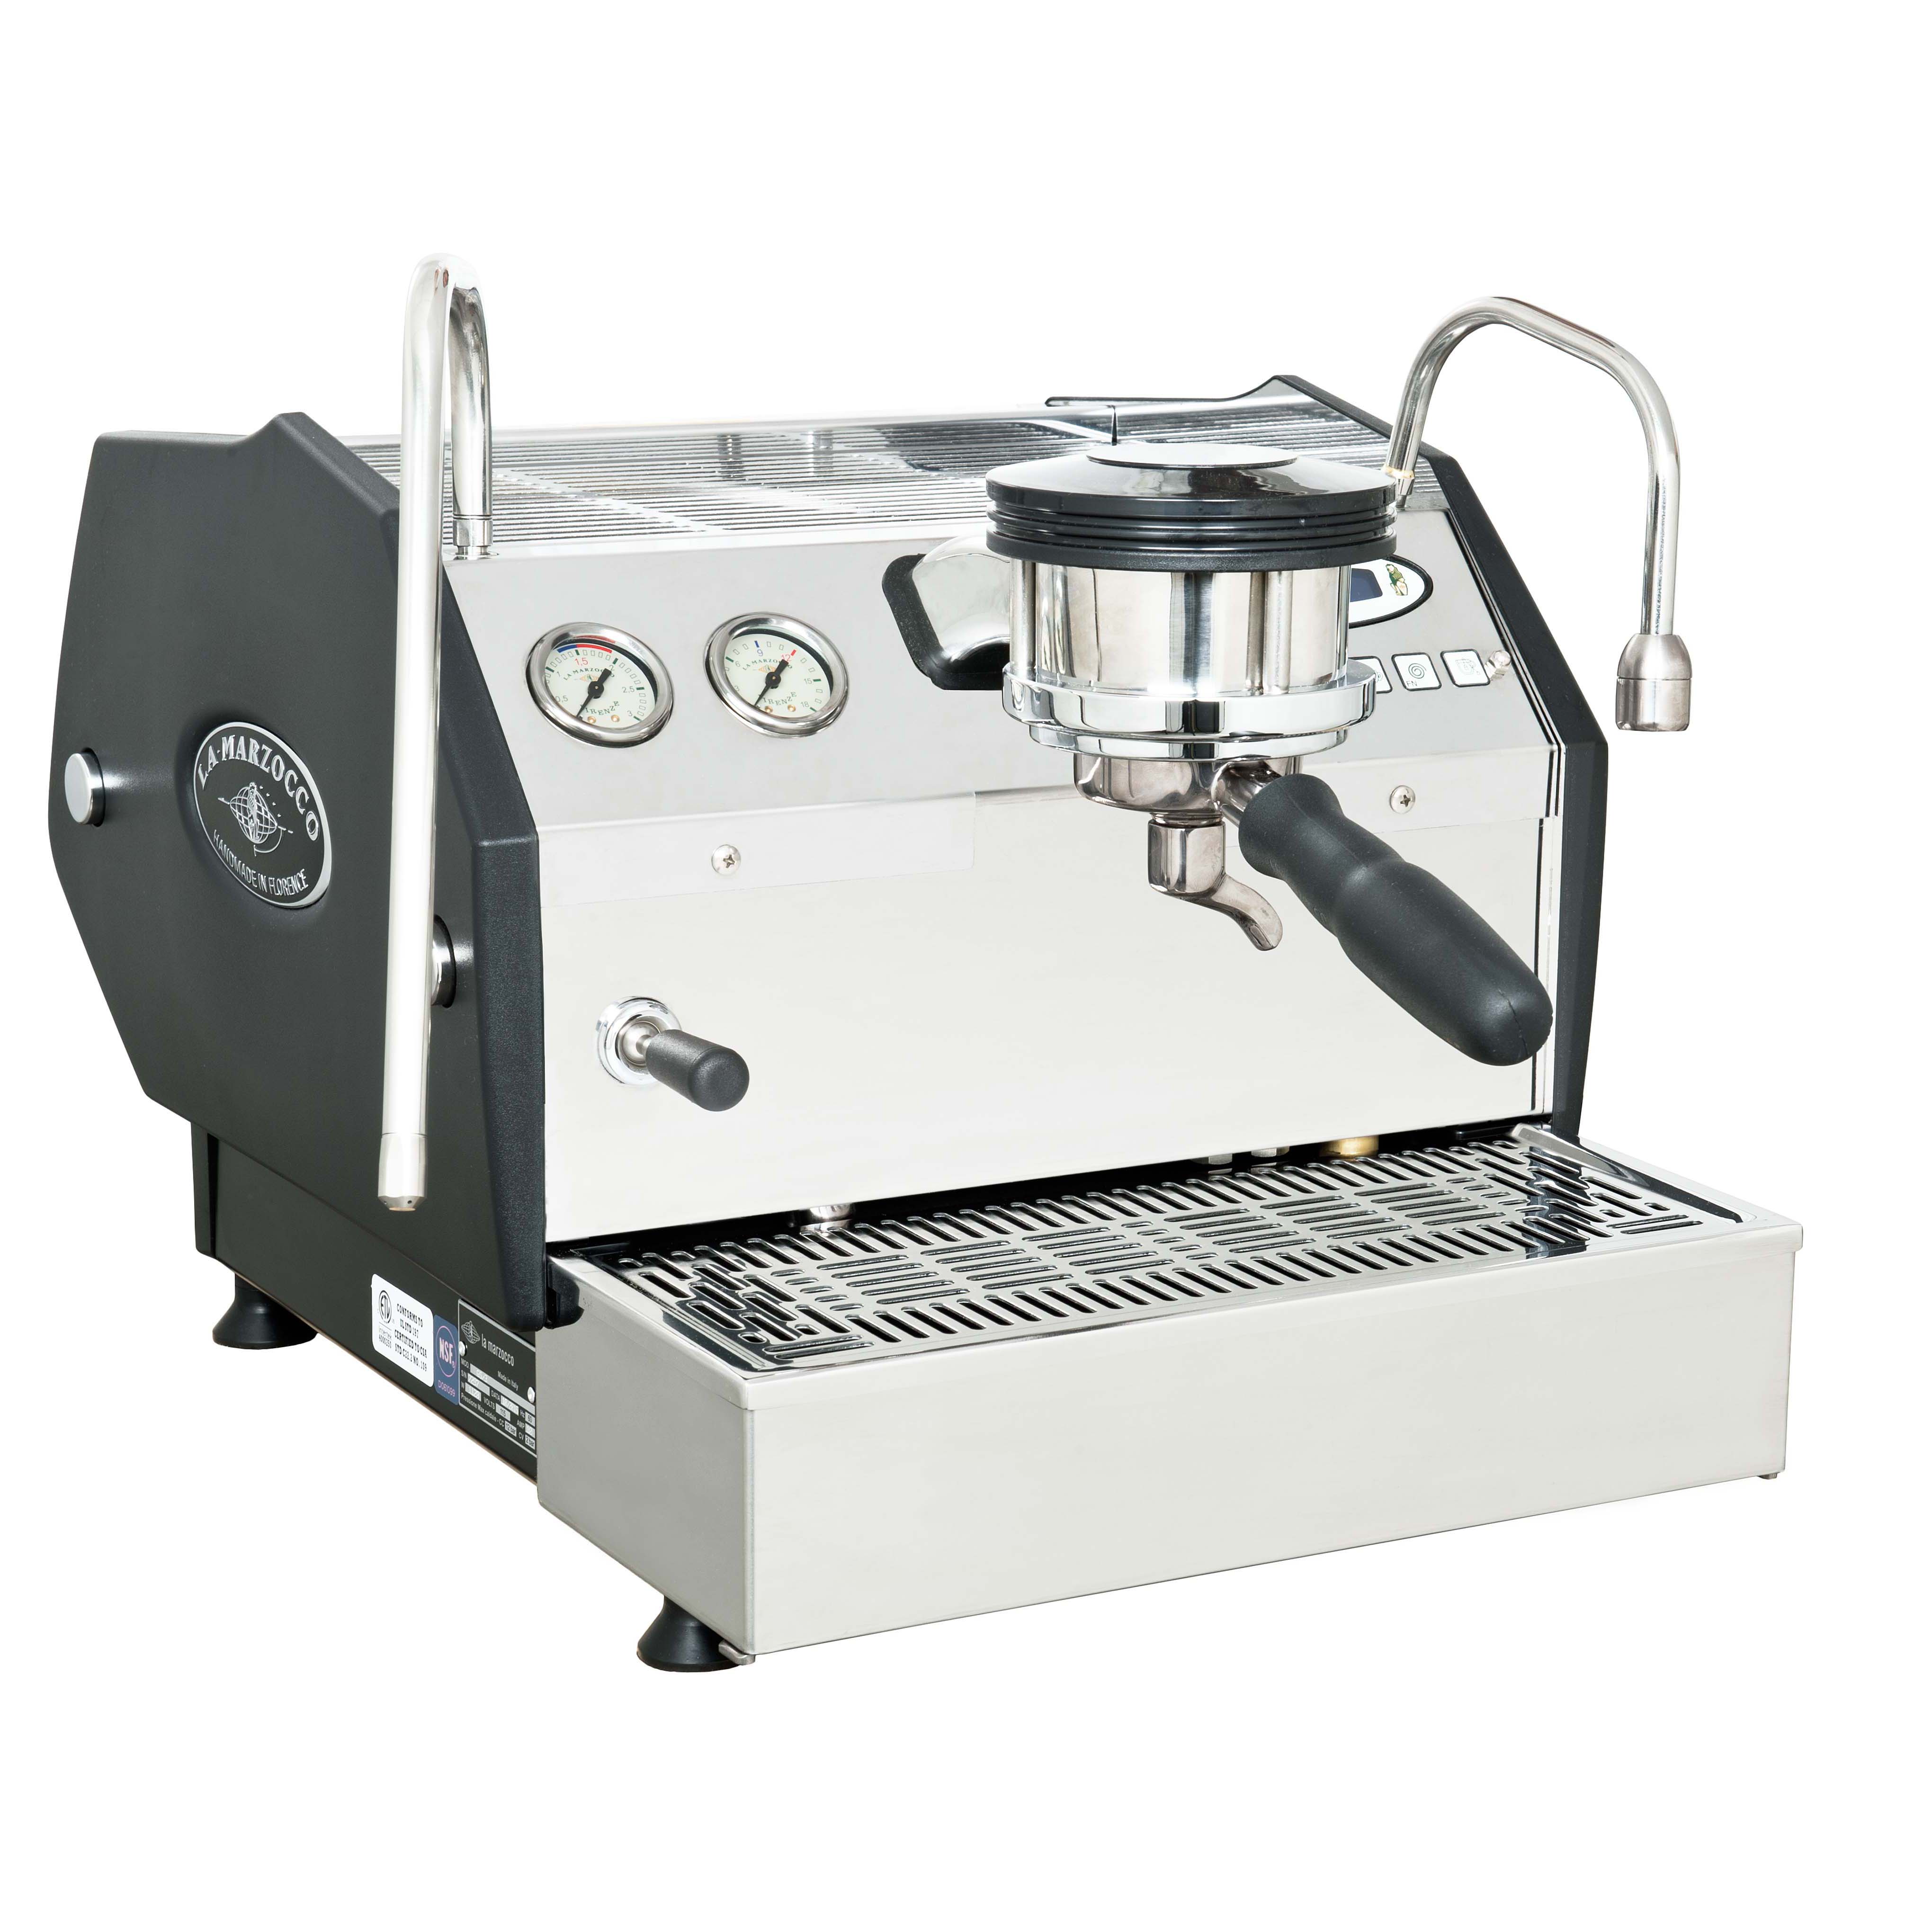
La Marzocco GS/3 The "Lite" Professional Auto-Volumetric Home Espresso Machine
Automatic Dosing: programmable dosage buttons for single and double shots
Featured Product
I'll set this aside now. Next thing we have to do is get our drain set up. The drain box comes from the manufacturer with a plug in it. You need to remove that plug with a flat-head screwdriver and we won't need this plug anymore. Find the drain hose, also included with your machine, and the barbed fitting, we'll press those together and we'll use a seven millimeter nut driver or a flat-head screwdriver to tighten up the pipe clamp. Get that nice and snug. And then as I've done here put two or three wraps of Teflon pipe thread tape on there and then thread the whole thing into the box, you don't want to over tighten it at this point because you can damage the plastic drain box. We'll make it snug with a wrench but be careful. Now that's all set. You want a hole in your counter top that you can feed the drain line into and then into a plumb drain in your home. The box goes back in just like it came out. Don't use the reservoir at all anymore because you need space for the drain line inside.
Okay. The one last thing that we have to do is set up the computer program to recognize that there's no longer a reservoir, under reservoir use the whole machine will shut off when the reservoir is empty so we have to set it up so that the machine realizes that there's no reservoir but there's still line pressure coming from the main water supply. So with the main power switch on, on the back of the machine, but with the display panel off, we're going to enter the display panel off programming mode. So the display panel is off, hold this button for about five seconds, okay, and we'll continue to use this button to cycle through the options, language, name, heating options, tank presence, it's currently set up so that it going to try to recognize a reservoir tank, we will use one of these buttons here or here to switch it to tank not present, this is in plumbed in mode when there will be no reservoir. So we will just cycle back through, back to the regular off setting, now we're ready to hook up our water lines, set up our drain line, turn the water on, fill up the machine and make some espresso. Thanks for watching.