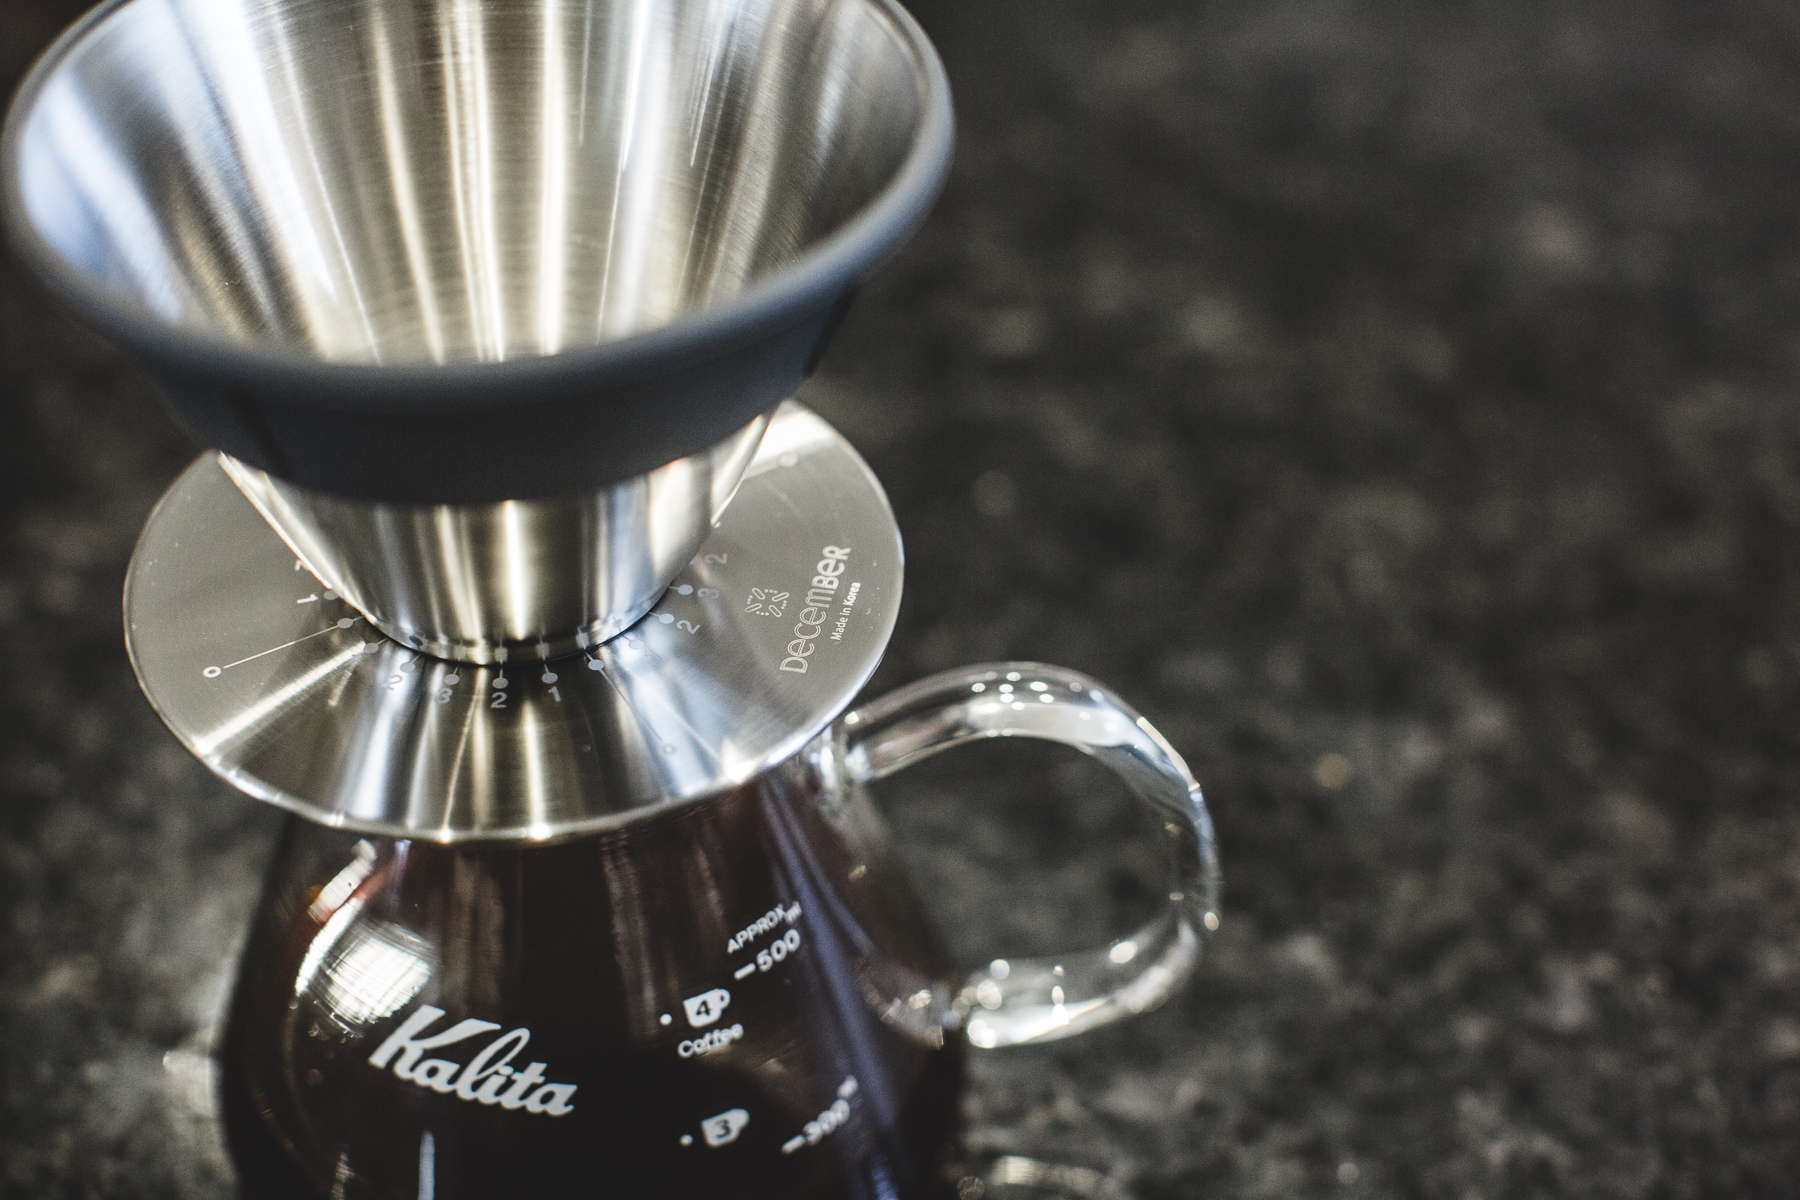
Four Ways to Brew With the December Dripper
Just when it was getting crowded in the manual brewing scene - when we knew we didn’t need another device to brew better coffee - one dripper stepped out and clearly distinguished itself from the rest. The December Dripper is an innovative, thoughtfully designed brewing tool that offers more versatility and flavor possibilities than any dripper before it. Because of its novel approach to flow rate control, it can be a little tricky to figure out the right parameters for the results you want, so we're here to help with a handful of recipes we've developed to get you started. Brew along with us as we cover 4 practical ways to use the December Dripper.
Small Doses for Single Cups
- Coffee mass: 15 g
- Water mass: 255 g (1:17 ratio)
- On setting #0, bloom for 30 sec with 45 g water
- Adjust to setting #1
- Add remaining water in 2-3 steady pours
- Total Brew time - 3-4 minutes
Possibly the biggest impact the December Dripper has on our standard brewing parameters is its unique ability to brew small doses with coarse grounds. Brew time is an important factor in extraction, and we’ve found filter coffee can taste much sweeter when its contact time with water is extended to 3:00-4:00 minutes. The December’s flow-restricting gasket makes this possible with doses as small as 10 grams. For slightly larger doses (around 25 g) try using setting #2 during the “brew” phase.
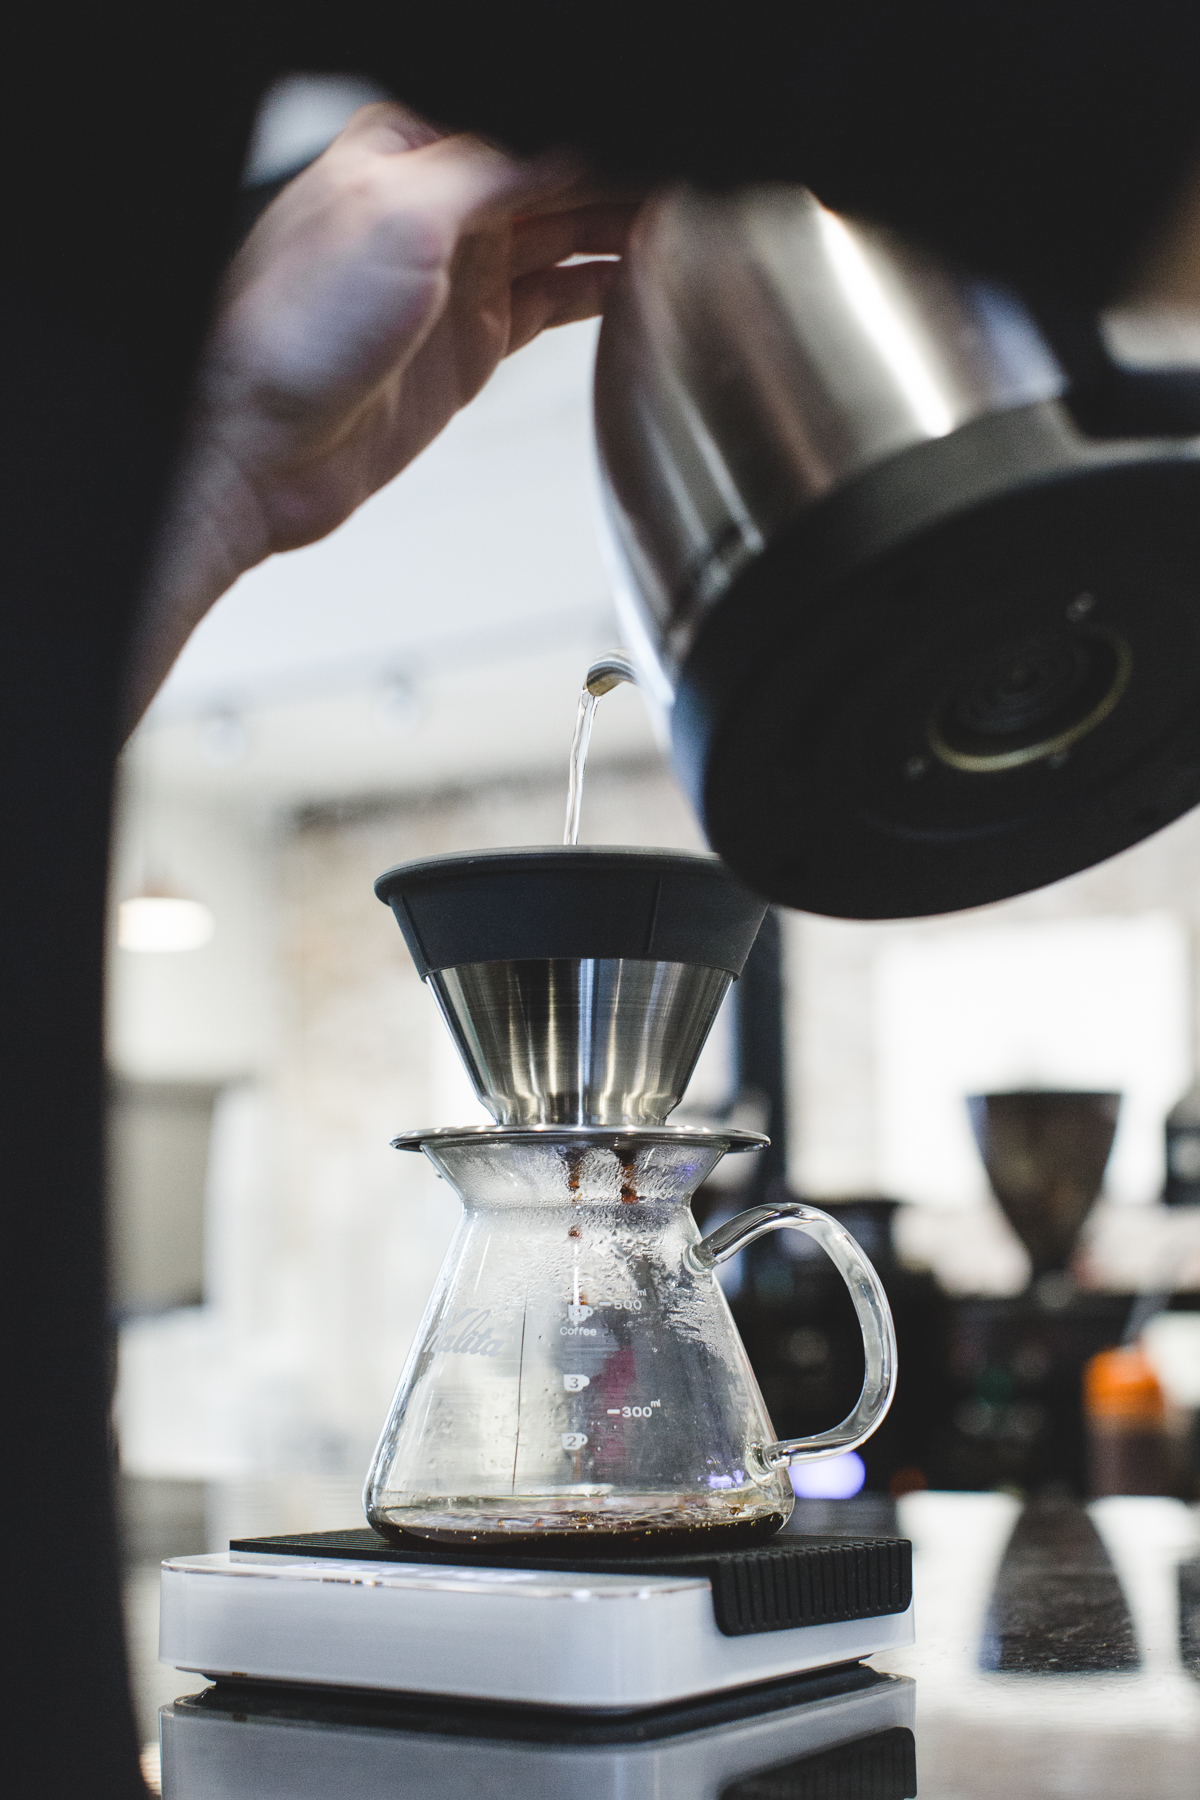
Start with a medium coarse grind: somewhere between table salt and kosher salt in size. Adjust grind size as necessary to achieve recommended brew time, and tweak as needed to get the flavors you're looking for. Using a gooseneck kettle, pour your hot water in slow concentric circles, making an effort not to disturb the integrity of the flat coffee bed. Do not let the water drain completely from the dripper. Your next pour should start when the water drains to about .5" above the level of the grounds. Do your best to keep all the grounds saturated by quickly washing down the filter walls when you need to. We often brew with our kettle set between 200-210 F, and we use good filtered water or a water treatment solution like Third Wave Water for our coffee brewing.
How does it taste? Because small doses often require such fine grinds the subsequent brew can often lack overall sweetness and has a larger focus on acidity. The December solves this problem by allowing us to brew for 3:00-4:00 minutes, helping to highlight sweetness we otherwise would struggle to get from 15 g of coffee.
Medium to Large Batches
- Coffee mass: 40 g
- Water mass: 680 g (1:17 ratio)
- On setting #0, bloom for 45 sec with 120 g water
- Adjust to setting #1
- Add 250 g water in 1-2 pours
- Allow to drain mostly, then adjust to setting #3
- Continue brewing in pulsed pours until target weight is achieved
- Total brew time - 3:30-4:00
This is where the wider spectrum of flow rates becomes more interesting. Starting out with the valve closed for the bloom (like we did in the small dose recipe) allows the coffee to become more fully saturated. From there, open the valve up to setting #1 for your first 1-2 pours and let it drain a bit more slowly than usual. When the water is almost drained, open the valve to setting #3 and continue to brew.
For grind size, we recommend going a bit coarse here. If you've brewed with a Kalita Wave before, aim for slightly coarser than you'd use for a similar large brew. We used something along the lines of coarse salt here. Again, make adjustments as needed to get the proper brew time and flavor. We're also approaching this brew much the same as we did above: we pour in slow concentric circles, allowing the bed to settle to about a half inch of liquid above the coffee between pours. For a larger brew like this, we are a bit more aggressive with our pouring, but not to the extent that we over-agitate the brew and cause channeling issues. We've found that the drain rate on setting #3 is around 30% faster than a 185 size steel Kalita Wave, so those fast pours work in concert with the brew style to hit the target time and get some really tasty extractions.
How does it taste? Of the two medium dose recipes, this one brought out the most sweetness. The low flow rate in the beginning helps to tone down any harsh acidity and balance the overall flavor profile. The brew had a hard-candy like sweetness and a mellow winey acidity.
A Variant Recipe for Medium Doses
- Coffee mass: 30 g
- Water mass: 500 g (1:16.67 ratio)
- On setting #0, bloom for 60 sec with 100 g water
- Adjust to setting #2
- Add 150 g water in one steady pour, allow to drain about 75%
- Repeat
- Pour final 100 g water
- Total brew time - 4:30-5:00
This recipe is similar to our first medium dose recipe, but instead of tweaking flow rate mid-brew, we're just going to bloom closed and then go for setting #2 for the remainder of the brew process. We're also going to try to draw out the brew time to over four minutes - which might sound a little crazy at first, but we've gotten some delightful results from this recipe. The resulting brew tends to have improved mouthfeel and sweetness without risking much overextraction, and especially with lighter, fruitier coffees we've found that this brings extra balance to the table and yields a very different cup compared to something like a V60.
The goal here is to balance a longer extraction time with your grind size, so aim again for a medium coarse grind. With a long brew time, it's also important to eliminate fines if possible, as they can overextract and cause flavor imbalance or bitterness. If you're unsure that your grinder is up to task, you might try sifting your grounds with a mesh kitchen strainer or a coffee sifter like the Kruve system.
How does it taste? Another great brew. Very similar sweetness to the first medium dose, but the longer brew time highlights a different balance between sweetness and acidity. Expect more body on this style of brew as well, thanks to a slightly higher ratio and longer contact time.
Making Iced Coffee
- Coffee mass: 40 g
- Water mass: 455 g (1:11 ratio)
- Ice mass: 225 g
- On setting #0, bloom for 30 sec with 120 g water
- Adjust to setting #1 or #2
- Add 300 g of water in 3 pours, then stir the slurry gently to agitate the coffee bed
- Settle the coffee bed as it drains by tapping the side of the dripper or very gently swirling it
- Pour the remaining 135 g water
- Total brew time - 3:00-4:00
- Stir to fully melt ice in the server or carafe, then serve coffee over fresh ice
Traditional "Japanese-style" iced coffee is made by brewing hot coffee directly over ice. The ice is generally counted as part of the total water volume, which means compromise is necessary in the amount of hot water we brew with. Fining up the grind a bit can help to an extent but in general, brewing with a high ratio of coffee to water tends to result in under-extraction. The December Dripper helps mitigate the impact of this high ratio by offering control over the contact time between water and coffee. As mentioned earlier, time has an important role in extraction and can work to your advantage when you have less brewing water than you need. Both extended contact time and stirring can help increase your extractions for a tastier cup of iced coffee.
The grind size here falls between our first and second recipes - right around kosher salt size should do it. We're able to tweak our contact time by playing with flow rate, but we do also want to grind finer to help bump up the overall extraction. Overall, the brewing approach is very similar to our second recipe: pour in steady circles, trying somewhat to match your pour rate with the drain rate of the dripper and keep a decent slurry going. The stirring is an important step, we've found, as it sortof "bumps" the extraction a bit toward the end, which has improved flavor every time we've done it. We have found that the ice in our recipe is sufficient to cool the brew down enough to be served cold, but feel free to change the ratios as you see fit. With less brew water, you may want to grind finer and/or extend your contact time to compensate.
How does it taste? The interesting thing about brewing iced coffee with coarse grounds and a long brew time is that it turns out sweet. Acidity is a fantastic attribute of iced coffee, but the sweet and more balanced flavors of this recipe are also desirable. The coffee would pair well with milk or cream more so than a highly acidic coffee would. This can be attributed to its more extensive extraction. For a more acidic cup, try a faster flow to decrease brew time.
Advanced brewing concepts teach us that the process of extraction is, for lack of a better term, nonlinear. This means that extraction doesn’t simply operate on a track where, regardless of the method, the same amounts of certain chemical compounds are extracted every time. Through controlled manipulation of key brewing factors, like agitation, specific flavor characteristics can actually be targeted and accentuated. By increasing or decreasing the rate of flow during brewing at specific points, two cups of coffee at the same extraction percentage can taste different. It’s this ability to manipulate flow that makes the December Dripper so much more versatile than any dripper made to date. Share with us how you use your December Dripper in the comments below!