The Beginner's Guide to Cupping
Cupping can look like an intricately choreographed ritual, but is it really so complicated and inaccessible? This beginner's guide is here to prove that anyone can (and should!) start cupping.
I still remember my first experience coffee cupping as a barista - wandering around a long wooden table adorned with cupping bowls and gibraltar glasses and sample trays and wild spoons like I’d never seen before. Everyone seemed intently focused on shaking the bowls under their noses, alternately furrowing their brows in bewilderment and smiling softly when they recognized a pleasant or welcoming fragrance. The noise of a dozen people slurping coffee from spoons was a choir in an extraterrestrial language, and some of the words people used to talk about the coffees after the fact seemed like science fiction (tartaric acid? Sounds made up if you ask me). For anyone unfamiliar with the process cupping can look like an intricately choreographed ritual, a dance with overlapping steps and hand movements that takes time and skill, instruction and know-how. But, is it really so complicated and inaccessible?
I’m here to tell you, it’s not nearly as intimidating as I thought it was back then! With the right gear (or a little ingenuity) you could start cupping this week. But first…
What is Coffee Cupping, Anyway?
For many of us cupping can be an easy way to compare a few coffees and test out our taste buds, but for official purposes cupping is the standardized process used to assess coffee all over the world. From the farm to your mug, coffees will be sampled and tasted over and over again to ensure quality in the final cup. At the highest level, certified Q Graders use the cupping protocol along with the SCA’s Cupping Form to grade coffees on a 100 point scale. To cup in this way can be meticulous and requires very strict protocols and procedures to ensure consistency from person to person, coffee to coffee.
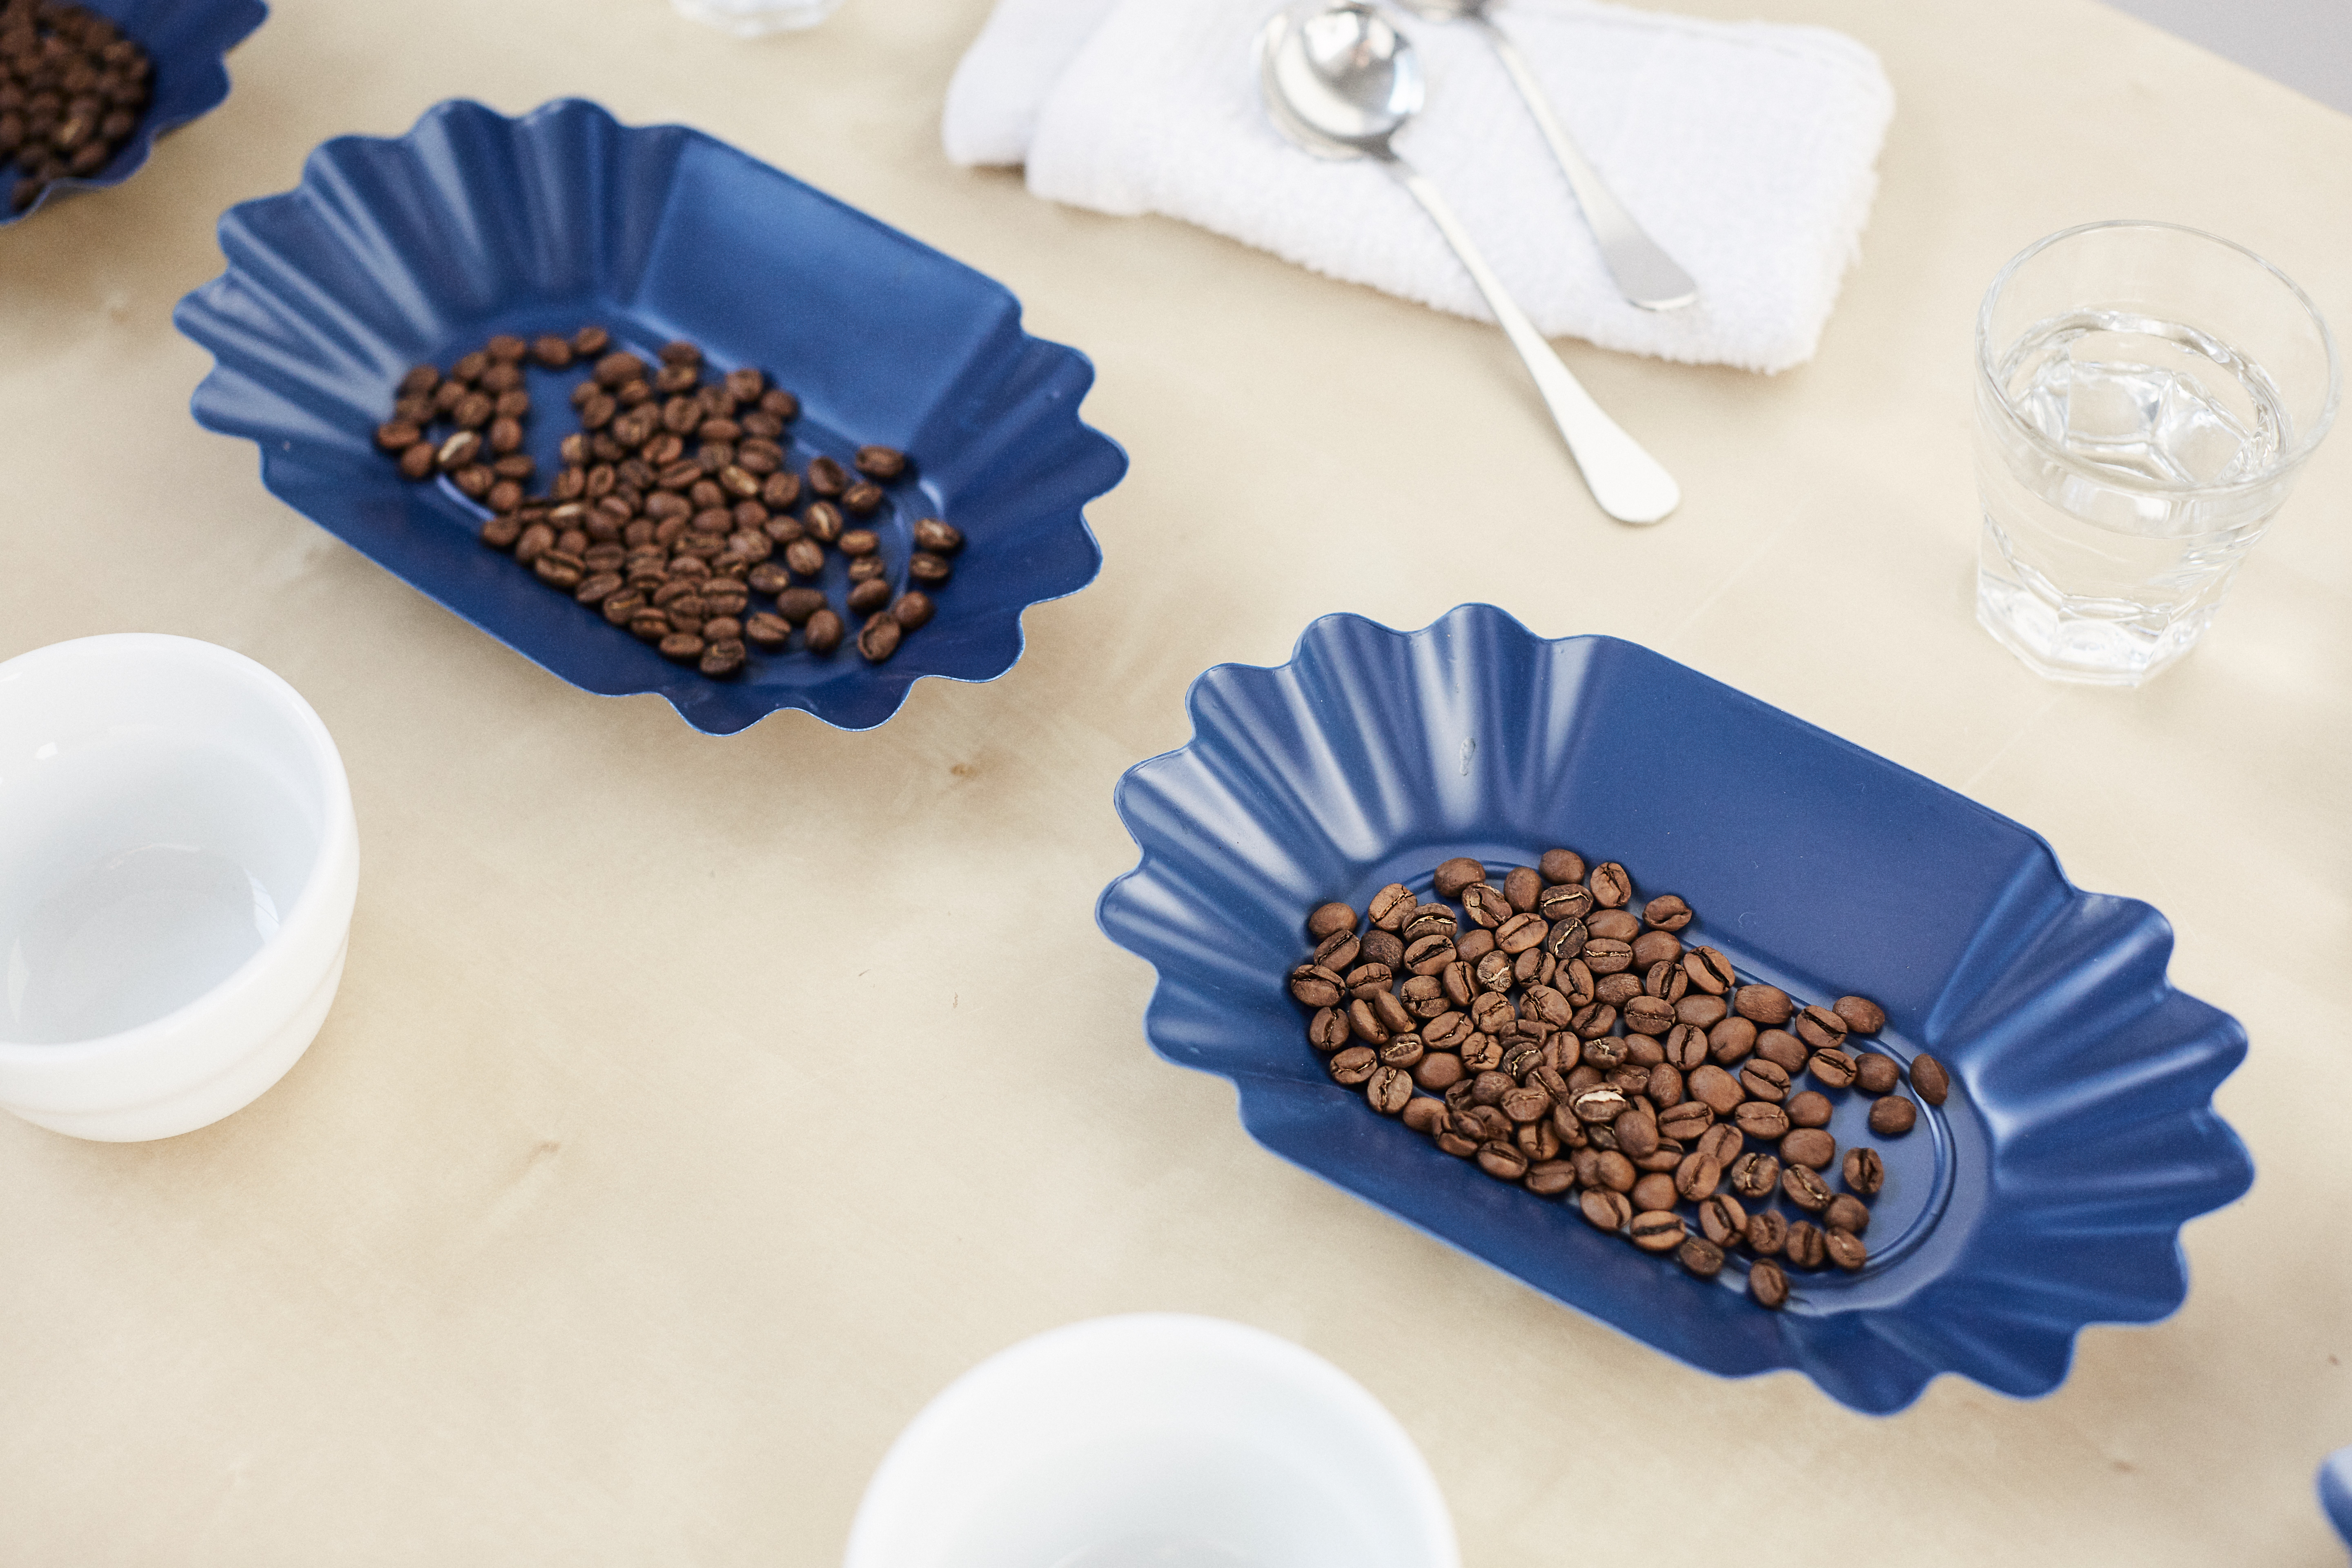
Roasters will also cup their product often to check for roast defects and consistency, as well as to make informed decisions about any updates they might want to make to a coffee’s roast profile. Other than getting time on the roasting machine this might be the most valuable skill for a roaster to learn whether they’re roasting for retail or on their home machine for themselves and their friends.
Even in the cafe cupping is invaluable — sometimes to select coffees to put on bar, or especially to work on palate development for baristas (and hopefully community members!) in the shop. Many people get the chance to cup for the first time through their favorite cafe or local roaster, so keep an eye out for any public cupping events in your area if you’re not sure about diving in on your own yet.
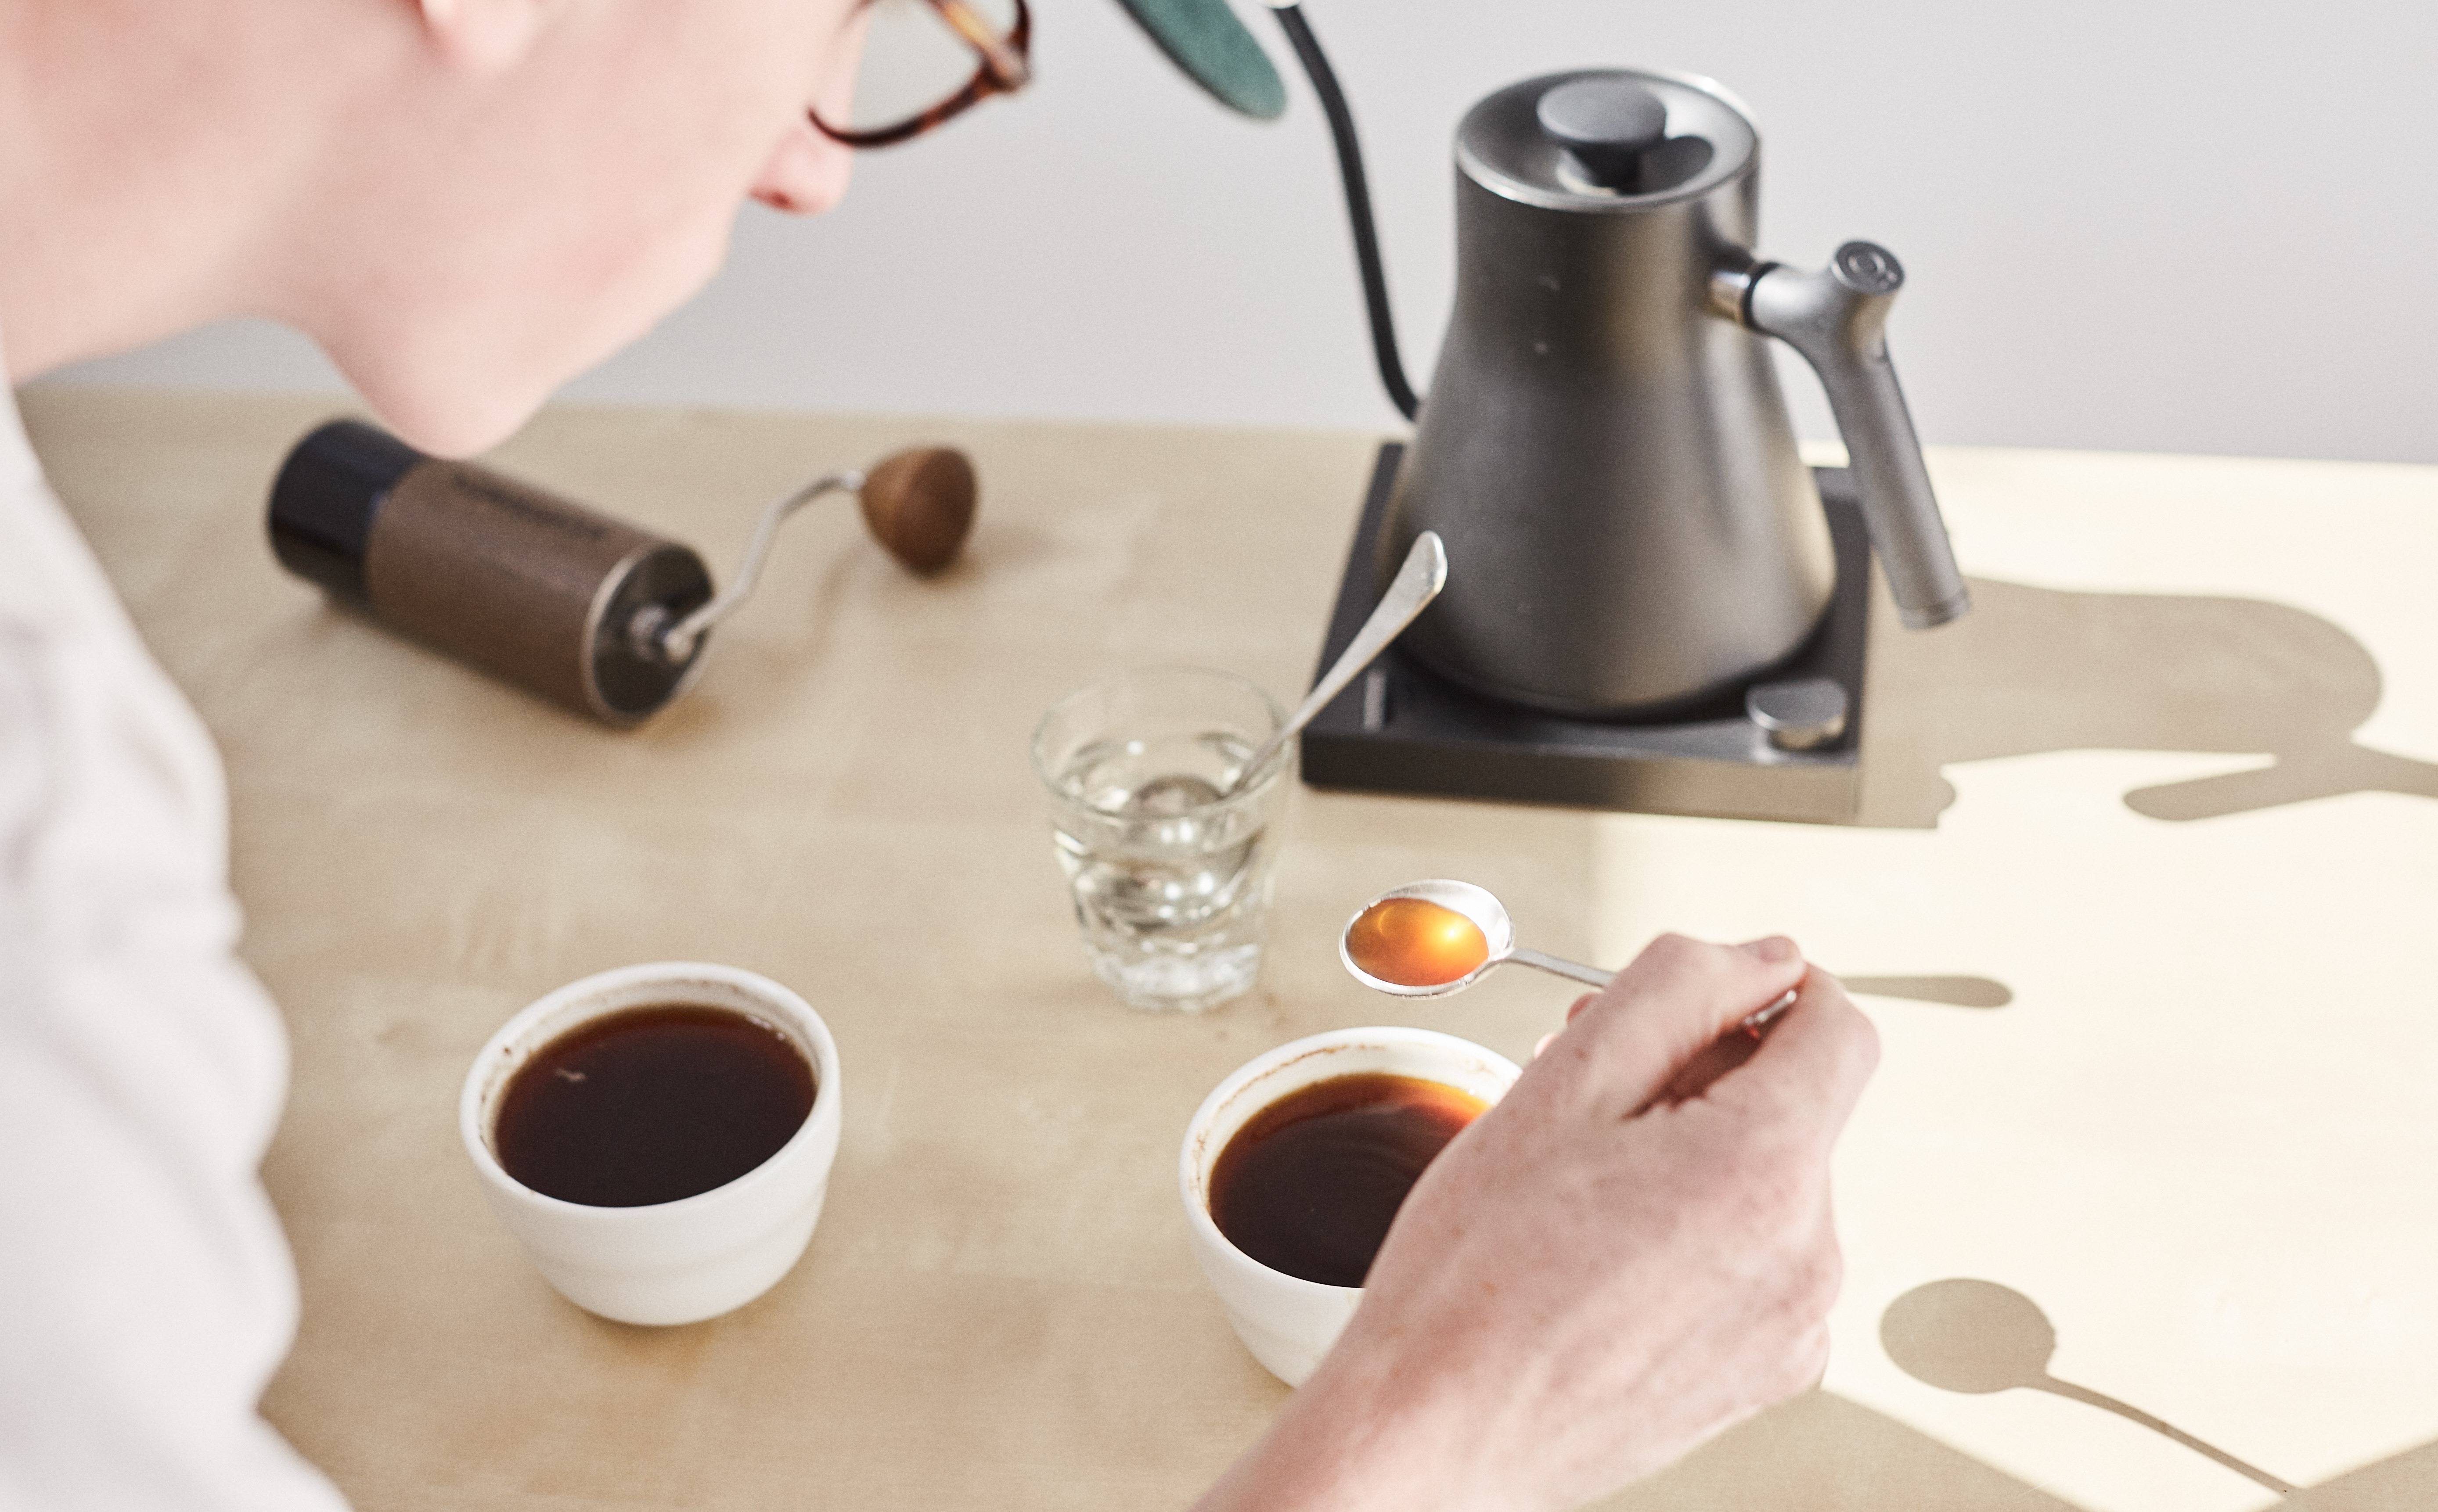
But it doesn’t all need to be so serious, and everyone can benefit from cupping! There’s no better way to learn what you like in coffee, to train your palate to taste more distinctly, and to develop a vocabulary that will help you talk to others more specifically about the coffees you love. Cupping really only requires a few tools, and many of them can likely already be found in your kitchen. This means that with a little interest and a few handfuls of coffee anyone can (and should) cup coffee in their cafe, roastery, and at home!
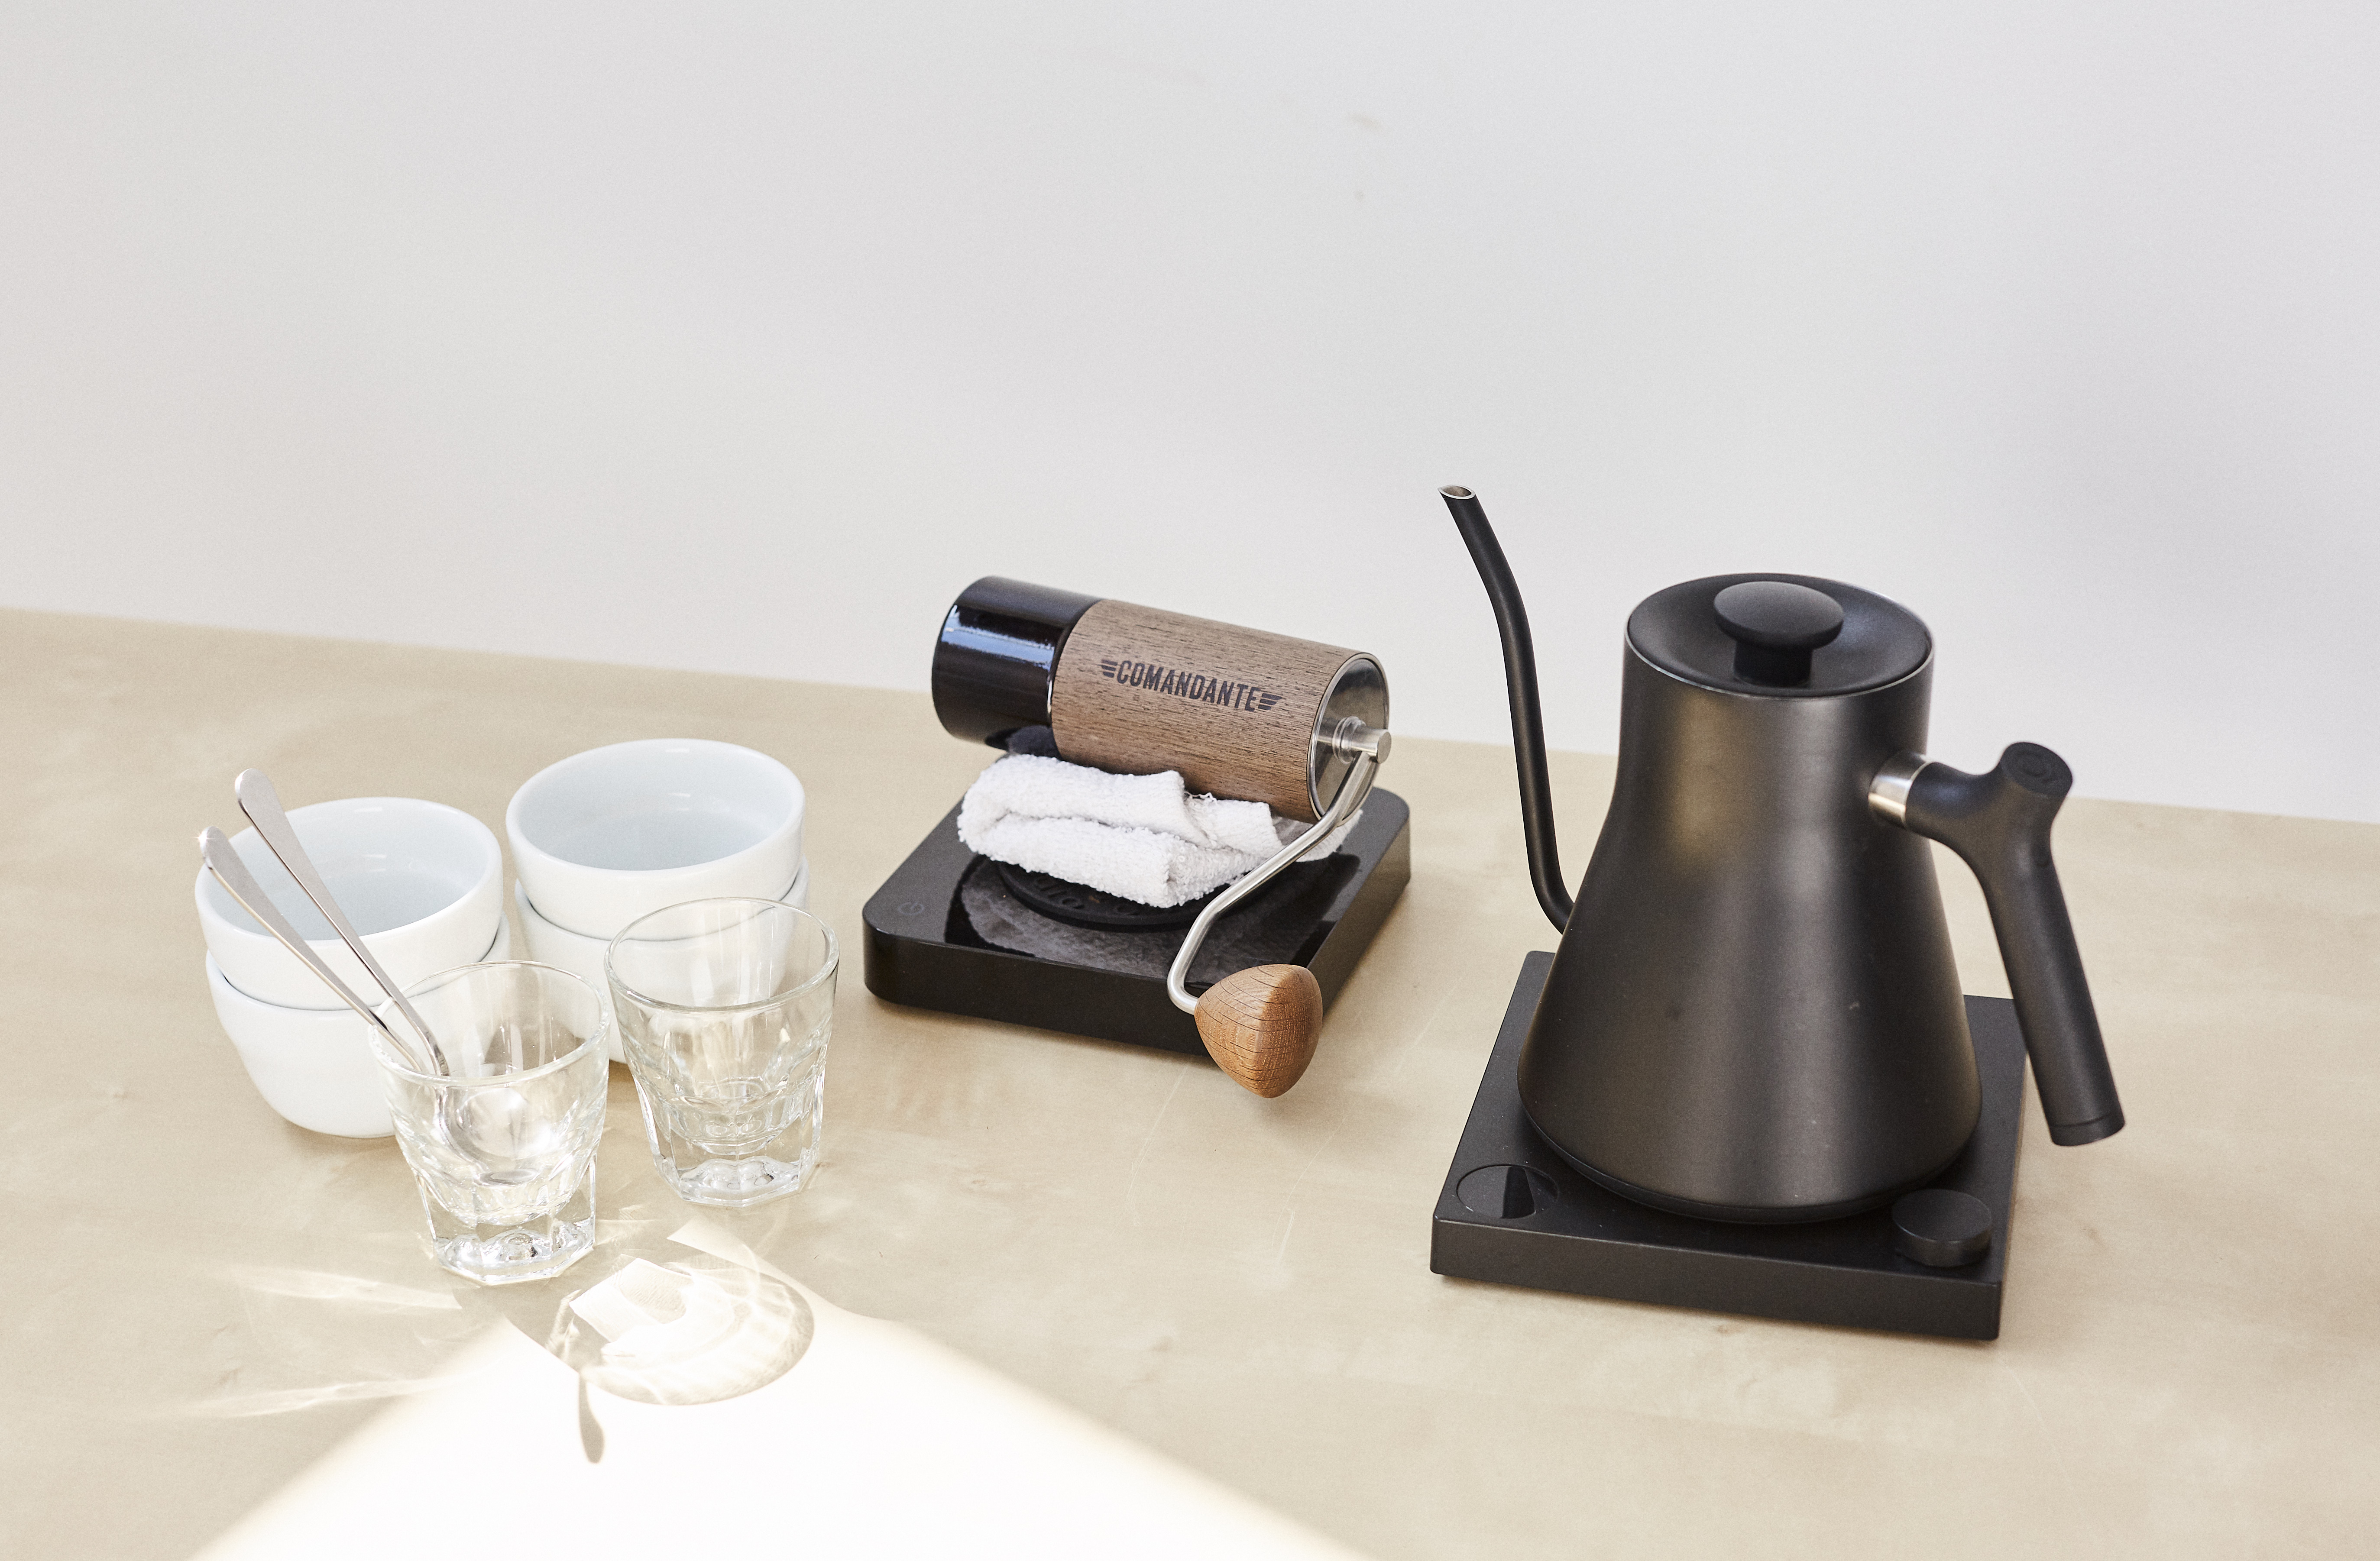
The Equipment — Everything you’ll need to succeed.
-
Coffee (of course)
You’ll only need a little bit of any coffee you’re sampling, (maybe 25 grams give or take). Cupping works best as a comparative tasting exercise when you have a variety of coffees to compare. Have at least 2 coffees around, but 3-5 might be preferable.
-
Grinder
Just like in brewing, grind consistency matters when cupping. A good quality burr grinder will make a huge difference for the quality in your cup, and if you’re willing to use a little elbow grease you can get something nice for relatively low cost.
-
Water
We’ve covered the importance of quality water before, and cupping coffee is no different from brewing in that regard. At the least, be sure your water is odorless and tasteless on its own. If you’re serious about tasting these coffees at their full potential though, certainly consider investing in water treatment of some sort. Peak Water Pitcher would be a solid option for making small amounts of great water as you need it.
-
Water boiler/kettle
Really any sort of kettle will work as long as it holds enough hot water for all of your samples, so make it as basic or as fancy as you’d like.
-
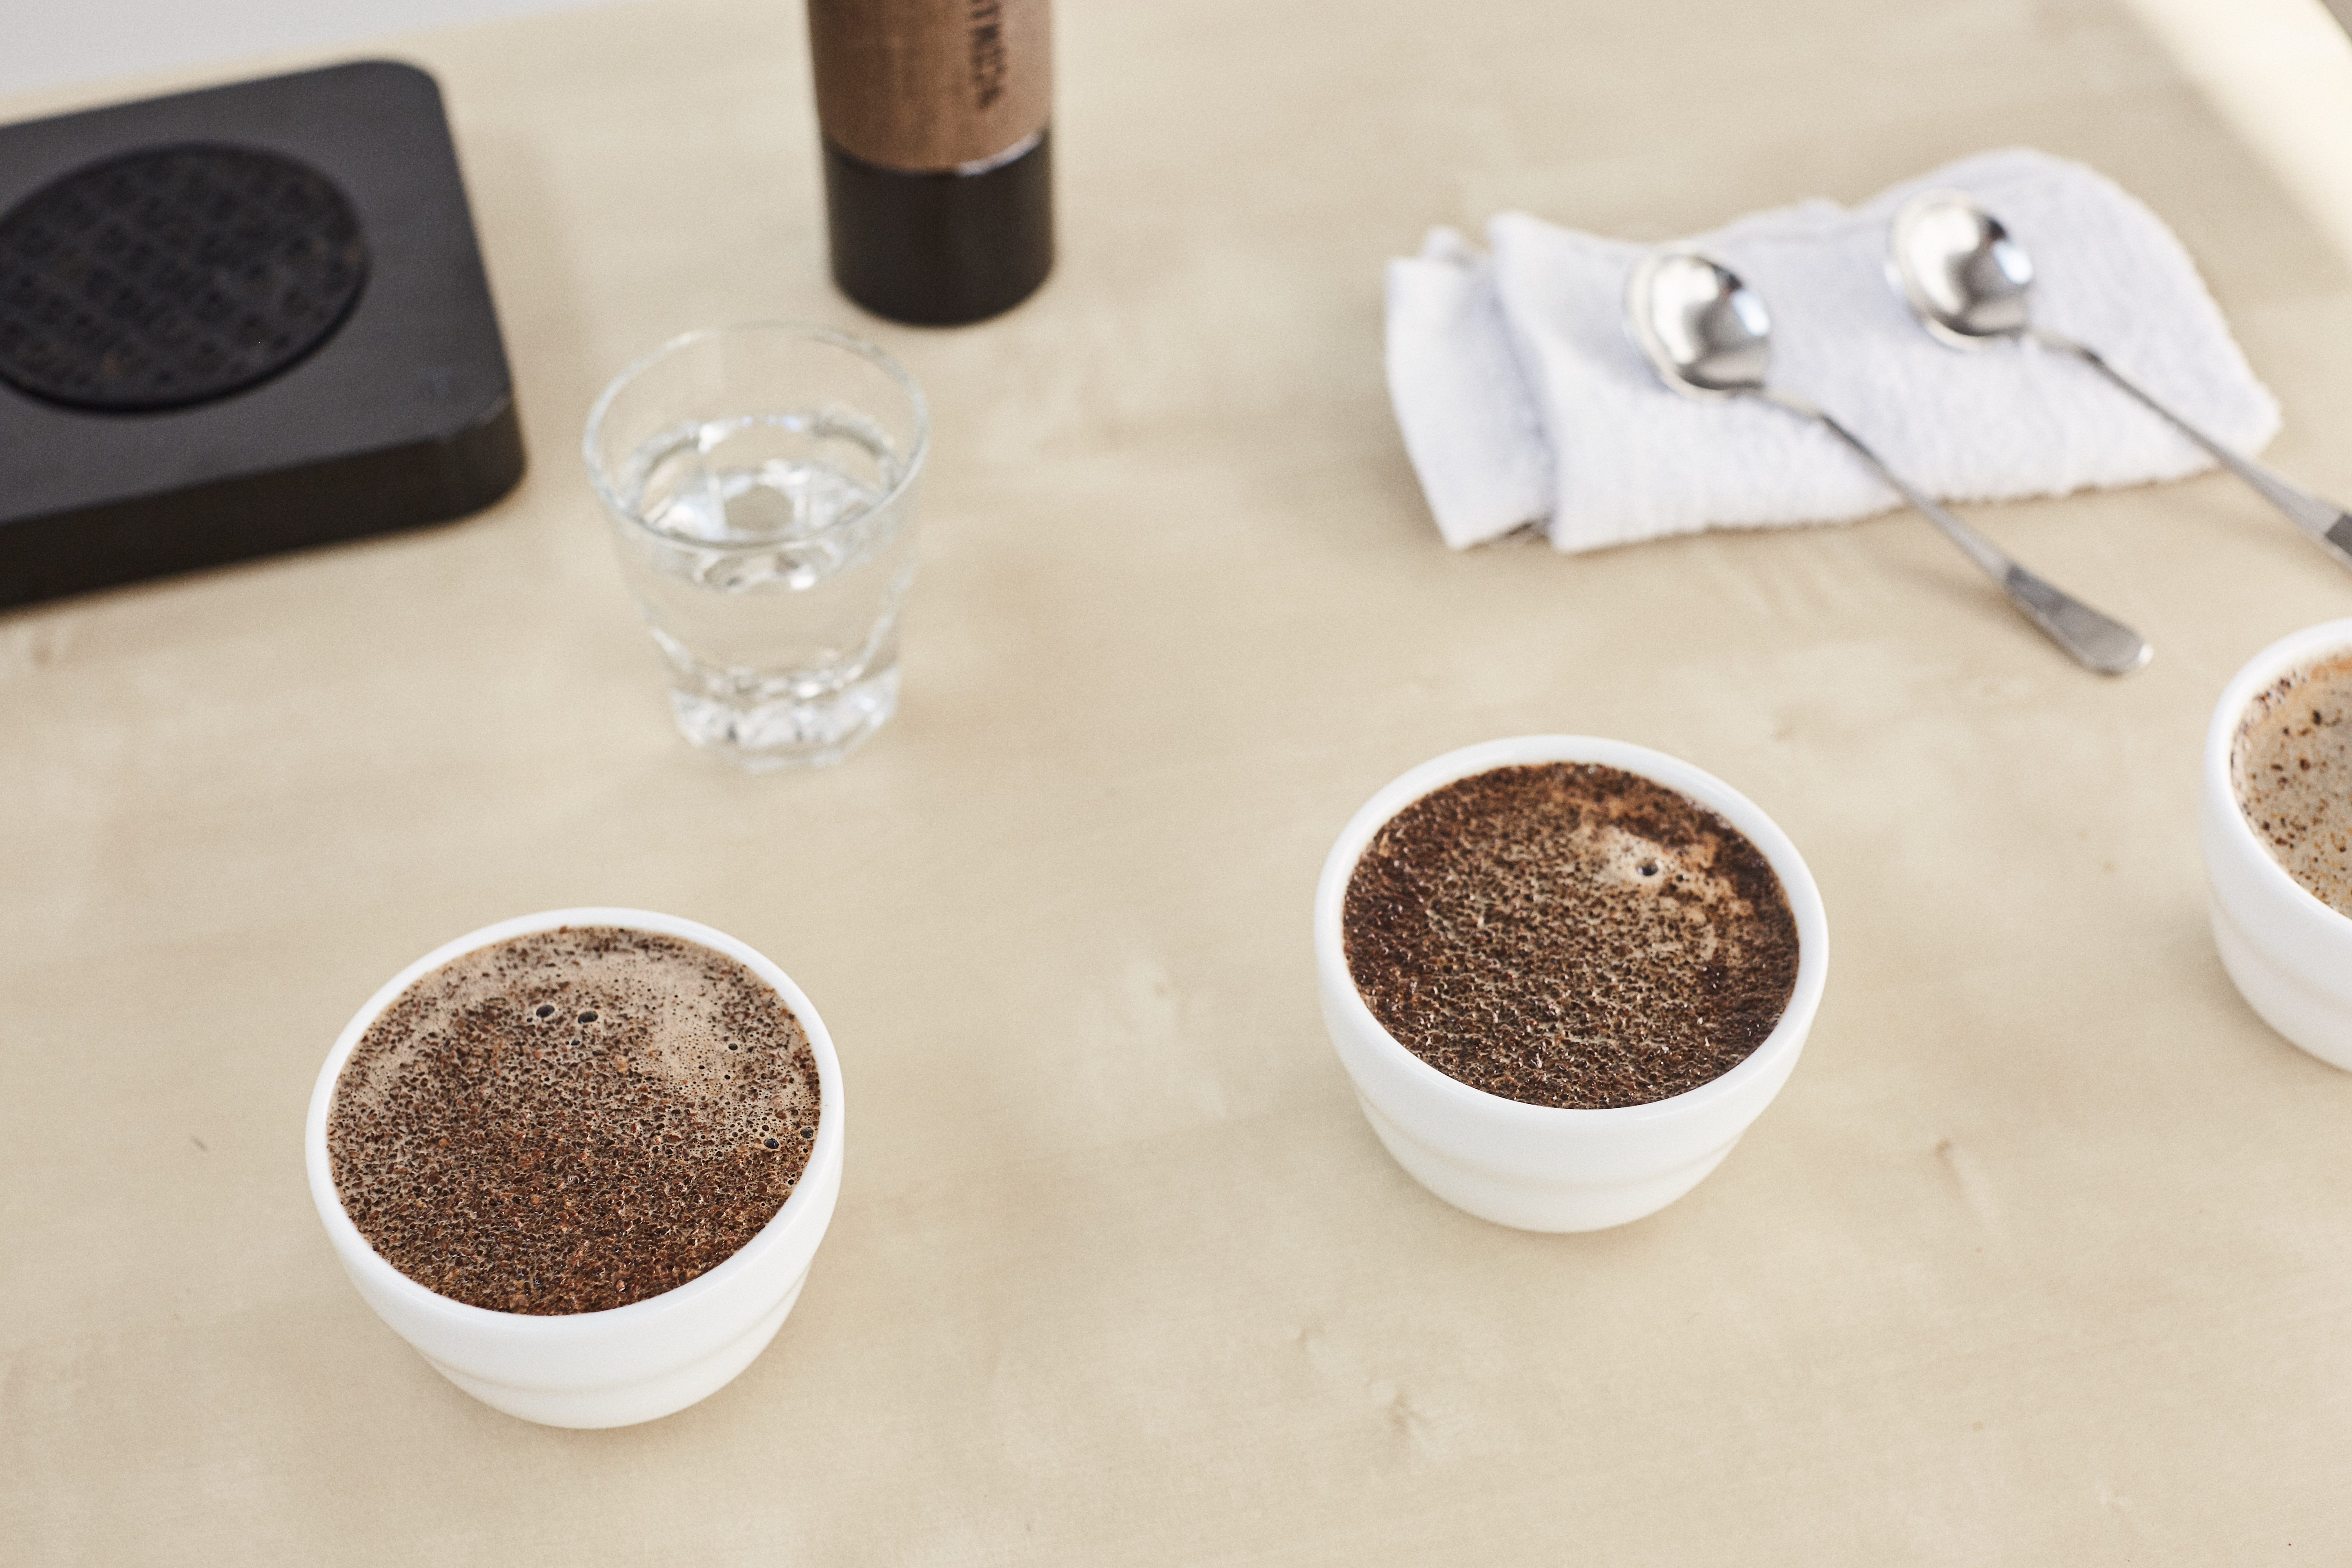
Vessels for your coffee
Identical vessels are preferred, but you can make it work with anything you have on hand as long as you use the same ratio for each sample.
-
Spoons
A special cupping spoon isn’t necessary if you have spoons available with relatively wide or deep bowls already, but they can be pretty cool.
-
Extra cups
Multi-purpose. These will be used to rinse spoons between samples, to collect anything you skim from the top of the samples, and it can be a good idea to keep one reserved for a spitoon so you don’t inadvertently drink way more coffee than you mean to.
-
Scale
Preferably something that gets as specific as 0.1 grams.
-
Towels/Rags
With so many cups full of so many liquids it’s best to be prepared.
-
Notepad/pencil (if you’re a note taker)
You don’t need to take notes as you go, but if you’re comparing more than a couple of coffees it can be incredibly helpful for remembering what you were experiencing early on or in the middle of a cupping.
-
Timer/Stopwatch
If you have a smartphone the stopwatch in your clock app will be perfect. A standard kitchen timer will also have a ”count up” feature typically, or any analog clock with a second hand will work for sure.
Obviously you can find great options to improvise at home as necessary, but then again there’s always the option to get your own pro setup if you’re feeling fancy.
.
The Process — Now that you’ve got the gear, what do you do with all of this stuff?
-
Make sure you’ve gathered everything you need! Cupping can be casual but there are steps that are time-sensitive, so preparedness will help everything go smoothly.
-
Weigh out your coffee doses into the bowls/cups you plan to use. It’s important to know the volume of your vessels because ratio consistency matters — 60g/L is a ratio you’ll hear many pros use in their regular cuppings.
-
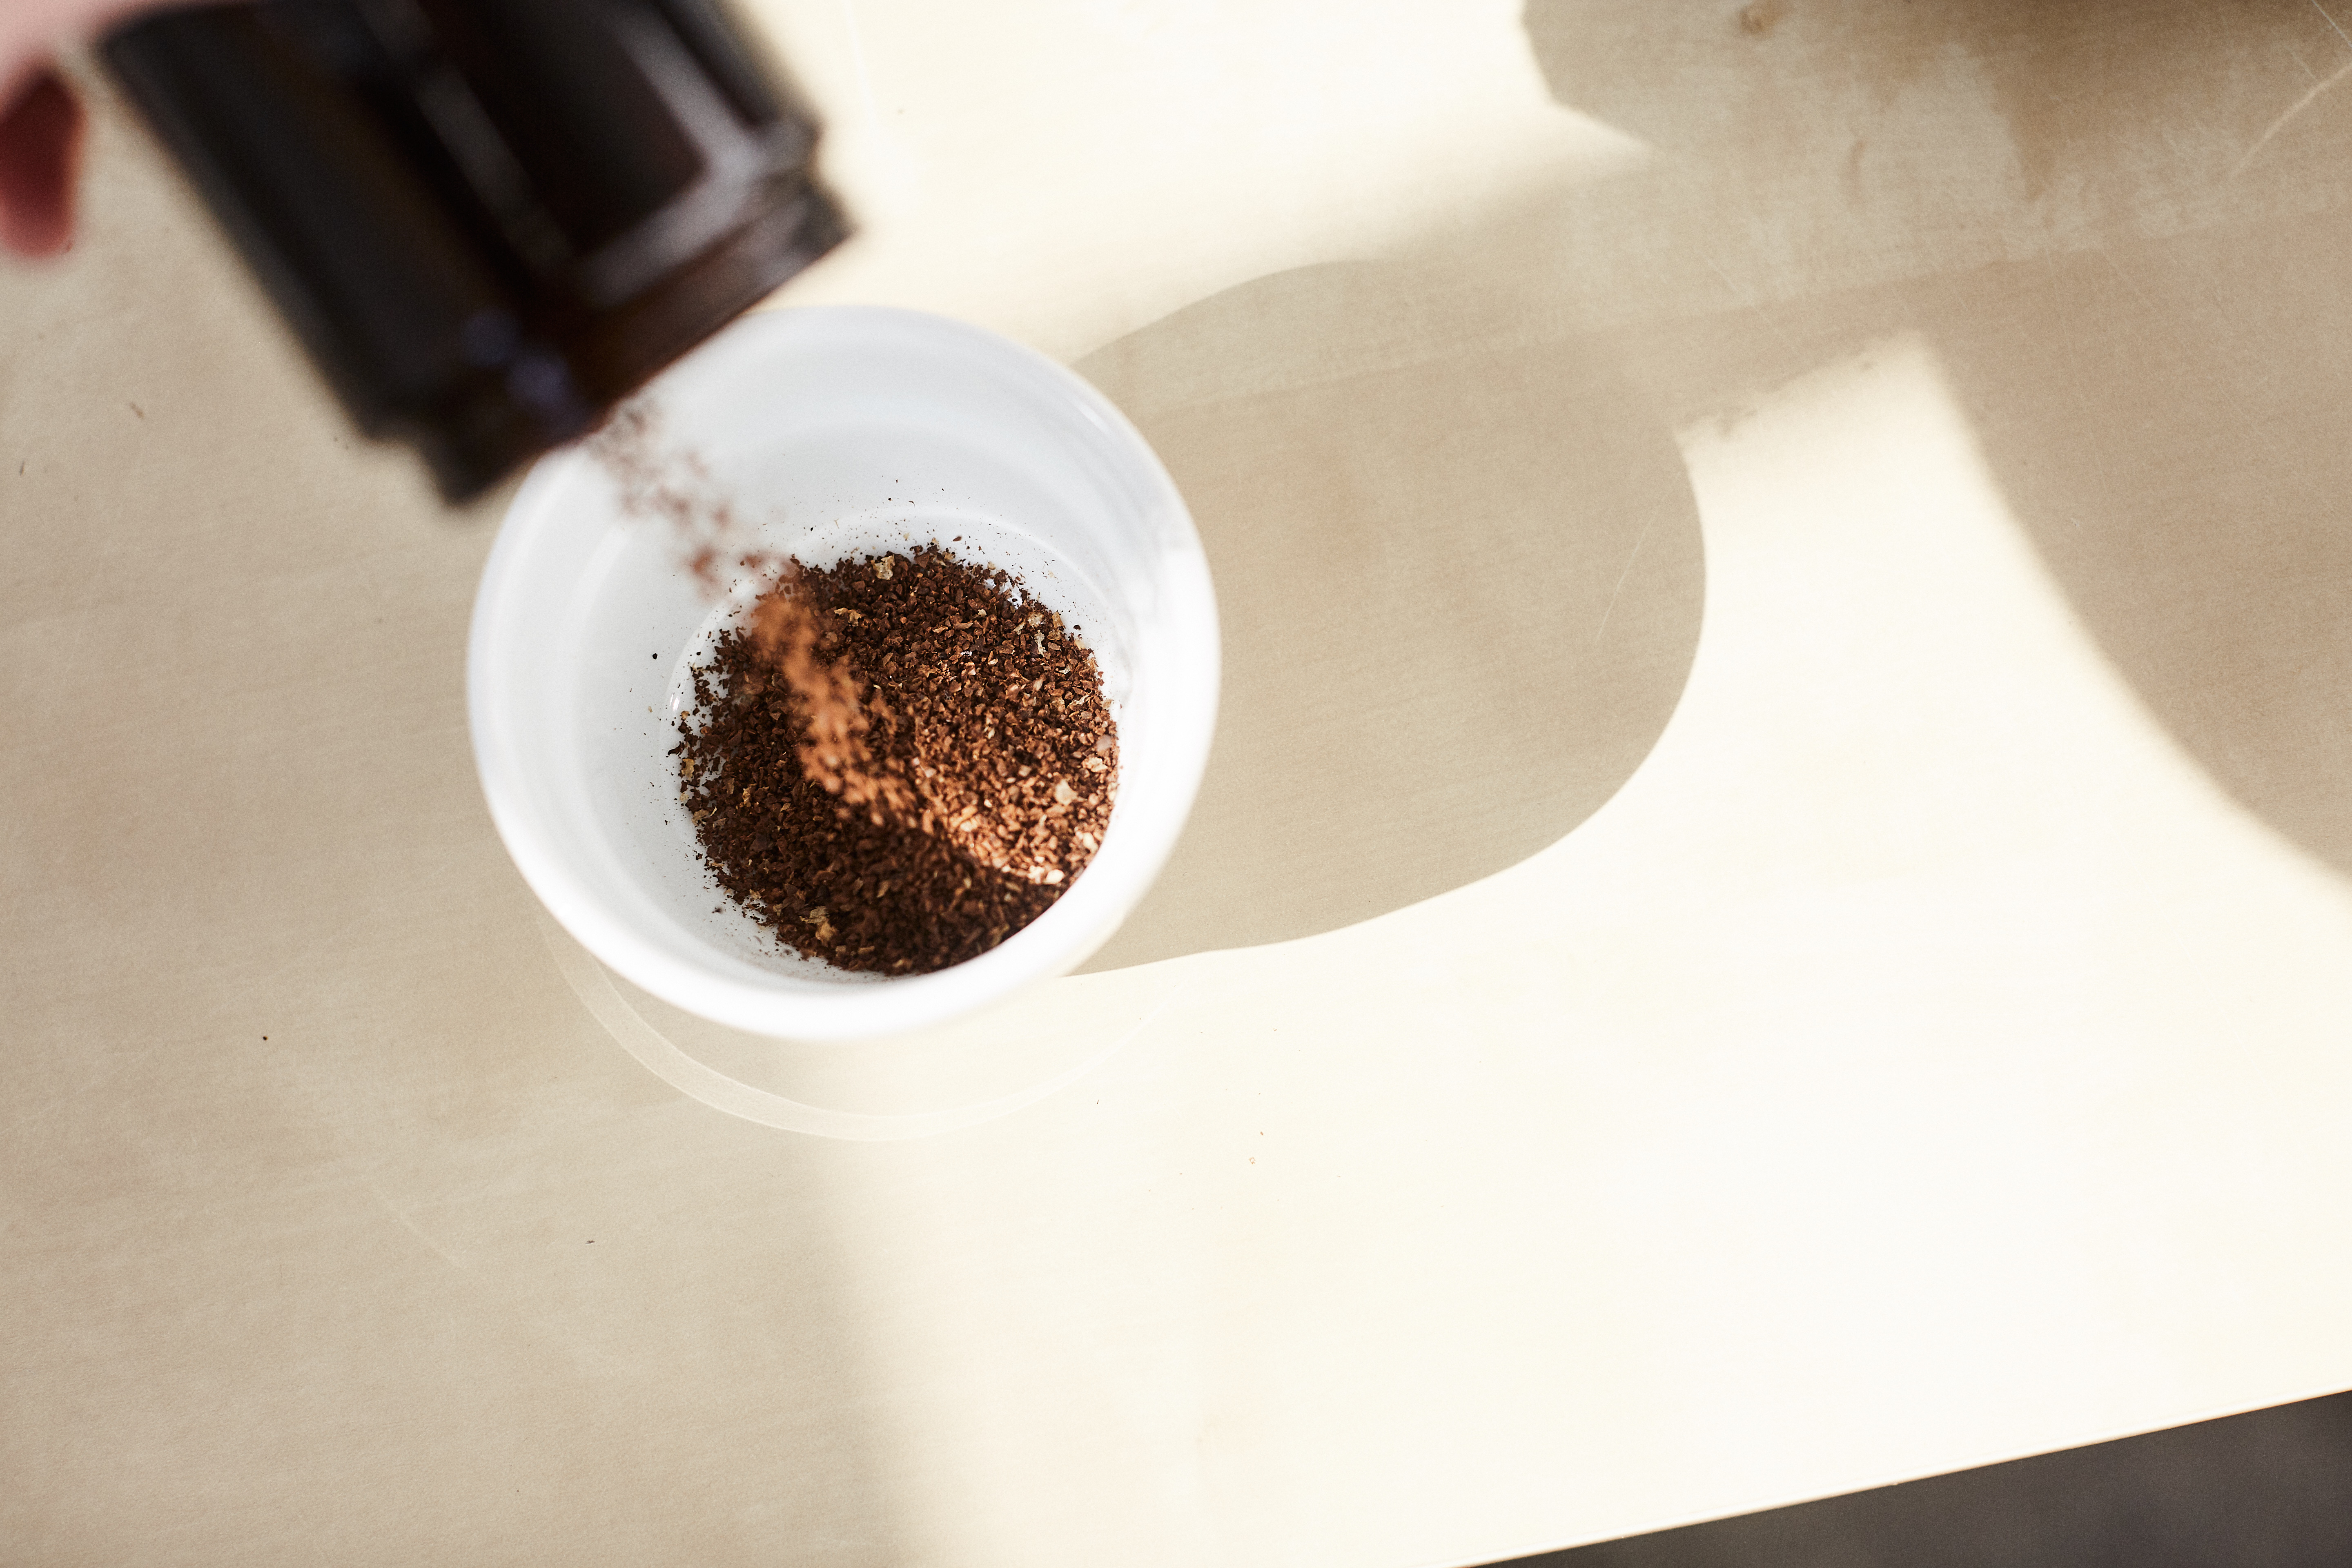
Get your water heating and grind your coffee. Grind a small amount of each coffee before grinding the dose that you’re going to sample. This reduces the chance of “cross-pollination” from coffee to coffee. Grind at the setting you would use for drip coffee or just a touch coarser, this helps your coffee stay away from getting overextracted in the cup too quickly.
-
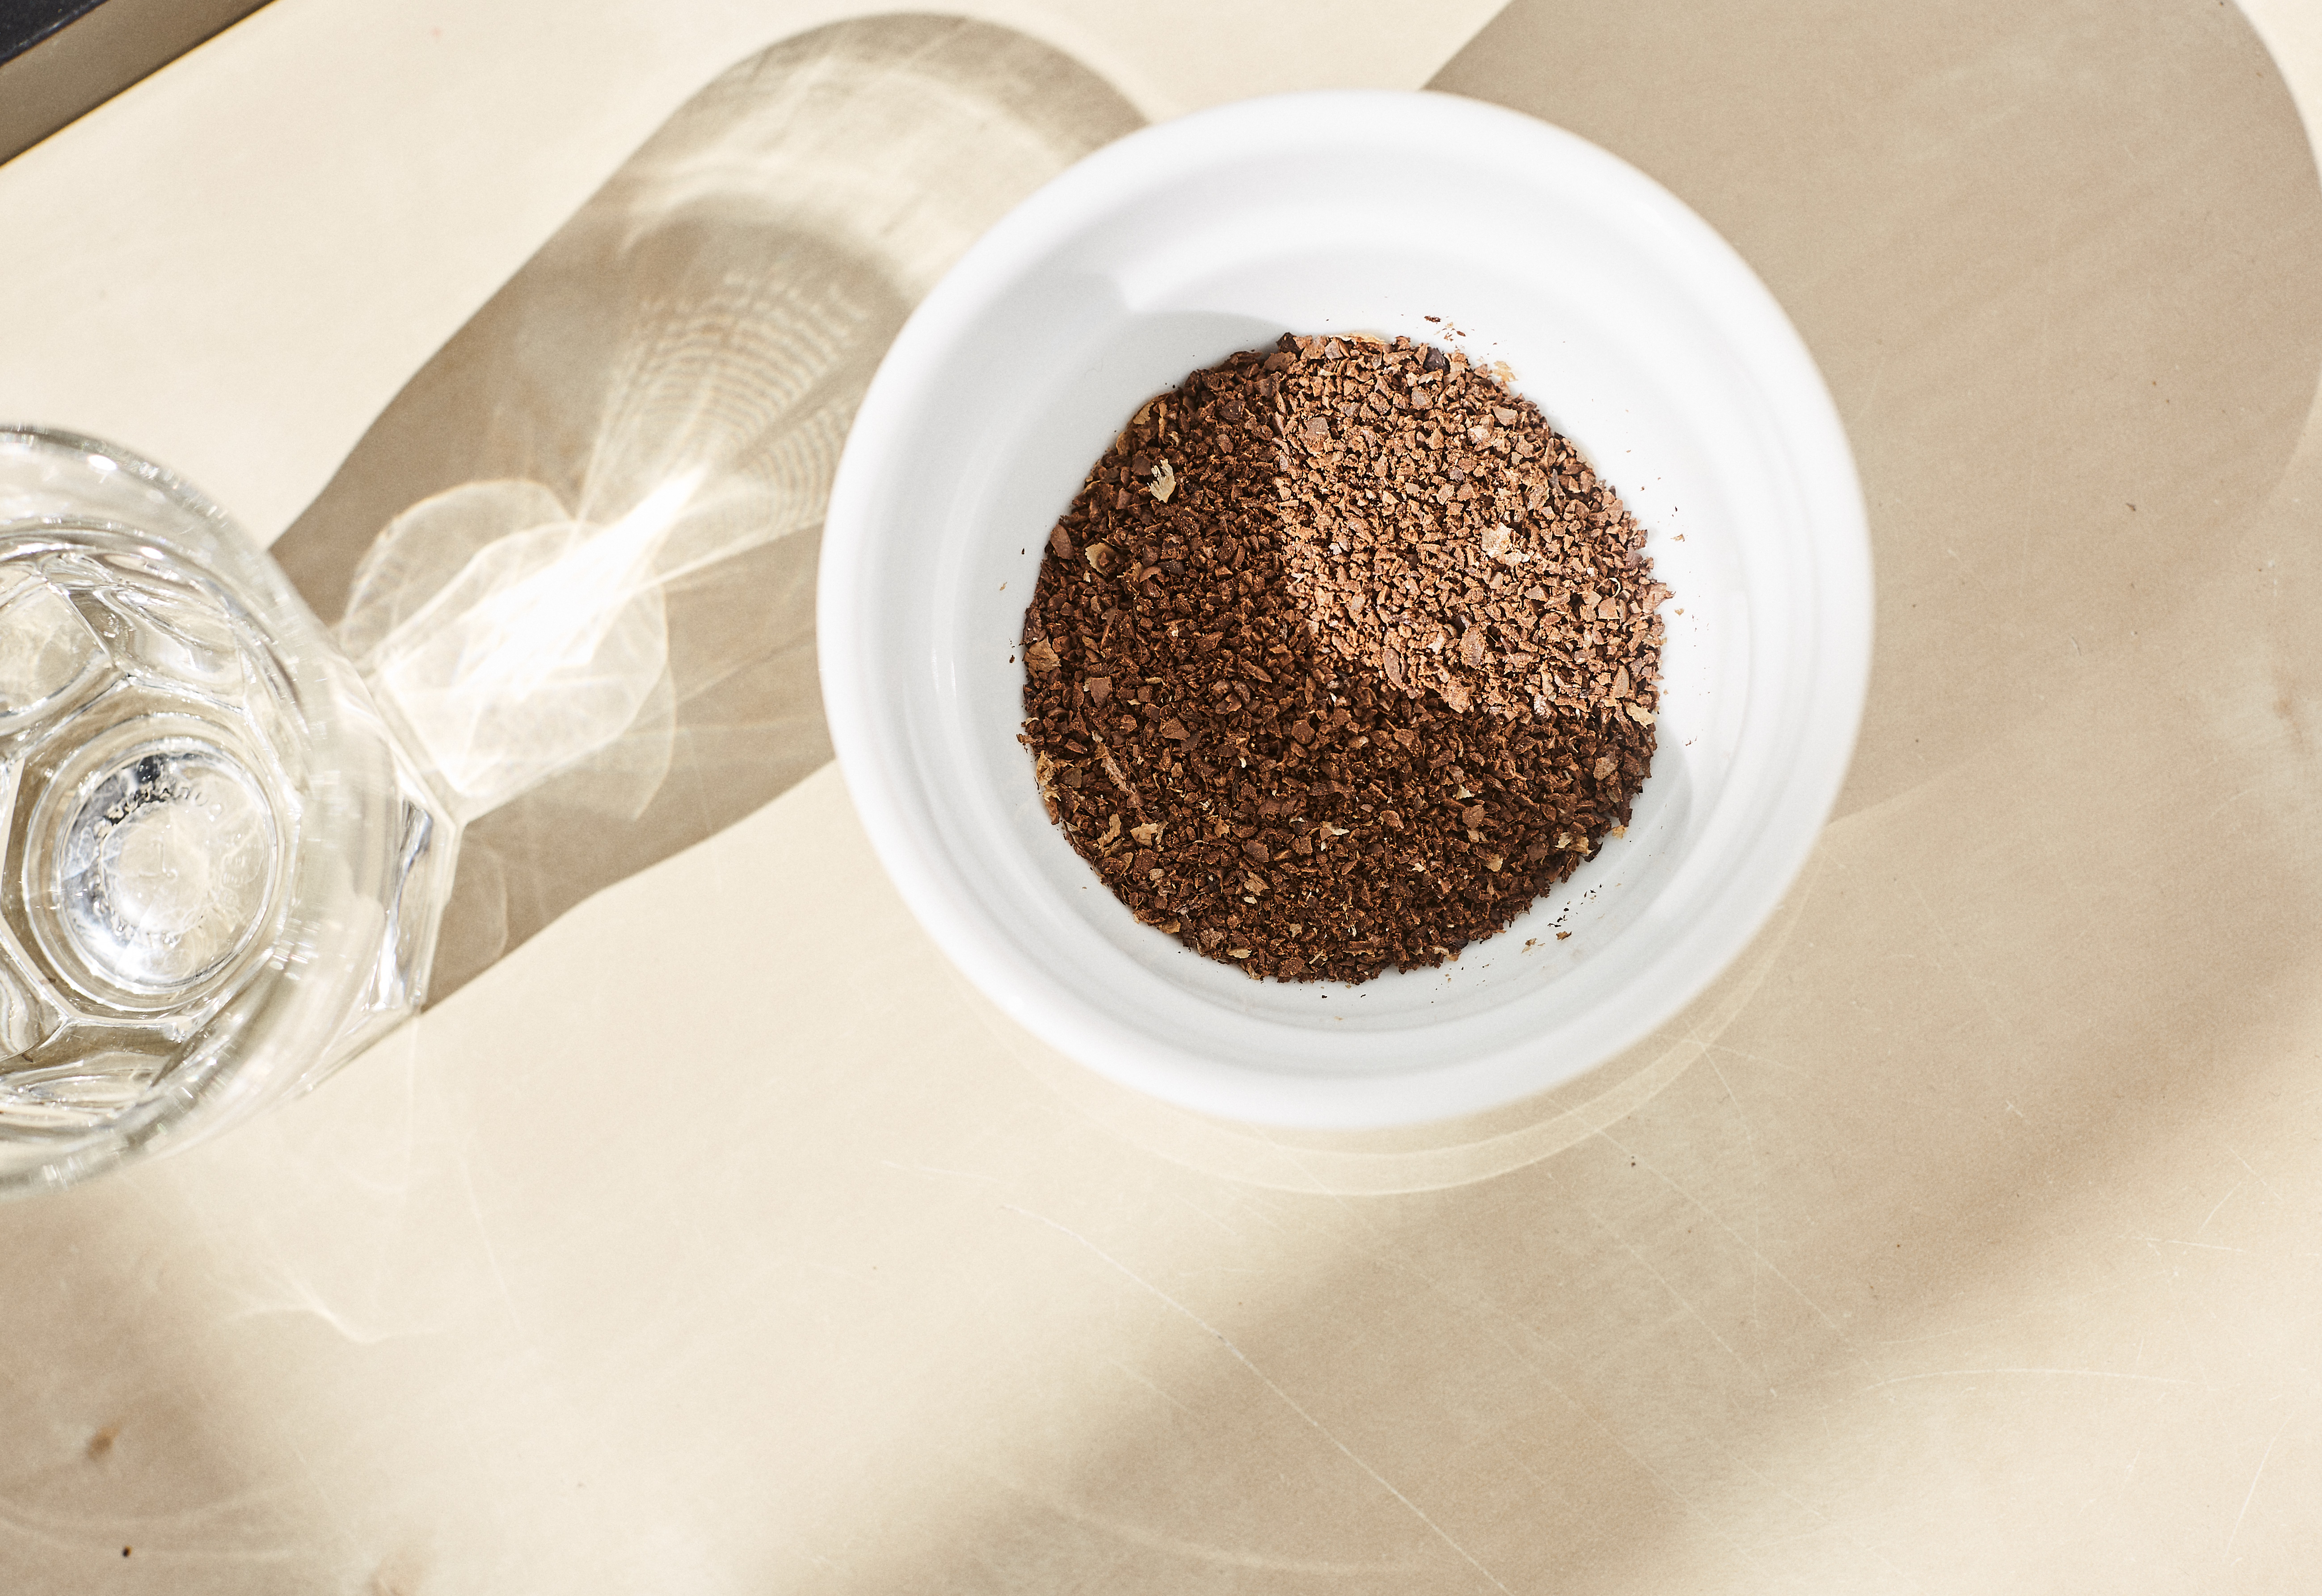
Give your dry coffee grounds a sniff. The fragrance can be a fun insight into what might await your palate!
-
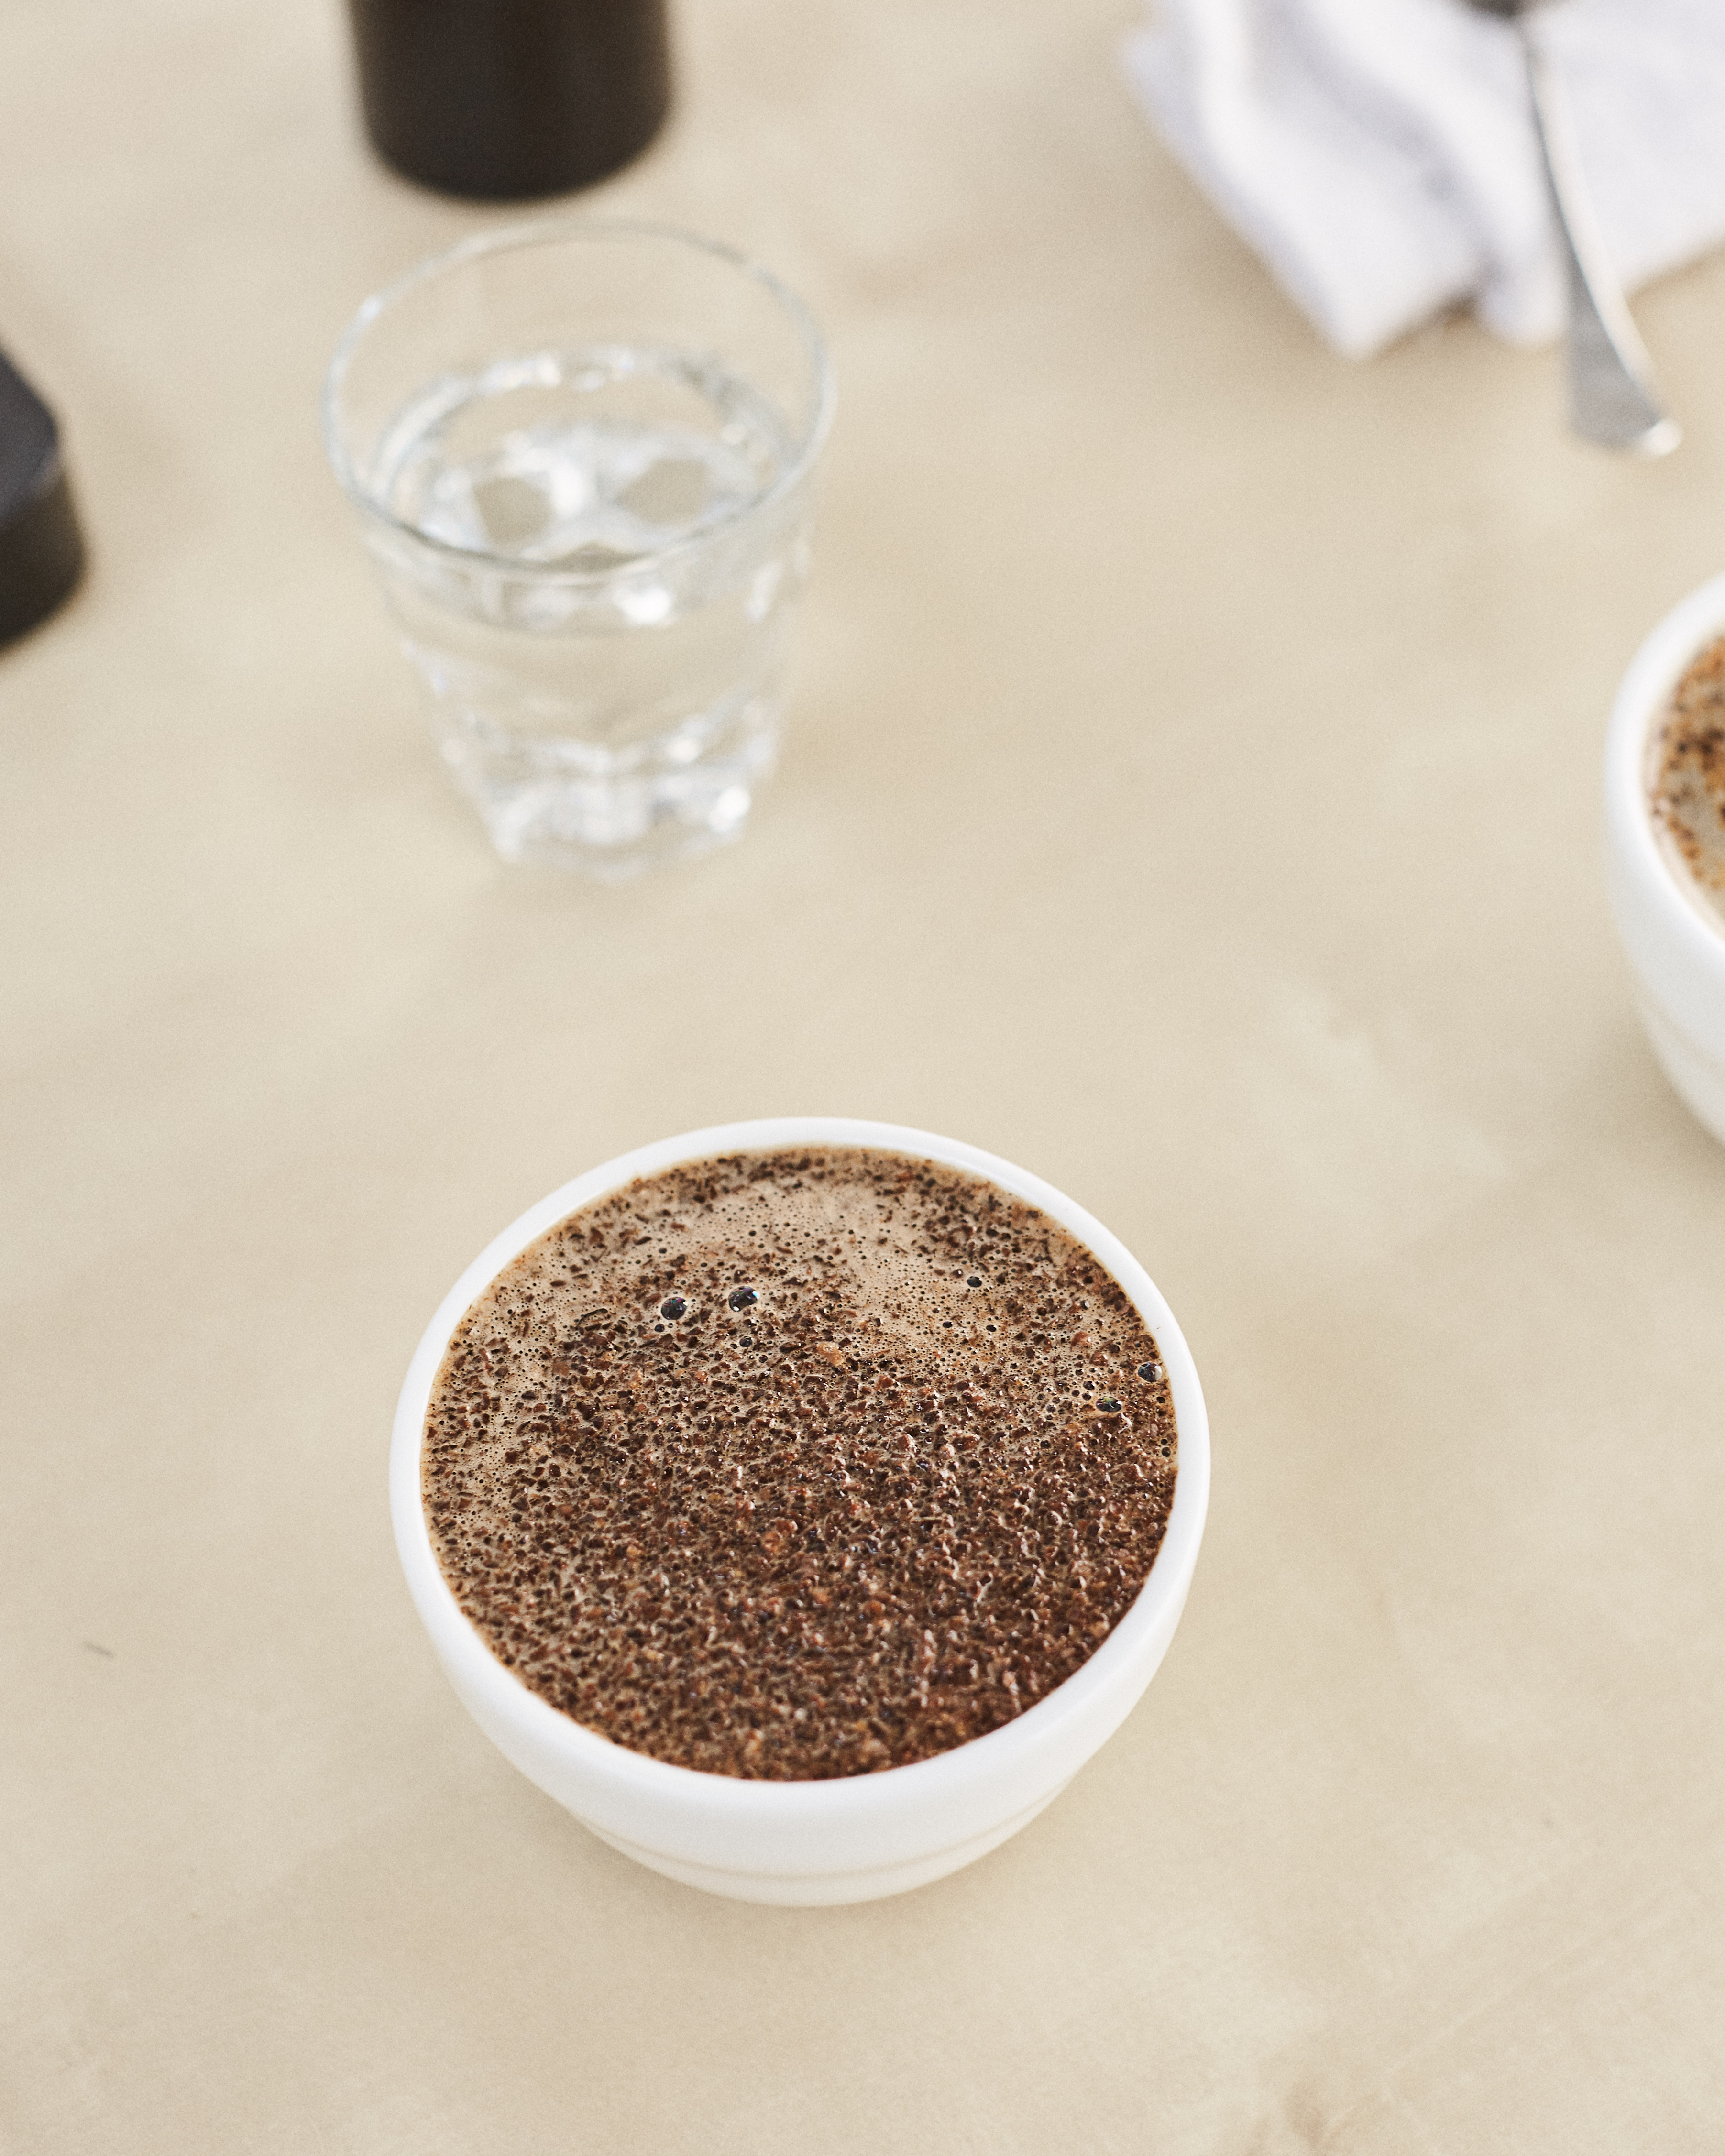
Start your timer and pour your hot (208°F/97°C in the kettle) water onto each sample. Fill each vessel completely and do your best to saturate all of the coffee grounds without sloshing them out of the cupping bowl.
-
Give your samples another good smell-check. The difference between the dry coffee’s fragrance vs the aroma that it gives off now could be drastic!
-
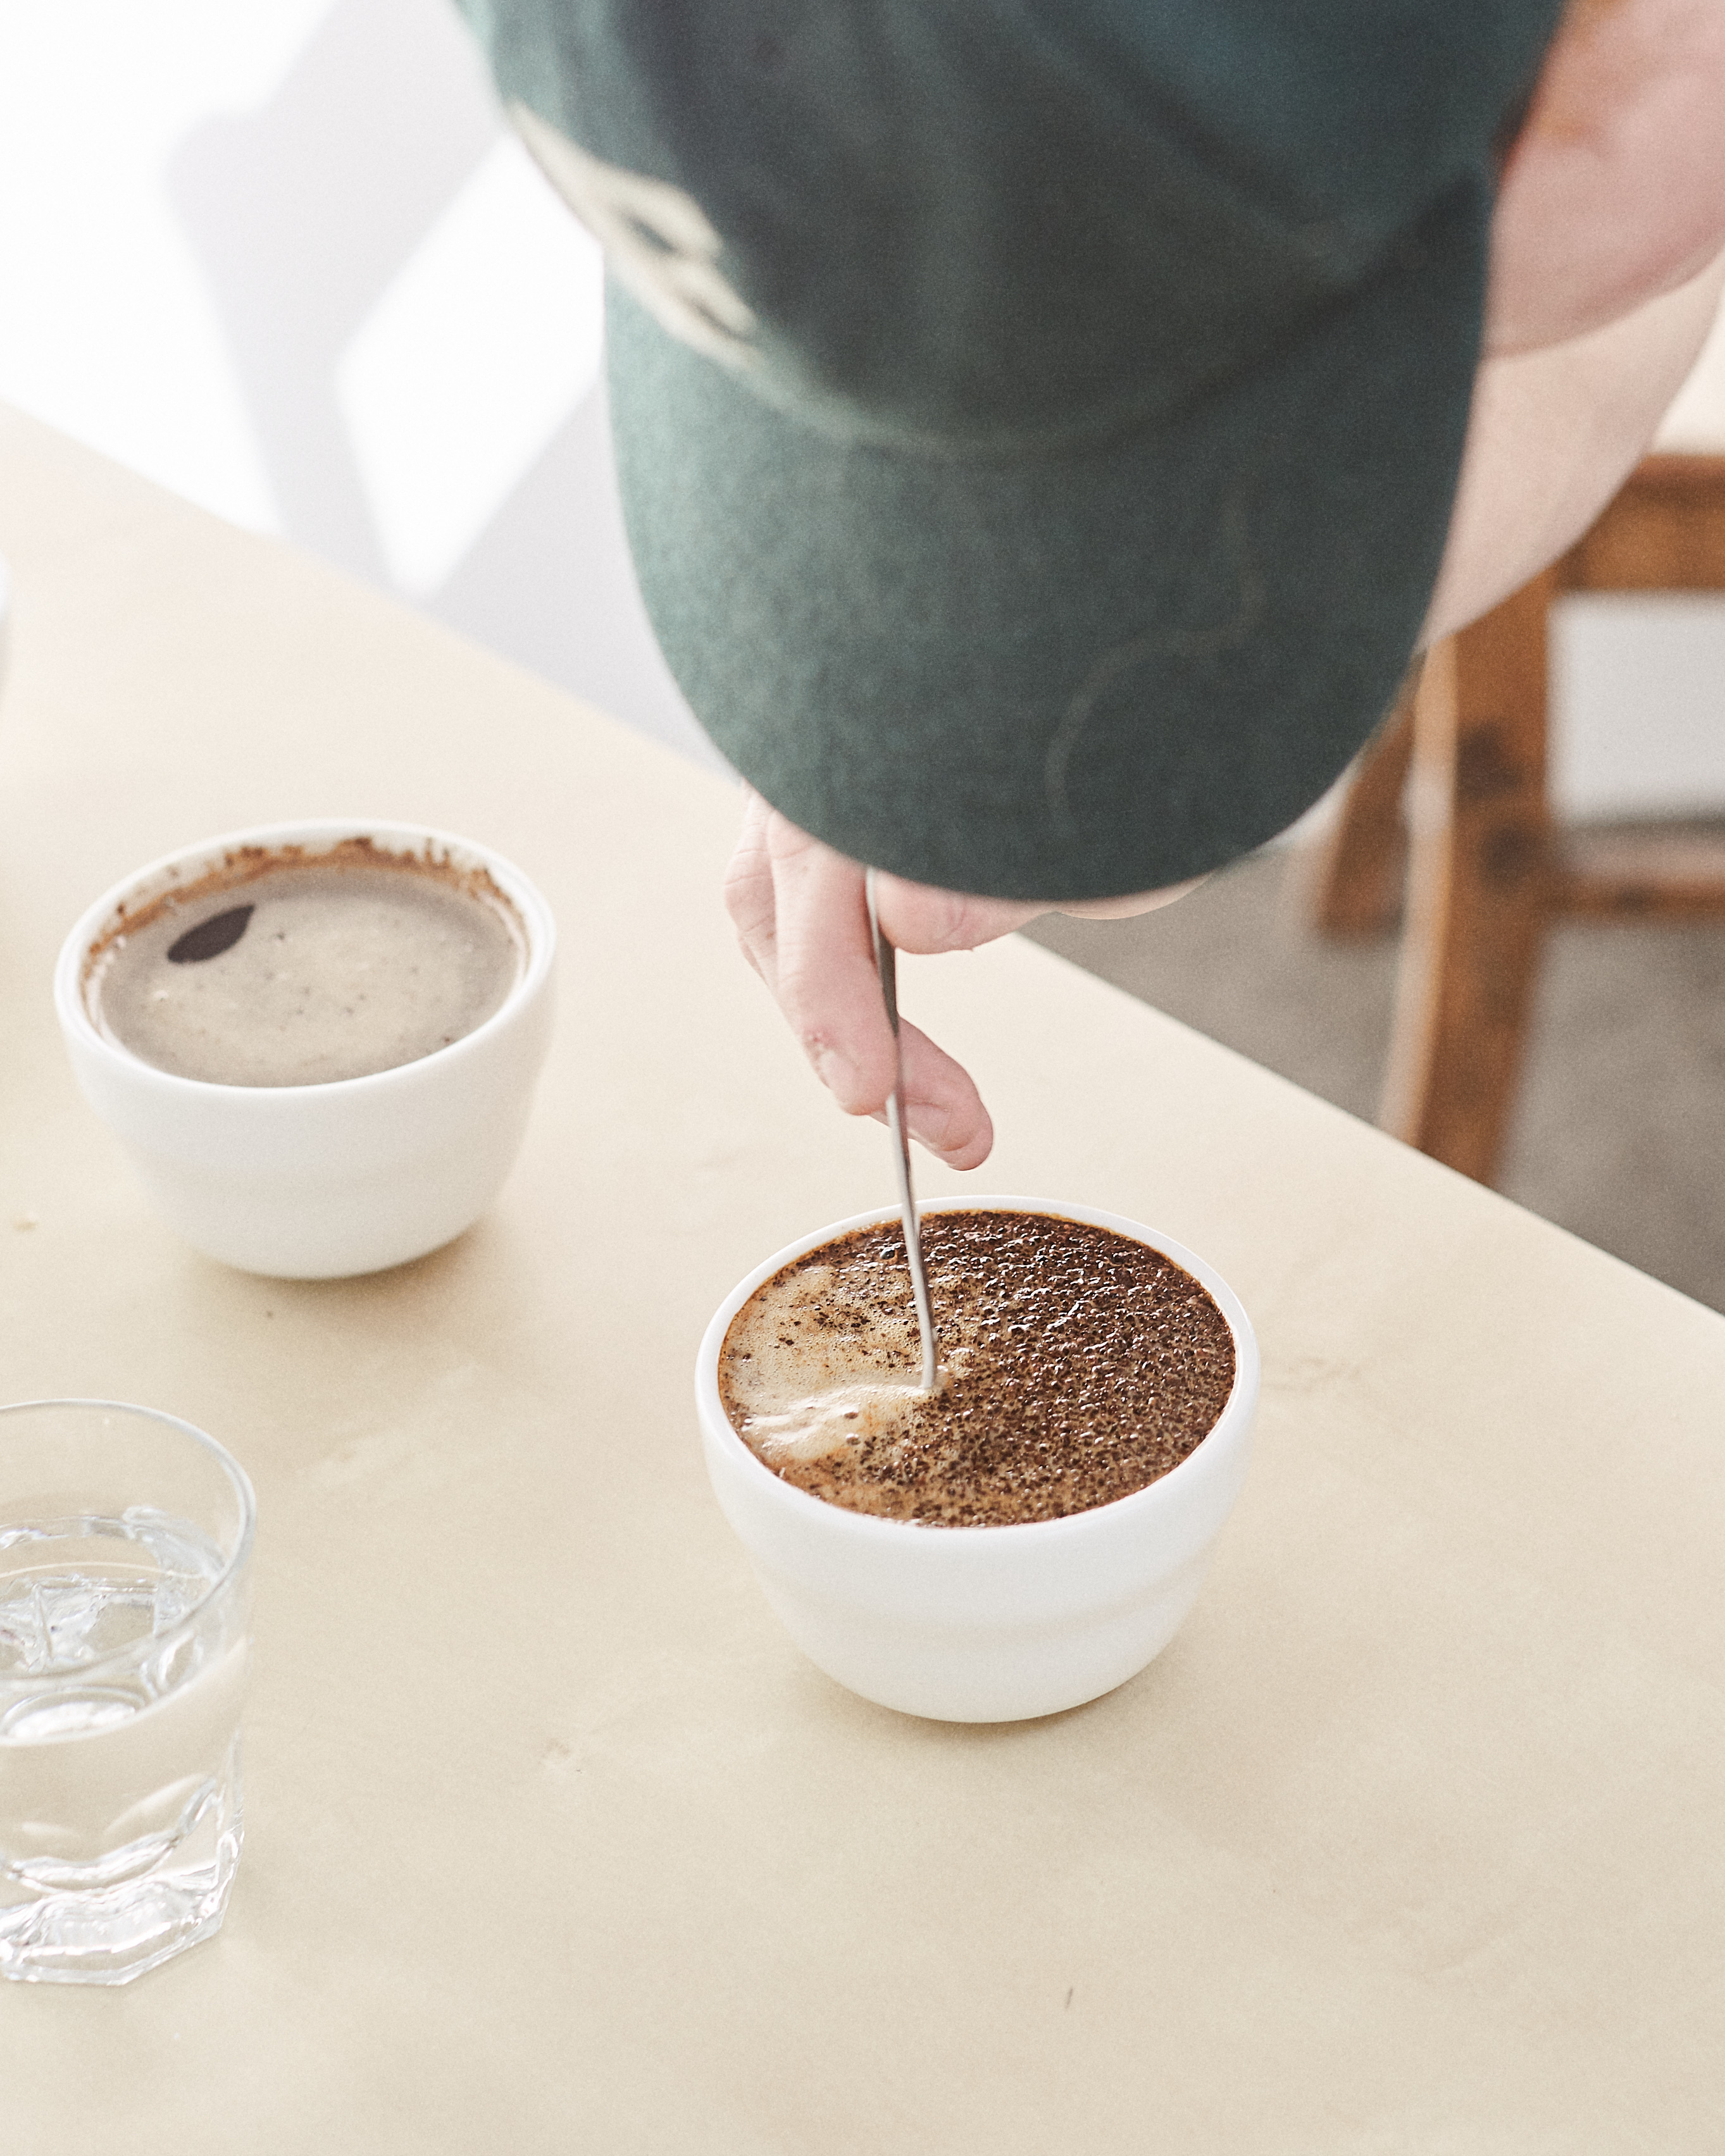
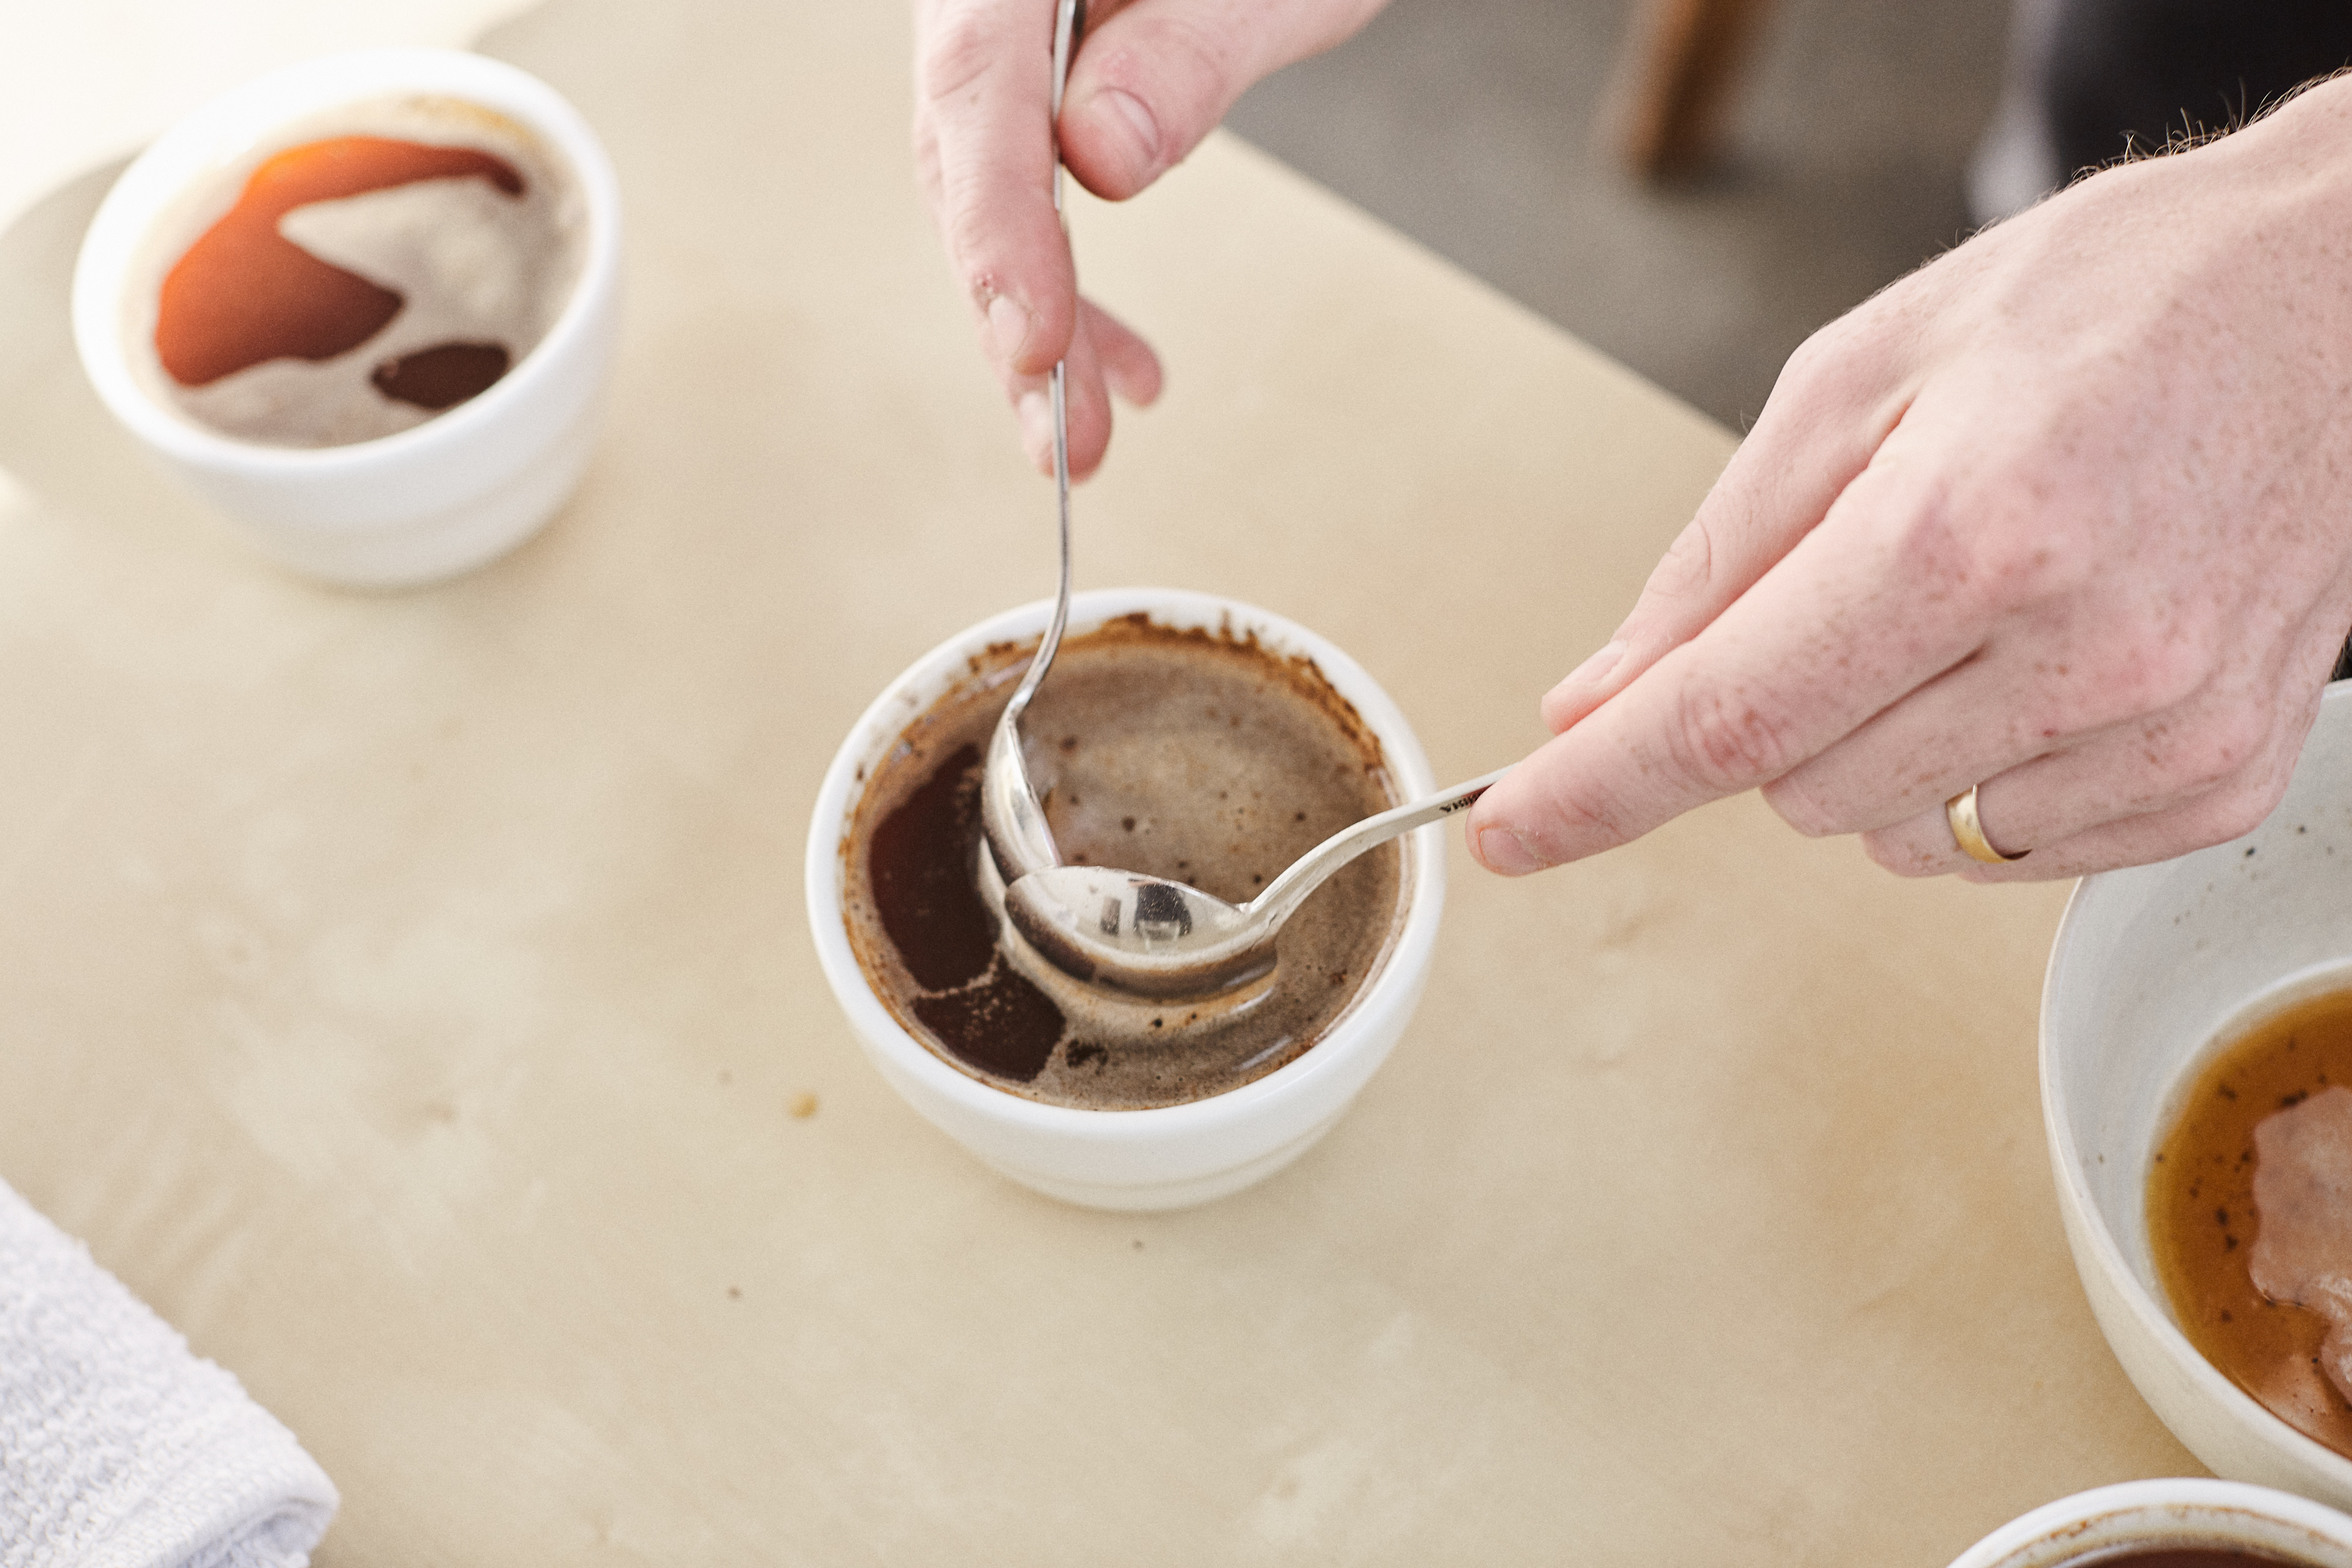
As your timer hits 4 minutes give each sample a stir to break the crust on top. Use a consistent stirring pattern from cup to cup (e.g. 3 stirs clockwise), and be sure to rinse your spoon between each sample.
This is one last fantastic opportunity to check the aroma. As you break the crust there will be something of an olfactory explosion as volatile aromatics finally get the chance to escape into the air.
-
Using two spoons, skim any coffee grounds/bubbles from the top of your samples.
-
Wait patiently. Now is a good time to get fresh rinse water for your spoons, sip some water, or snap a picture to brag to your friends online.
-
Around 14 minutes on your timer the samples should be cool enough to start tasting. Take a small amount of the coffee liquor onto your spoon and slurp away. The slurping action doesn’t need to be dramatic because it’s really only meant to spray coffee across your palate to help you taste. For anyone who might be slurp-shy, swishing the coffee around your palate can work in place of the standard noisy alternative.
-
Keep tasting and taking notes until the coffee samples start nearing room temperature (normally between 20 and 25 minutes or so on your timer, depending on your vessel).
-
Reflect and talk about the coffees with your cupping partners! Sharing your notes and hearing other people’s impressions of the same coffees will be where great insight comes from, especially since every person’s sensory memory can vary so widely. It’s generally considered standard protocol to keep thoughts and reactions to yourself until the end of the cupping as a courtesy though — this ensures that you don’t accidentally influence someone else’s opinion, which allows for everyone to get to have an unbiased sensory experience.
That’s it — you’re a cupper!
A Few More Recommendations — Getting the most out of your cupping experience.
-
Get friends together. Even though you shouldn’t talk while tasting, having other people to hear opinions from after the fact is the fastest way to develop your coffee language. Teamwork will speed up your set up and tear down times, and having everyone bring a coffee that they’re loving at home saves you from having to find multiple samples on your own to taste.
-
Try themed cupping. Taste a few coffees all from one country, a collection of only naturally processed coffees, or maybe even coffees from a single farm processed differently if you can find them.
-
Don’t sweat the specifics. Every person who grew to be a master taster had to start somewhere. It’s okay (and expected) that you won’t come away from cupping your first time thinking, “Wow, the candied orange in that coffee balanced so well with the honeysuckle aftertaste. I’m glad that as it cooled it became tangerine instead of tangelo.” Learning to taste requires fundamentals, so if you start with “Wow that’s a little sweet!” you can think just a little further, “Is it sweet like caramel or sweet like fruit?” Comparative tasting with a little intentionality will have you tasting like a pro in short order.
-
Have a good time. Tasting coffee can be serious and meticulous and, honestly, overwhelming if you let it be. Remember that cupping isn’t a competition (except for when it is)! Leave that sort of worry to the pros and do your best to take your time, enjoy, and marvel at the diversity and wonder that coffee provides.
Happy cupping, y’all.
