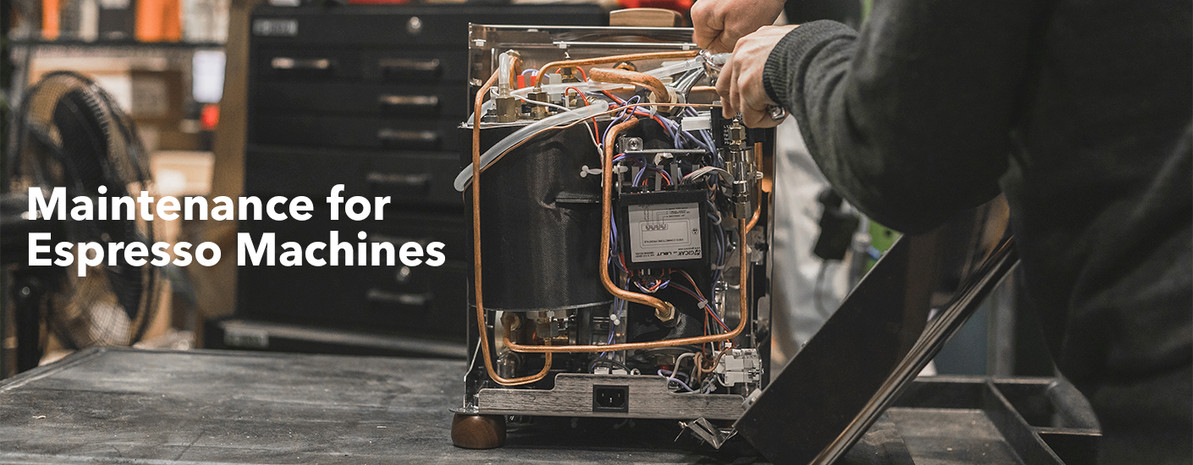
Espresso Machine Maintenance
You and your machine make great espresso; let's keep it that way. Taking care of your espresso equipment will ensure that it lives a long life and always does what it should. Here's your chore list.
You’re a shot pulling phenom, a milk steaming sensation, a bonafide home barista of the highest caliber, ready to sling cappuccinos at the drop of a hat. But, without a little TLC for your gear you won’t be able to hold those boisterous superlatives for long—good espresso (and milk!) requires a good maintenance regimen. With a few invested seconds each time you use your equipment, and a few invested minutes every now and again as necessary, you can keep your espresso setup ready for anything for years to come.
Cleaning the Group
Each time you pull an espresso, some of the coffee’s oil and grit will end up left on the dispersion screen and can even get sucked up into the group. Over time this leads to a couple of obstacles to delicious shots; too much oil build-up or excess debris on the screen will impede even water flow and thereby even extraction, and rancid oils getting involved in brewing your fresh coffee will leave your espresso tasting, well, rancid.
Many home espresso machines (those with a 3-way solenoid in the group) will be easy enough to maintain using the instructions below, though you should be sure to look through your owner’s manual for cleaning instructions just in case your machine requires some other special protocol. No matter what your cleaning process looks like, be sure to thoroughly clean your group weekly to keep coffee oils from building up there and going stale.
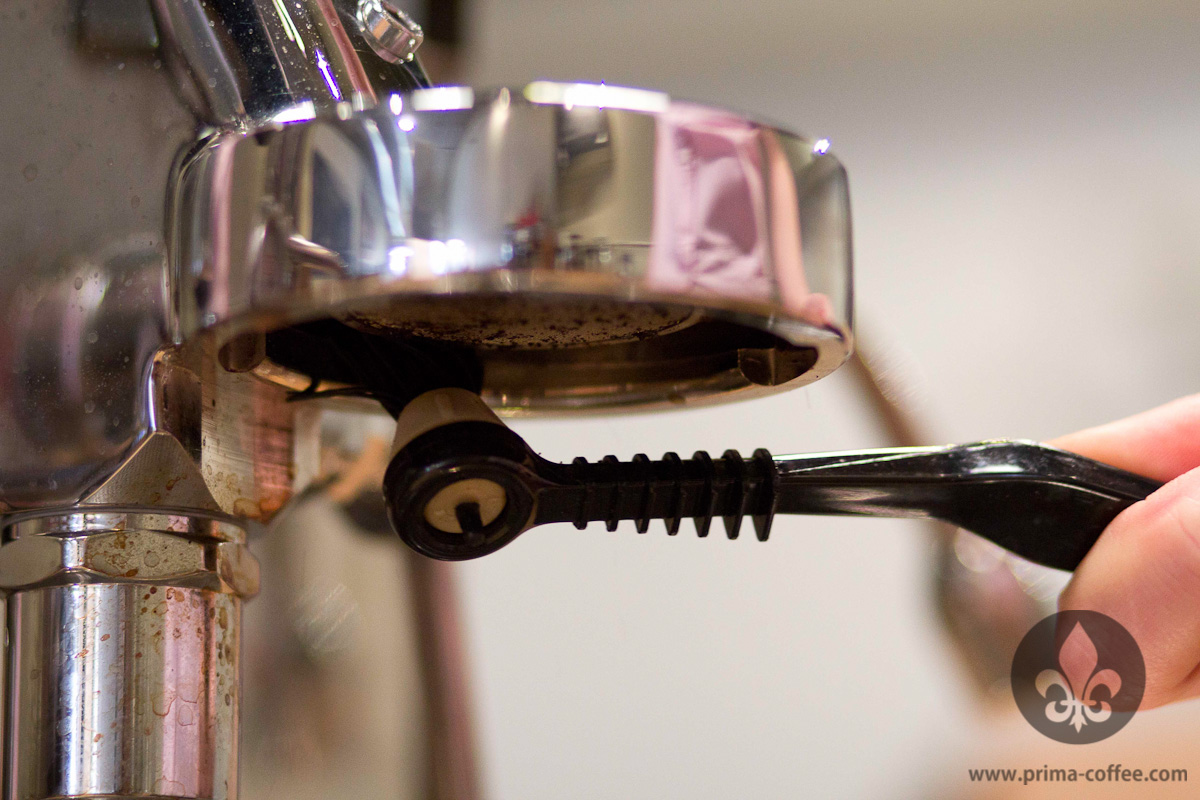
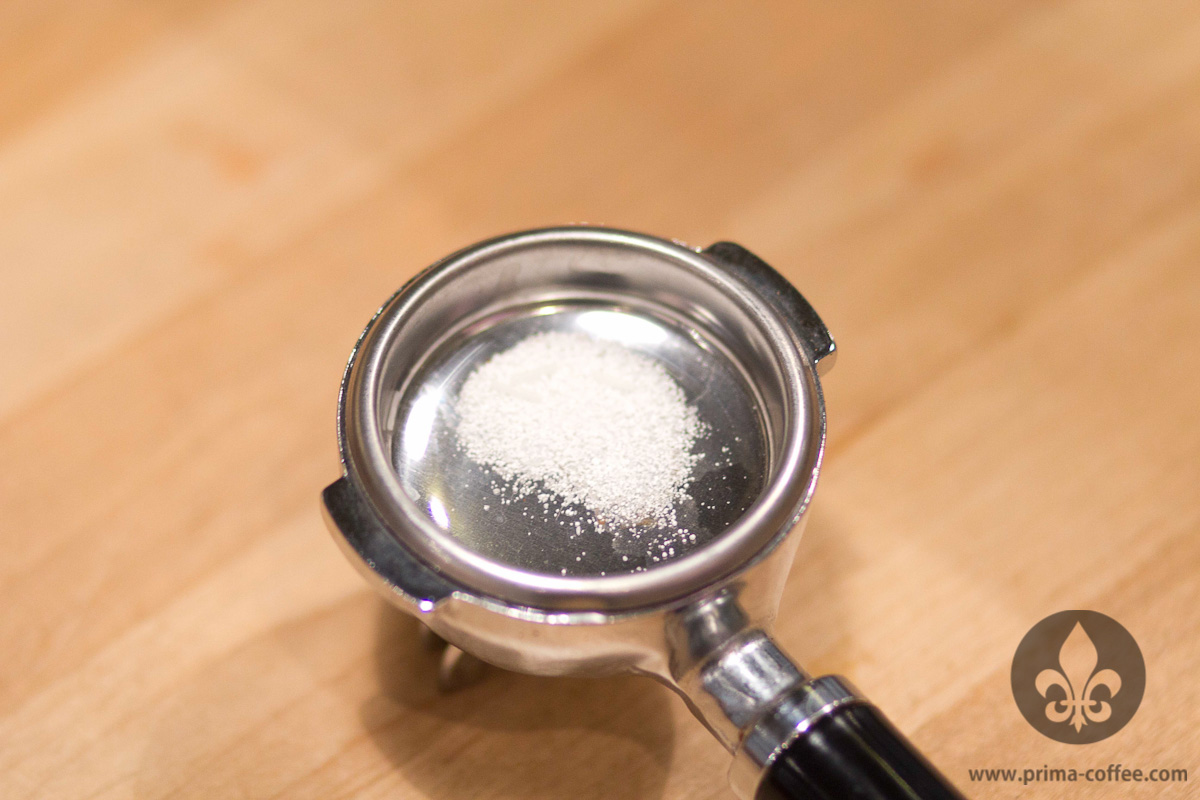
Before you get started with this backflushing process, be sure you’ve gathered everything you need: a portafilter, a blank basket, a nylon brush/Coffeetool, and some espresso machine detergent.
- Scrub the screen and the nooks and crannies around the screen with your brush.
- Insert the blank basket into your portafilter. Add a small scoop of detergent to the basket, the dose should be about the size of a dime.
- Lock the portafilter into the group and run the brew cycle for 5–10 seconds.
- Pause for 5–10 seconds, then run the brew cycle again. Repeat this off/on cycle 4–5 times.
- Remove the portafilter and rinse the blank basket. Scrub the group again with your nylon brush.
- Lock the portafilter back into the group, this time with no detergent, and run the brew cycle for 5–10 seconds. Dump and rinse the basket, repeating this as many times as necessary for the basket to come out with no residual grit, oil, or detergent.
- Plan to detergent backflush your group weekly (assuming you have a 3-way solenoid group!), but you should also be sure to backflush your machine with clean water after every time you finish using your machine.
- For machines with an E61 grouphead, plan on clean-water backflushing your machine and scrubbing the screen with your nylon brush after each use, but do not use detergent weekly. These machines have pieces that require lubrication internally, so using detergent too frequently will wear out the lubrication quickly and make the machine difficult to use. Use detergent sparingly every 3–6 months for upkeep, and be sure to give all parts of your machine and good soak and scrub whenever you change your gasket and screen (which I recommend doing yearly).
- For machines that don’t have a 3-way solenoid or a pressure release, the process will vary from machine to machine. At the least, plan to rinse whatever pieces you can after each use (dispersion screen, basket, etc.), and give any parts that come into contact with coffee a scrub with your nylon brush/Coffeetool just as often. Use coffee detergent to make a bath for your machine’s parts whenever you have parts disassembled.
Cleaning the Steam Wand
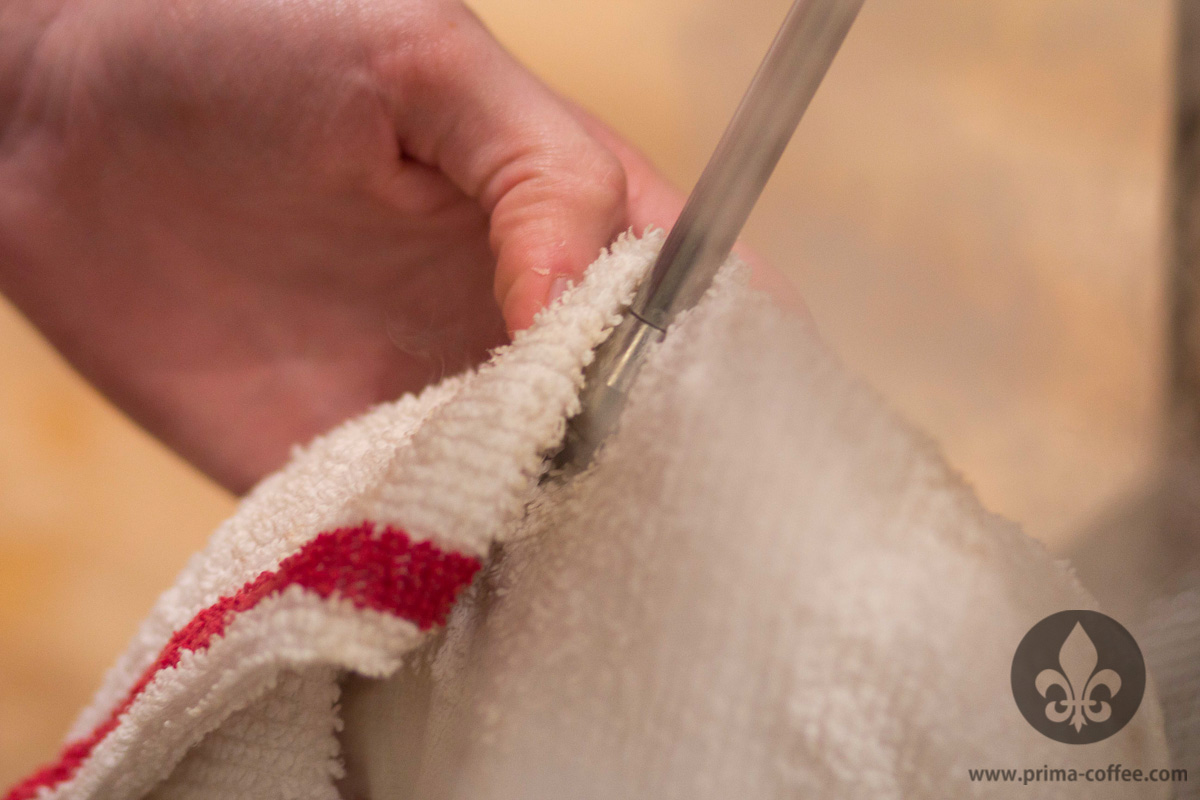
The only thing worse than getting stale coffee oil in your espresso is getting bits of old milk in your freshly steamed pitcher. Seriously, gross. Luckily it isn’t too difficult to avoid this microfoamed faux pas—keep a damp cloth on hand to wipe down your steam wand after each time you steam (seriously, every single time you steam), and be sure to purge the wand afterward as well to expel any milk that might’ve gotten trapped in the steam wand tip. It’s also a good idea to give that steam wand a thorough bath once a month or so, depending on how much you use it, to make sure everything stays ship-shape.
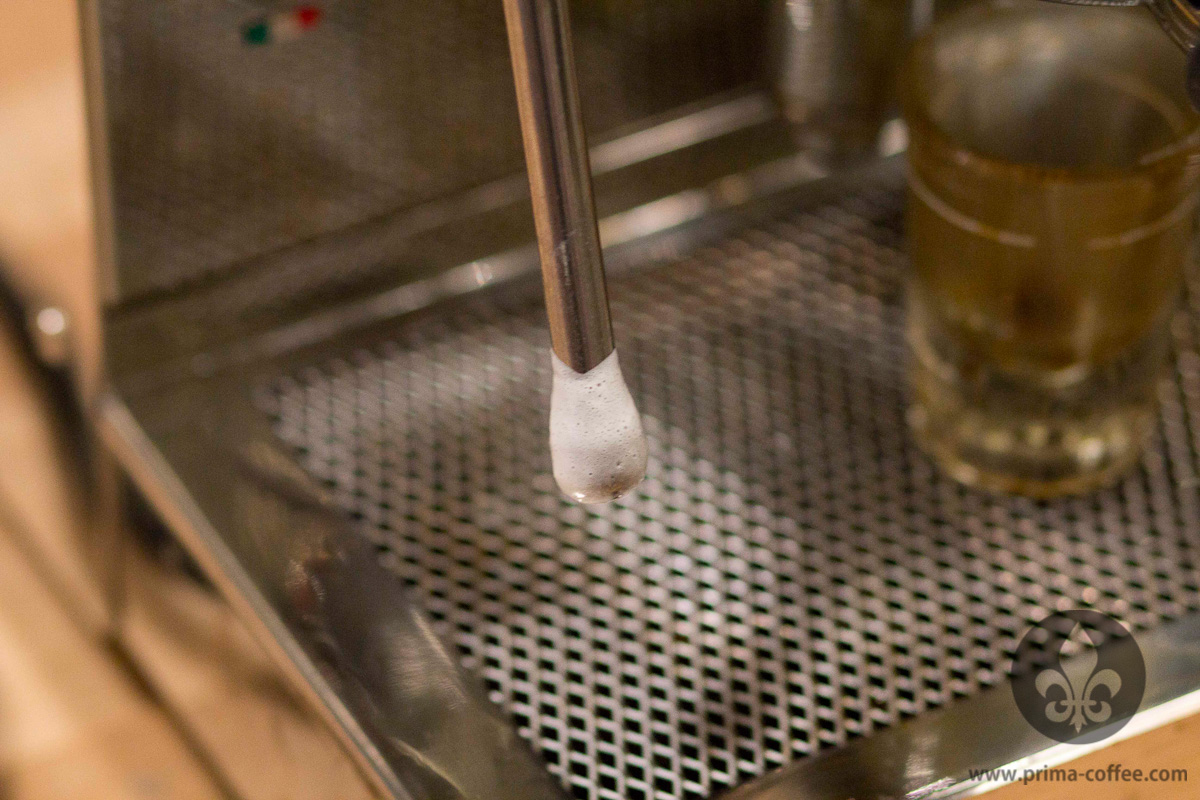
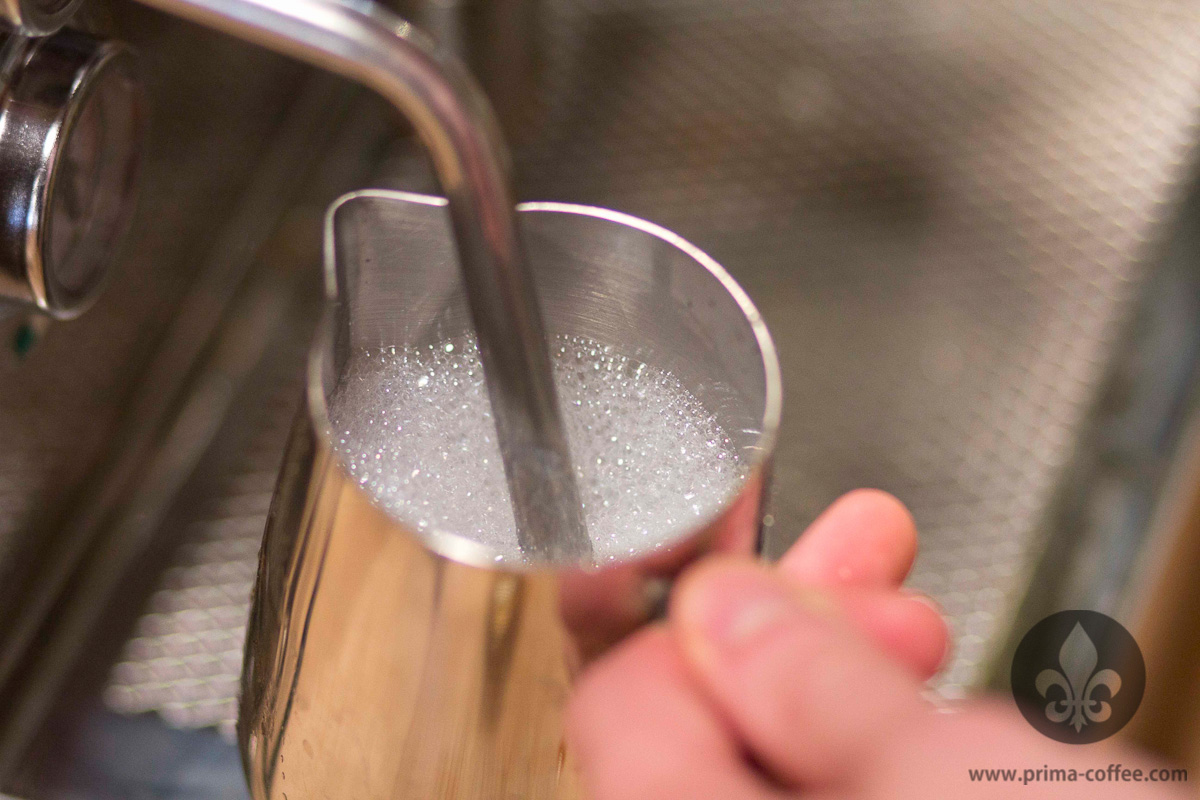
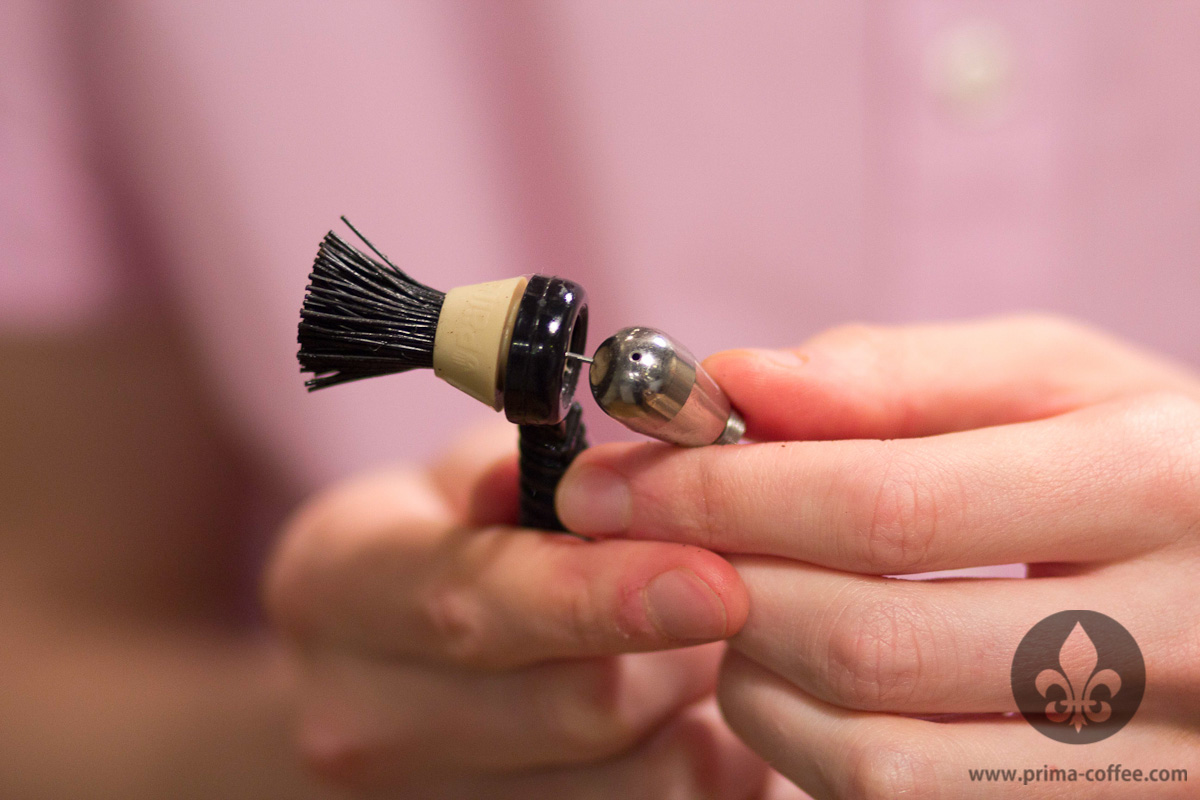
Before you get started, be sure you’ve gathered everything you need: a steaming pitcher, milk wash, and a paperclip or safety pin (unless you have your Coffeetool handy).
- Mix your solution of milk wash and water in your steaming pitcher. Be sure to follow the mixing recommendation on the packaging.
- Aerate the solution with the steam wand as though it were milk.
- Remove the steam wand tip and clear its holes of any build-up/debris with your paperclip or coffeetool.
- Soak the steam wand and its tip in the solution for 10 minutes.
- Go over the tip one more time with your paperclip.
- Reassemble the steam wand and purge. Steam pitchers of fresh water until no soapy bubbles are produced when steaming.
Maintenance and cleaning may always feel like a chore, but investing just a handful of minutes every now and again will go a long way toward guaranteeing that you’re making satisfyingly delicious coffee every time you use your machine.
Do you have questions about maintenance? Tips that you’ve grown to rely on? Standards for your cleaning schedule that vary from our recommendations? Let us know below!
Have fun cleaning, y’all!
