
Coffee 101: How Do I Get Started With Coffee?
If you’re a coffee lover who’s come to really appreciate the craft of coffee, but you’re unsure of how to take that experience back home, we’re here for you. We can certainly get pretty nerdy about coffee brewing and equipment around here at Prima, but the truth is that great coffee doesn’t have to be complicated. Many of us here fell in love with coffee with only modest means and brewing wares, and we’re confident that you can too. This guide is here to help you find your way to a better cup at home, cutting through some of the clutter and jargon, offering simple steps to get you going. From there, if you want to geek out even more, take a look at the learning center.
Step 1: Getting your bearings
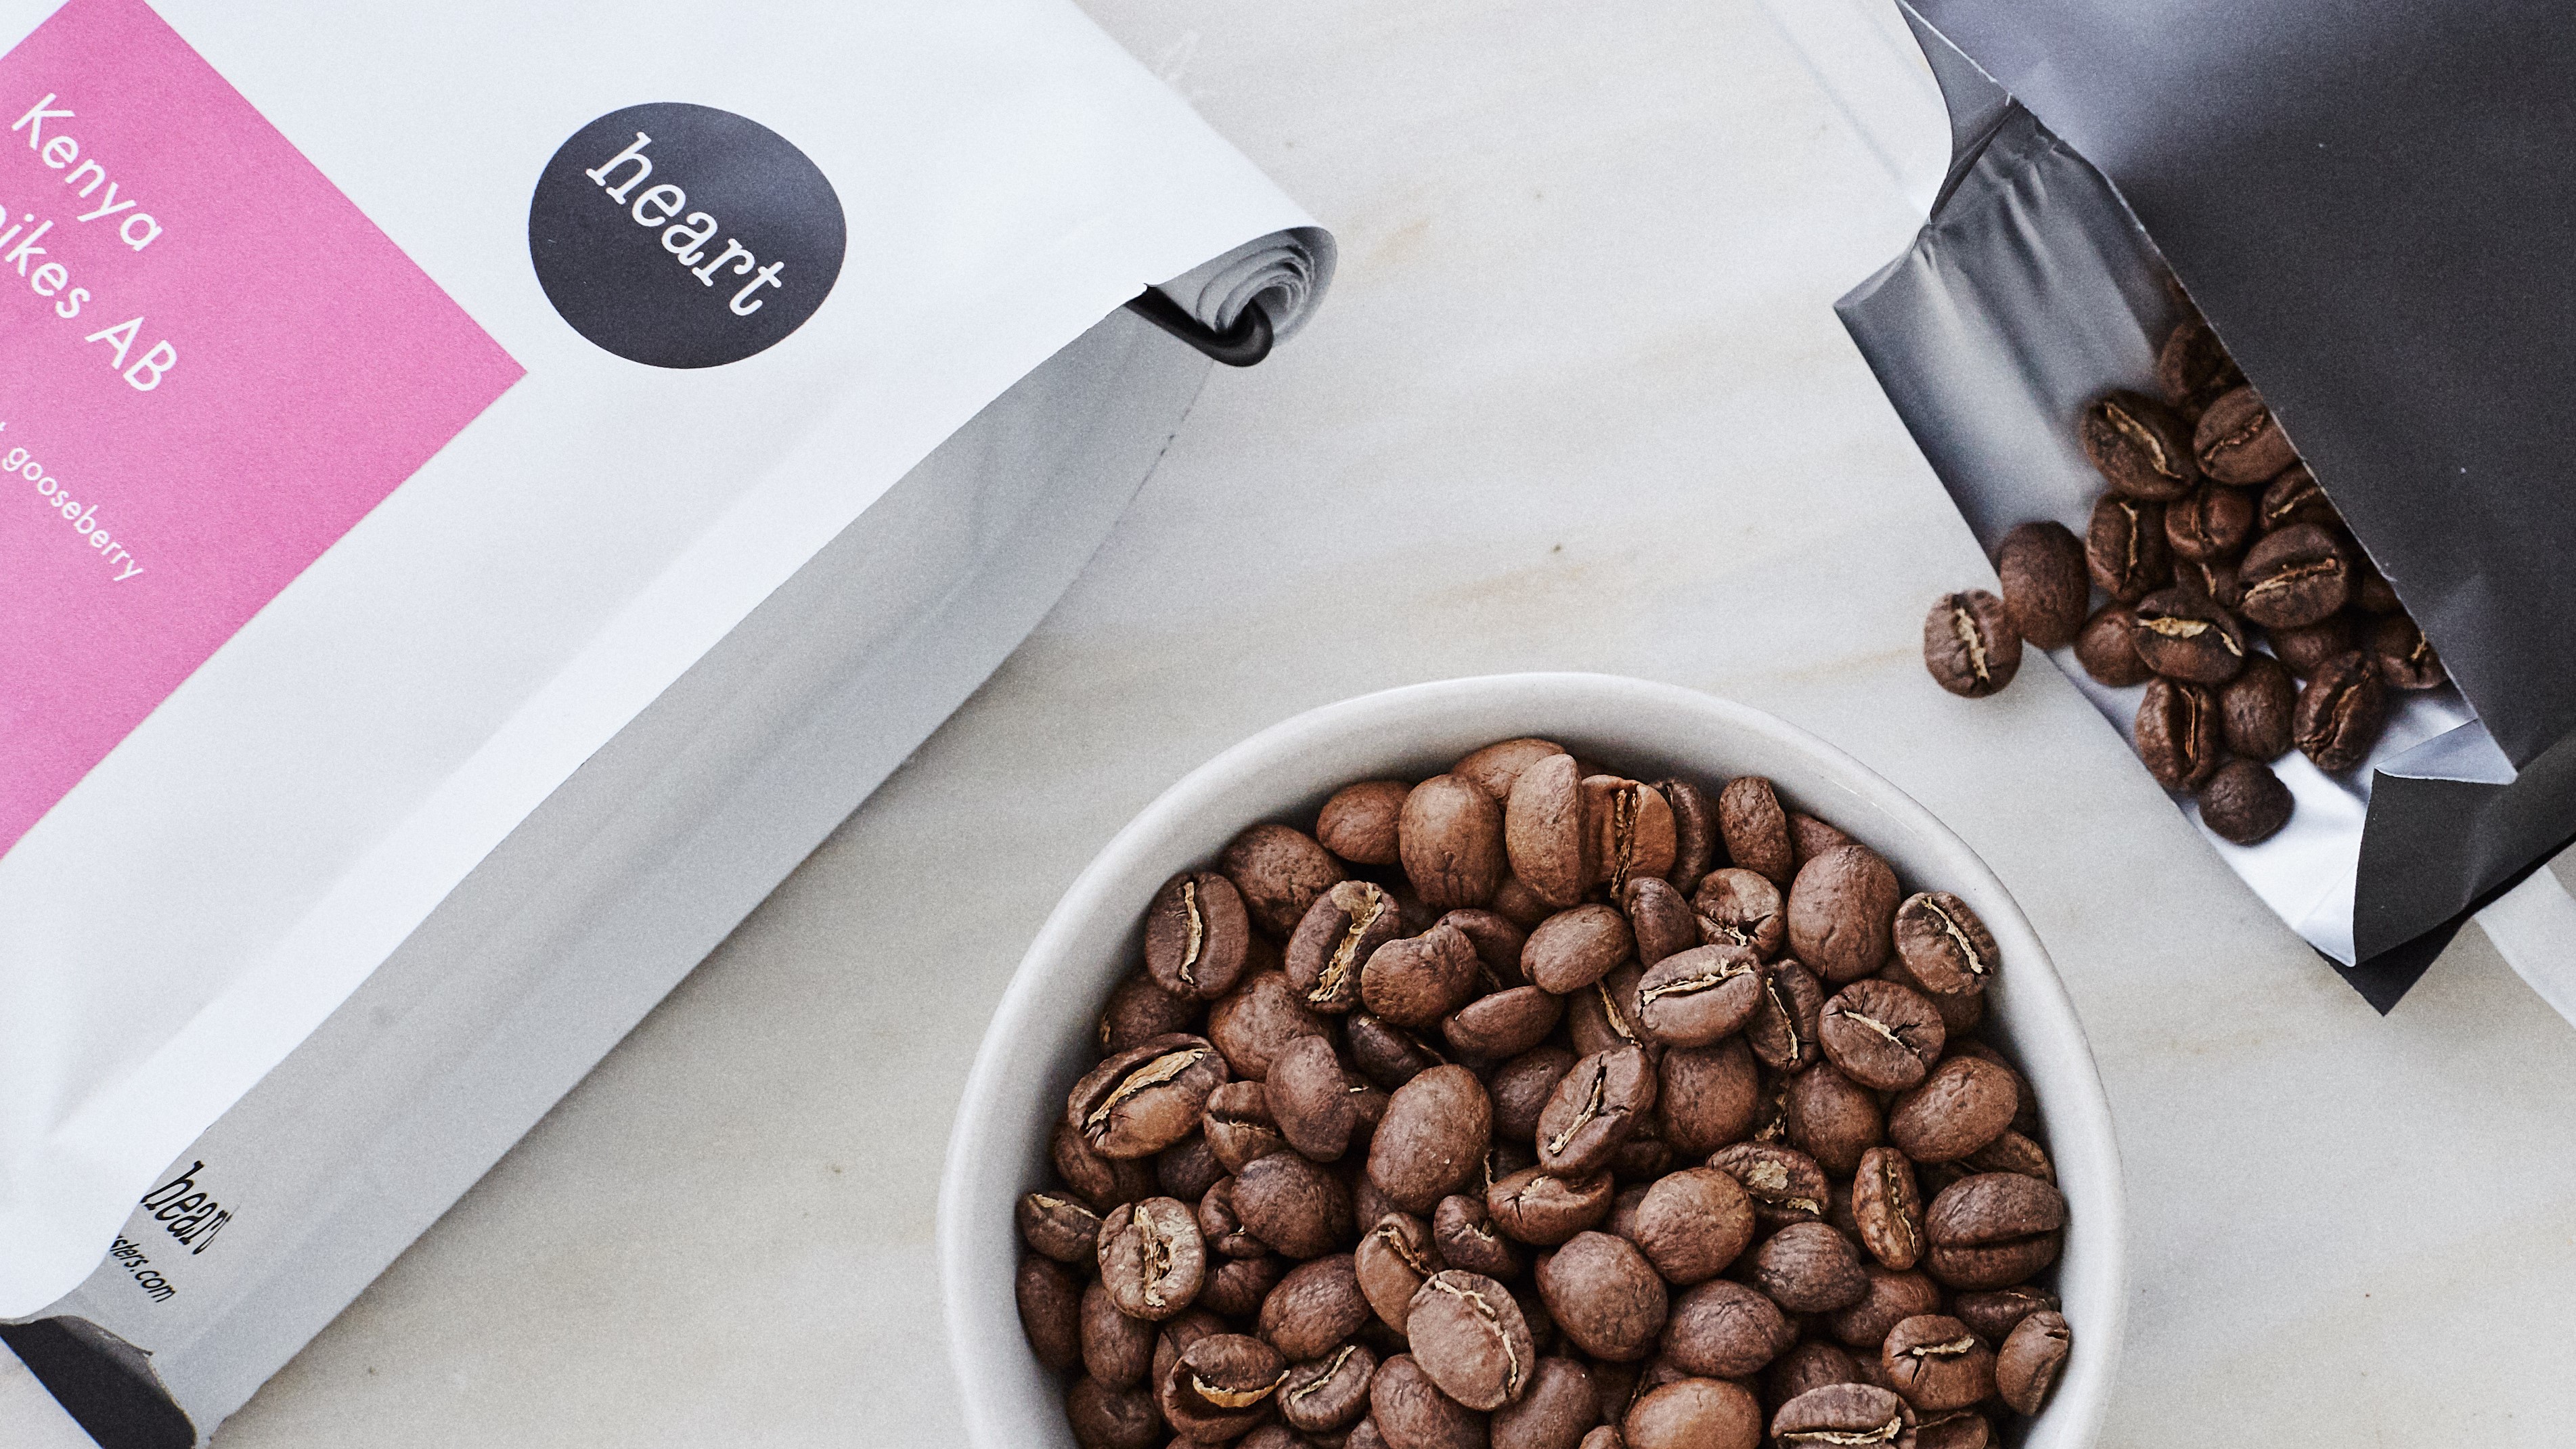
The first step to becoming a better home barista is to gather what you know you know. Think about the cups of coffee you’ve enjoyed the most, and the cafes that have inspired you to brew better at home. They may be using brewing methods that you can buy for yourself, and they might even sell them at the shop. They might be brewing a Kenyan coffee with a cone like a Hario V60 or a Kalita Wave, or even a Chemex. If they pour your coffee out of an urn or thermal server then it was likely batch brewed, in which case you can look for an automatic coffeemaker like those by Bonavita,, which are just scaled down versions of what the café uses.
And finally, of course, think about what you want to get out of making your own coffee. If you’re just trying to offset the costs of going out for coffee, then you can probably get some more modest and inexpensive equipment that will still make perfectly tasty coffee. If you’re looking to really dive deep and learn all you can about the beverage, then consider starting with gear that’s a little fancier or technical, something to springboard your hobby on, or reading an advanced book on technique.
Step 2: Defining a Budget and Researching Equipment
Arguably the most critical step to making better coffee at home is to determine just how much money you’d like to spend. Research here is also important because you may have some prices in your mind that don’t actually align with the current sticker price. For example, while there are electric coffee grinders that can be found for $25–50, we find that the least expensive good-quality models we can recommend are closer to $150. Anything less probably has some serious flaws in parts or design.
If you wish to go the manual brewing route, you can spend the least amount of money for a great cup of coffee. However, you will also be spending the most amount of effort to make a cup of coffee. Automated coffee makers cost more up-front but require the least hands-on input to make your brews. We do typically recommend buying a coffee grinder regardless of the set up, because ground coffee has a fairly short shelf life in terms of flavor (we have a whole blog covering ground coffee freshness, too), but if you don’t mind grinding by hand you can also save some money there. Again, espresso is going to be the most expensive path to making your own coffee, so we often recommend cheaper alternatives as a first step to make sure you think it’s worth the time and energy to make your own coffee at home without cracking open that piggy bank.
Here are some rough price breakdowns to give you a sense of how much coffee gear for the home costs:
A manual drip device could be as cheap as $10, up to over $50 depending on the size and material. Filters will cost extra, usually between $5–15 for a pack of 100. You will need to use the right type of filter for the brewing device, so check to see if they use a proprietary filter or a more common one.
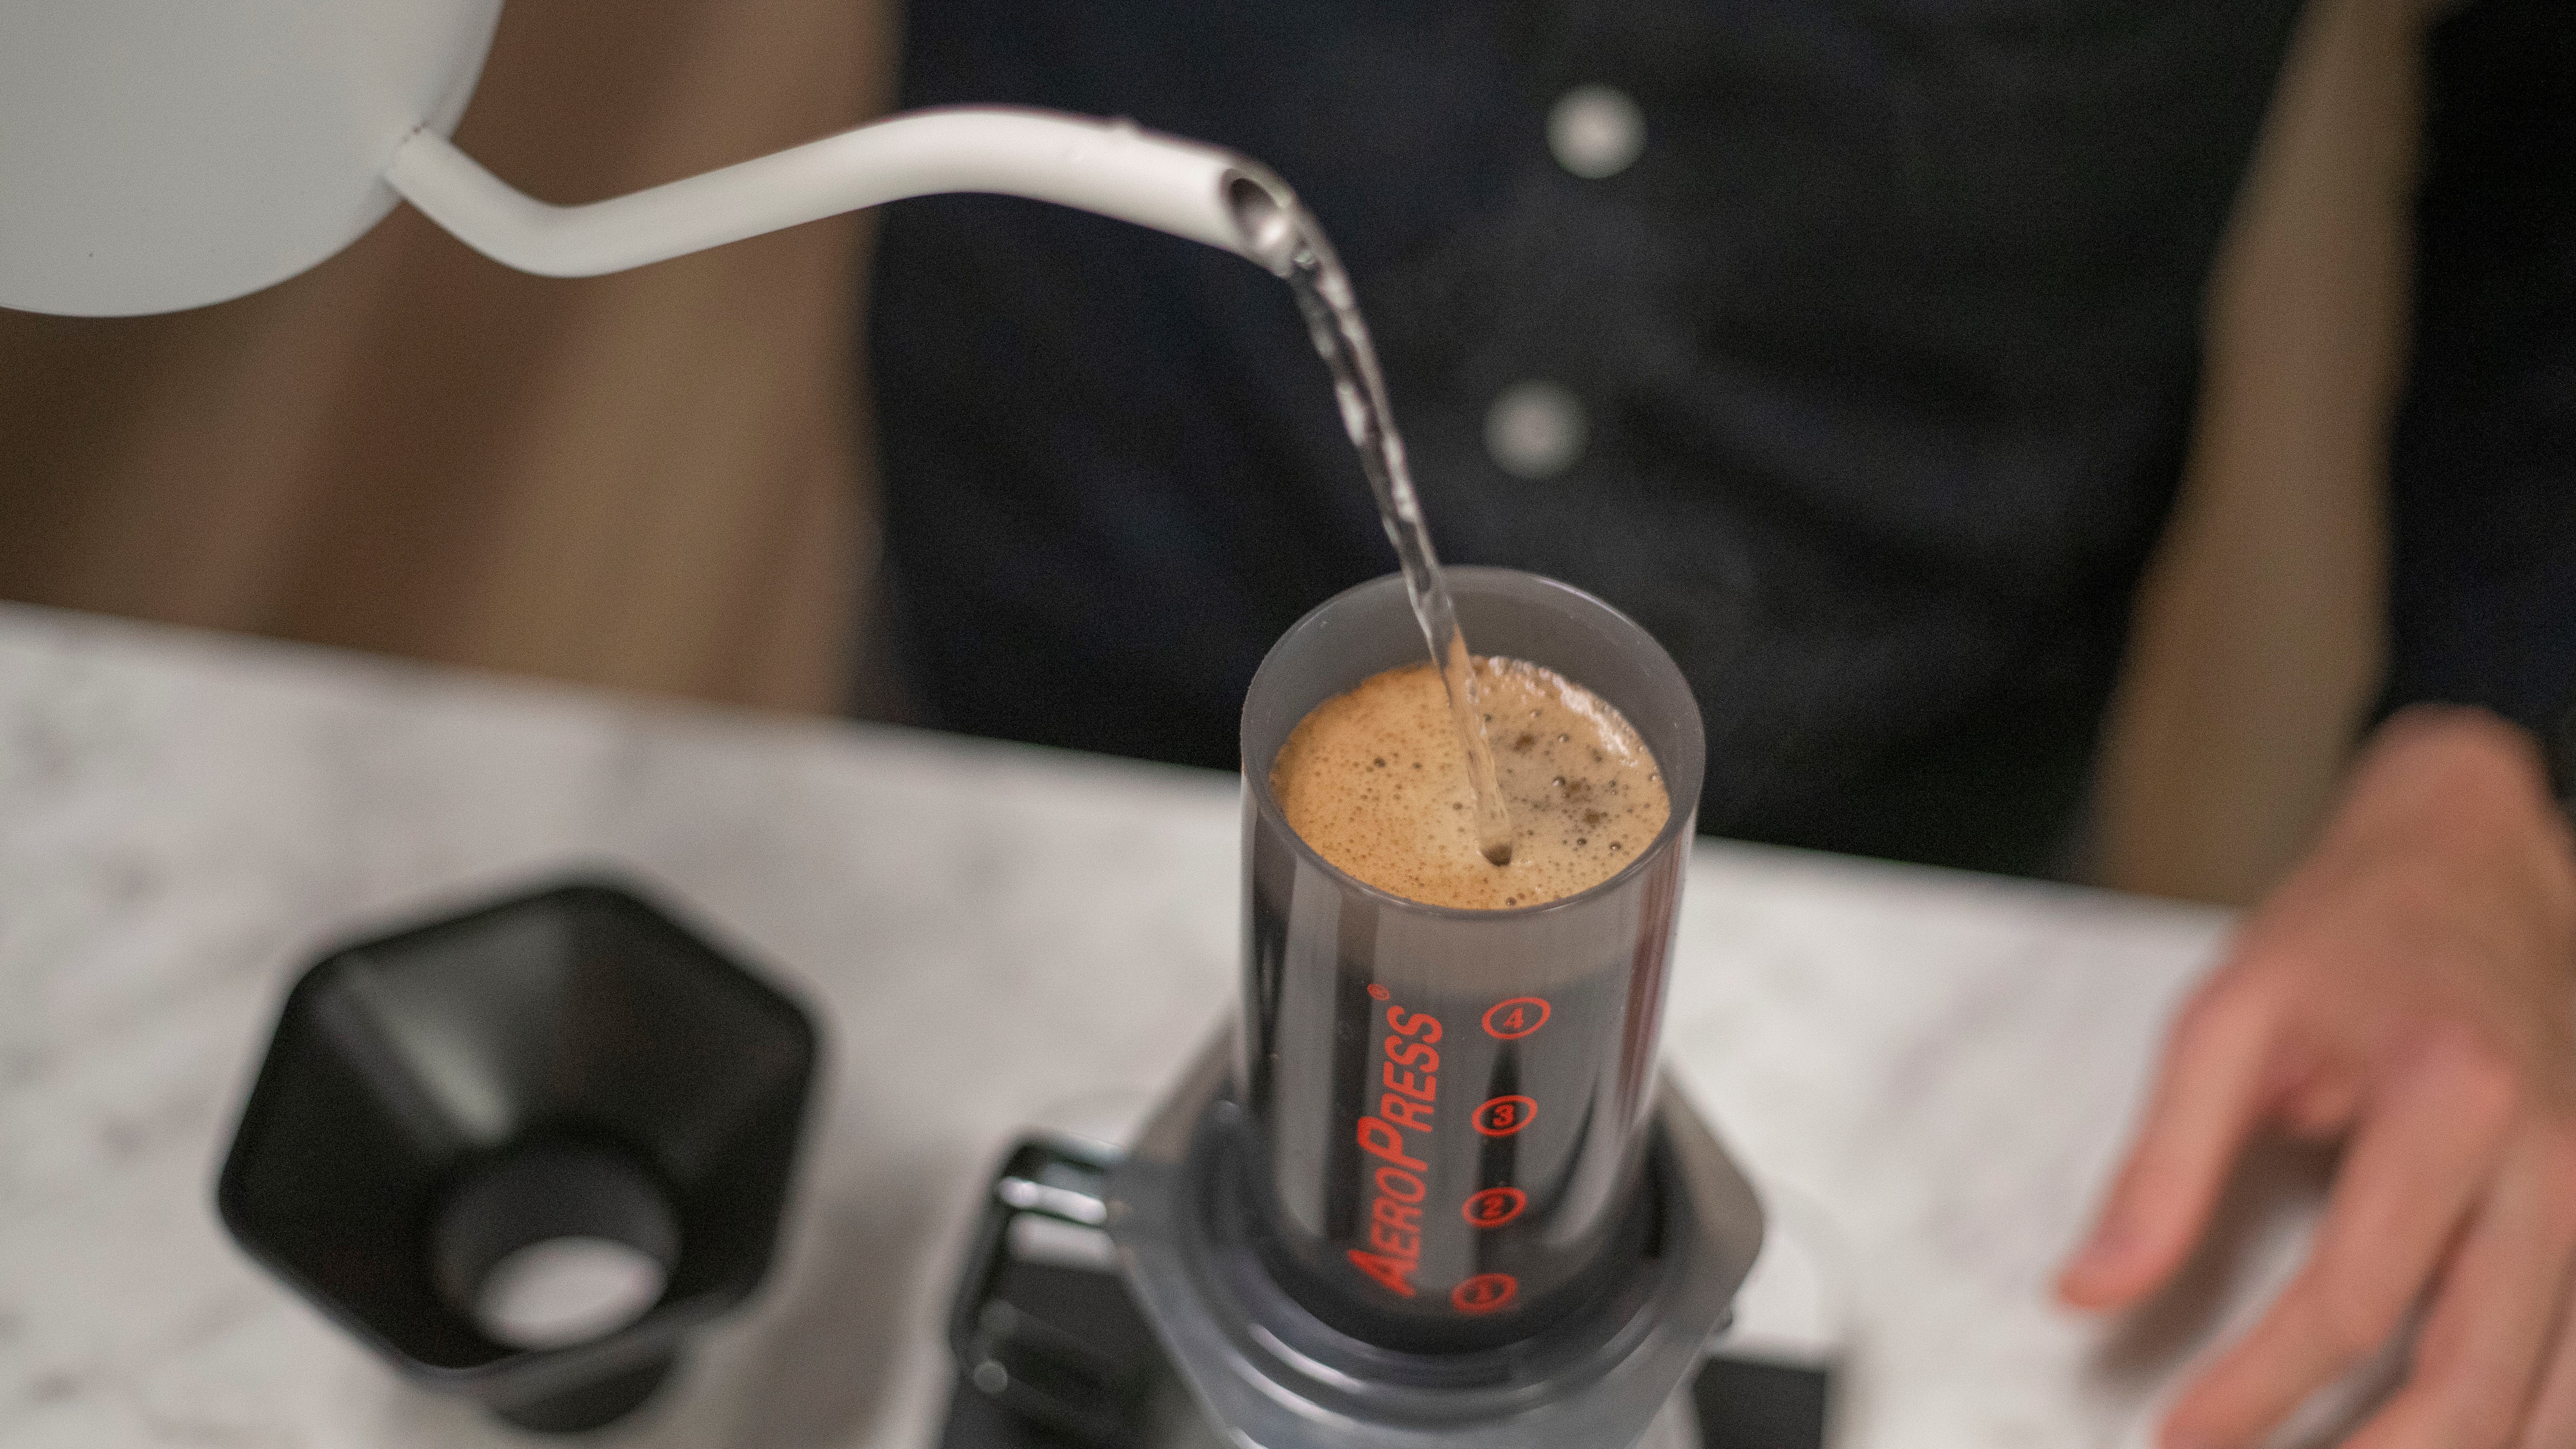
Other manual brewing devices can be equally cheap or much more expensive. The popular AeroPress is fairly affordable at around $40. French presses also tend to fall around this price range, though insulated models or those with special filters can run higher from around $50 to over $100. The Clever Coffee Dripper is another simple, affordable brewing device, at around $35. More extravagant tools like the Walkure brewers or siphon coffee makers tend to be more expensive, near or above $100.
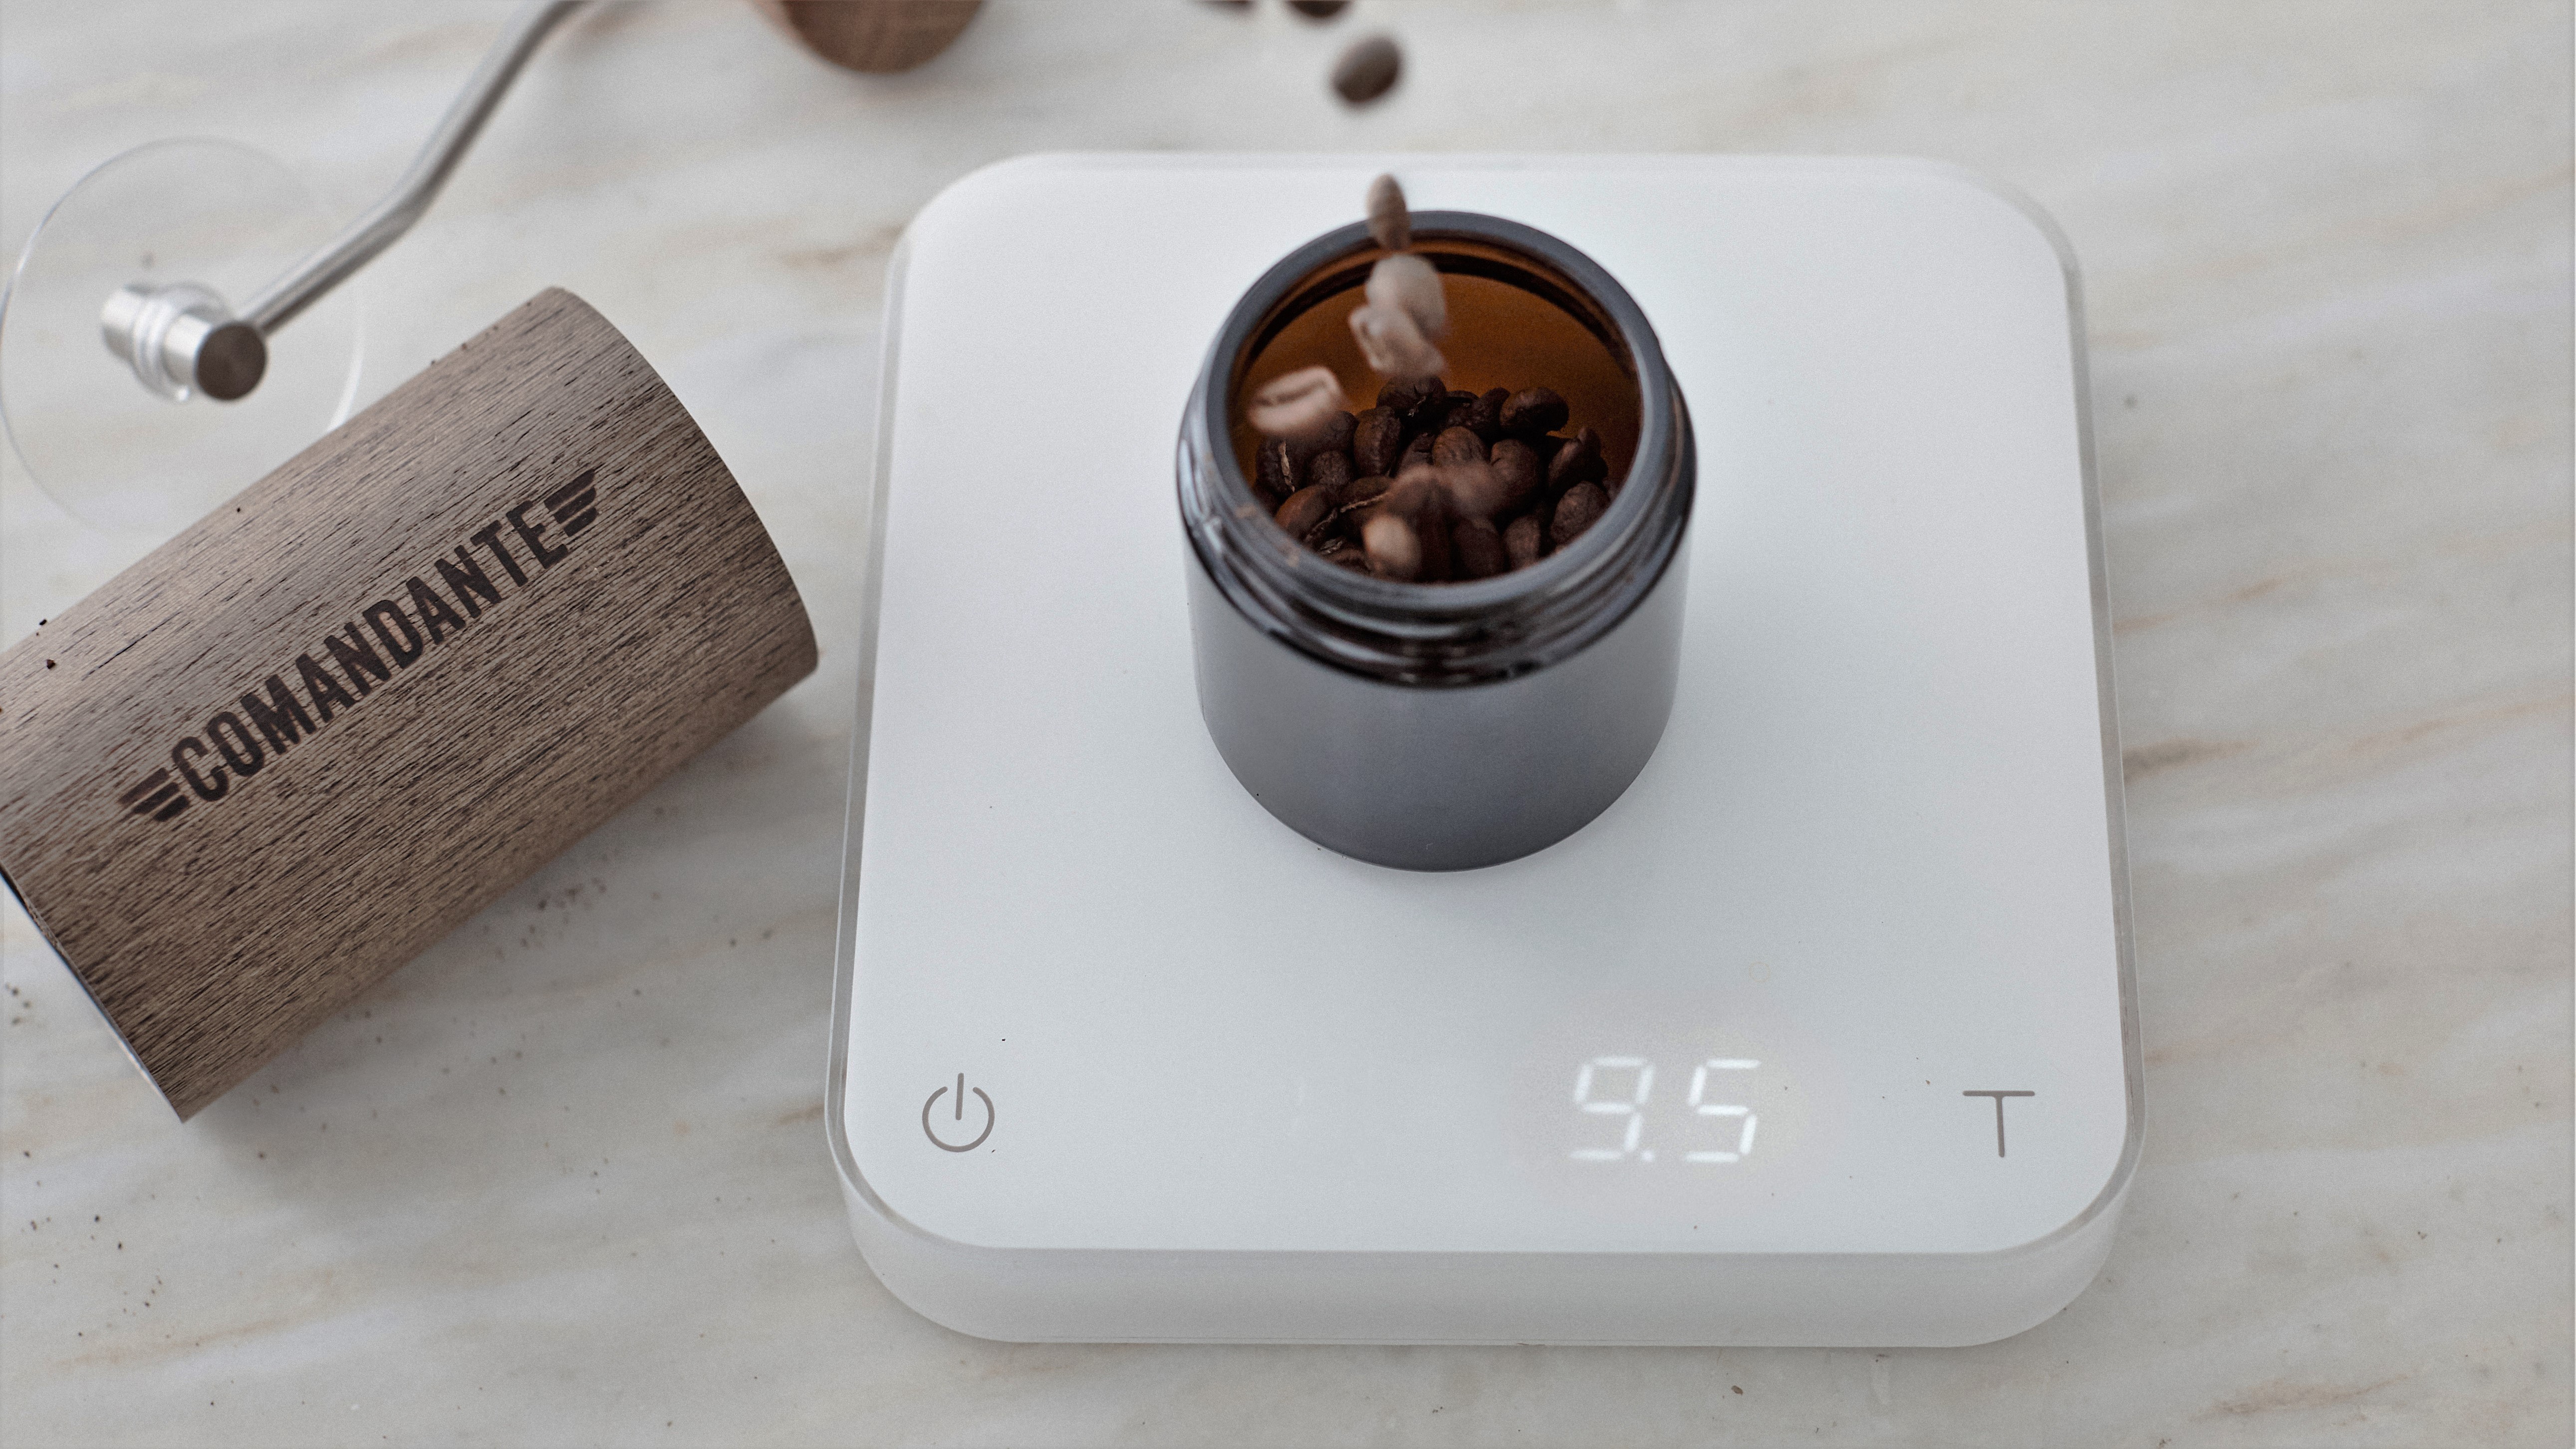
Manual coffee grinders can be as cheap as $15–20. Our favorite budget models, like the Hario Skerton Pro, fall closer to $50. For premium hand grinders like the Lido or Comandante, which produce grind quality much closer to commercial grinders, you can expect to pay $100–400. None of these grinders are powered electrically, so that can either be a convenience feature—perfect for travel—or a hindrance and hassle depending on your preferences.
Electric coffee grinders fall in many price ranges, but in our experience the cheapest reliable models start around $100. Our long-standing best seller for entry-level electric grinders is the Baratza Encore, which retails at just under $170. From there, you can expect modest but noticeable improvements as you spend more. Baratza's grinders demonstrate this well, as you'll find distinct steps up as you work your way up their offerings toward the high-end Forte BG. Up to around $1,000, there are often clear gains from upgrading to the next level, and after that you begin to see more specialized models with smaller incremental improvements. For some enthusiasts, this is where you might consider commercial models instead, and at that point you’ve probably already decided to fully commit to making coffee at home to the best of your ability.

Automatic coffee makers aren’t all that expensive, though the models we find perform the best will be more costly than your average drip machine. The Specialty Coffee Association has a list of certified coffee makers, which earn their seal of approval by brewing according to a few specific conditions. Namely, the coffee maker must brew at an appropriate temperature consistently and accurately. This isn’t a long list of brewers, but in our experience the approval is well-earned. Bonavita makes a whole line of automatic brewers, many of which carry the SCA seal of approval. Their products range from around $100 to near $200, and offer a variety of features and capacities to meet anyone’s needs. There are also fancier automatic brewers like the Technivorm Moccamaster, Behmor Connected Brewer, the Ratio Eight, or the Wilfa Precision. These machines can soar in price, but offer nicer aesthetics, upgraded materials, even more improved functionality.
Brewing accessories, like pouring kettles and scales, aren’t always critical but might make your life easier and your coffee more consistent. Stovetop kettles can be fairly cheap, from $20–30 for basic models. Nicer kettles with updated ergonomics or added features, like the Fellow Stagg, will be a little more expensive and really swanky kettles like Hario’s copper Buono will understandably carry a luxury price point. Electric kettles will offer some convenience over stovetop models, especially if they have variable temperature control. A variable temp kettle from Fellow Stagg EKG which looks and feels amazing, starts at $165. Scales will also vary greatly in price, and basic models like the Jennings CJ-4000 are quite affordable at just $30. Acaia’s scales have become the darling of the coffee industry by offering fast, precise readings, plus lots of software features and brewing modes, as well as Bluetooth integration for a mobile app. They cost more than most, at $150–250, but have proven to be quite useful and reliable even for home users.
Our curated brewing bundles do cover a few different tiers of equipment, so if you’re looking for a simplified way to shop for the gear that you want, we’d recommend starting there.
Step 3: Learning to Brew
Once you’ve purchased some equipment and beans, it’s finally time to start brewing. Many manual methods will require some practice to hone your skills, but thankfully most are more rewarding than they are challenging. A great place to start is by finding a recipe for the specific beans you’re using, which might be available from the roaster or coffee shop you purchased from. If that’s not available, then you can also start by finding a starter recipe for your brewing equipment. We’ve published some brewing guides to check out.
There aren’t really any one-size-fits-all recipes for coffee brewing, but there are some decent guidelines you can use to start with. We often talk about brewing ratios in coffee, that is the ratio between the amount of ground coffee to the amount of hot water used. This is most often measured by weight, so you’ll see recipes with a 1:16 ratio, using 30 grams of coffee and 480 grams of hot water, for example. 1:16 is a safe place to start with many coffees, as is a slightly more dilute 60 grams per liter (1:16.67).
You can also try using recipes from competitions like the World Brewers Cup or World AeroPress Championship. These recipes may not work precisely for the coffee you’re using, but they could give you some ideas for tweaking your brews and inspiration to try something new. You can often find discussions of these methods and their results online on coffee enthusiast communities, so once you’ve found a recipe you think is interesting be sure to try to dig up some conversations about them from other people who’ve tried them out.
Now, brewing coffee often benefits from experimentation and a willingness to make tweaks or changes, so keep an open mind as you’re starting out. Two different coffees will often require two different brewing recipes, but those differences might be slight. Be ready to make small changes to brew ratio, brewing temperature, or grind size to fully dial in the best flavor of your brew. You can take a look at our tips for dialing in an automatic brewer for some guidelines—even with manual brewing equipment, those tips hold true.
Step 4: Common Upgrades
After you’ve used your brewing gear for a while, you might find yourself ready to try something new, or ready to upgrade to something newer and better. The nice thing about coffee gear is that there are a lot of options that will offer some distinct advantages or improvements, so making baby steps past starter gear is often pretty easy.
In manual brewing, we usually see people making lateral "upgrades"—that is, trying a new brewing device that may not be better so much as it is different. A Kalita Wave, a Hario V60, and a Chemex are all manual drip devices, but they all brew very differently and yield different flavors in the cup. You might master one device and feel like you want to expand your brewing repertoire by buying another device or two.
Building out your collection of other brewing accessories is another way beginners tend to upgrade. Rather than brewing with a dripper directly onto a mug, you might buy a server to brew into, maybe even a thermal-insulated model. You might also upgrade that brewing scale to one with more features, or pick up a gooseneck kettle that has a more refined pouring spout. If you don’t already own one, picking up a fast-read digital thermometer is also a great way to help improve your brewing.
Moving on to larger ticket items, upgrading the grinder is often a very distinct change in brewing performance and flavor. The switch from a budget hand grinder to a Baratza Encore will show a marked improvement in cup quality, just as the switch from an Encore to a Forte would. In espresso, this can be doubly true, as switching from a budget model or hand grinder to a more serious commercial grinder can instantly yield better qualities in the cup. Because of the expense, grinder upgrades can be few and far between, not to mention fretted over by the customer in order to get just the right model and prevent buyer’s remorse. A grinder upgrade can certainly feel daunting, but it can be very, very rewarding.
Water quality is an aspect of brewing that if often overlooked. We’ve only scratched the surface in our writings on water thus far, but the simple fact is that water composition, specifically the dissolved minerals in your brewing water, affect coffee extraction both positively and negatively. There are products designed to precisely balance distilled water for coffee brewing, but there are also installable water filtration and treatment systems that may be beneficial to a home coffee enthusiast. In some cases, simply filtering your water with a commonly available pitcher system like Brita or Pur will yield a better-tasting cup than plain tap water. At any experience level, giving a little love to your brewing water could be a decided upgrade to consider.
Additional Resources
If you’re feeling good about your home brewing at this point and you’d like to take things a step further, we’re happy to help with that. If you're curious about diving into home espresso, take a look at Espresso 101. Our Learning Center provides resources for all skill levels for further learning on coffee brewing techniques, general know-how, and product-specific information. Also, if you'd like to catch up on coffee, equipment, and brewing terminology, our Glossary of Coffee Terms will be a great resource to check out. Good luck, and happy brewing!


