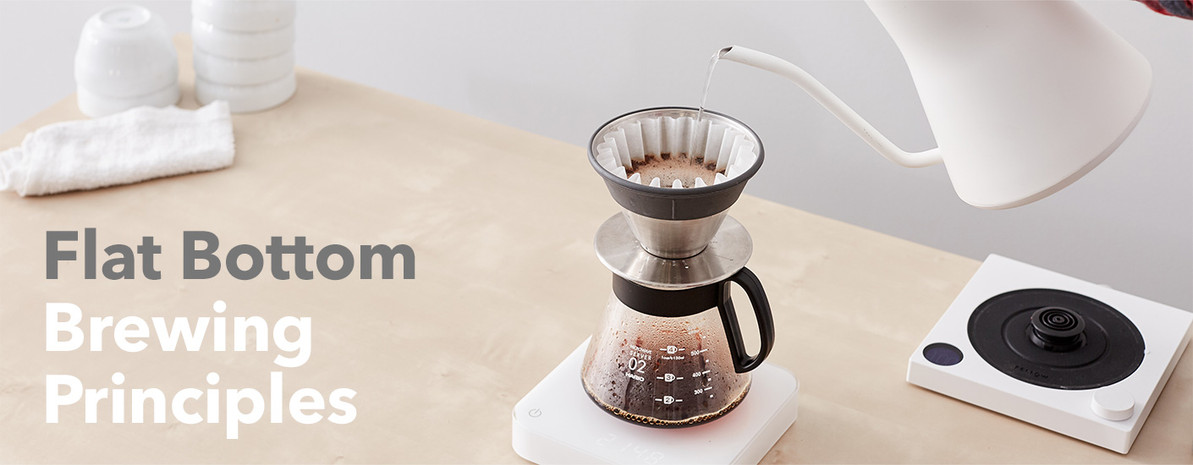
Understanding Coffee Brewing with Your Flat-Bottom Brewer
How to brew with your Kalita wave, December Dripper, Gino, Bloom and more, using an explanation of extraction, strength, and the variables you can use to make better coffee.
I’ve been a disciple of the flat bottomed brewer for years now, waxing poetic to anyone who would listen about the consistent extraction and the ease-of-use that initially helped the Kalita Wave break onto the specialty coffee scene in the early 2010s. Since then we’ve seen a whole host of brewers come along utilizing the same principles that made the Wave so successful—the Gino, the December Dripper, and even Blue Bottle’s proprietary brewer—and as these brewers continue to pop up on countertops all over it’s clear that what could’ve been a flat-bottom-fad is certainly here to stay. This article is made to take you beyond simply using whichever dripper you’ve decided to adopt and transport you to a place of deeper understanding and control than you’ve known before. We’ll cover the basics of extraction, talk about how judge your brew to adjust future recipes, and how to master the brewer that’s stolen your heart.
If you haven’t already, check out our Basic Brewing Principles guide where we detail the fundamentals of good coffee, good water, and good recipes.Or, if you’re interested in these concepts in a general sense instead of specifically for your dripper, take a gander at our Intermediate Brewing Principles.
Brewing is Extraction
Regardless of the brewer that you’ve chosen, brewing coffee can always be thought of more specifically as the process of extraction. As roasted coffee and water interact, a series of physical and chemical reactions take place—first, water washes superfine coffee particles and oils away from the surface of the ground coffee, then your brew water dissolves most of the soluble material in roasted coffee. Everything that water removes from that coffee is our “extracted” material which, when held in solution by water, makes up our brewed coffee! The water-soluble compounds that were dissolved will make up the flavor of your beverage, while the insoluble compounds that were washed from the surface of your grounds will help determine the body and texture of your coffee.
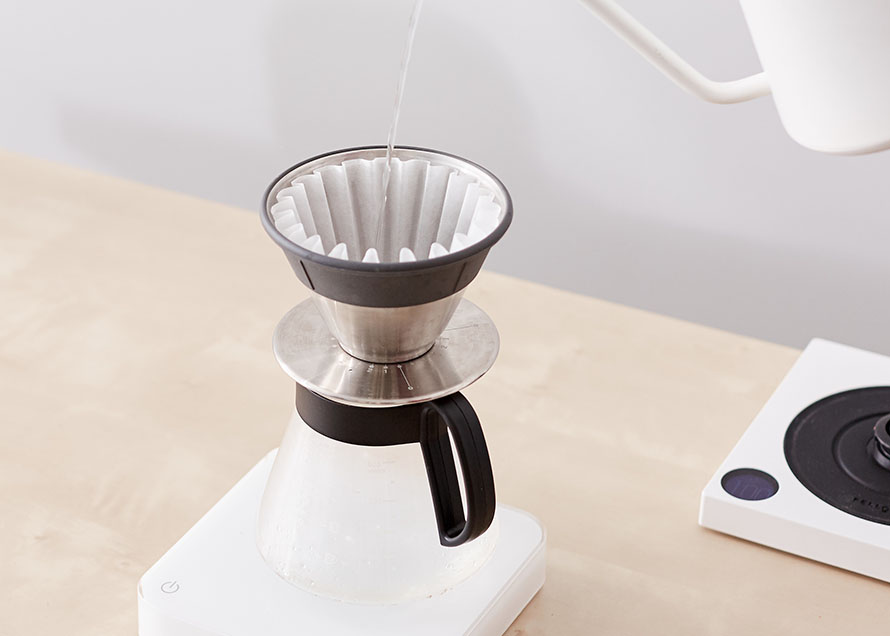
The mixture and proportion of different soluble and insoluble compounds that end up in your brew will fluctuate constantly from the beginning of an extraction until the end. This is because different chemical compounds in your roasted coffee (like organic acids, simple sugars, and more complex carbohydrates) all dissolve and extract at different and predictable rates; the earliest part of extraction will produce liquid that is highly concentrated and excessively rich, while the late stages of extraction will produce brewed coffee that is dilute and astringent, meaning that we need a complete and quality extraction to achieve delicious and balanced flavor. You could do this experiment at home for yourself! Collect 6 different cups to brew onto and brew using your usual recipe is, moving the brewer onto a new cup every 30 seconds; you can taste side by side how different each part of the extraction is from the overly-strong and acidic beginning of extraction to the faint and astringent tail end. This is important because it means we have some control over what our brewed coffee tastes like, and it also gives us a way to assess our extraction as either under-extracted (we removed too little of the soluble material), over-extracted (we removed too much of the soluble material), or ideally extracted (we removed just the right amount of the soluble material).
How to Judge Your Extraction
There's tons of brewing science out there to read through, and a lot of it will likely give you concrete numbers to shoot for like 20% extraction yield and 1.3% TDS. Though quantitative data can be a helpful way to communicate precise information from one person (with the necessary tools to measure and understand the measurement) to another person (with the same tools and understanding), any coffee professional should be able to tell you that you don’t taste numbers, measurements, or extraction percentages, you taste coffee! Since we know that the flavors in our mug are influenced by the relative extraction we achieve, how do we know if our brew is over-extracted, under-extracted, or just right? By taste! There are some flavors that tend to consistently come through at different levels of extraction that you can look out for as you’re learning to dial in your recipes.
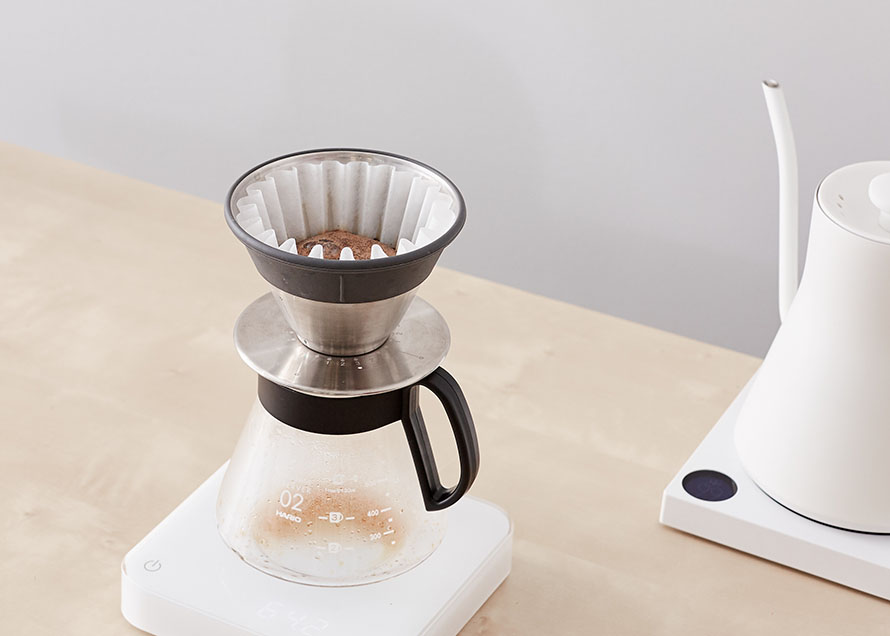
Under-extracted coffee will likely taste sour, salty, or overbearingly acidic. The early stage of extraction contains most all of the acids that will be extracted, as well as some bitter compounds (like caffeine) that can be overwhelming when left overconcentrated and unbalanced by the flavors that will extract later in the brew.
Over-extracted coffee will likely taste bitter, weak, and feel unpleasantly astringent. Many of the flavors extracted late in a brew are bitter in taste, pushing the flavor balance in that direction quickly. Also, there’s very little extractable material in ground coffee late in the brewing process, so the liquid coffee flowing out of your brewer at this point will be thin and dilute, contributing to the lower strength of an over-extracted brew.
Ideally extracted coffee should be balanced and flavorful, with your brewer capable of achieving both a satisfying texture and an acidity that complements the flavors of your brew. This can mean sweet and brimming with fruit flavors, deep and rich with chocolatey goodness, or complex and alluring with savory complexion.
If you’re not a confident taster right now that’s totally okay! Tasting is a skill you can learn, and with a little trial and error you’ll be able to start judging your extraction accurately enough to make educated decisions about how to adjust your recipe for a better brew.
The Importance of Strength
An ideally extracted dose of coffee might be the first goal in brewing, but ensuring that you brew coffee with good strength is certainly a close second. Our ability to taste coffee well relies on the concentration of its flavors being just right—too much flavor in solution and our taste buds become overwhelmed and less-than-useful, while too little flavor will mean a beverage will come across as dilute and hollow.
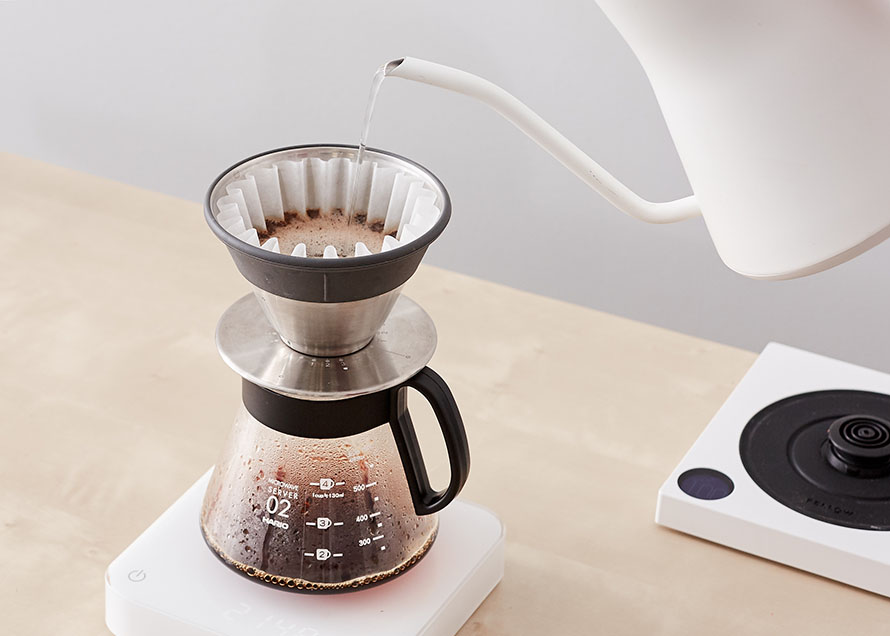
In whichever flat-bottom dripper you’ve chosen, assuming that your dose and grind setting are in the generally accepted range for pour over brewing, your strength should almost always end up at a palatable concentration. However, if you want more control over being able to make your coffee perfectly strong, we’ll cover some variables below that will allow for you fine-tune your strength to be juuust right.
Mastering Your Flat-Bottomed Brewer
Learning to thrive with your brewer is all about learning to accept the variables that you can’t control, while working to influence the variables (and their relationships) that you can. The greatest advantage to using a flat-bottomed brewer is that the geometry of the brewer itself is great at encouraging an even extraction without any fussing about, so the time that you might typically invest in learning pouring patterns or stirring routines in other brewers you actually get to invest instead in exploring these variables and relationships.
There are plenty of how-to’s, brewing guides, and recipe comparisons out there to show you the basic brewing process; this walk-through is more about breaking down the important variables you get to affect, and looking at the way that those variables relate, differ, and influence one another.
Brew ratio is the amount of roasted coffee and brew water you use to make a single extraction. Most recipes out there encourage you to use 1g of coffee for every 15–17ml of water, or maybe something like 60g of coffee per 1 liter of water even. Extraction and strength will be inversely correlated here, meaning that the higher the total extraction you achieve through your brew ratio the lower the total potential for strength becomes.
The Grind setting that you choose will also have a significant impact on extraction yield and a lesser impact on potential for strength, but in this instance the results will be directly correlated. As you grind finer and finer you increase the rate at which you’ll extract the coffee, and you’ll also slow down the speed at which water is able to move through the bed of grounds. Flat-bottomed brewers typically succeed when using fairly coarse coffee (around the consistency of kosher salt or a touch finer) in a large enough dose so that the bed of coarse coffee still acts as an appropriate flow restrictor to the water. This means that the smaller Kalita Wave (155) is made to be paired with coffee doses up to 12–16 fl oz or so despite its diminutive size, while the larger Wave (185) struggles to achieve that same quality on brews smaller than 16 fl oz. This also explains the adjustable flow rate built into the December Dripper, its design focused on producing the appropriate flow rate and contact time with the same (ideal) grind setting regardless of how much coffee you planned to make. The Bloom the anomaly of this group. Due to it's unique shape and steep sides, the rule of thumb is to keep grinding finer. The Bloom is capable of brewing high extraction yields with a grind size nearly as fine as espresso.
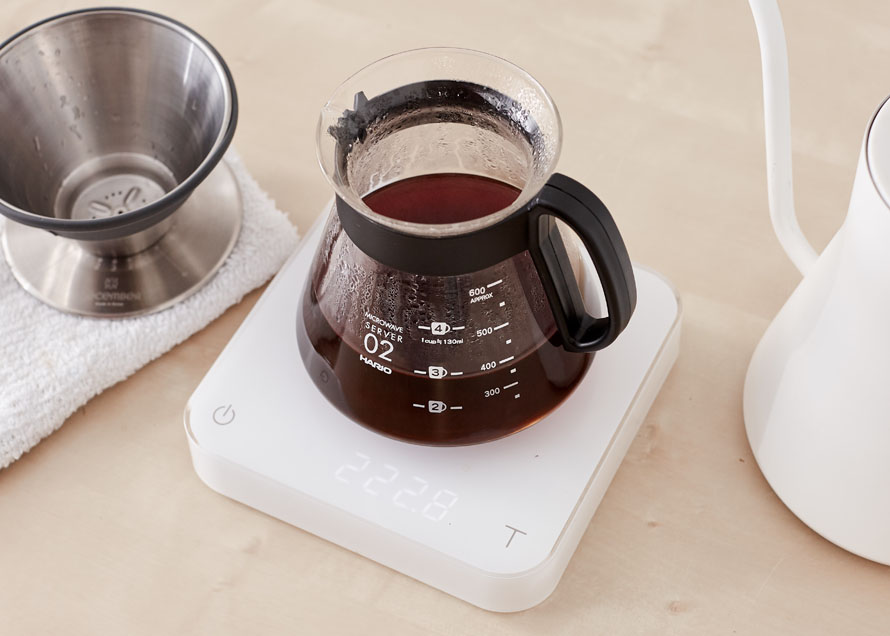
The Temperature of your water will relate directly to your rate of extraction, cooler water extracting slower and hotter water extracting faster. The general standard for brewing says to use water 195°F–205°F (90.5°C–96°C), but there are lots of folks who prefer hotter or colder water for their own brews.
Your total Contact time will stay related to a few different variables—your brewer will act as a flow restrictor itself, with your grind setting and coffee-bed-depth acting as a restrictor above that, and even still above that your flow rate will be affected by how aggressively you add water to the brewer. Regardless of how you implement this in your brewing, always remember that more time means more extraction. Learning to balance grind setting and bed depth (and thereby contact time) with the right brewing ratio is really where the secret to success lies in your flat-bottomed brewer, so don’t try to overcomplicate it with too many specifics outside of that.
Get Brewing!
You can read all of the brewing theory out there and it wouldn’t make a difference if you never get your hands on a kettle, so get brewing! Hopefully now with a little understanding of extraction and strength, guidelines for how to taste and assess your brew, and an overview of the variables you can adjust with your flat-bottomed brewer, you’re prepared to get started on your journey toward total percolation precision.
Happy brewing, y’all.
